Using Actility as a LoRaWAN© operator for Scaleway IoT Hub
LoRaWAN© stands out as a low-power, low-bandwidth, long-range radio protocol, ideal for wirelessly transmitting data from numerous devices. It is tailored for battery-operated gadgets, requiring minimal installation expenses.
These devices relay data to accessible LoRaWAN© gateways, which then pass on the information through the LoRaWAN© operator network. In our context, Scaleway IoT Hub serves as the designated LoRaWAN© application.
Actility, an established LoRaWAN© operator, offers the capability to construct either public or private LoRaWAN© networks.
This tutorial will guide you through:
- Establishing an IoT Hub to manage communication with LoRaWAN© devices.
- Incorporating a device into the Hub to facilitate the Actility-to-Scaleway connection.
- Configuring the Actility backend to use device credentials for establishing a connection with the IoT Hub.
- Introducing another device and linking it as a subscriber to receive LoRaWAN© messages.
Before you start
To complete the actions presented below, you must have:
- A Scaleway account logged into the console
- Owner status or IAM permissions allowing you to perform actions in the intended Organization
- An account logged into the Actility Thingpark Enterprise console
- An SSH key
- An IoT Hub
- Added a device to your IoT Hub with the Deny Insecure option enabled
Configuring the Actility backend
- Navigate to the Actility Thingpark Enterprise console.
- Select Applications > Create and opt for MQTT.
- Fill in the required parameters (unlisted settings can be customized):
- Hostname: Enter your IoT Hub endpoint, followed by the MQTT port (e.g.,
iot.fr-par.scw.cloud:8883). - Account prefix: Specify
my-appto set the MQTT topic prefix, leading to messages published under a topic like<prefix>/things/<LoRaWAN device ID>/uplink. - Protocol: Choose
SSL. - MQTT Username: Input your IoT Hub device ID.
- MQTT Password: Leave this field blank.
- Certificate: Attach the device certificate file (e.g.,
my-device-crt.pem). - Private Key: Provide the device key file (e.g.,
my-device-key.pem).
- Hostname: Enter your IoT Hub endpoint, followed by the MQTT port (e.g.,
- Save your settings.
- Ensure the Deployment Status reflects Opened in the application page to confirm the application's operational status.
Your LoRaWAN© network is now seamlessly integrated with your IoT Hub.
Subscribing to LoRaWAN© device messages
To ensure a smooth flow of messages, create a new device dedicated to subscribing to LoRaWAN© device messages.
- Create another IoT Hub device, now enabling the Allow Insecure connections setting since secured connections are incompatible with Web Sockets, used by the MQTT Webclient.
- Access the MQTT Webclient via the device page. The client will automatically open and connect.
- Follow the instructions below to subscribe to LoRaWAN© device messages:
- Click Add New Topic Subscription within the Subscriptions block.
- Choose a color for identification.
- Maintain QoS 0.
- Use
my-app/things/+/uplinkas the topic. This allows the IoT Hub to forward uplink messages from all devices. - Click Subscribe.
Your subscription will now be visible in the Subscriptions block, with messages from your LoRa devices appearing in the Messages block.
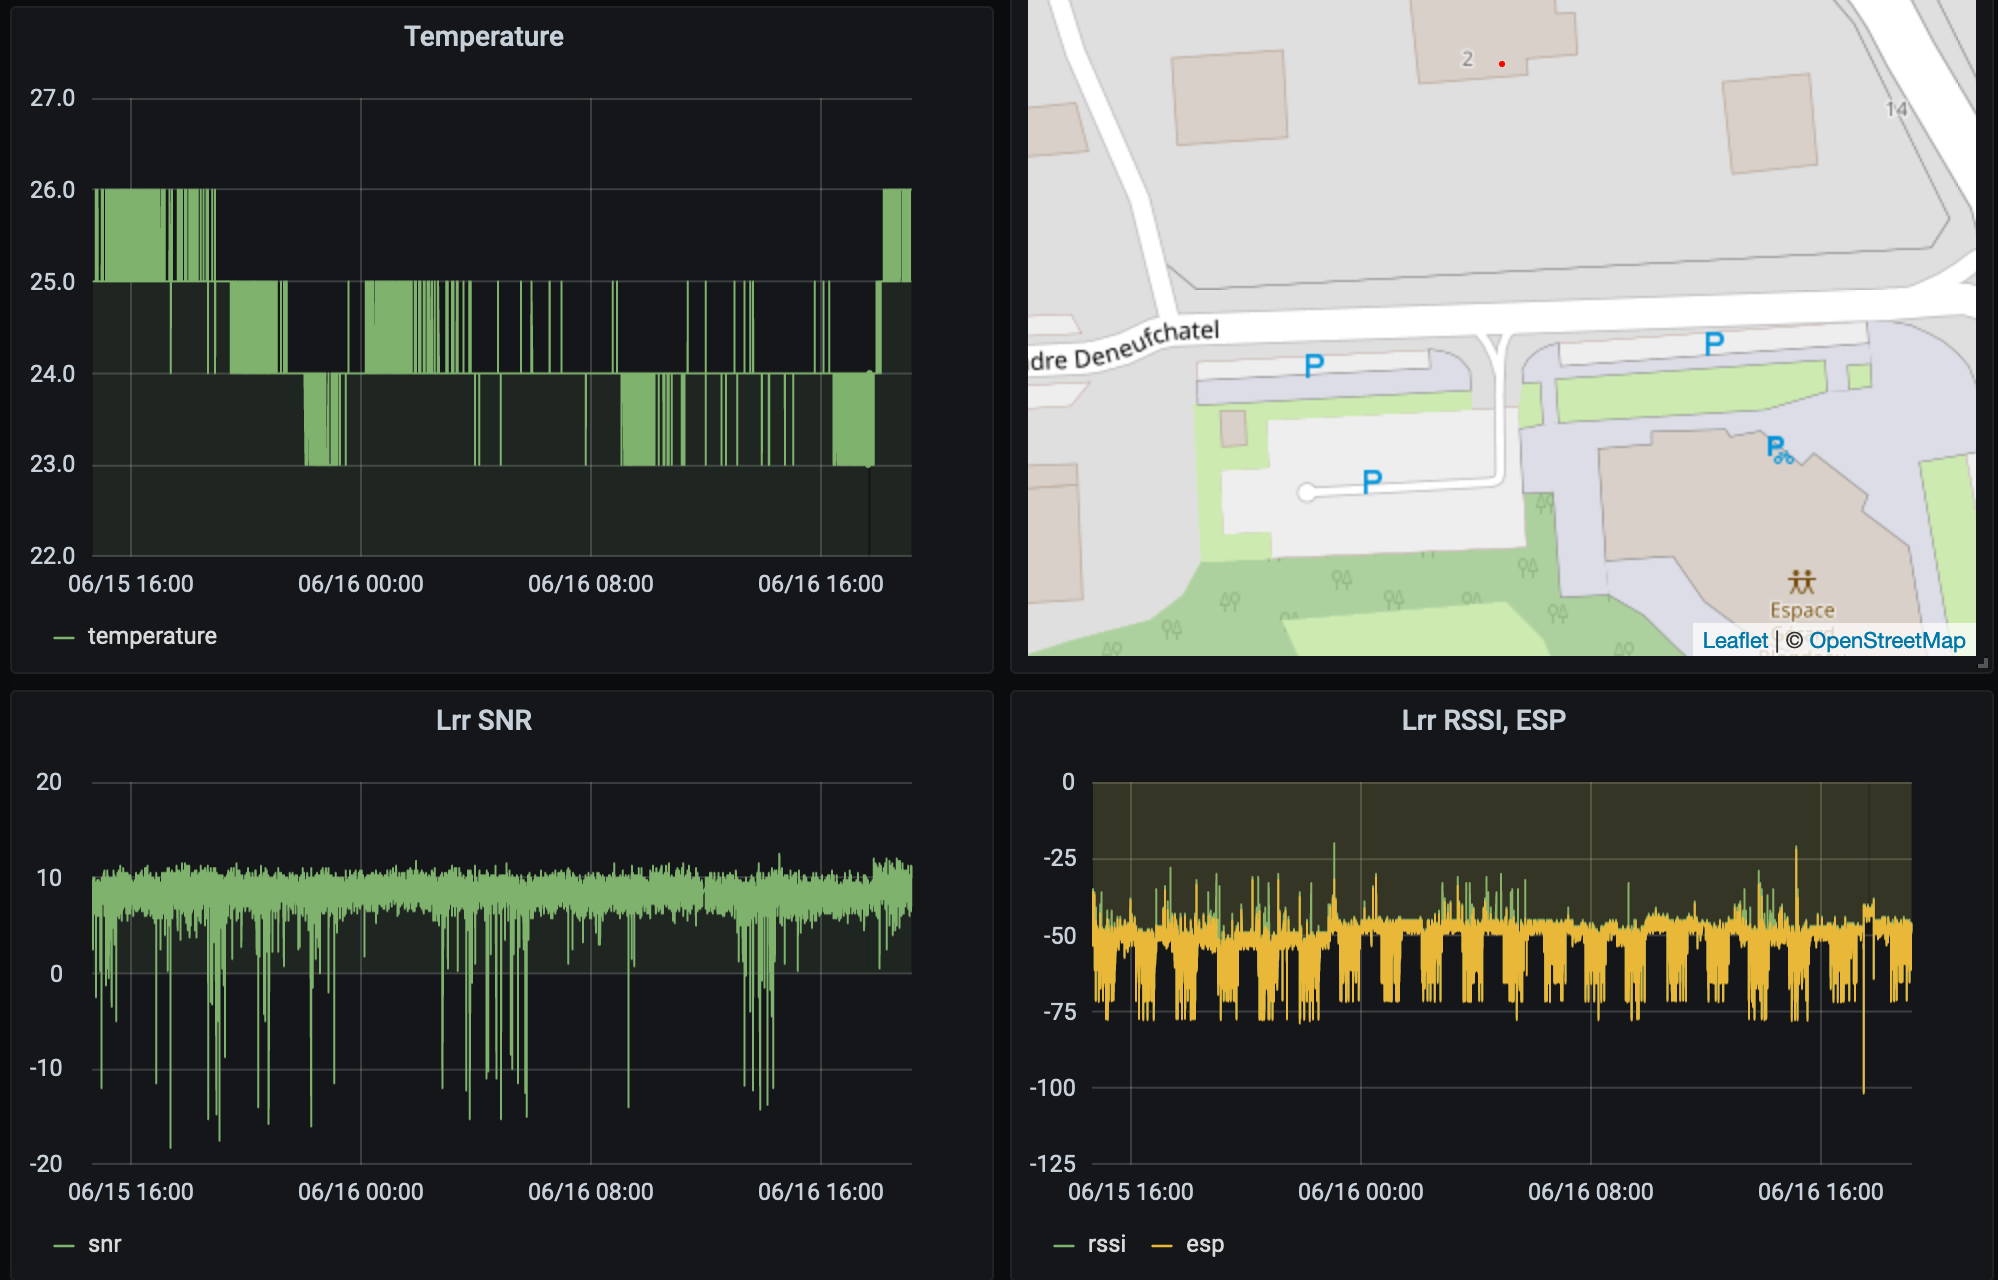
Setting up a dashboard
Extend your capabilities by harnessing IoT Hub to construct a dashboard and visualize your data effortlessly:
- Create a Database Instance for PostgreSQL, add a
loratable with fields such astime(timestamp type) anddata(jsonb type). - Configure a Database route to push data into the database. Set the topic filter as:
my-app/things/+/uplink. Your query will resemble:INSERT INTO lora (time, data) VALUES (NOW(), $PAYLOAD) - Create an Instance and configure Grafana (Follow steps 1 to 14 of the tutorial, excluding enabling the TimescaleDB option).
- Enhance your dashboard with widgets.
- Experiment with creating a graph using the following query:
SELECT time, data->'DevEUI_uplink'->'payload'->'batteryLevel' as batteryLevel FROM lora WHERE $__timeFilter(time)
Your dashboard will now provide insightful visualizations of your LoRaWAN© device data.
Explore Scaleway IoT Hub further, learn how to add Devices to the hub, and review IoT Hub metrics.
Visit our Help Center and find the answers to your most frequent questions.
Visit Help Center