Installing Jitsi Meet on Ubuntu Jammy Jellyfish (22.04 LTS)
Jitsi Meet is a robust and fully encrypted open-source video conferencing tool, eliminating the need for subscriptions or account creation. This user-friendly platform goes beyond the basics, providing an extensive set of features to enhance your virtual meetings.
With Jitsi Meet, you can enjoy:
- Screen sharing: Share your screen to make presentations, demonstrate software, or collaborate on documents in real time.
- Dynamic presentations: Engage your audience with dynamic presentations that allow for seamless integration of multimedia elements.
- Custom conference invitations: Invite participants to join your conferences effortlessly by generating custom URLs. This simplifies access for attendees and facilitates smoother collaboration.
- Collaborative document editing with Etherpad: Edit documents together in real time using Etherpad. This feature promotes collaboration and ensures that all participants can contribute to document editing during the meeting.
- Integrated chat functionality: Stay connected and exchange ideas with an integrated chat feature. This instant messaging capability enables real-time communication, fostering collaboration and keeping discussions organized within the platform.
Jitsi Meet provides users with a complete suite of tools, making virtual meetings not only secure but also dynamic and collaborative.
Before you start
To complete the actions presented below, you must have:
- A Scaleway account logged into the console
- Owner status or IAM permissions allowing you to perform actions in the intended Organization
- An SSH key
- An Instance running on Ubuntu Jammy Jellyfish with at least 4 GB of RAM.
- A domain or subdomain pointed to your Instance
Installing Jitsi Meet
-
Configure the hostname of the server corresponding to your domain or subdomain.
hostnamectl set-hostname jitsi sed -i 's/^127.0.1.1.*$/127.0.1.1 jitsi.mydomain.tld jitsi/g' /etc/hosts sed -i 's/^127.0.0.1.*$/127.0.0.1 localhost jitsi.mydomain.tld jitsi/g' /etc/hosts -
Update the APT package cache and upgrade the software installed on the Instance to the latest version available on the Debian repositories.
apt update && apt upgrade -
Install an Nginx web server. The Jitsi installation tool handles the Nginx configuration if it is present on the system.
apt install -y nginx systemctl start nginx.service systemctl enable nginx.service -
Download and install the Prosody package repository.
echo deb http://packages.prosody.im/debian $(lsb_release -sc) main | sudo tee -a /etc/apt/sources.list wget https://prosody.im/files/prosody-debian-packages.key -O- | sudo apt-key add - apt install lua5.2 -
Download the APT key and set up the repositories of Jitsi:
wget -qO - https://download.jitsi.org/jitsi-key.gpg.key | apt-key add - sh -c "echo 'deb https://download.jitsi.org stable/' > /etc/apt/sources.list.d/jitsi-stable.list" apt update -
Launch the installation of Jitsi Meet.
apt install -y jitsi-meetWhen asked:
- Enter the FQDN of your Instance (for example
jitsi.mydomain.tld), and press Enter. - Choose the
Let's Encrypt certificatesoption as an SSL certificate and press Enter. - Enter your email address.
- Enter your phone number (optional).
- Enter the FQDN of your Instance (for example
-
Open a web browser and type the FQDN of your Instance, for example:
https://jitsi.mydomain.tld. The following screen displays: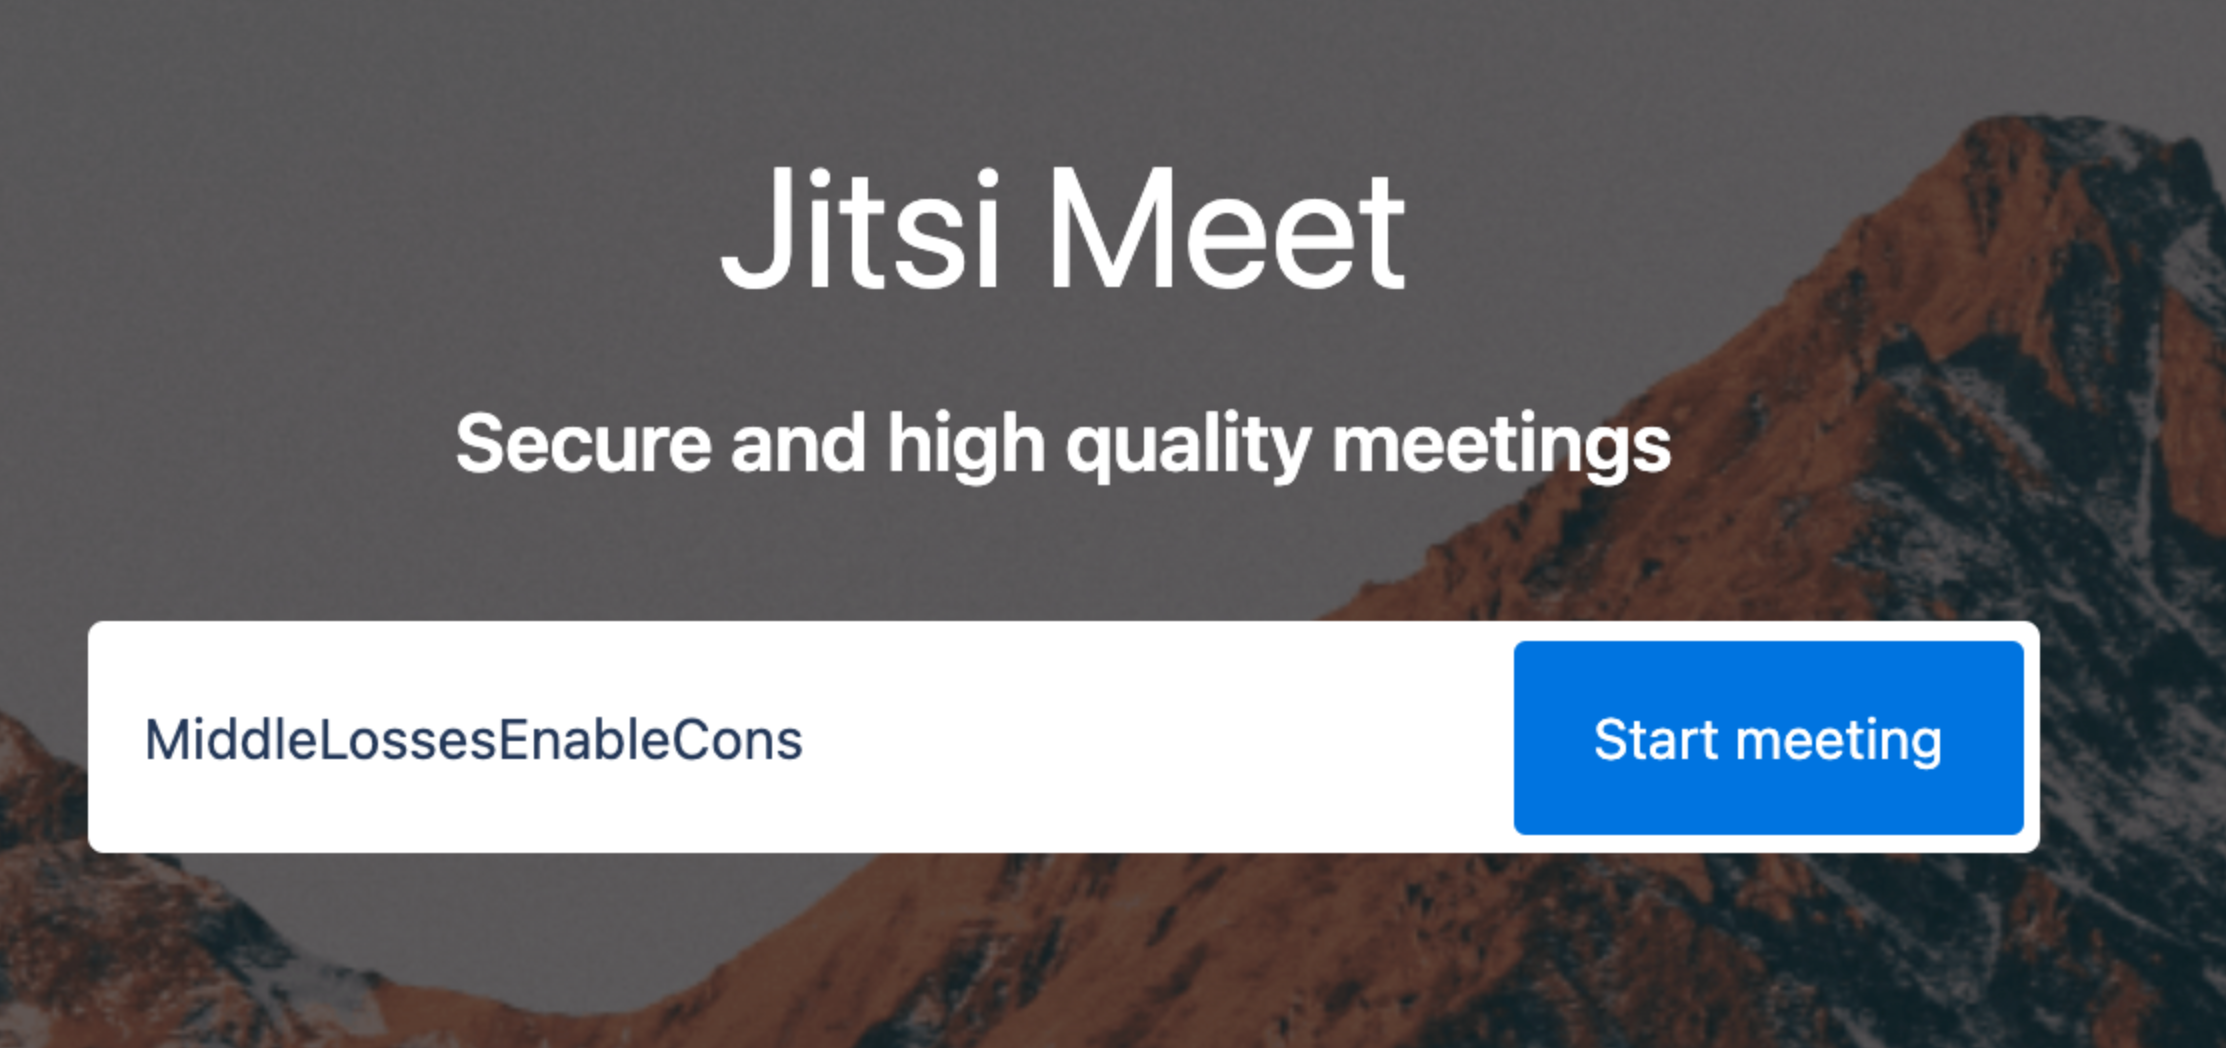
-
Enter a name for your conference, and press
Start meetingto enter the conference room.
For more information about Jitsi Meet and the advanced configuration of the tool, refer to the official Jitsi documentation.
Visit our Help Center and find the answers to your most frequent questions.
Visit Help Center