Deploying Magento Open Source on Ubuntu
Magento is one of the most popular e-commerce systems available, with more than 100.000 online stores based on the platform. It is written in PHP and uses the Zend Framework. Database-wise it uses the MySQL or MariaDB relational database system.
In this tutorial, you will learn how to install the open-source version of Magento on a Scaleway Instance running on Ubuntu Focal Fossa (20.04 LTS) or later. To support the tool, we will deploy a LAMP stack (Ubuntu Linux, Apache2, MariaDB, and PHP).
Before you start
To complete the actions presented below, you must have:
- A Scaleway account logged into the console
- Owner status or IAM permissions allowing you to perform actions in the intended Organization
- Created and connected to a Scaleway Instance with at least 2 GB RAM
- Configured a domain name to point toward the IP address of your Instance (A or AAAA record)
- Created a free Magento account
Getting the Instance ready
-
Update the APT package manager and upgrade the software installed on the server to ensure your system is up-to-date.
sudo apt update && sudo apt upgrade -y -
Magento relies on a web server to deliver content. Install the Apache2 web server using the APT package manager with the following command:
sudo apt install apache2 -
Start and enable Apache2.
systemctl start apache2.service systemctl enable apache2.service -
Download the pre-required packages and repositories to install PHP. Then, update the APT package cache.
sudo apt-get install -y software-properties-common sudo apt-get update -
Install the required PHP packages.
apt install php7.4 libapache2-mod-php7.4 php7.4-common php7.4-gmp php7.4-curl php7.4-soap php7.4-bcmath php7.4-intl php7.4-mbstring php7.4-xmlrpc php7.4-mysql php7.4-gd php7.4-xml php7.4-cli php7.4-zip -
Then, authorize the
PHPandrewriteapache modules.sudo a2enmod php7.4 sudo a2enmod rewrite -
Restart apache2.
systemctl restart apache2.serviceWhen the installation is complete, you should see a warning message:
Do not run Composer as root/super user! See https://getcomposer.org/root for details
Creating an SSH user
To avoid running Composer as root, we will create a sudo user and grant it root permissions.
- Create a new user. Replace
usernamewith the name of your choice. Enter a password for the user when prompted.sudo adduser username - Add the user to the sudo group.
usermod -aG sudo username - Run the following command to open the
/etc/sudoersfile:visudo - Add the following permissions in the last line:
username ALL=(ALL) NOPASSWD:ALL - Save and close.
Downloading Magento
- Log into your sudo user.
su - username - Check into the directory you want to install Magento in.
cd /home/username - Use composer to install the tool.
sudo composer create-project --repository=https://repo.magento.com/ magento/project-community-edition magento2 - When prompted, enter your username and password. These are your Magento public key and private key, respectively. You can generate Magento access keys on this page.
Authentication required (repo.magento.com):
  Username: <MAGENTO_PUBLIC_KEY>
  Password: <MAGENTO_PRIVATE_KEY>
The installation proceeds.
Configuring Apache
- Log back into the root user by running:
exit; - Open the following file with the text editor of your choice:
nano /etc/apache2/sites-enabled/000-default.conf - Edit and save the file according to the example below. Replace
/home/username/magento2with the path to the directory where Magento is installed, andexample.comwith your domain name.ServerAdmin webmaster@localhost DocumentRoot /home/username/magento2 ServerName example.com ServerAlias www.example.com - Open the
envvarsfile with a text editor of your choice.nano /etc/apache2/envvars - Replace
www-datawith your SSH username in the following lines.Then, save and exit.export APACHE_RUN_USER=www-data export APACHE_RUN_GROUP=www-data - Open and edit the
apache2.conffile.nano /etc/apache2/apache2.conf - Edit the
<Directory /var/www/>code block according to the example below. Replaceusernamewith your SSH username. Then, save and exit.<Directory /home/username/magento2/> Options FollowSymLinks AllowOverride All Require all granted </Directory>
Setting up PHP
As Magento has specific requirements for PHP, it is recommended to modify the PHP configuration file.
- Open the file in a text editor.
nano /etc/php/7.4/apache2/php.ini - Modify parameters as indicated below, save and exit.
file_uploads = On allow_url_fopen = On short_open_tag = On memory_limit = 4096M cgi.fix_pathinfo = 0 opcache.save_comments = 1 upload_max_filesize = 150M max_execution_time = 1800 realpath_cache_size=10M realpath_cache_ttl=7200 date.timezone = Europe/Paris - Restart Apache.
service apache2 restart
Setting up MariaDB
-
Install the MariaDB database server and client using the APT package manager. MariaDB is an open-source fork of the MySQL relational database system and provides compatibility with all MySQL commands. Magento has been tested to comply with all MariaDB features.
apt install mariadb-server mariadb-client -
Initialize the MariaDB database server by running the following command:
sudo mysql_secure_installationYou will be prompted to answer the following questions during installation:
- Enter current password for root (enter for none): Press enter to continue, as the default MariaDB root password is empty.
- Set root password? [Y/n]: Type Y and press enter to continue.
- New password: Enter a secret password of your choice and press enter to continue.
- Re-enter new password: Repeat your password and press enter to confirm.
- Remove anonymous users? [Y/n]: Type Y, then press enter
- Disallow root login remotely? [Y/n]: Type Y and confirm by pressing enter.
- Remove test database and access to it? [Y/n]: Type Y and press enter to continue.
- Reload privilege table now? [Y/n]: Confirm by typing Y, then press enter.
-
Now that the database engine is configured, log into MariaDB using the
rootuser and enter the password set in the previous step when prompted:mysql -
Create a new database for Magento by running the following command in the MariaDB shell:
CREATE DATABASE magento; -
Create a user for Magento. Replace
your_secret_passwordwith a password for the user to authenticate:CREATE USER 'magento_db'@'localhost' IDENTIFIED BY 'your_secret_password'; -
Grant the newly created user all permissions on the
magentodatabase:GRANT ALL ON magento.* TO 'magento_db'@'localhost' IDENTIFIED BY 'your_secret_password' WITH GRANT OPTION; -
Save the changes and quit the MariaDB shell:
FLUSH PRIVILEGES;
EXIT;
Downloading and installing Elasticsearch
Since the 2.4 version of Magento has been released, it uses Elasticsearch as the catalog search engine. Install it by following these steps:
- Elasticsearch uses a secure HTTPS transaction for its repositories. If not installed yet, install the
apt-transport-httpspackage to use theaptpackage manager:apt-get install apt-transport-https - Import the Elasticsearch PGP key:
wget -qO - https://artifacts.elastic.co/GPG-KEY-elasticsearch | sudo apt-key add - - Create a new
sourcesfile for the Elasticsearch repository:echo "deb https://artifacts.elastic.co/packages/7.x/apt stable main" | tee -a /etc/apt/sources.list.d/elastic-7.x.list - Update the
aptpackage manager and install Elasticsearch using it:apt-get update && sudo apt-get install elasticsearch - Start the Elasticsearch service to make sure it is up and running:
service elasticsearch start - Edit the
vm.max_map_countparameter in the elastic search configuration file.sysctl -w vm.max_map_count=262144 echo "vm.max_map_count=262144" | tee /etc/sysctl.d/elasticsearch.conf - Restart Elasticsearch.
service elasticsearch restart
Installing Magento
- Change into the directory where Magento is located in your Instance.
cd /home/username/magento2 - Run the command below to install Magento. Replace the variables in the command to match your previous configuration and set the username and password for your Magento
adminuser.sudo bin/magento setup:install --base-url=http://example.com/ --db-host=localhost --db-name=magento --db-user=magento_db --db-password=your_secret_password --admin-firstname=Admin --admin-lastname=User --admin-email=admin@example.com --admin-user=admin --admin-password=admin123 --language=en_US --currency=EUR --timezone=Europe/Paris --use-rewrites=1 - Restart Apache.
sudo service apache2 restart - Rewrite
a2enmod.sudo a2enmod rewrite - Enable Magento.
sudo chmod -R 755 /home/username/magento2 sudo chown -R username:username /home/username/magento2 - Restart Apache once more.
sudo systemctl restart apache2.service
Securing the connection using Let's Encrypt
By default, plain HTTP connections are not encrypted and data is transmitted in clear text over the internet. To secure the connection between your users and the e-commerce site, a TLS/SSL certificate is highly recommended. We therefore request a free TLS certificate from Let's Encrypt. We use certbot to obtain and renew the certificate automatically for us.
- Install
certbotusing the APT package manager:apt-get install certbot python3-certbot-apache certbot --apache - Follow the steps prompted by Certbot to obtain your certificate and reconfigure the Apache2 web server.
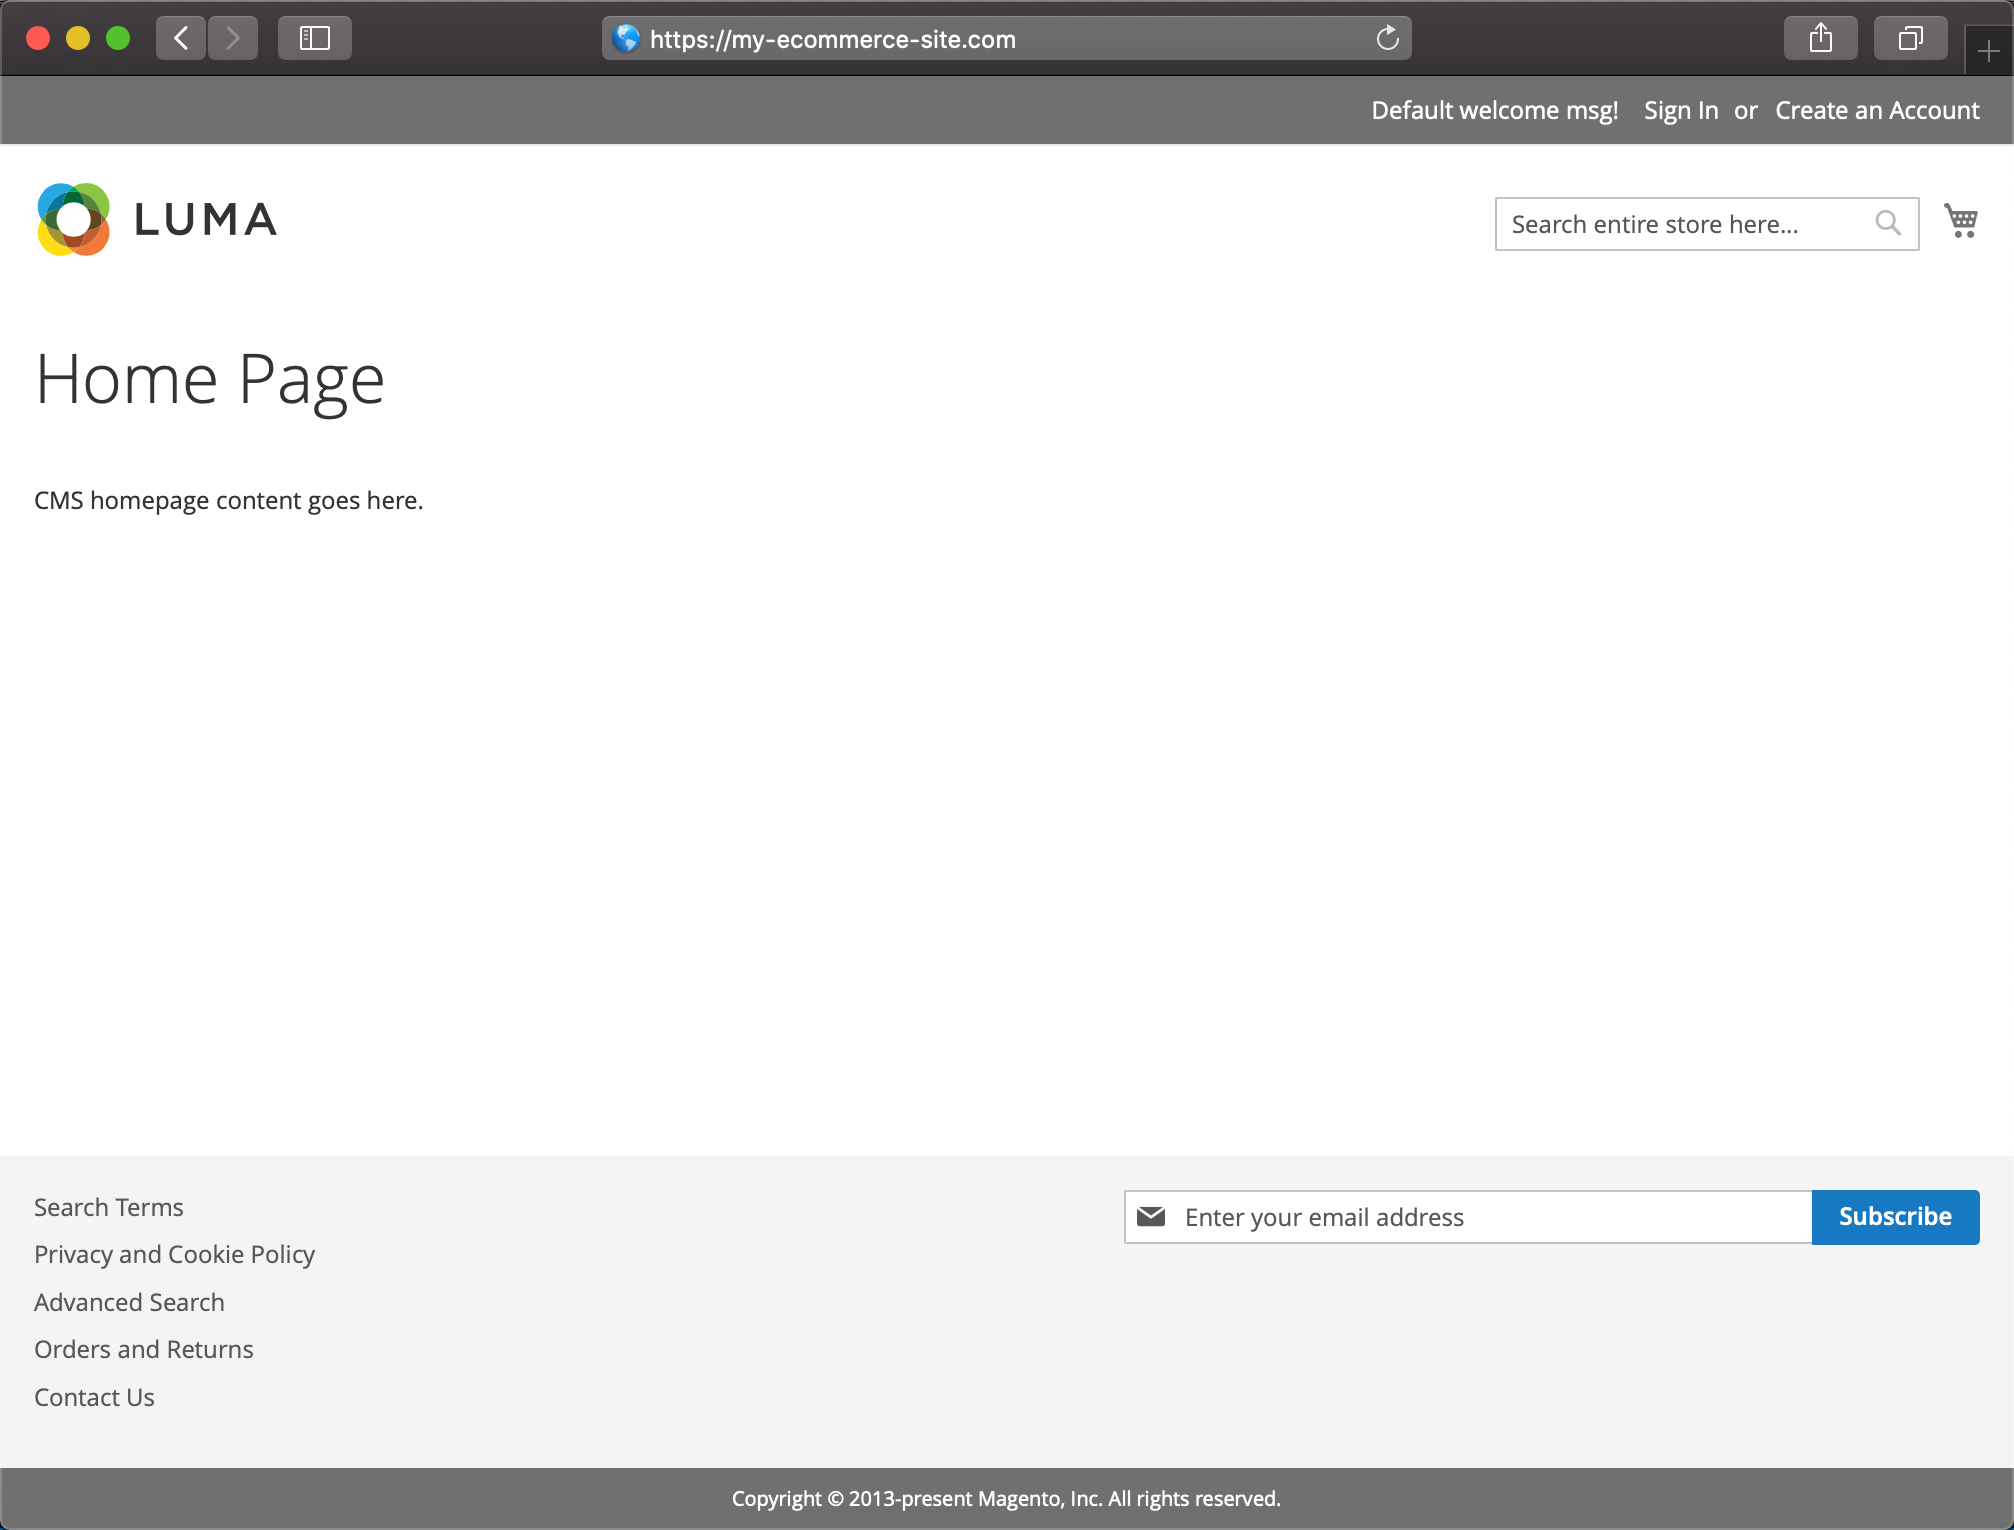
- You can now check your storefront by pointing your web browser to your domain name to check everything is working:
Setting up the Magento admin interface
The Magento admin interface allows you to manage your customers and products, and also customize the pages of your shop.
The interface is available on a customized URL, which was displayed during the installation of your shop.
- Type the customized URL into your browser. Magento 2.4 sets up two-factor authentication by default. To make your first log in to the admin interface seamless, we will disable 2FA via command line. You can enable it on the admin interface at a later time.
- Disable 2FA with the following command:
php bin/magento module:disable Magento_TwoFactorAuth - Log into the admin using the credentials configured during the initial setup of Magento.
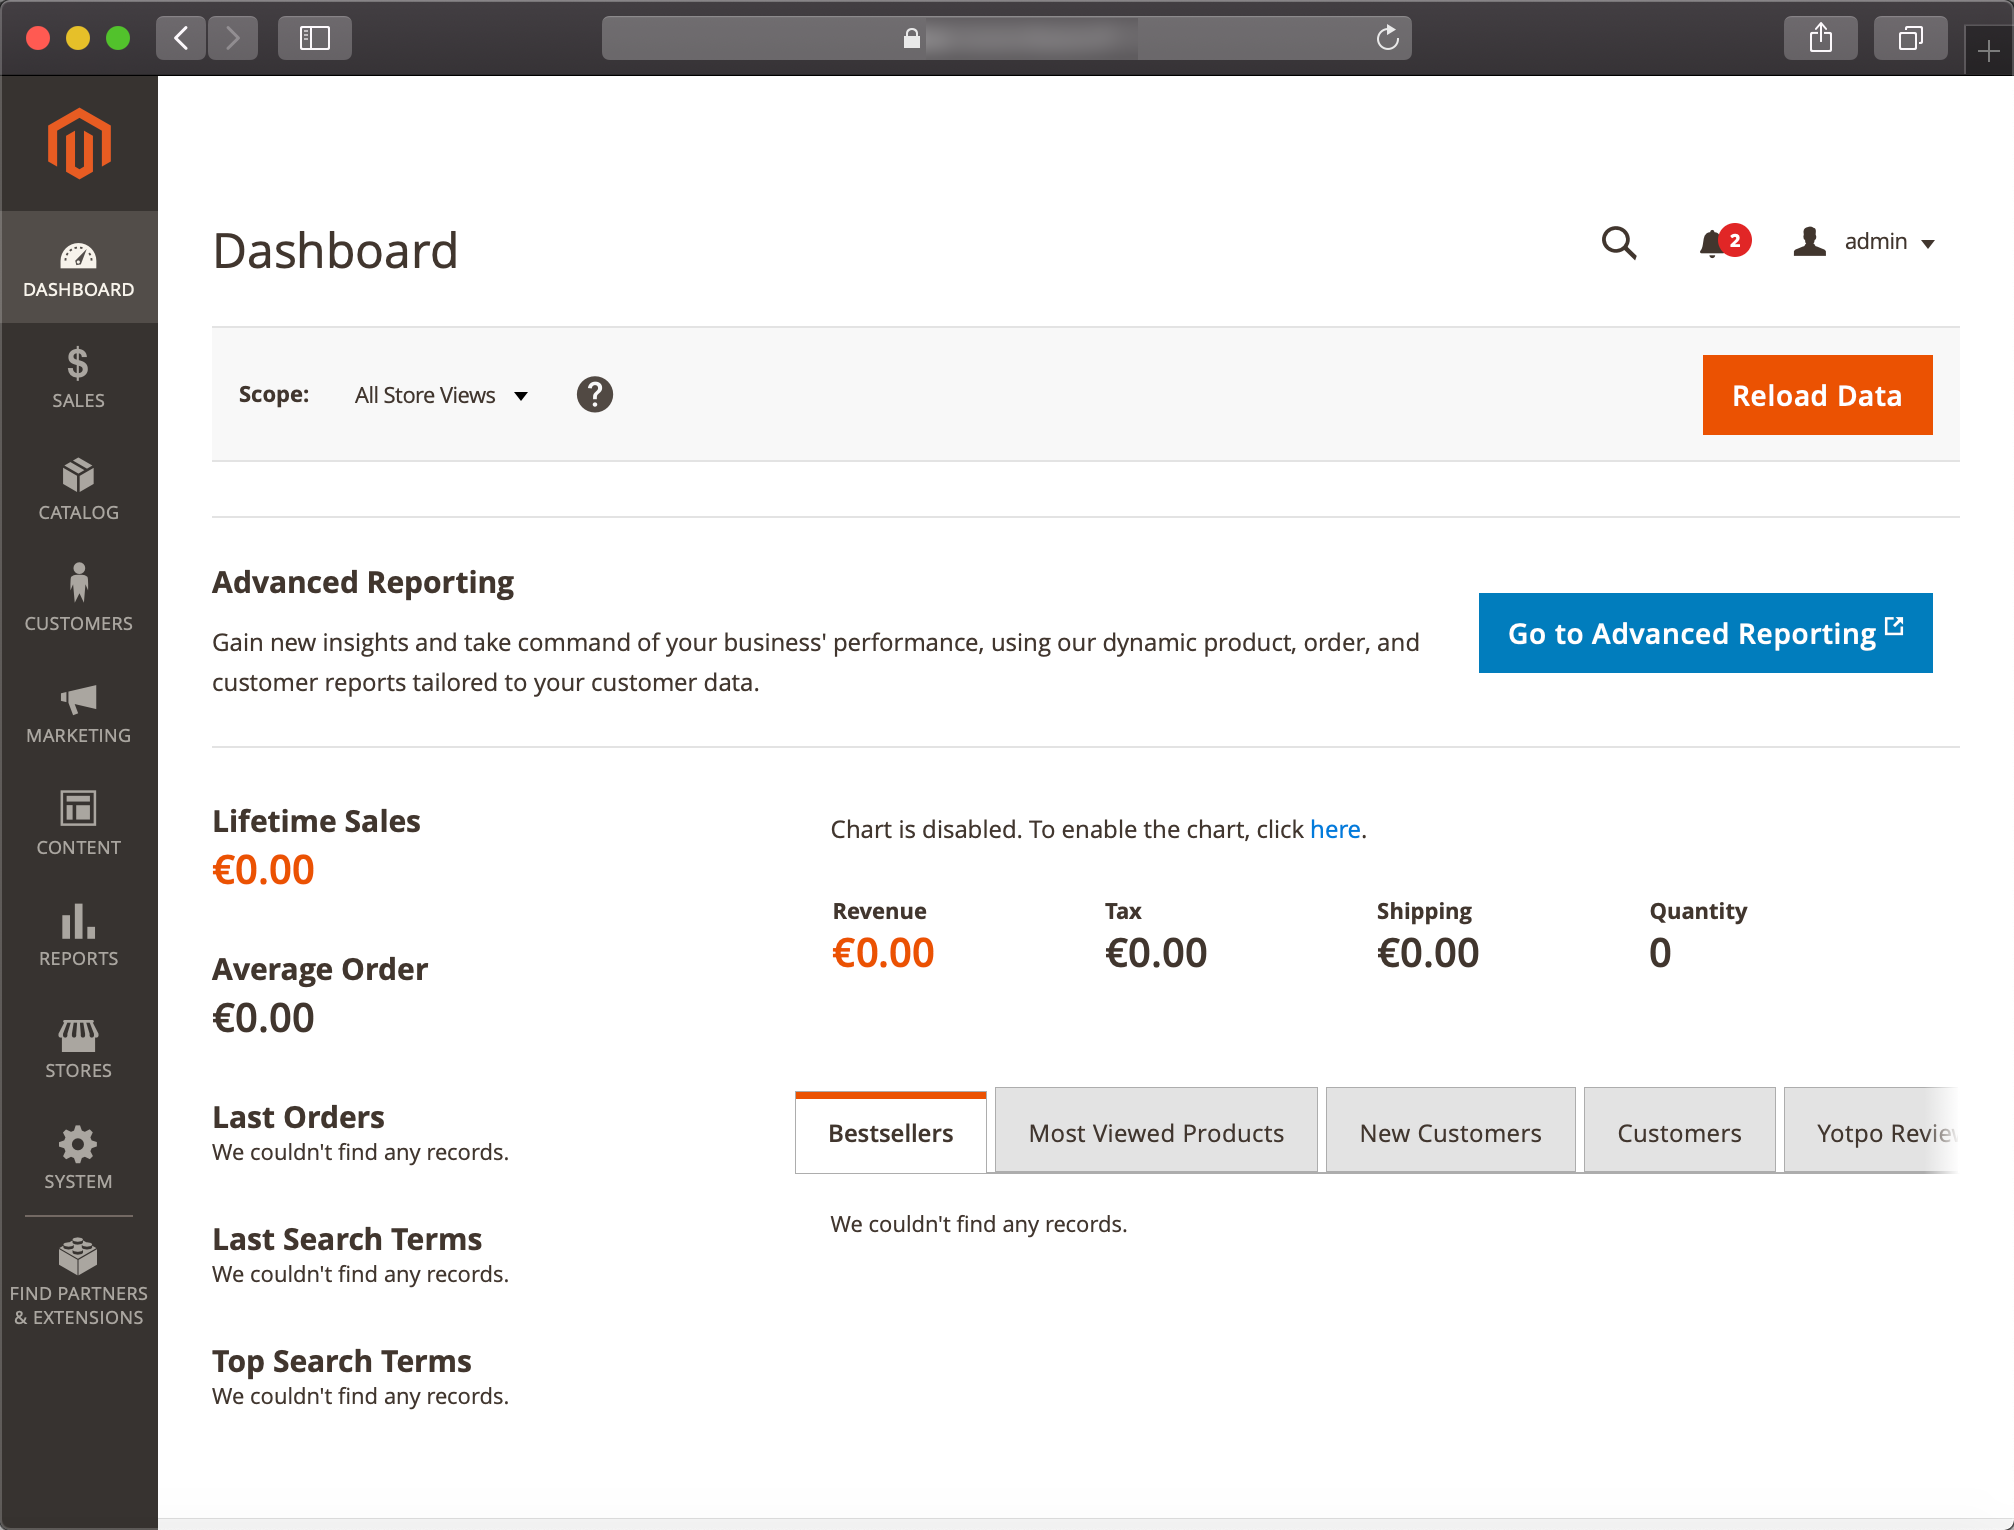
You have successfully installed Magento Open Source on a Scaleway Instance and secured the connection between your users and your e-commerce site using a TLS certificate. You can now continue to customize your online shop and add articles to start selling. For more information, refer to the Magento official user guides.
Visit our Help Center and find the answers to your most frequent questions.
Visit Help Center