Setting up web analytics with Matomo on a Scaleway Instance
Matomo (former: Piwik) is an open-source web analytics platform designed to evaluate the visitor's behavior for one or multiple websites.
The tool is written in PHP and stores its data in a MySQL/MariaDB database.
Before you start
To complete the actions presented below, you must have:
- A Scaleway account logged into the console
- Owner status or IAM permissions allowing you to perform actions in the intended Organization
- An SSH key
- An Instance running on Ubuntu Focal Fossa (20.04) or later
sudoprivileges or access to the root user
Installing the LEMP-stack
Matomo requires a web server, such as Nginx, to operate. Ensure that a functional LEMP stack is installed on your Instance before running Matomo.
-
Update the APT package cache and upgrade the packets already installed on the Instance.
apt update && apt -y upgrade -
Install the required software via
apt.apt install -y ufw nginx mariadb-server php-fpm php-mysql php-curl php-gd php-cli php-xml php-mbstring software-properties-common -
Secure the MariaDB server by executing the following command.
mysql_secure_installationWhen asked for the current MySQL root password, press Enter as no password is set by default.
-
Install Certbot to manage the TLS/SSL certificate.
apt install -y python3-certbot-nginx
Downloading Matomo
- Enter the directory
/var/www/html.cd /var/www/html - Download the latest release of Matomo.
wget https://builds.matomo.org/matomo-latest.tar.gz - Unpack Matomo.
tar xfz matomo-latest.tar.gz - Set the ownership of the Matomo files to the
www-datauser.chown -R www-data:www-data matomo
Configuring the Nginx web server
- Create a Nginx configuration file and open it in a text editor.
nano /etc/nginx/sites-available/matomo.example.com - Copy the following content into the configuration file.
server { listen 80; root /var/www/html/matomo; index index.php index.html index.htm; server_name matomo.example.com; location / { try_files $uri $uri/ =404; } location ~ \.php$ { include snippets/fastcgi-php.conf; fastcgi_pass unix:/var/run/php/php7.4-fpm.sock; } location ~ /\.ht { deny all; } } - Enable the newly created site by creating a symlink.
ln -s /etc/nginx/sites-available/matomo.example.com /etc/nginx/sites-enabled/ - Check the Nginx configuration file for possible errors.
nginx -t - Reload Nginx to activate the new configuration.
service nginx reload - Run Certbot with the
--nginxflag to request a Let's Encrypt TLS/SSL certificate for the newly created server block.certbot --nginx
Creating a MySQL database for Matomo
-
Log into the MySQL shell with the
rootuser.mysql -u root -p -
Run the following commands from the MySQL shell to create the database for Matomo.
CREATE DATABASE matomodb;
GRANT ALL ON matomodb.* TO matomo@localhost IDENTIFIED BY 'SECURE-DATABASE-PASSWORD';
FLUSH PRIVILEGES;
quit;
Running the Matomo web installer
-
Open a web browser and go to
https://matomo.example.com/. The web installer displays. Click Next to go to the second step: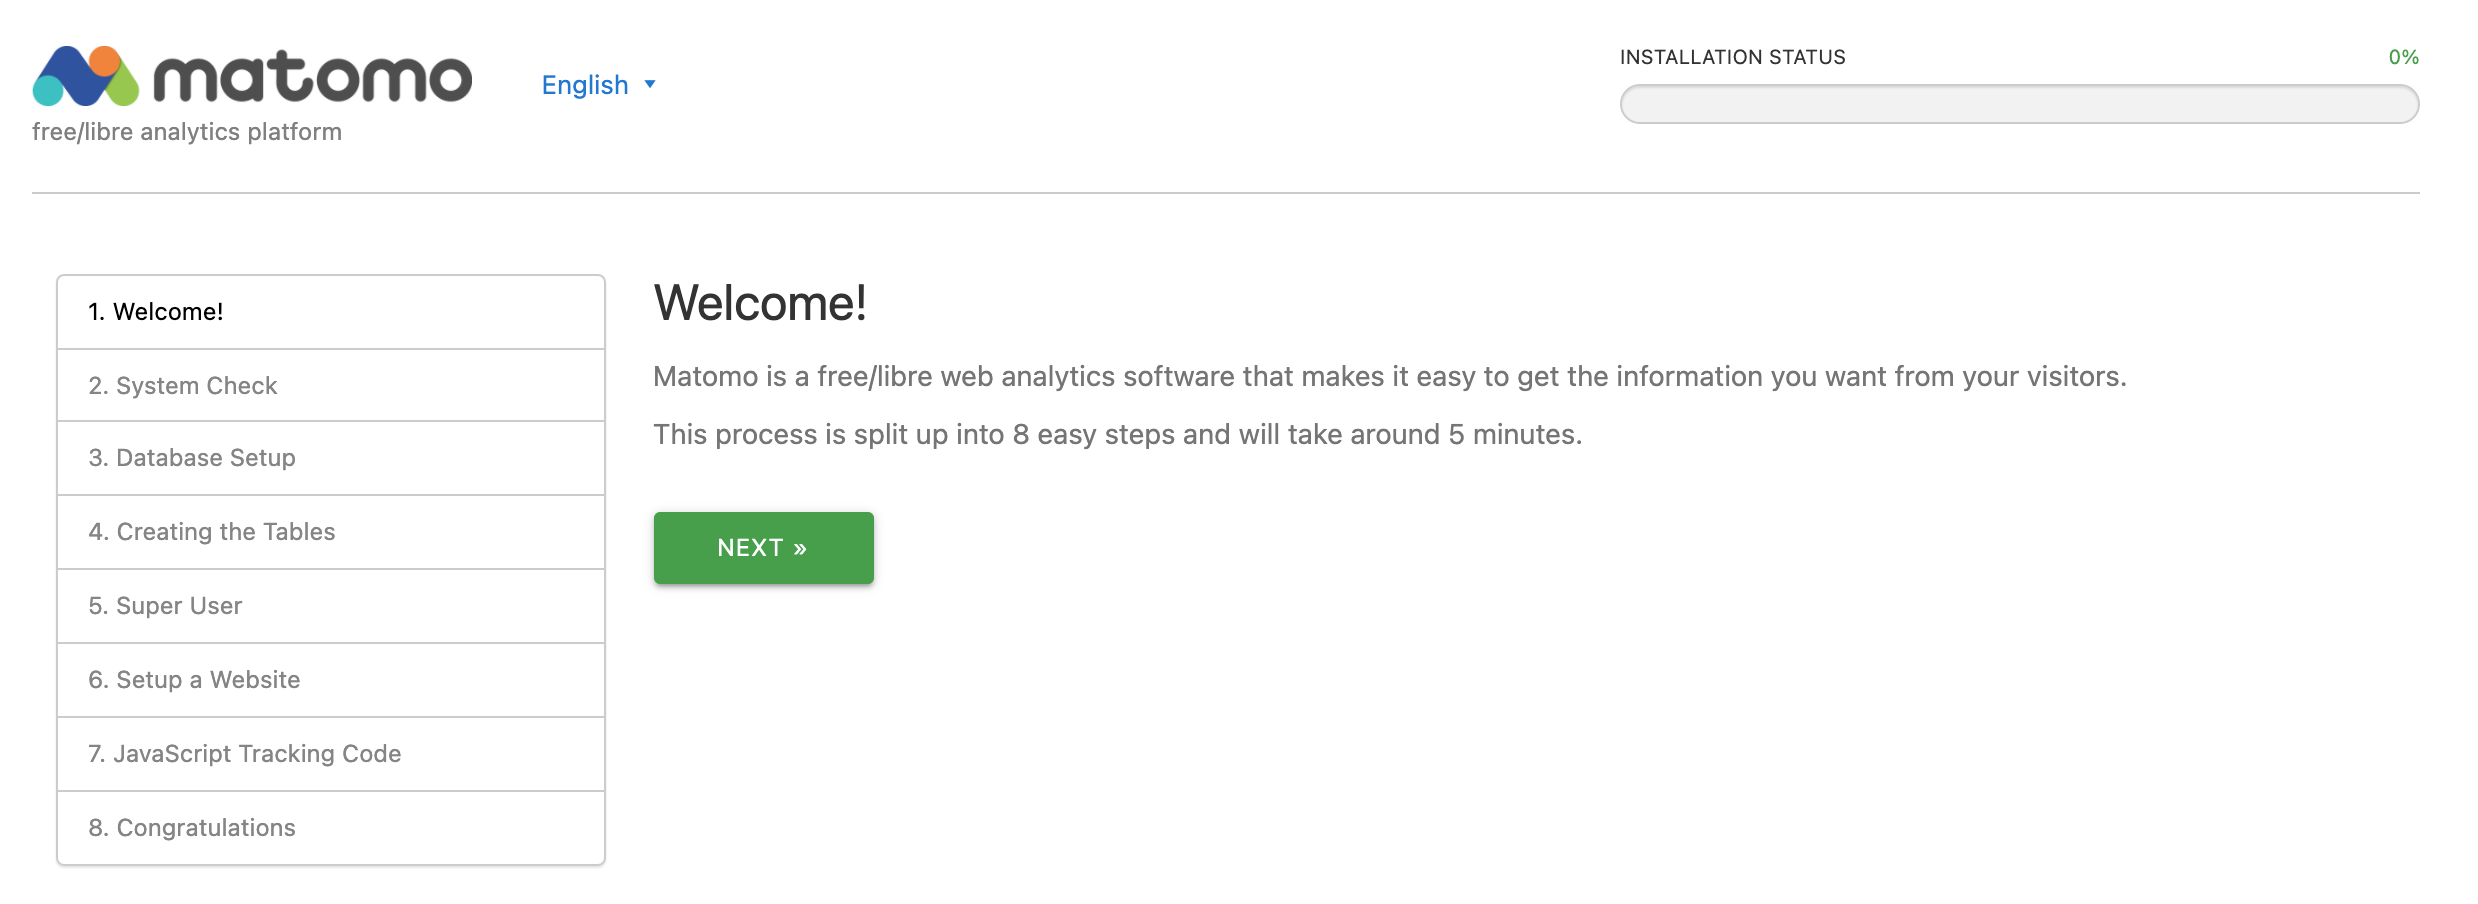
Matomo launches some automatic checks if all pre-requirements are fulfilled.
-
Click Next to continue with the installation, if all prerequisites are met.
-
Proceed with the database configuration.
Enter the following information for your database:
- Database Server:
127.0.0.1 - Login: The Matomo database user (
matomo) - Password: The Matomo database password (
SECURE-DATABASE-PASSWORD) - Database Name: The Matomo database name (
matomodb) - Table Prefix: A prefix for the Matomo tables, you can keep the default values (
matomo_) - Adapter: Leave the default value (
PDO\MYSQL)
Click Next to proceed with the installation.
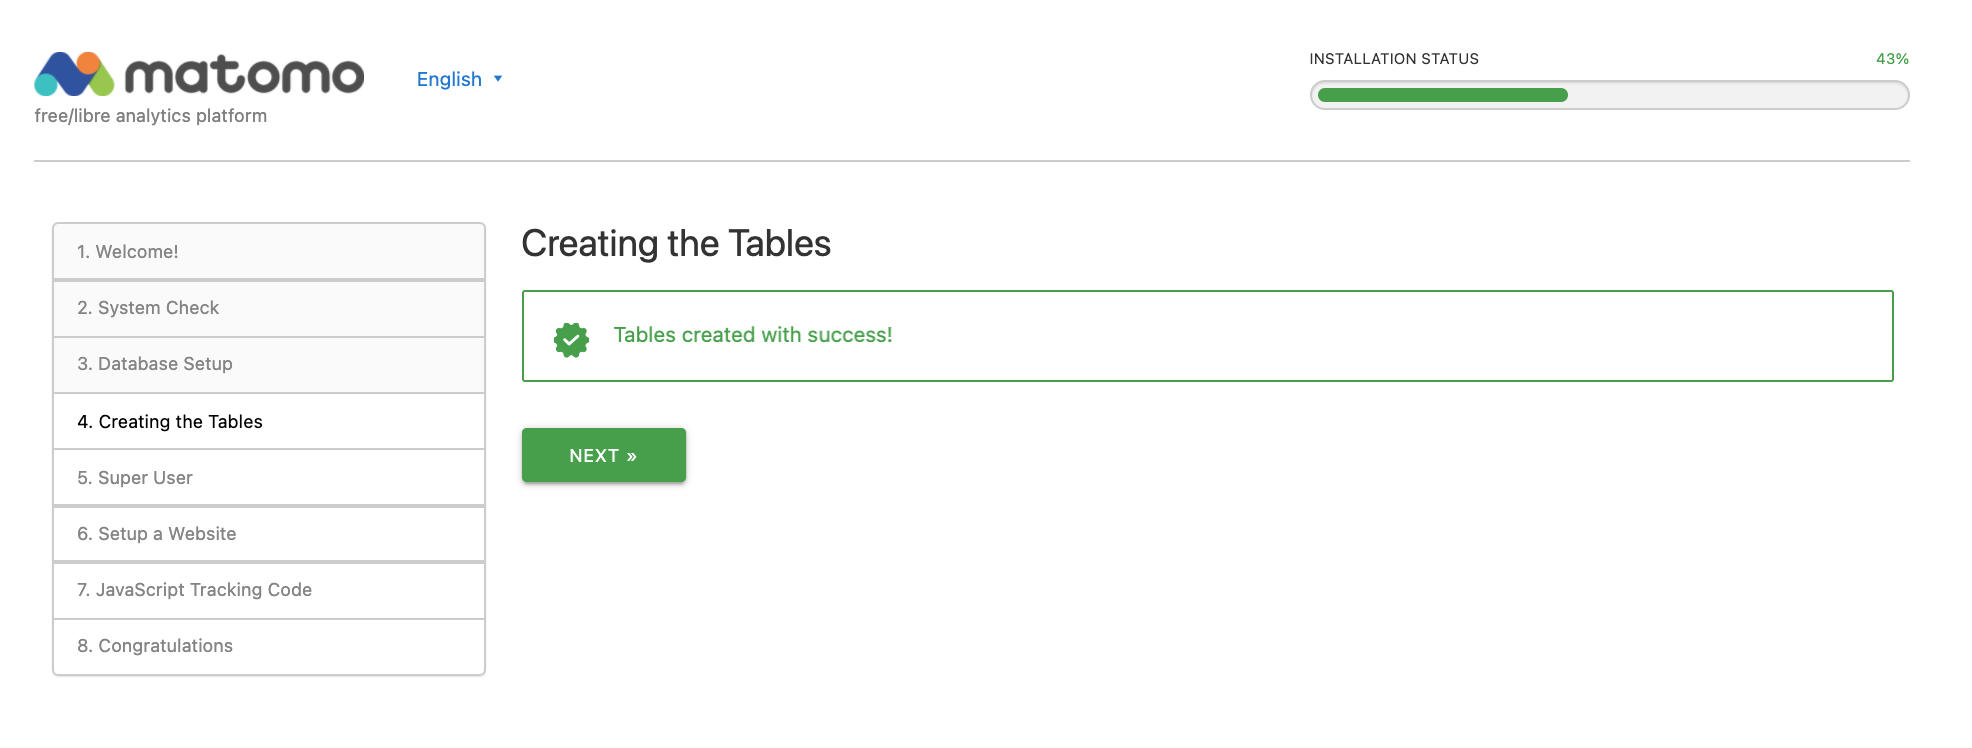
Matomo verifies the MySQL/MariaDB credentials. If all is in order, the database structure is created automatically, and a success message displays.
- Database Server:
-
Click Next to continue with the installation:
-
Configure a super-user (or admin user) for Matomo. This will be the main user who can configure all settings and add users and sites:
Enter the following credentials for your user:
- Super user login: Choose an identifier for the user
- Password: Choose a secure password for the user
- Password (repeat): Repeat the secure password for the user
- Email: Link an email address to the super-user account
- Tick the first box to receive notifications about Matomo updates by email (optional)
- Tick the second box if you want to receive commercial information from Matomo by email (optional)
Click Next to create the super-user account and proceed with the installation.
-
Set up the first website you want Matomo to track and analyze.
Enter the following information for your website:
- Website name: Enter the name of the website
- Website URL: Enter the website URL
- Website time zone: Set the time zone for the website. This is important so Maotomo can track the visitors with the correct time of their visit
- E-commerce: Enable specific tracking methods if the website is an e-commerce site
Click Next to validate the form and to continue with the installation.
A tracking code appears. Ensure that the tracking code is on every page of your website. It is recommended to put it in the header of the website, immediately before the closing
</head>tag. -
Copy the displayed tracking code and put it into your website header. The tracking code looks like the following example:
<!-- Matomo -->
<script type="text/javascript">
  var _paq = window._paq || [];
  /* tracker methods like "setCustomDimension" should be called before "trackPageView" */
  _paq.push(['trackPageView']);
  _paq.push(['enableLinkTracking']);
  (function() {
    var u="//matomo.scw-site.ml/";
    _paq.push(['setTrackerUrl', u+'matomo.php']);
    _paq.push(['setSiteId', '1']);
    var d=document, g=d.createElement('script'), s=d.getElementsByTagName('script')[0];
    g.type='text/javascript'; g.async=true; g.defer=true; g.src=u+'matomo.js'; s.parentNode.insertBefore(g,s);
  })();
</script>
<!-- End Matomo Code -->
Click Next once you have copied the code to continue with the installation.
The installation completes. It is possible to anonymize the data tracked by Matomo. This is recommended to comply with data protection regulations.
Logging in to Matomo
Once the installation is completed, the login screen displays:
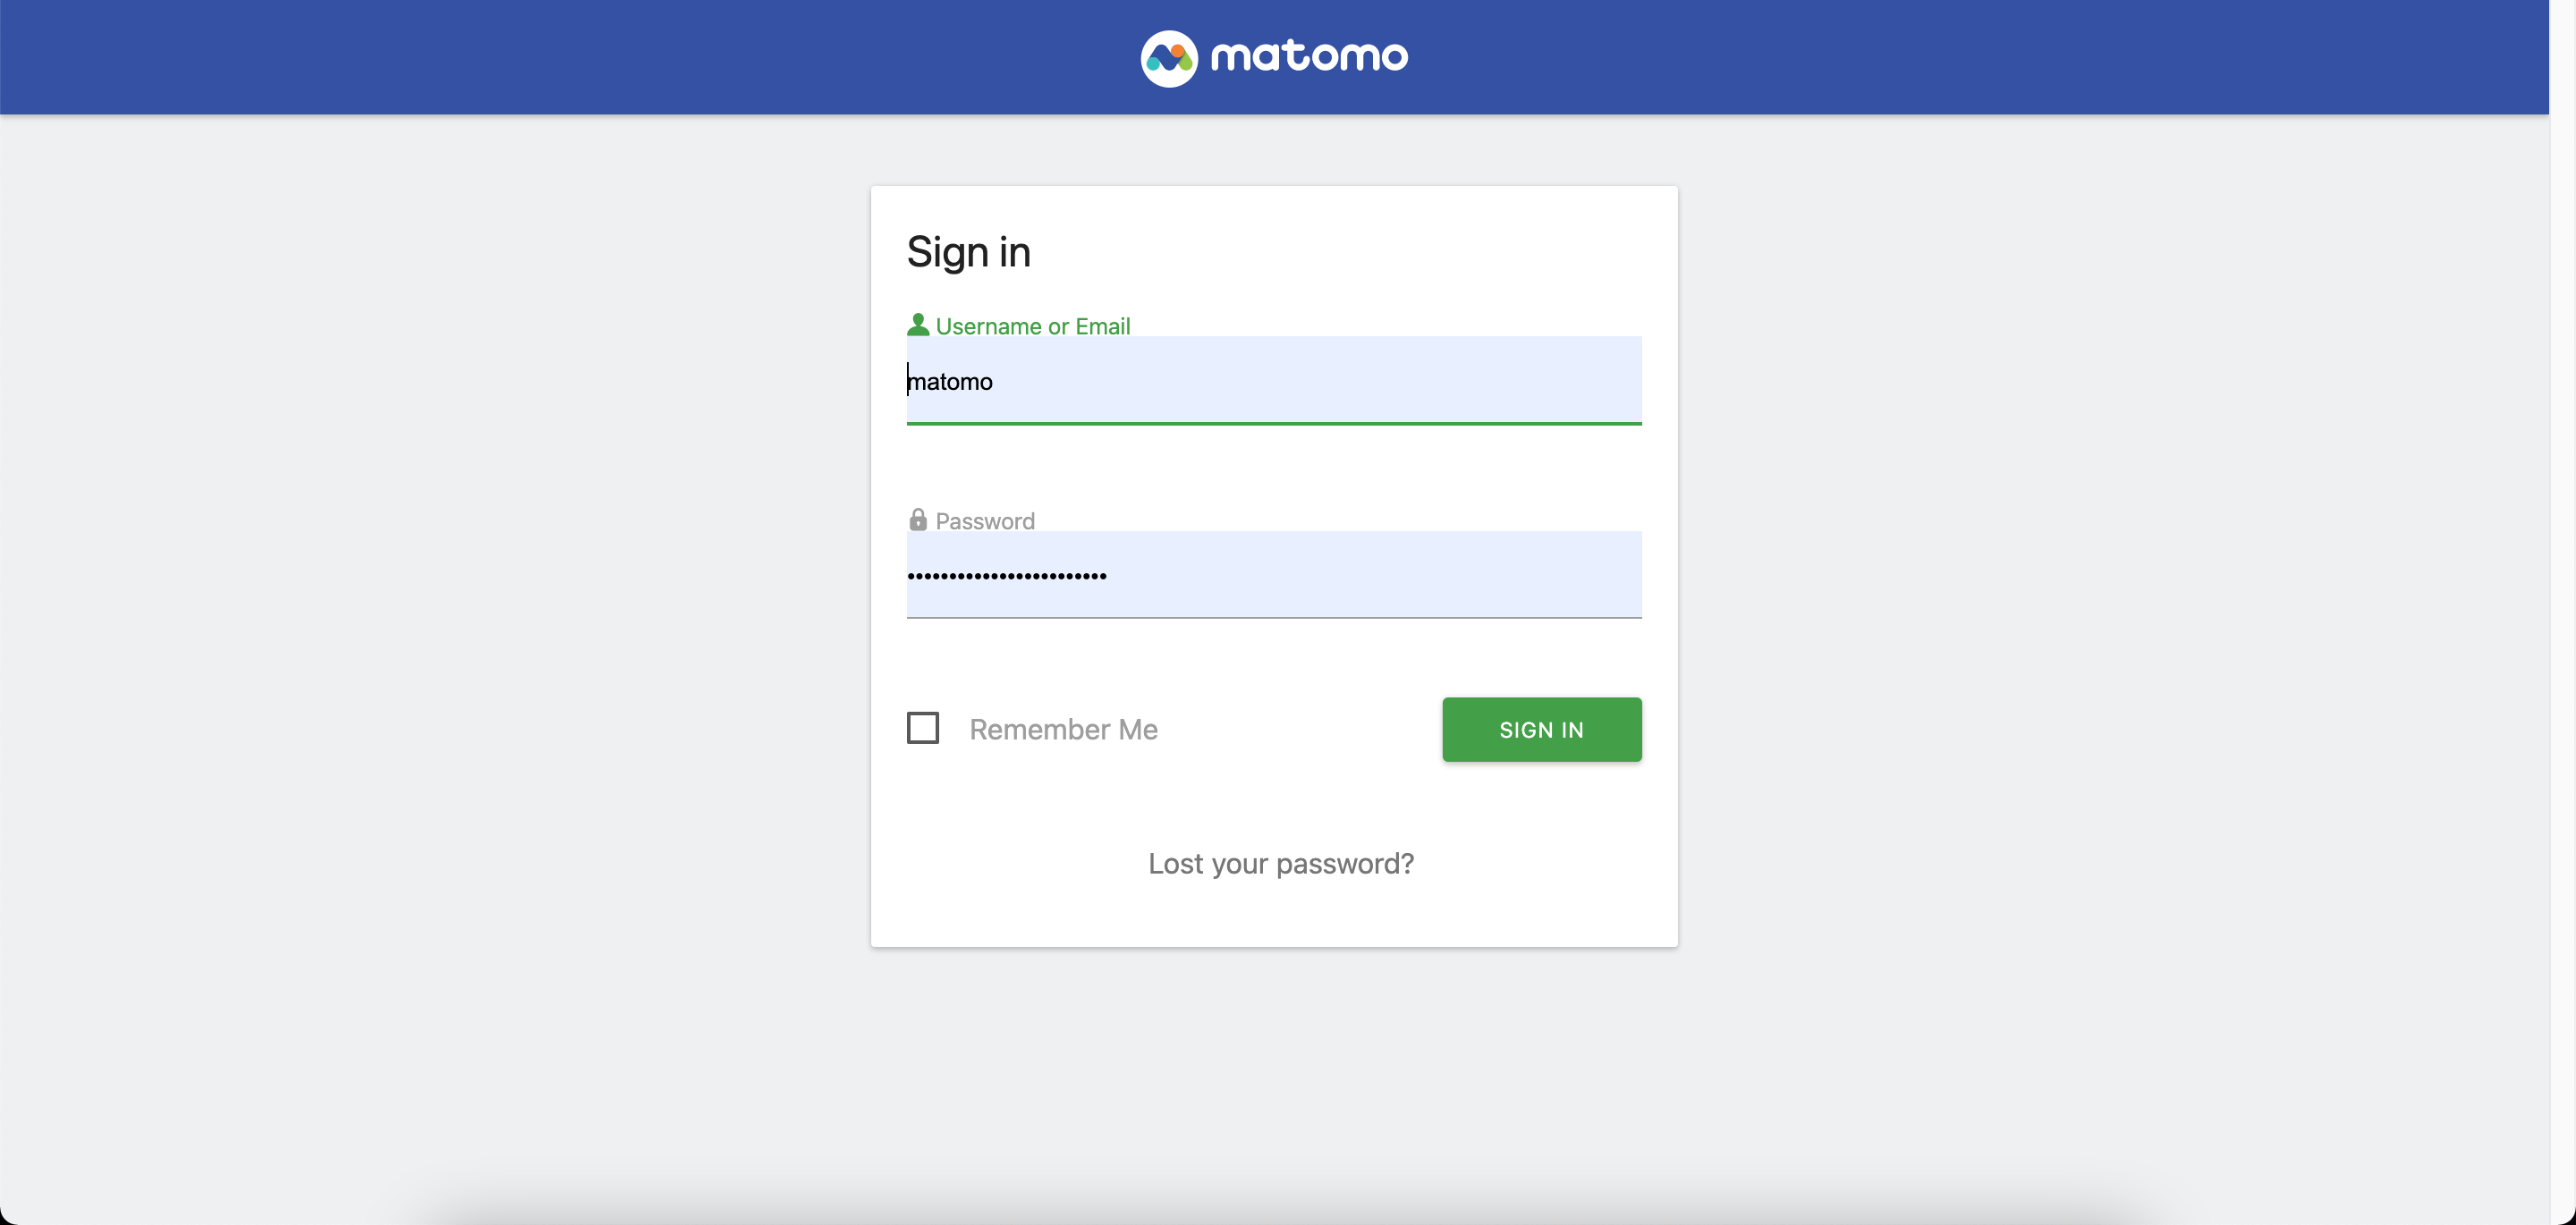
Enter the super-user login and the password set in the previous step.
The Matomo Dashboard displays. If the tracking code is added to the website, the application begins to track users and generates usage statistics over time:

Matomo is now installed, counting visitors and analyzing their behavior. For more information about the integration of Matomo on different Content Management Systems (CMS) and advanced configuration of the tool, refer to the official documentation.
Visit our Help Center and find the answers to your most frequent questions.
Visit Help Center