One-click WordPress deployment on Scaleway Instances using InstantApp
WordPress is a popular, free, and open-source blogging tool and content management system (CMS) based on PHP and MariaDB.
Using the WordPress application can significantly save you time and effort, as it comes pre-installed and configured.
This guide demonstrates how to quickly deploy a WordPress application in seconds using Scaleway's InstantApp.
Before you start
To complete the actions presented below, you must have:
- A Scaleway account logged into the console
- Owner status or IAM permissions allowing you to perform actions in the intended organizations
- An SSH key
Auto-install functionality
The WordPress image comes with a new auto-install functionality which allows you to create a WordPress Instance using a few well-defined tags.
Tags allow you to provide basic information needed to have a fully working WordPress Instance.
To trigger the auto-install functionality, two mandatory tags are required for full automation:
admin_user_nameadmin_email
Optional tags such as weblog_titleand language can also be used to add more customization to the Weblog.
A random password will be generated and will be accessible when you log into your Instance with your SSH key.
When defining the weblog_title tag on the console, it is not possible to have spaces in the title of the weblog. This is only feasible when using the CLI. Refer to our tutorial on creating a WordPress Instance using the Scaleway CLI to create an Instance with the Scaleway CLI.
Deploy WordPress
- Click CPU & GPU Instances in the Compute section of the side menu. The Instances page displays.
- Click Create Instance. The Instance creation wizard displays.
- Choose an Availability Zone and an Instance type.
- Choose the WordPress image in the InstantApps tab.
- Enter a name and optional tags for your Instance.
- Click Create Instance.
Open the mail ports to send emails
To avoid spam, remote mail ports cannot be reached from our infrastructure by default. As WordPress requires sending mail, we need to open them. Your account needs to be validated to perform this operation. Contact our assistance to get your account reviewed.
- Click the Security groups tab to enter the security groups' page.
- Click Create security group and enter the security group's name and description.

- Check the Enable SMTP ports box to unblock the mail ports.
- Click Add Instance and select the WordPress Instance to which you want to apply the security group configuration.
- Click Create security group.
Configure and start using WordPress
-
Click CPU & GPU Instances in the Compute section of the side menu. The Instances page displays.
-
Click your WordPress Instance.
-
Copy your Instance's public IP address and paste it into your browser.
-
Select a language and click Continue. The WordPress admin page displays.
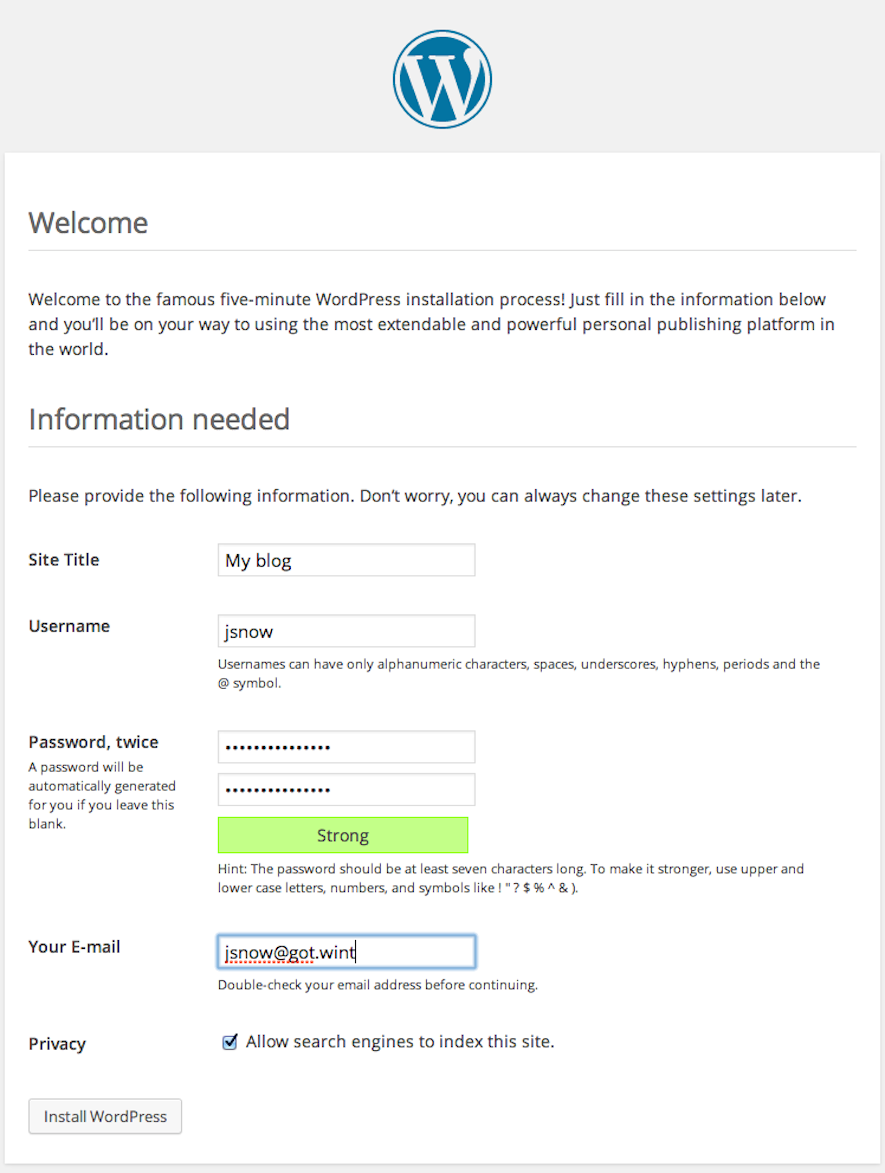
-
Fill in the required information and click Install WordPress.
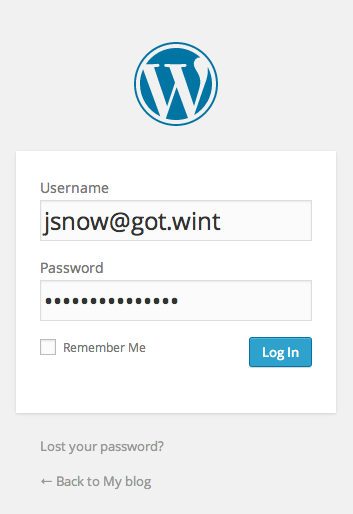
-
On the login page, enter your username and password, and click Log In.
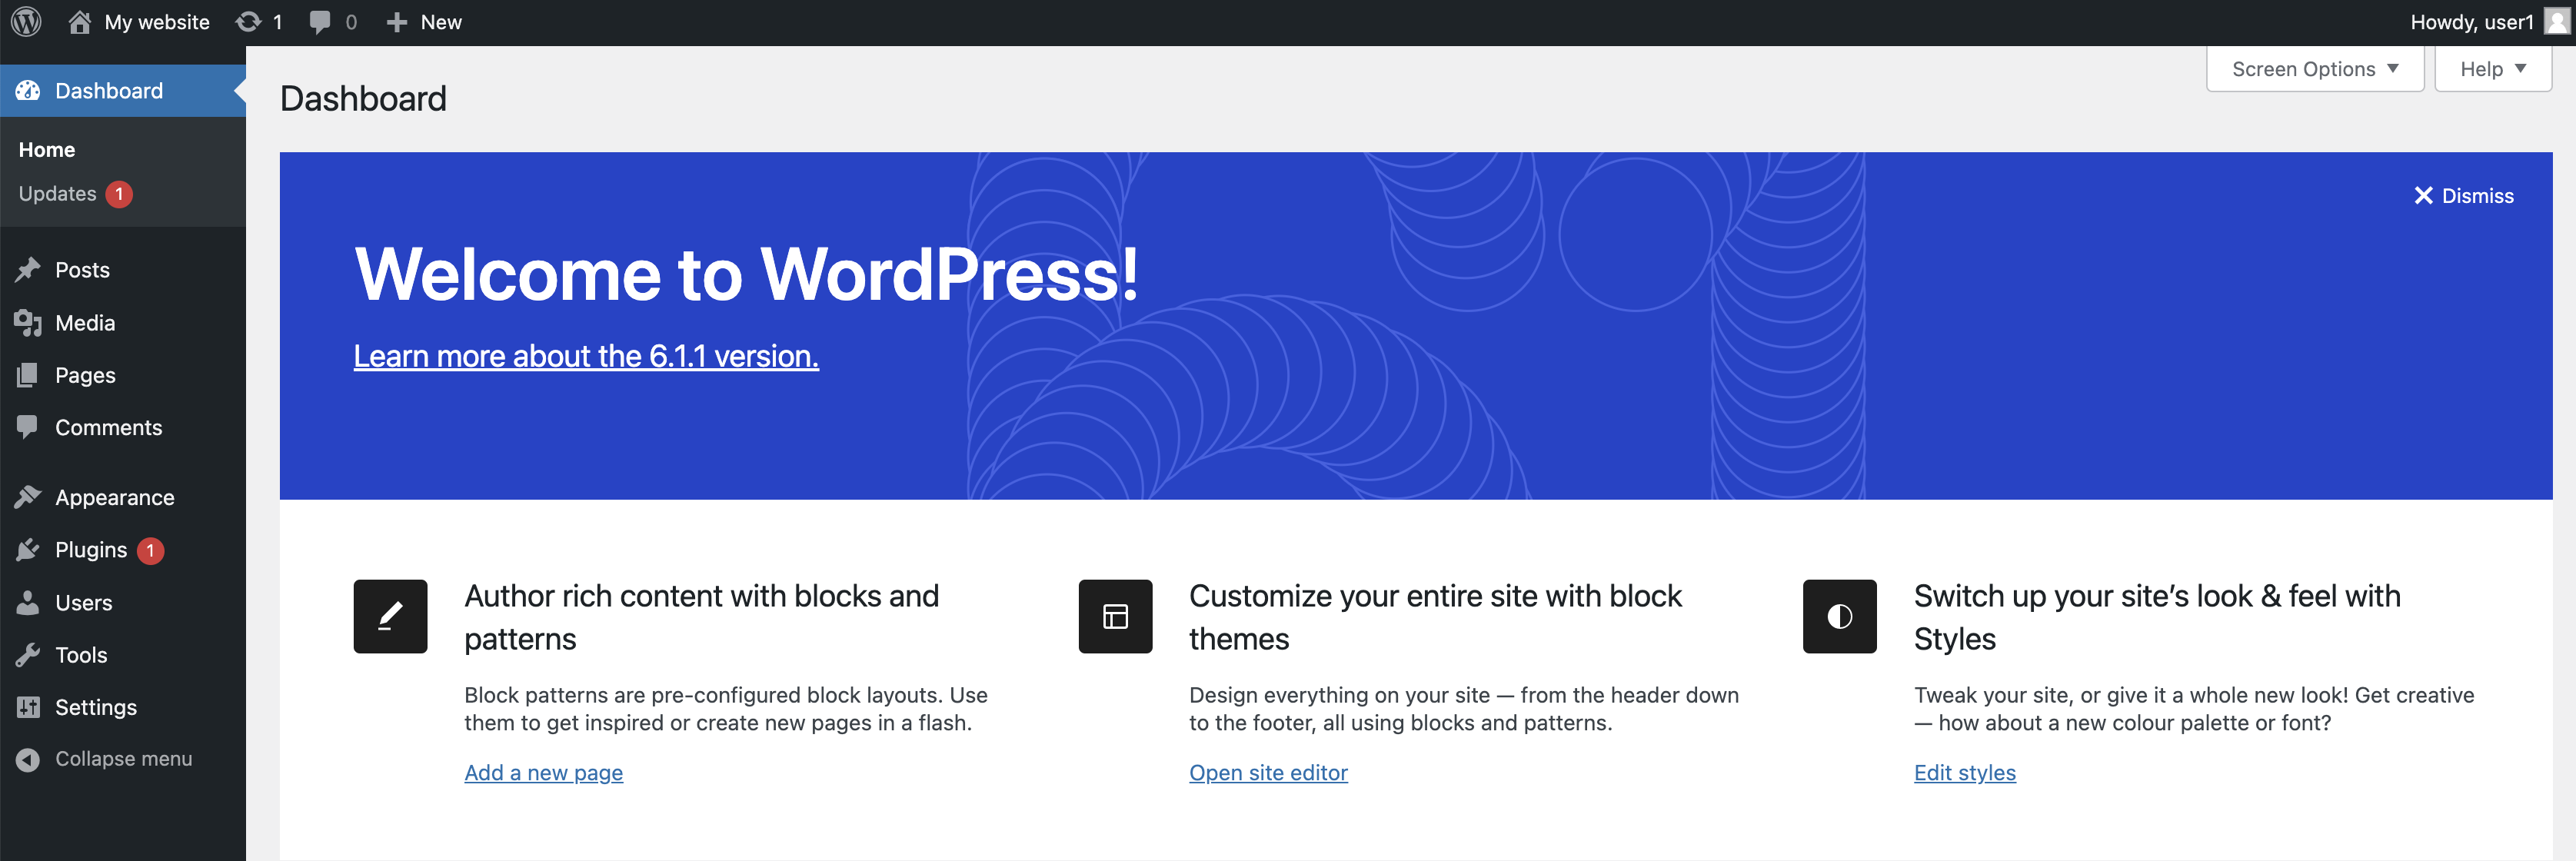
-
You are now connected to your blog and can start using it.
Visit our Help Center and find the answers to your most frequent questions.
Visit Help Center