How to connect Windows Server to an RPN SAN
RPN SAN is an iSCSI target that can be mounted on Windows Server 2012 and later, including Windows Server 2019 and 2022, enabling it to operate as a standard disk within the system.
Before you start
To complete the actions presented below, you must have:
- A Dedibox account logged into the console
- A Dedibox dedicated server
- An RPN SAN
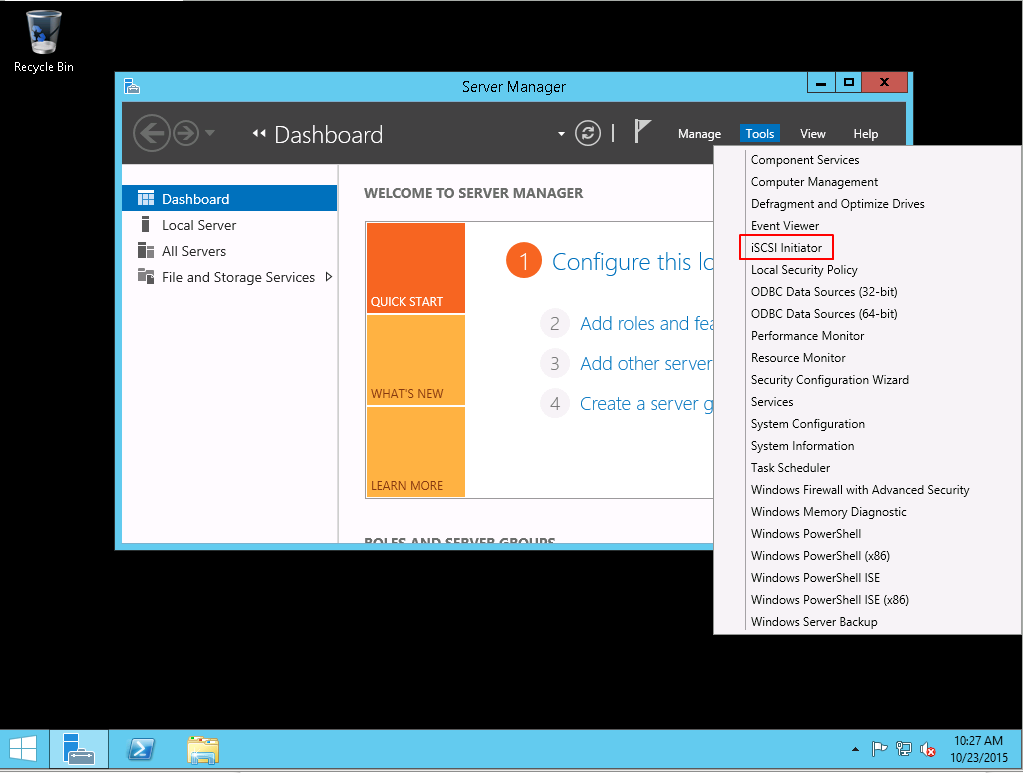
- Launch the Server Manager application of Windows and click Tools > iSCSI Initiator.
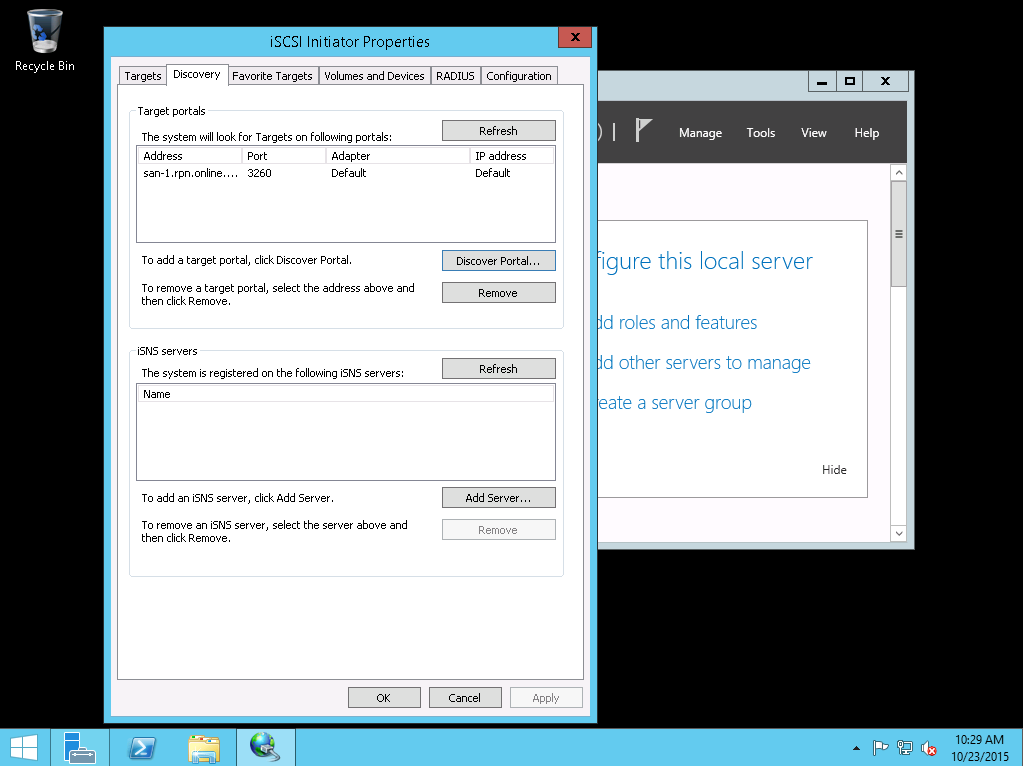
- Click the Discovery tab to add the SAN server:
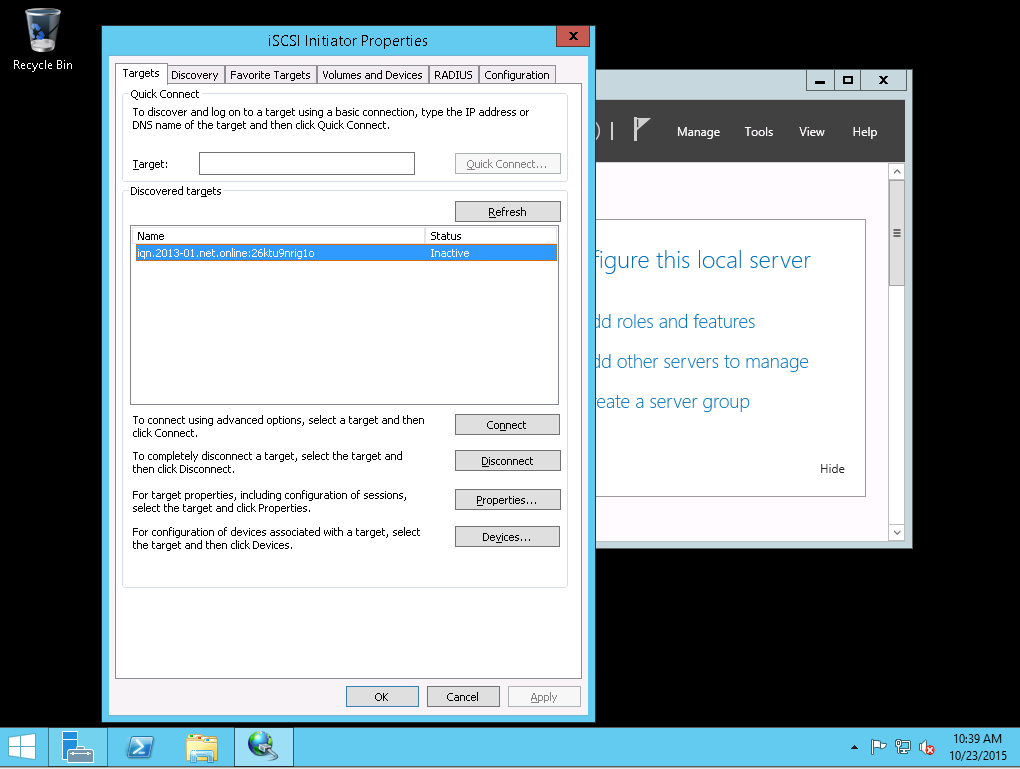
- Click the Targets tab and select the target you want to connect to. Click Connection to confirm. The target will then be connected to the server as an unformatted disk.
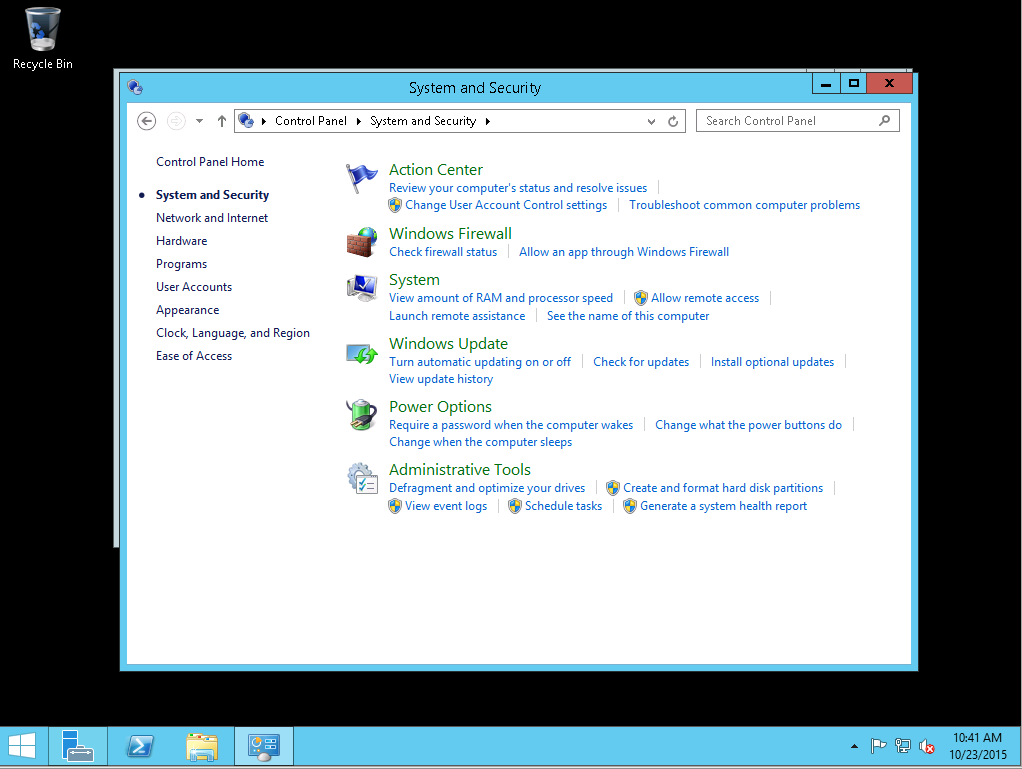
- Launch the control panel and click System and Security > Create and format hard disk partitions in the Administrative Tools section.
- The disk can be configured from the Storage > Disk Management section of the Computer Management tool. By default, it displays as offline.
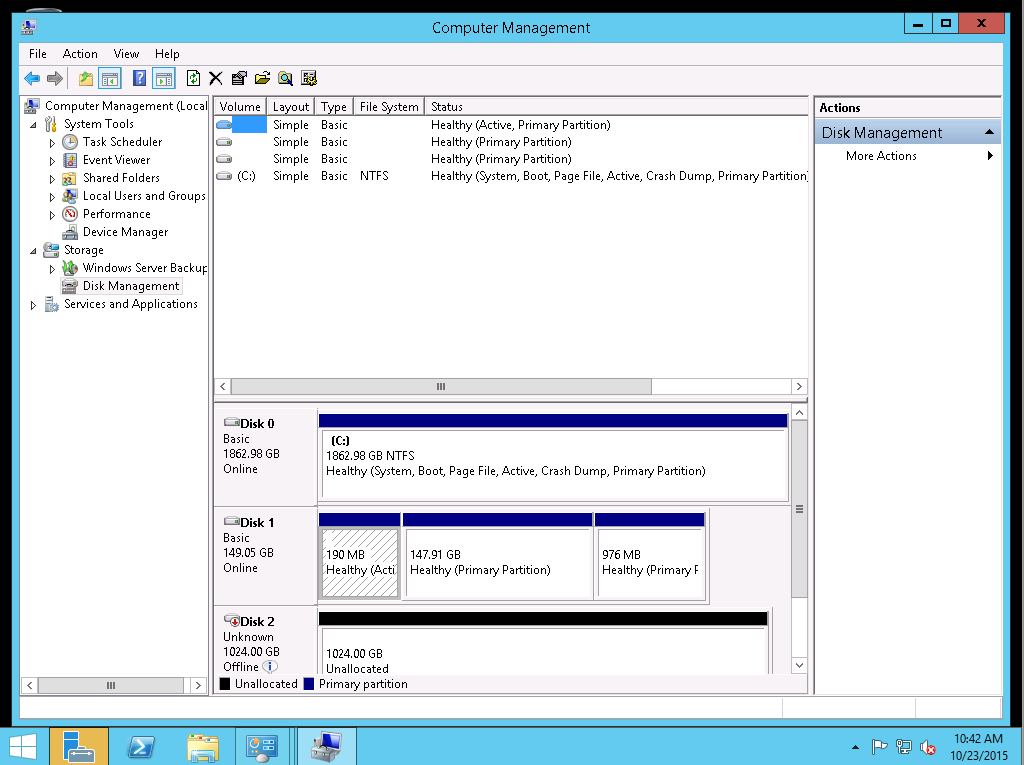
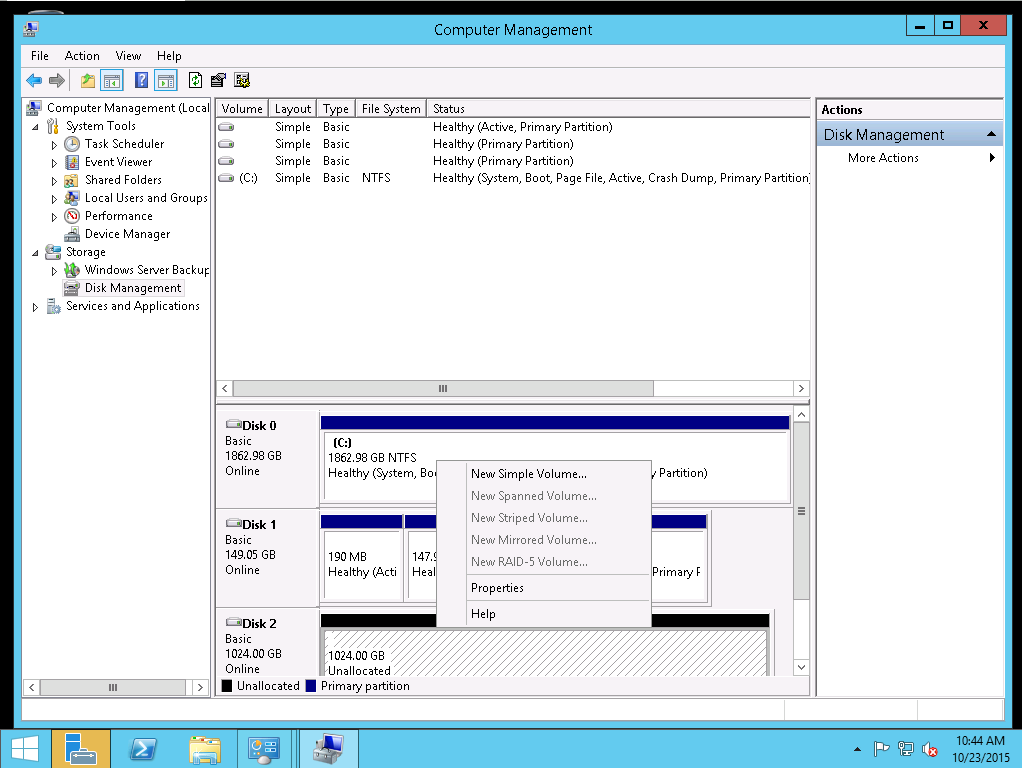
- Right-click on it and click Online to activate the disk. The system will propose the type of partition table to use for your disk.

-
Format the disk with a file system (NTFS). Click Next > Finish to confirm formatting the disk.
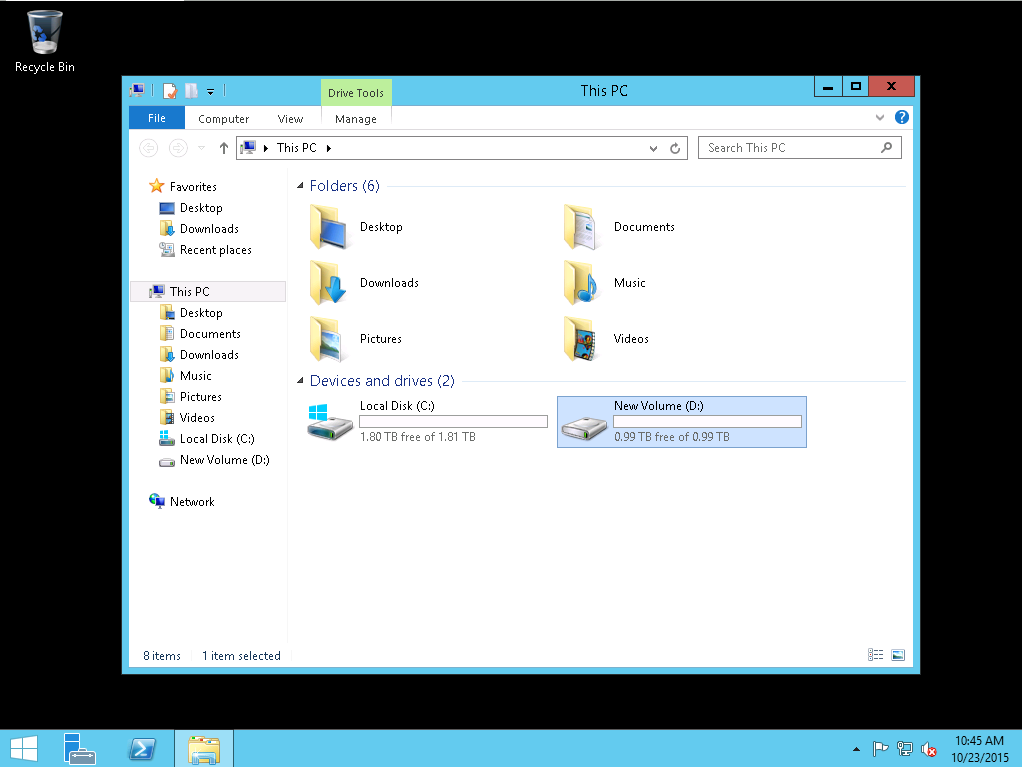
Once finished formatting (in about 10 minutes using quick formatting), the hard disk drive should be accessible from the server manager as a regular disk:
See Also
Still need help?Create a support ticket