How to use your dedicated Generative APIs deployment with a Private Network
In this tutorial, we guide you through the process of attaching a Private Network to your dedicated Generative APIs deployment. This can be done during the initial setup or added later to an existing deployment. Using a Private Network for communications between the Instances hosting your applications and your dedicated Generative APIs deployment ensures secure communication between resources, with low latency.
Before you start
To complete the actions presented below, you must have:
- A Scaleway account logged into the console
- Owner status or IAM permissions allowing you to perform actions in the intended Organization
- A dedicated Generative APIs deployment
How to attach a Private Network to a dedicated Generative APIs deployment
Attaching a Private Network during model deployment
- Click Generative APIs in the AI section of the side menu in the Scaleway console to access the dashboard. The list of models displays.
- Select the Deployments tab.
- Click Deploy a model to launch the model deployment wizard.
- During setup, in step Configure network connectivity, check the Attach to Private Network box.
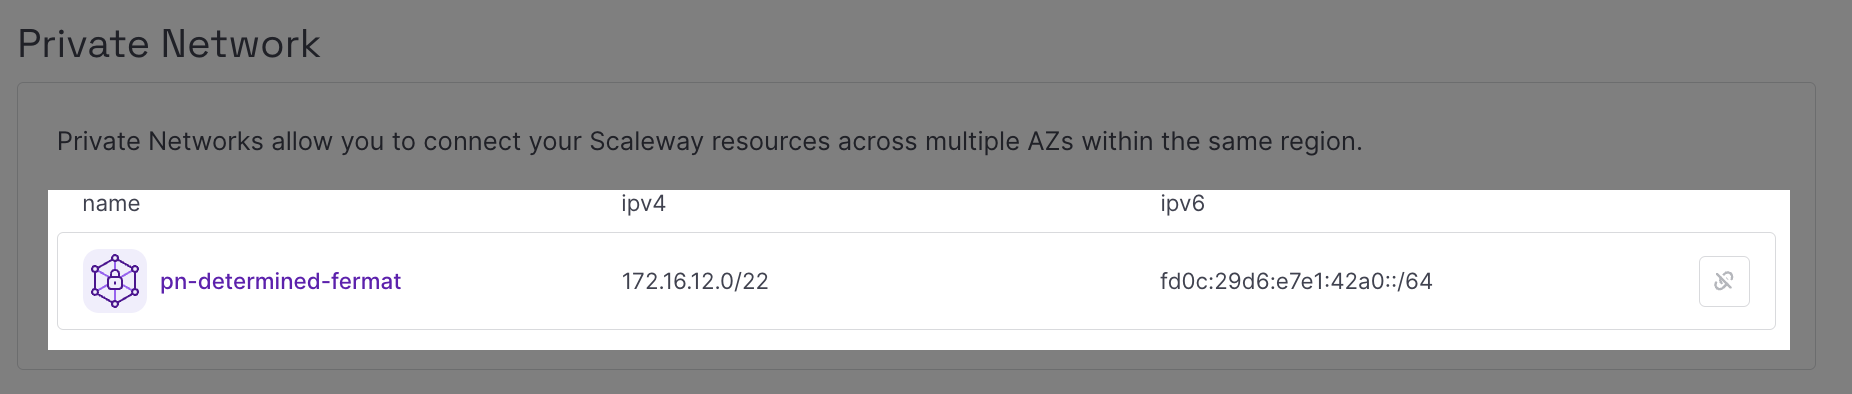
- Choose one of the following options:
- Attach an existing Private Network: Select from the list of available networks.
- Create a new Private Network: Choose this option (at the bottom of the list) to create a new Private Network to attach the model to.
- Complete the deployment setup process and click Deploy model.
Your Generative APIs - Dedicated Deployment model will be deployed, and it will be attached to the selected Private Network.
Attaching a Private Network to an existing deployment
- Click Generative APIs in the AI section of the side menu in the Scaleway console to access the dashboard. The list of models displays.
- Select the Deployments tab.
- From the drop-down menu, select the geographical region you want to manage.
- Click a deployment name to access the deployment's dashboard.
- Go to the Security tab and locate the Private Network section.
- Click Attach Private Network. Two options are available:
- Attach an existing Private Network: Select from the list of available networks.
- Create a new Private Network: Choose this option from the end of the list to create a new Private Network to attach the model to.
- Click Attach to Private Network to confirm.
Verifying the Private Network connection
- After attaching a Private Network, go to the Security tab of your deployment.
- You should see the Private Network connected to the deployment resource and its allocated IPs listed.
How to send inference requests in a Private Network
-
Create an Instance which will host the inference application.
-
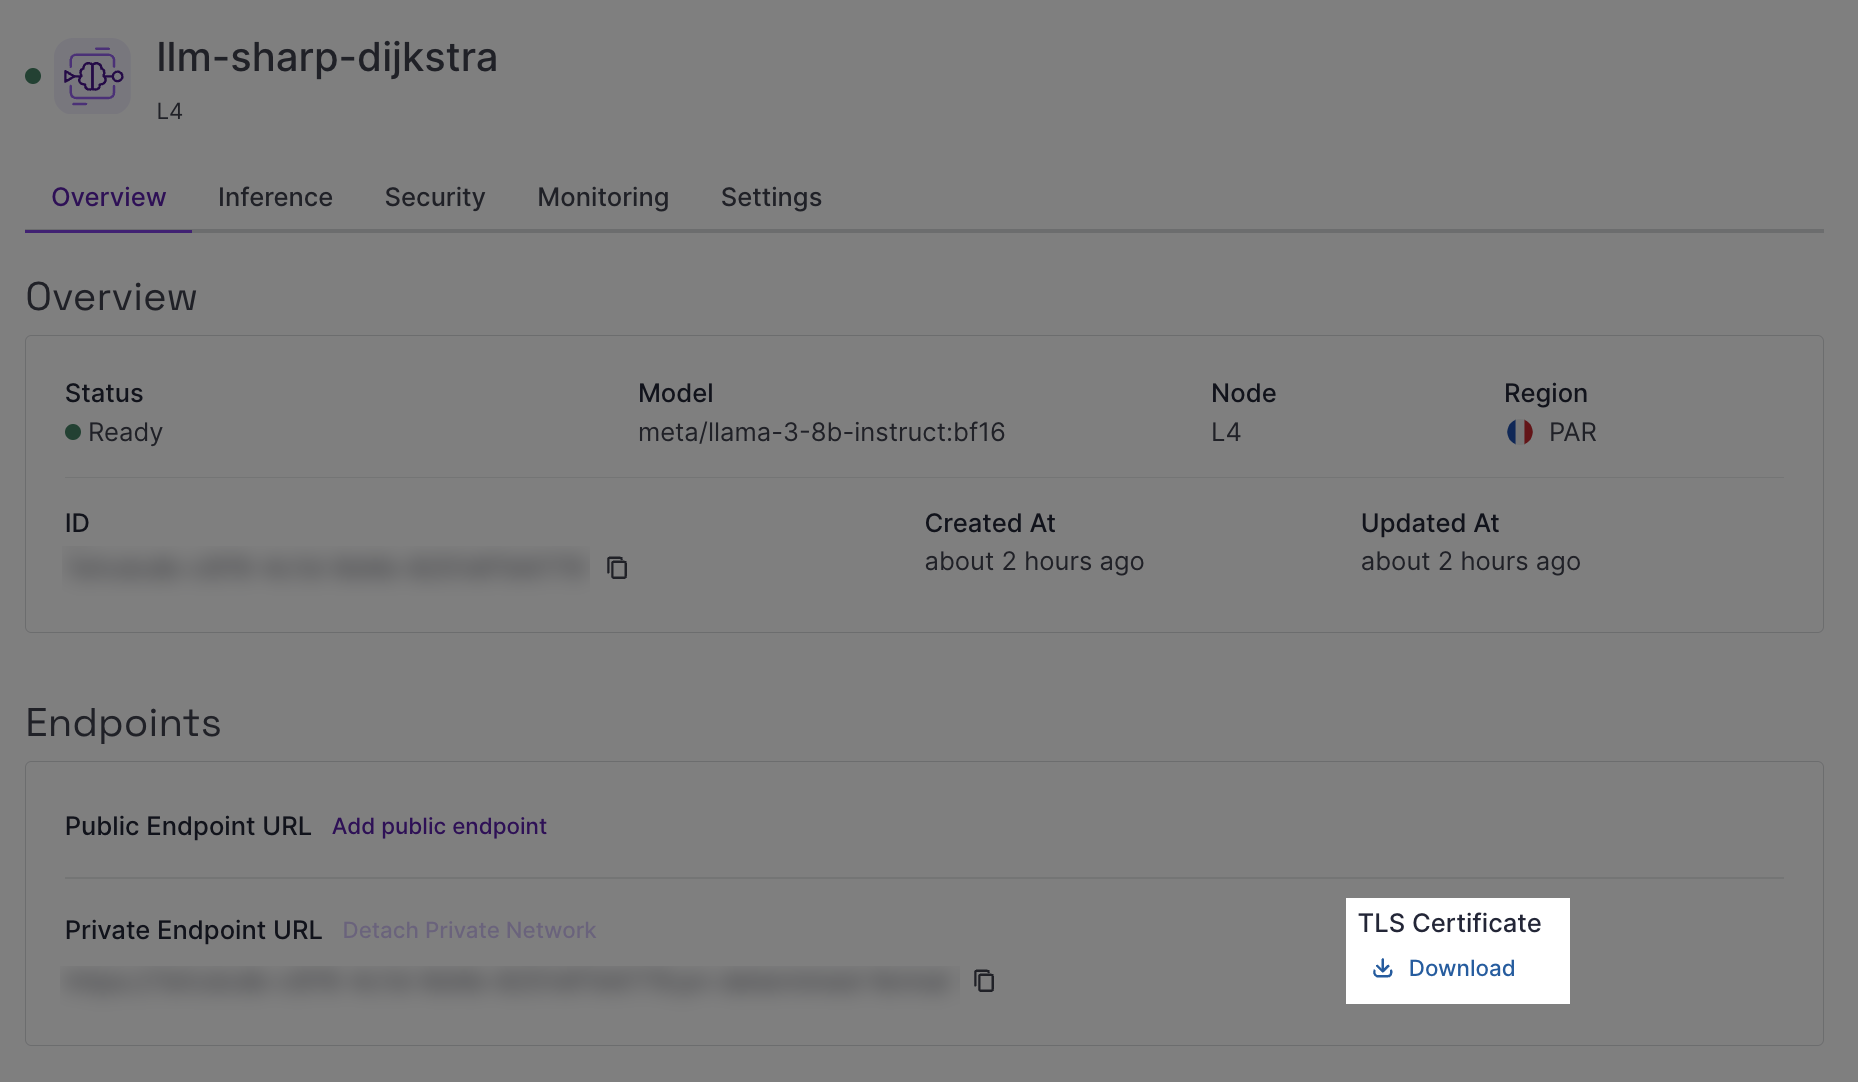
Download the TLS certificate from your dedicated Generative APIs deployment, available from the Overview tab in the Endpoints section.
-
Transfer the TLS certificate to the Instance. You can use the
scp(secure copy) command to securely transfer the certificate from your local machine to the Scaleway Instance.- Example command:
scp -i ~/.ssh/id_ed25519 /home/user/certs/cert_file.pem root@51.115.xxx.yyy:/root - Replace placeholders in the command above as follows:
-i ~/.ssh/id_ed25519: Path to your private SSH key./home/user/certs/cert_file.pem: Path to the certificate file on your local machine.root: Your Scaleway Instance username (rootfor default configuration).51.115.xxx.yyy: Public IP address of your Scaleway Instance.:/root: Destination directory on the Scaleway Instance.
- Example command:
-
Connect to your Instance using SSH.
-
Open a text editor and create a file named
inference.pyusing the following command:nano inference.py -
Paste the following Python code sample into your
inference.pyfile:import requests PAYLOAD = { "model": "<MODEL_DEPLOYED>", # EXAMPLE= meta/llama-3.1-8b-instruct:fp8 "messages": [ {"role": "system", "content": "You are a helpful, respectful and honest assistant."}, {"role": "user", "content": "How can I use large language models to improve customer service?"} ], "max_tokens": 500, "temperature": 0.7, "stream": False } headers = {"Authorization": "Bearer " + "<SCW_SECRET_KEY>"} # ADD API KEY, IF API KEY AUTHENTICATION IS ENABLED FOR THE PRIVATE ENDPOINT response = requests.post("<PRIVATE_ENDPOINT_URL>/v1/chat/completions", headers=headers, json=PAYLOAD, stream=False, verify='<CERT_NAME>.pem') if response.status_code == requests.codes.ok: # EXTRACT RESPONSE DATA data = response.json() content = data['choices'][0]['message']['content'] print(content) else: print("Error occurred:", response.text)Edit the script as follows:
- PAYLOAD: Update the model name and inference parameters.
- headers: Add your IAM secret key if IAM authentication is enabled.
- response: Update with your private endpoint URL and certificate file path.
-
Save your changes using
CONTROL+O, then exit withCONTROL+X. -
Make your script executable using the following command:
chmod +x inference.py -
Run the script:
python3 inference.py
Detaching a Private Network from a dedicated Generative APIs deployment
- Click Generative APIs in the AI section of the side menu in the Scaleway console to access the dashboard. The list of models displays.
- Select the Deployments tab.
- From the drop-down menu, select the geographical region you want to manage.
- Click a deployment name to access the deployment's dashboard.
- Go to the Overview tab and locate the Endpoints section.
- Click Detach Private Network. A pop-up displays.
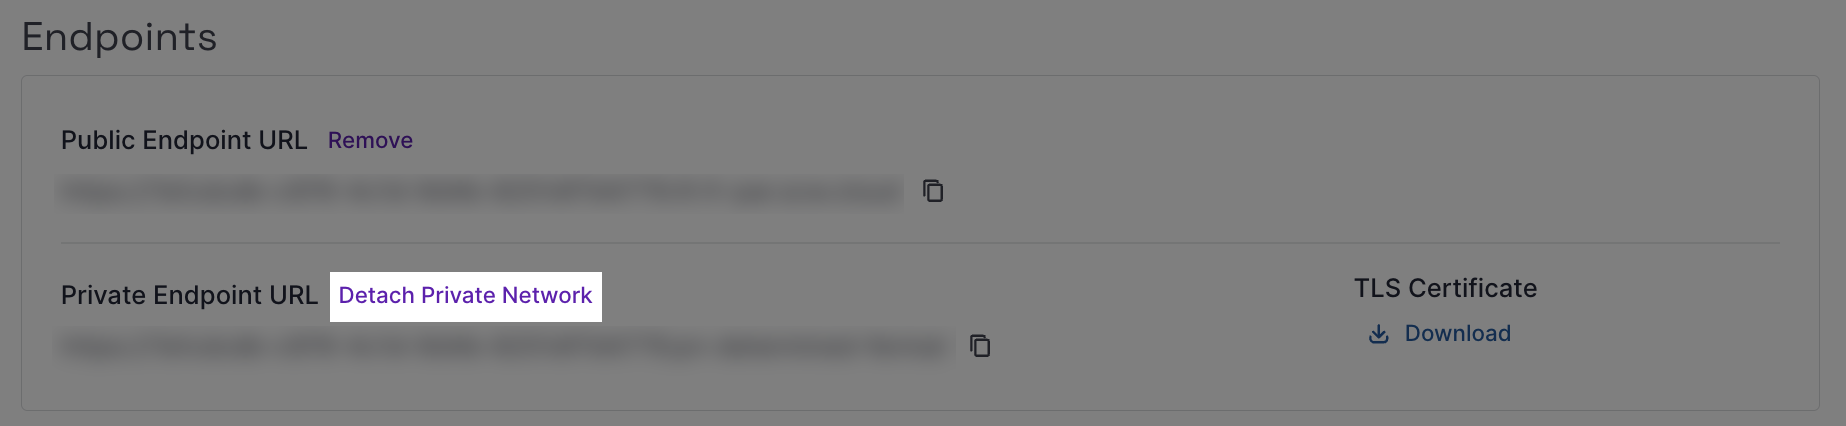
- Click Detach resource to confirm the removal of the private endpoint for your deployment.