Configuring Hadoop on Ubuntu Linux
Hadoop is an open-source framework. It is provided by Apache to process and analyze large volumes of data. It is written in Java and is currently used by Google, Facebook, LinkedIn, Yahoo, Twitter, etc.
Similar to data residing in a local file system of a personal computer system, in Hadoop, data resides in a distributed file system called "Hadoop Distributed File system". Hadoop is suitable for:
- Big Data Analysis: Big Data tends to be distributed and unstructured in nature. Hadoop processes the logic (not the actual data) that flows to the computing nodes, thus consuming less network bandwidth. This is called the "data locality concept", and helps increase the efficiency of Hadoop-based applications.
- Scalability: Hadoop clusters can easily be scaled to any extent by adding additional cluster nodes
- Fault Tolerance: Hadoop ecosystem has a provision to replicate the input data onto other cluster nodes. That way, in the event of a cluster node failure, data processing can still proceed by using data stored on another cluster node.
Hadoop clusters are relatively complex to set up, so the project includes a stand-alone mode that is suitable for learning about Hadoop, performing simple operations, and debugging.
Hadoop is comprised of four main layers:
- Hadoop Common - is the collection of utilities and libraries that support other Hadoop modules.
- HDFS - stands for Hadoop Distributed File System, which is responsible for persisting data to disk.
- YARN - short for Yet Another Resource Negotiator, is the "operating system" for HDFS.
- MapReduce - is the original processing model for Hadoop clusters. It distributes work within the cluster or map, then organizes and reduces the results from the nodes into a response to a query. Many other processing models are available for the 3.x version of Hadoop.
For more information, refer to the official Apache Hadoop documentation.
Before you start
To complete the actions presented below, you must have:
- A Scaleway account logged into the console
- Owner status or IAM permissions allowing you to perform actions in the intended Organization
- An SSH key
sudoprivileges or access to the root user
Installing the default JRE/JDK
-
Update the package index.
apt-get update -
Install Java. Specifically, this command will install the Java Runtime Environment (JRE).
apt-get install default-jreThere is another default Java installation called the JDK (Java Development Kit). The JDK is usually only needed if you are going to compile Java programs or if the software that will use Java specifically requires it.
The JDK does contain the JRE, so there are no disadvantages if you install the JDK instead of the JRE, except for the larger file size. You can install the JDK with the
apt-get install default-jdkcommand. -
Check the version once the installation is complete.
java -versionOpenJDK Runtime Environment (build 1.8.0_181-8u181-b13-0ubuntu0.16.04.1-b13) OpenJDK 64-Bit Server VM (build 25.181-b13, mixed mode)
Installing Hadoop in standalone mode
-
Visit the Apache Hadoop Releases page to select the most recent stable release. We will install Hadoop version 3.4.1.
-
Copy the link to the release binary.
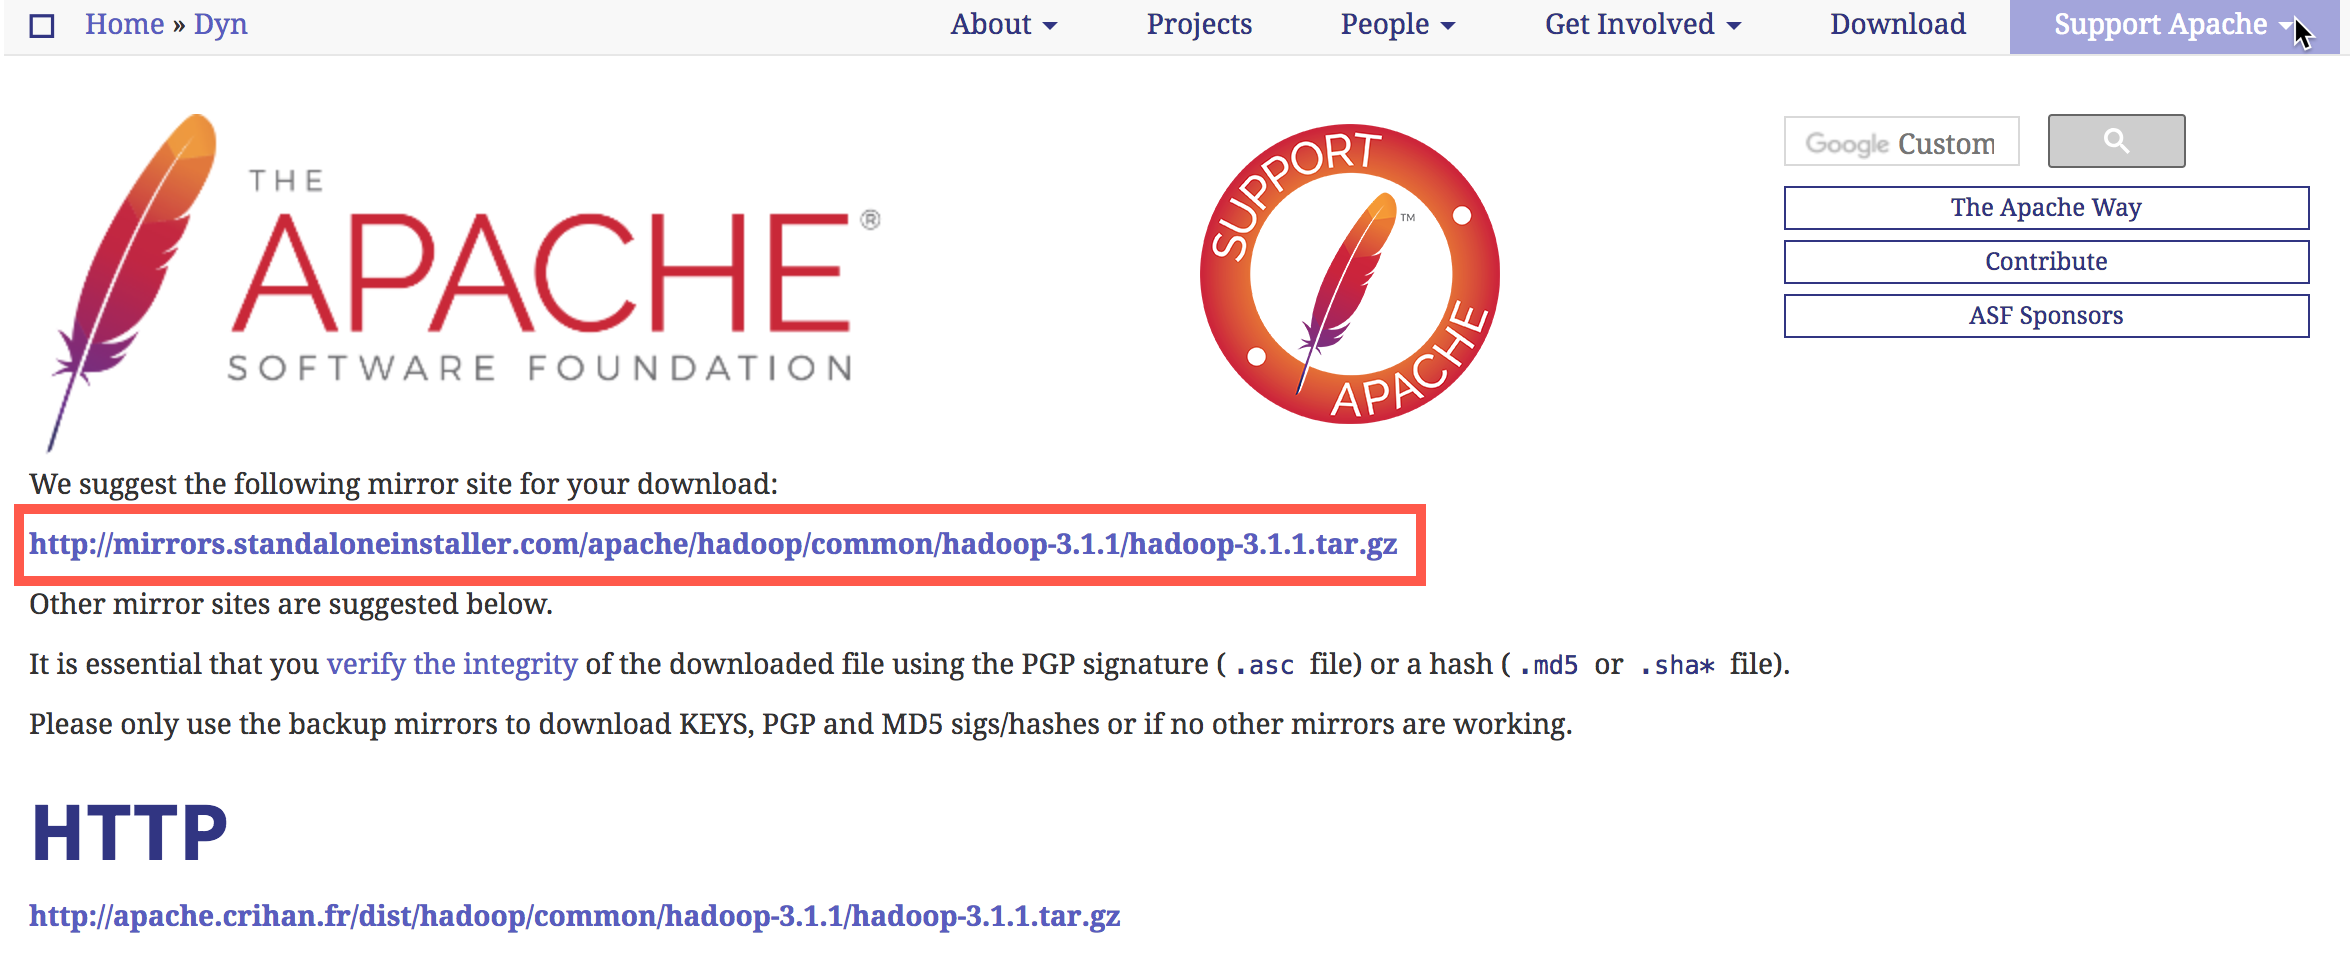
-
Use
wgetto fetch it:wget https://dlcdn.apache.org/hadoop/common/hadoop-3.4.1/hadoop-3.4.1.tar.gzTo make sure that the file we downloaded has not been altered, we'll do a quick check using SHA-256. Return to the releases page, then click and copy the link to the checksum file for the release binary you downloaded:
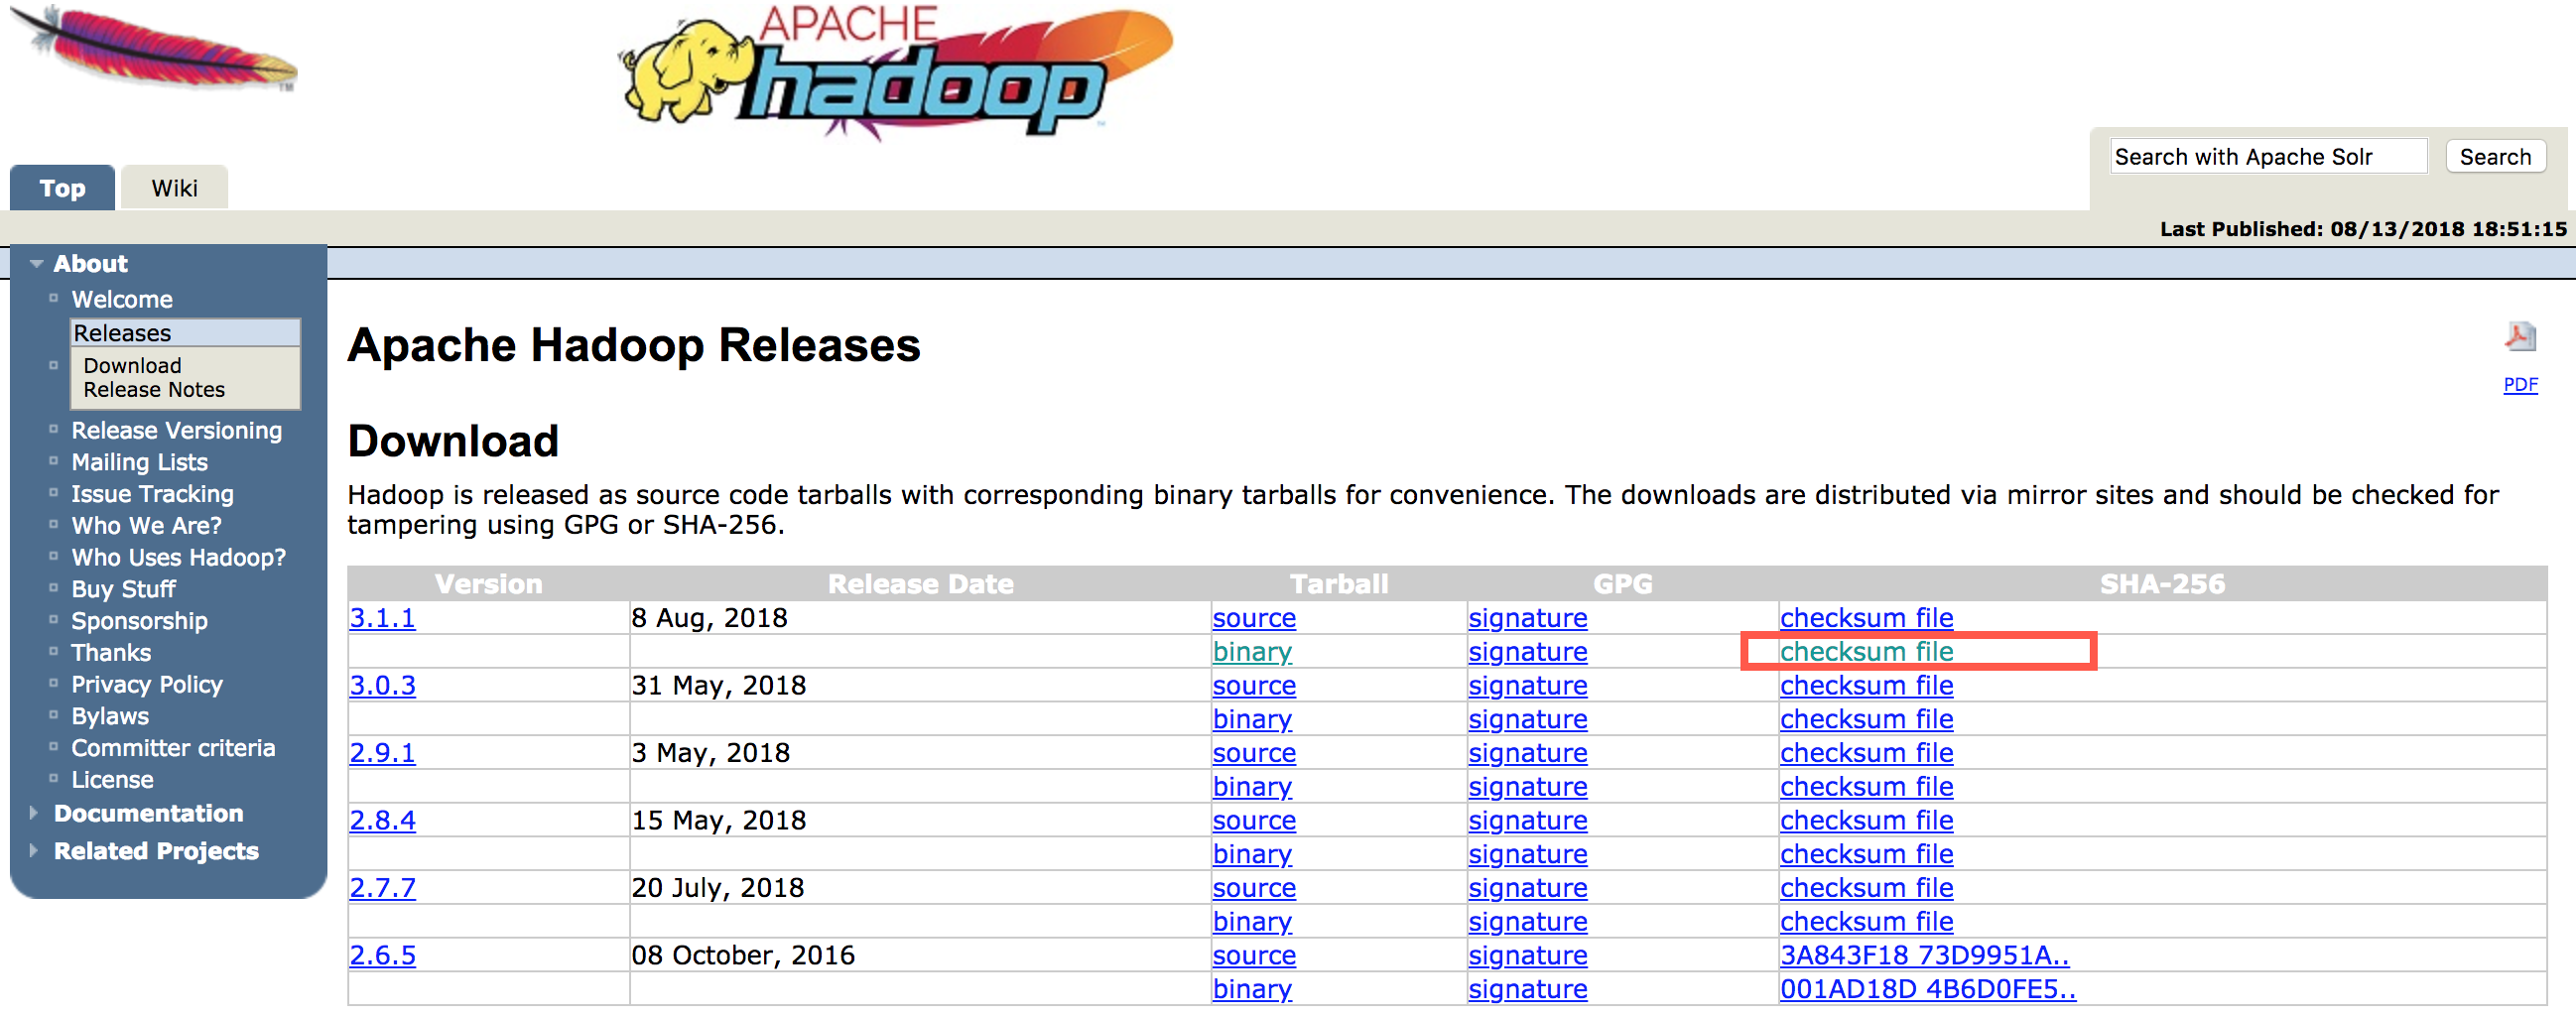
-
Copy the link displayed in the browser and use
wgeton our server to download the file.wget https://dlcdn.apache.org/hadoop/common/hadoop-3.4.1/hadoop-3.4.1.tar.gz.sha512 -
Run the following verification:
shasum -a 512 hadoop-3.4.1.tar.gz6f653c0109f97430047bd3677c50da7c8a2809d153b231794cf980b3208a6b4beff8ff1a03a01094299d459a3a37a3fe16731629987165d71f328657dbf2f24c hadoop-3.4.1.tar.gz -
Compare this value with the SHA-256 value in the .mds file:
cat hadoop-3.4.1.tar.gz.sha512The output of the command we ran against the file we downloaded from the mirror should match the value in the file we downloaded from
apache.org.. -
Use the tar command with the
-xflag to extract,-zto uncompress,-vfor verbose output, and-fto specify that we are extracting from a file.tar -xzvf hadoop-3.4.1.tar.gz -
Move the extracted files into
/usr/local. Change the version number to match the version you downloaded.mv hadoop-3.4.1 /usr/local/hadoop
Configuring Hadoop's Java home
Hadoop requires that you set the path to Java, either as an environment variable or in the Hadoop configuration file.
The path to Java, /usr/bin/java is a symbolic link to /etc/alternatives/java, which is a symbolic link to the default Java binary.
Use readlink command with the -f option to follow every symbolic link in every part of the path, recursively. Then, use sed to trim bin/java from the output to give us the correct value for JAVA_HOME.
-
Launch the following command to find the default Java path:
readlink -f /usr/bin/java | sed "s:bin/java::"/usr/lib/jvm/java-8-openjdk-amd64/jre/You can copy this output to set Hadoop's Java home to this specific version, which ensures that if the default Java changes, this value will not. Or, you can use the
readlinkcommand dynamically in the file so that Hadoop will automatically use whatever Java version is set as the system default. -
Open
hadoop-env.sh:sudo nano /usr/local/hadoop/etc/hadoop/hadoop-env.sh -
Select one of the following options: Option 1: Static Value
. . .
#export JAVA_HOME=${JAVA_HOME}
export JAVA_HOME=//usr/lib/jvm/java-8-openjdk-amd64/jre/
. . .
Option 2: Dynamic Value
. . .
#export JAVA_HOME=${JAVA_HOME}
export JAVA_HOME=$(readlink -f /usr/bin/java | sed "s:bin/java::")
. . .
Running Hadoop
Run Hadoop:
/usr/local/hadoop/bin/hadoopUsage: hadoop [OPTIONS] SUBCOMMAND [SUBCOMMAND OPTIONS]
or hadoop [OPTIONS] CLASSNAME [CLASSNAME OPTIONS]
where CLASSNAME is a user-provided Java class
OPTIONS is none or any of:
buildpaths attempt to add class files from build tree
--config dir Hadoop config directory
--debug turn on shell script debug mode
--help usage information
hostnames list[,of,host,names] hosts to use in slave mode
hosts filename list of hosts to use in slave mode
loglevel level set the log4j level for this command
workers turn on worker mode
...The help means we've successfully configured Hadoop to run in stand-alone mode. To make sure Hadoop is running properly, we will use an example of a MapReduce program.
MapReduce Example
MapReduce is a programming framework that allows us to perform distributed and parallel processing on large data sets in a distributed environment.
MapReduce consists of two distinct tasks – Map and Reduce. As the name MapReduce suggests, the reducer phase takes place after the mapper phase has been completed.
- Create a directory called
inputin your home directory:mkdir ~/input - Copy Hadoop's configuration files into it to use those files as our data.
cp /usr/local/hadoop/etc/hadoop/*.xml ~/input - Download Hadoop example:
wget https://jar-download.com/cache_jars/org.apache.hadoop/hadoop-mapreduce-examples/3.0.3/jar_files.zip - Unzip the file:
unzip jar_files.zip - Move
jar_filesto/usr/local/hadoop/share/hadoop/mapreduce/hadoop/.mv hadoop-mapreduce-examples-3.0.3.jar /usr/local/hadoop/share/hadoop/mapreduce/ - Use the following command to run the MapReduce
hadoop-mapreduce-examplesprogram. We'll invoke its grep program which counts the matches of a literal word or regular expression (e.g.,allowed).Results are stored in the output directory and can be checked by running cat on the output directory:/usr/local/hadoop/bin/hadoop jar /usr/local/hadoop/share/hadoop/mapreduce/hadoop-mapreduce-examples-3.0.3.jar grep ~/input ~/grep_example 'allowed[.]*'cat ~/grep_example/*19 allowed 1 allowed
Visit our Help Center and find the answers to your most frequent questions.
Visit Help Center