Deploying Jitsi Meet with Docker
Jitsi Meet is a fully encrypted, open-source video conferencing tool. You do not need an account or subscription to use it. The solution can be installed natively on Ubuntu Bionic Beaver (18.04 LTS) and Debian Buster. You can also install it using a containerized application running on Docker.
This tutorial explains how to install the Jitsi Meet solution on an Instance using the Docker Image provided by the Jitsi team, allowing you to deploy your personal Jitsi Meet video conferencing solution in a few easy steps. It is based on a Debian stable base installation and provides all additional modules available for Jitsi like Etherpad or jigasi, a gateway allowing SIP connections to the Jitsi Meet Instance.
Before you start
To complete the actions presented below, you must have:
- A Scaleway account logged into the console
- Owner status or IAM permissions allowing you to perform actions in the intended Organization
- An SSH key
- An Instance running on Ubuntu Bionic Beaver (or later) with at least 4 GB of RAM
- A domain or subdomain pointed to your Instance
Setting up Docker
- Connect to your Instance via SSH.
- Update the package cache and upgrade the software already installed on the Instance using the
aptpackage manager:apt update && apt upgrade -y - Add Docker's official GPG key to your system:
apt-get update apt-get install ca-certificates curl install -m 0755 -d /etc/apt/keyrings curl -fsSL https://download.docker.com/linux/ubuntu/gpg -o /etc/apt/keyrings/docker.asc chmod a+r /etc/apt/keyrings/docker.asc - Add the Docker repository to your Apt sources:
echo \ "deb [arch=$(dpkg --print-architecture) signed-by=/etc/apt/keyrings/docker.asc] https://download.docker.com/linux/ubuntu \ $(. /etc/os-release && echo "$VERSION_CODENAME") stable" | \ tee /etc/apt/sources.list.d/docker.list > /dev/null apt-get update - Install Docker using Apt:
apt-get install docker-ce docker-ce-cli containerd.io docker-buildx-plugin docker-compose-plugin docker-compose unzip
Installing Jitsi Meet
- Download and extract the latest release of Jitsi Meet:
wget $(curl -s https://api.github.com/repos/jitsi/docker-jitsi-meet/releases/latest | grep 'zip' | cut -d\" -f4) - Unzip the downloaded package:
unzip <filename> - Enter the Jitsi Meet directory:
cd jitsi-docker-jitsi-meet-* - Create a
.envfile by copying and adjustingenv.example:cp env.example .env - Generate and configure strong passwords in the security section option of
.envfile by running the following bash script:./gen-passwords.sh - Create the required configuration directories for Jitsi Meet:
mkdir -p ~/.jitsi-meet-cfg/{web,transcripts,prosody/config,prosody/prosody-plugins-custom,jicofo,jvb,jigasi,jibri} - Run
docker compose up -d, open a web browser and access the Jitsi Meet UI athttps://<YOUR_INSTANCE_IP>:8443.
Connecting to the Instance
- Open a web browser on your local computer and access the web UI at
https://<public_instance_ip>:8443. The Jitsi Meet login screen displays: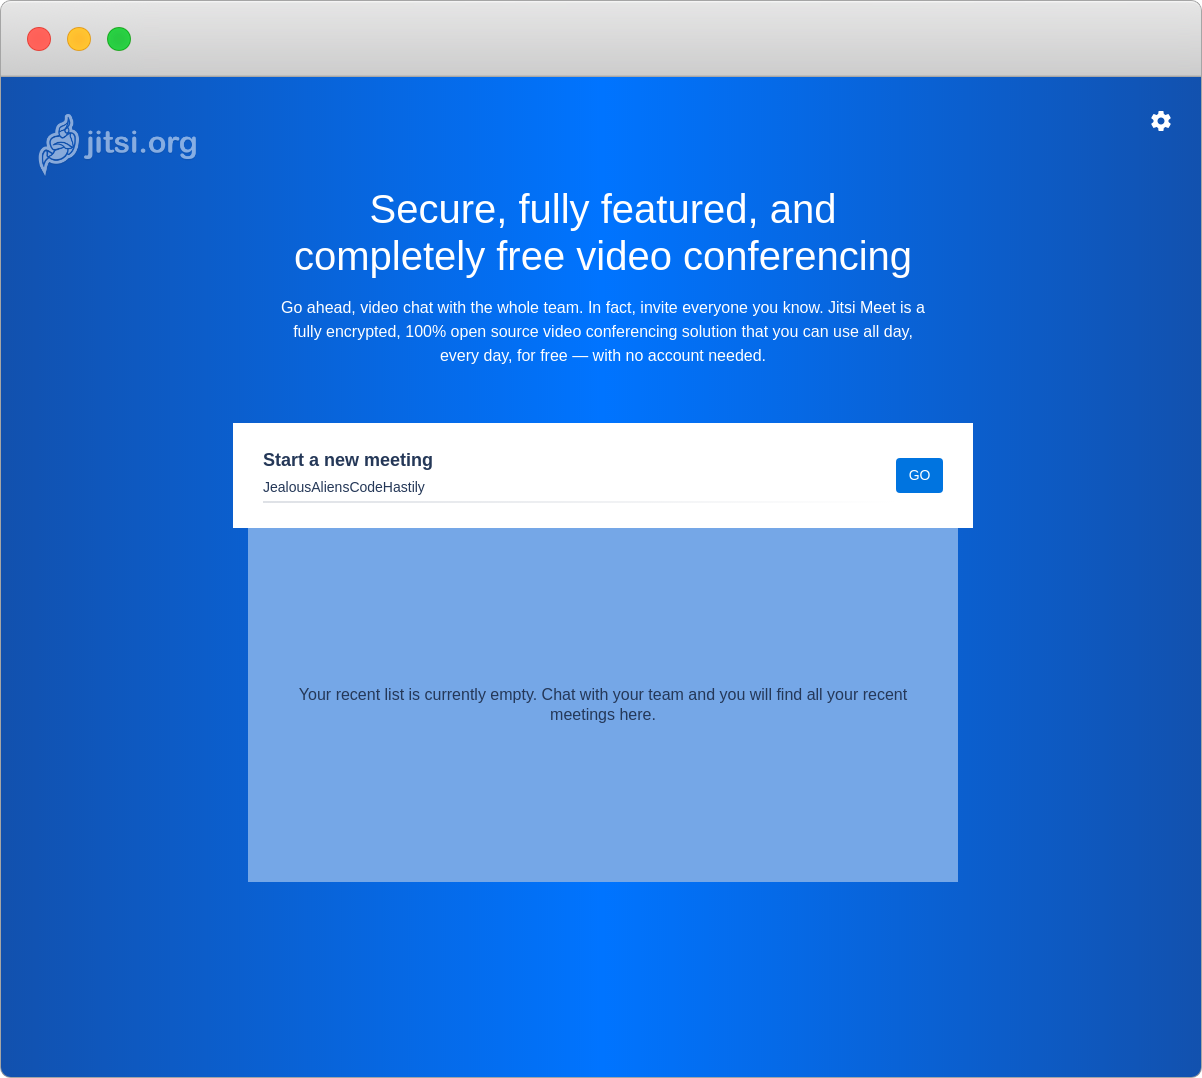
Enter a name for your conference and press Go to enter the conference room. It is now possible to share the conference link, set a password, configure the audio and video quality, and more.
For more information concerning the Jitsi Meet Docker image, refer to the official Jitsi documentation.
Additional considerations
- SSL certificate: For production use, consider setting up a reverse proxy with Nginx and obtaining an SSL certificate from Let's Encrypt for secure connections.
- Scaling: To handle more users, you might need to adjust the server resources or implement horizontal scaling by deploying multiple Jitsi Meet instances behind a load balancer.
- Customization: You can customize the Jitsi Meet interface and functionality by modifying the
.envfile and other configuration files in the setup directories.
By following these steps, you can deploy a secure, self-hosted Jitsi Meet video conferencing solution using Docker in a few steps.
Visit our Help Center and find the answers to your most frequent questions.
Visit Help Center