One-click NextCloud deployment on Scaleway Instances using InstantApp
In this tutorial, we show you how to deploy your personal cloud storage with the NextCloud InstantApp in seconds. NextCloud allows you to create self-hosted cloud storage to host files, folders, contacts, photo galleries, calendars, and more on your Instance.
Scaleway's NextCloud image is based on Ubuntu 22.04 LTS (Jammy Jellyfish), the NextCloud application, MariaDB as the database engine, and it uses database tuning according to NextCloud's official recommendations.
Before you start
To complete the actions presented below, you must have:
- A Scaleway account logged into the console
- Owner status or IAM permissions allowing you to perform actions in the intended Organization
- An SSH key
Creating a NextCloud Instance
- Click CPU & GPU Instances in the Compute section of the side menu. The Instances page displays.
- Click Create Instance. The Instance creation wizard displays.
- Choose the Availability Zone for your Instance.
- Select the Instance type you want to create.
- Select the NextCloud image in the InstantApps tab.
- Add storage volumes to your Instance.
- Enter a name and optional tags for your Instance.
- Click Create Instance to launch your NextCloud Instance.
Configuring NextCloud
When the Instance is running, you can see the Instance's IP address in the server list on the control panel.
- Copy the IP address and open an SSH session to find the database credentials required for NextCloud.
- The MySQL user, password, and database name are shown in the MOTD message that displays upon your first connection to the server:
################### NEXTCLOUD ################### Nextcloud version 29.0.3 is installed in /var/www/html/nextcloud. Getting started with: https://www.scaleway.com/en/docs/tutorials/nextcloud-instantapp/ In order to configure your Nextcloud, it must be bound to a relational database first. A MySQL database is running locally. You can connect using the following credentials: Database user: nextcloud Database password: b88113df1402e2a22c787f5d3f14ca31b4315ef6 Database name: nextcloud_db You can also connect to any other external database supported by Nextcloud (see https://docs.nextcloud.com/server/27/admin_manual/configuration_database/linux_database_configuration.html). Go to http://7a132dd2-8a5d-4ddb-b7f9-1f86cb88499b.pub.instances.scw.cloud/nextcloud, fill the form with your database information and your desired user. You can hide this message for the next connections by deleting the /etc/update-motd.d/70-nextcloud file. ################################################# - Open a web browser and enter the NextCloud URL from the MOTD in the navigation bar. NextCloud's installation script displays.
- Enter a username and password (of your choice) as well as the database credentials shown in the MOTD of your Instance. Leave the database host as
localhost. Then click Install.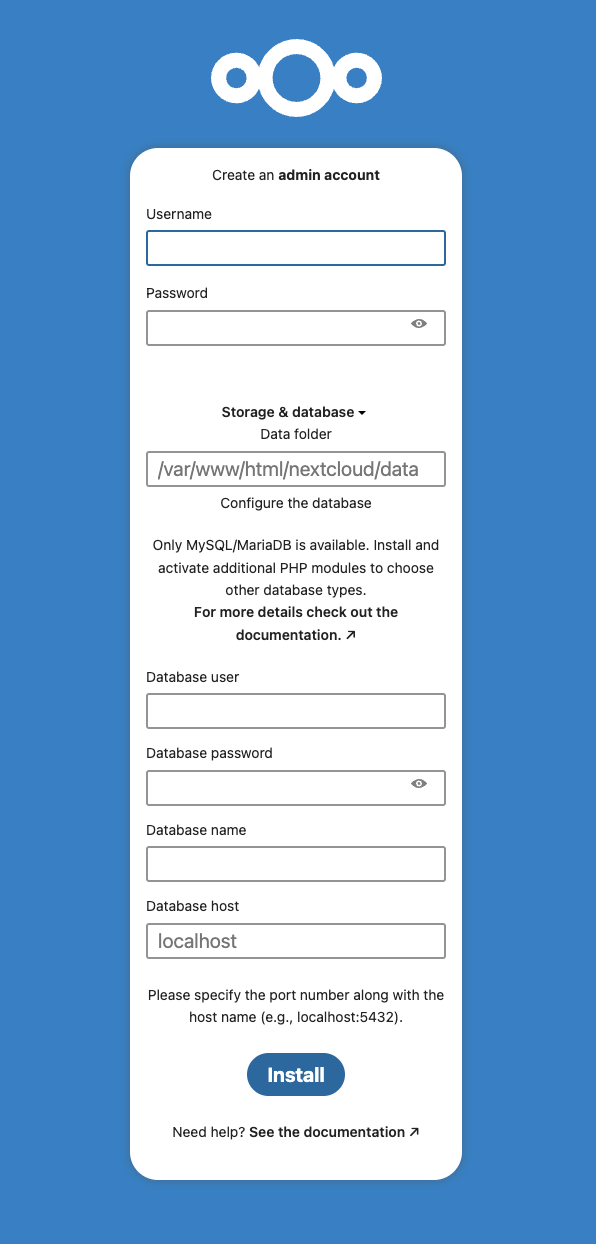
Log in to NextCloud
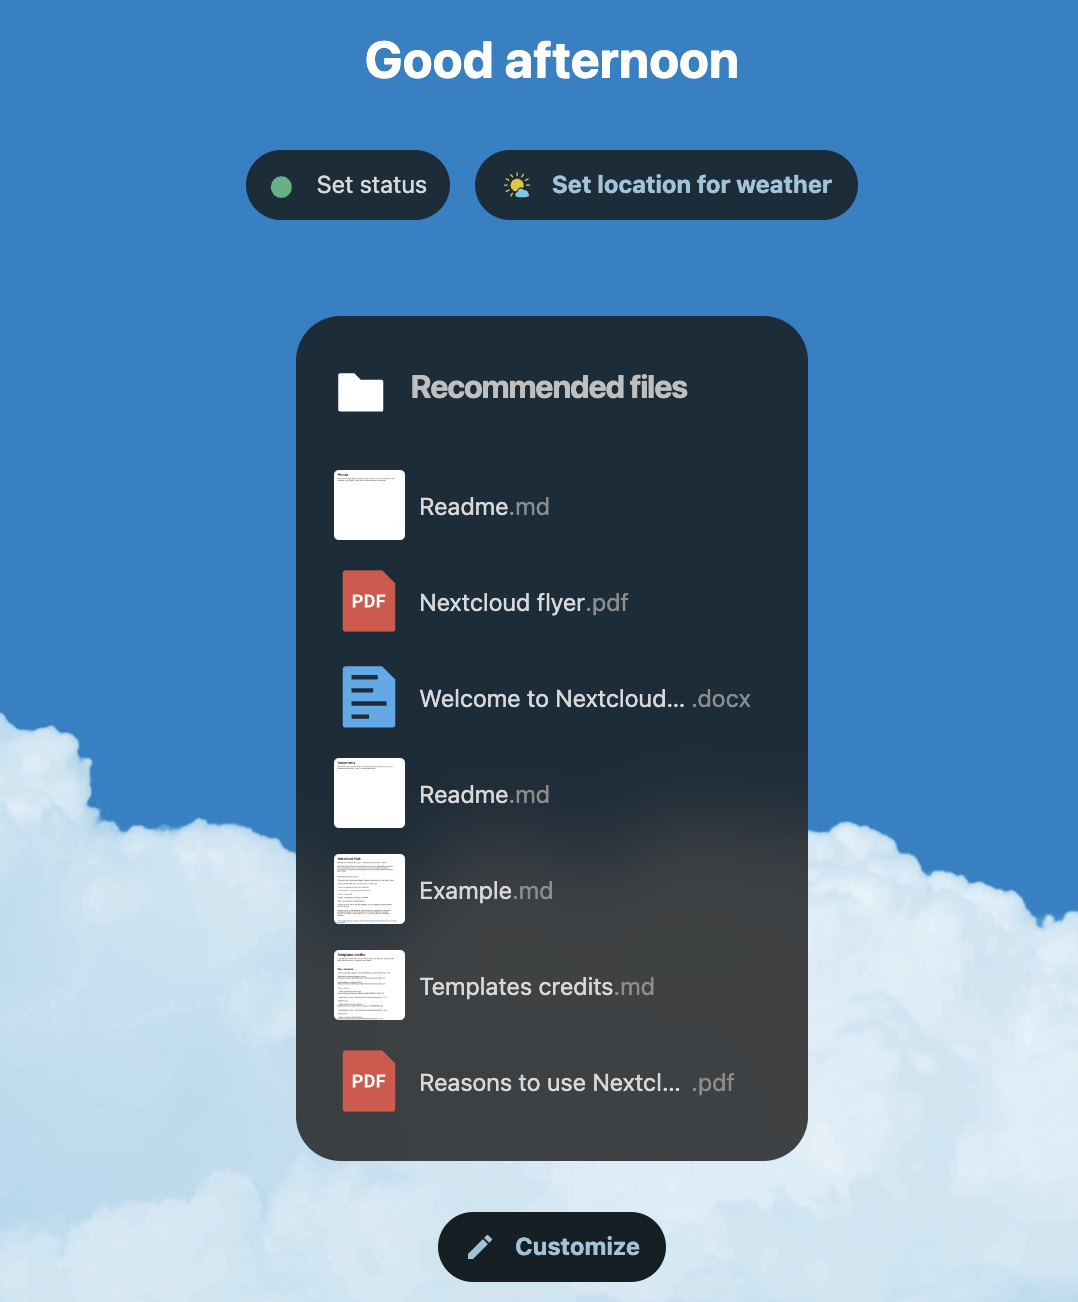
Once the installation completes, you are redirected to the login page. Enter the username and password you set previously and press Enter on your keyboard.
You are now connected to your personal cloud storage and can start using it.
Opening the mail ports to send emails
-
Click the Security groups tab on the Instances overview page.
-
Click Create a new security group and input the security group name and description.
-
Check the Enable SMTP box to unblock the mail ports.
-
Return to the overview tab and select the security group you created in step 2.
The new security group configuration is automatically applied to the Instances.
Visit our Help Center and find the answers to your most frequent questions.
Visit Help Center