Configuring Sentry error tracking
In the rapidly evolving landscape of today's world, applications serve as the backbone of numerous industries. Whether it is engineers, support technicians, or product managers, maintaining vigilance over an application's performance is essential for ensuring uninterrupted functionality.
This is precisely where Sentry steps in. As a robust open-source solution, Sentry is purpose-built for monitoring and tracking errors within applications, enabling timely identification of issues before they escalate.
Crafted using Python, Sentry employs a client/server architecture that facilitates real-time error reporting. Through its SDK, seamlessly integrating Sentry into your applications becomes a straightforward task. Moreover, you can configure it to automatically report errors through widely-used messaging platforms such as Slack and IRC.
With Sentry as your ally, you can streamline your development workflow, enhance your applications, and provide your users with the seamless experience they desire.
You can find all reports on a dashboard, which makes it easy to triage the problem, how often it occurs, its impact on the user experience, which part of your code causes the problem, and so on.
This tutorial details how to set up a Sentry self-hosted server on a Scaleway Instance to start error tracking in your applications.
Before you start
To complete the actions presented below, you must have:
- A Scaleway account logged into the console
- Owner status or IAM permissions allowing you to perform actions in the intended Organization
- An SSH key
- An Instance running on Ubuntu Jammy Jellyfish (22.04 LTS)
Installing Sentry
In this tutorial, we will install Sentry on an Ubuntu Jammy Jellyfish (22.04 LTS) based Instance.
-
Update the system and install the necessary prerequisites.
apt update && apt upgrade -y apt install apt-transport-https ca-certificates certbot curl git gnupg-agent nginx python3-certbot-nginx sendmail software-properties-common ufw -y -
Install Docker's GPG key, necessary as Sentry runs in a Docker container using
docker-compose.sudo mkdir -m 0755 -p /etc/apt/keyrings curl -fsSL https://download.docker.com/linux/ubuntu/gpg | sudo gpg --dearmor -o /etc/apt/keyrings/docker.gpg -
Configure Docker's software repositories to be able to install the required software on your Instance.
echo "deb [arch=$(dpkg --print-architecture) signed-by=/etc/apt/keyrings/docker.gpg] https://download.docker.com/linux/ubuntu \ $(lsb_release -cs) stable" | sudo tee /etc/apt/sources.list.d/docker.list > /dev/null -
Update the APT package manager and install Docker Engine and the required plugins using
apt.apt update && apt install docker-ce docker-ce-cli docker-compose containerd.io docker-buildx-plugin docker-compose-plugin -
Enter the
/optdirectory on your Instance and download the latest release of Self-Hosted Sentry.cd /opt wget https://github.com/getsentry/self-hosted/archive/refs/tags/25.3.0.tar.gz -
Unpack the downloaded file using
tar:tar xfz 25.3.0.tar.gz -
Enter the
self-hosted-25.3.0/folder and run the Sentry installercd /opt/self-hosted-25.3.0/ ./install.shThe automatic installer runs several compatibility tests on the system and installs Sentry. An output like the following example displays. Fill in the required information when prompted to do so:
[...] Applying sites.0002_alter_domain_unique... OK Applying social_auth.0001_initial... OK Created internal Sentry project (slug=internal, id=1) Would you like to create a user account now? [Y/n]: <- Press **Y** Email: me@myemail.org <- Enter your e-mail address Password: Repeat for confirmation: User created: me@myemail.org Added to organization: sentry Creating missing DSNs Correcting Group.num_comments counter ▶ Setting up GeoIP integration ... Setting up IP address geolocation ... Installing (empty) IP address geolocation database ... done. IP address geolocation is not configured for updates. See https://develop.sentry.dev/self-hosted/geolocation/ for instructions. ----------------------------------------------------------------- You're all done! Run the following command to get Sentry running: docker compose up -d ----------------------------------------------------------------- -
Start Sentry by running the following command.
docker-compose up -d -
Test the installation by pointing your web browser to
http://<your_instance_ip>:9000. The Sentry login displays.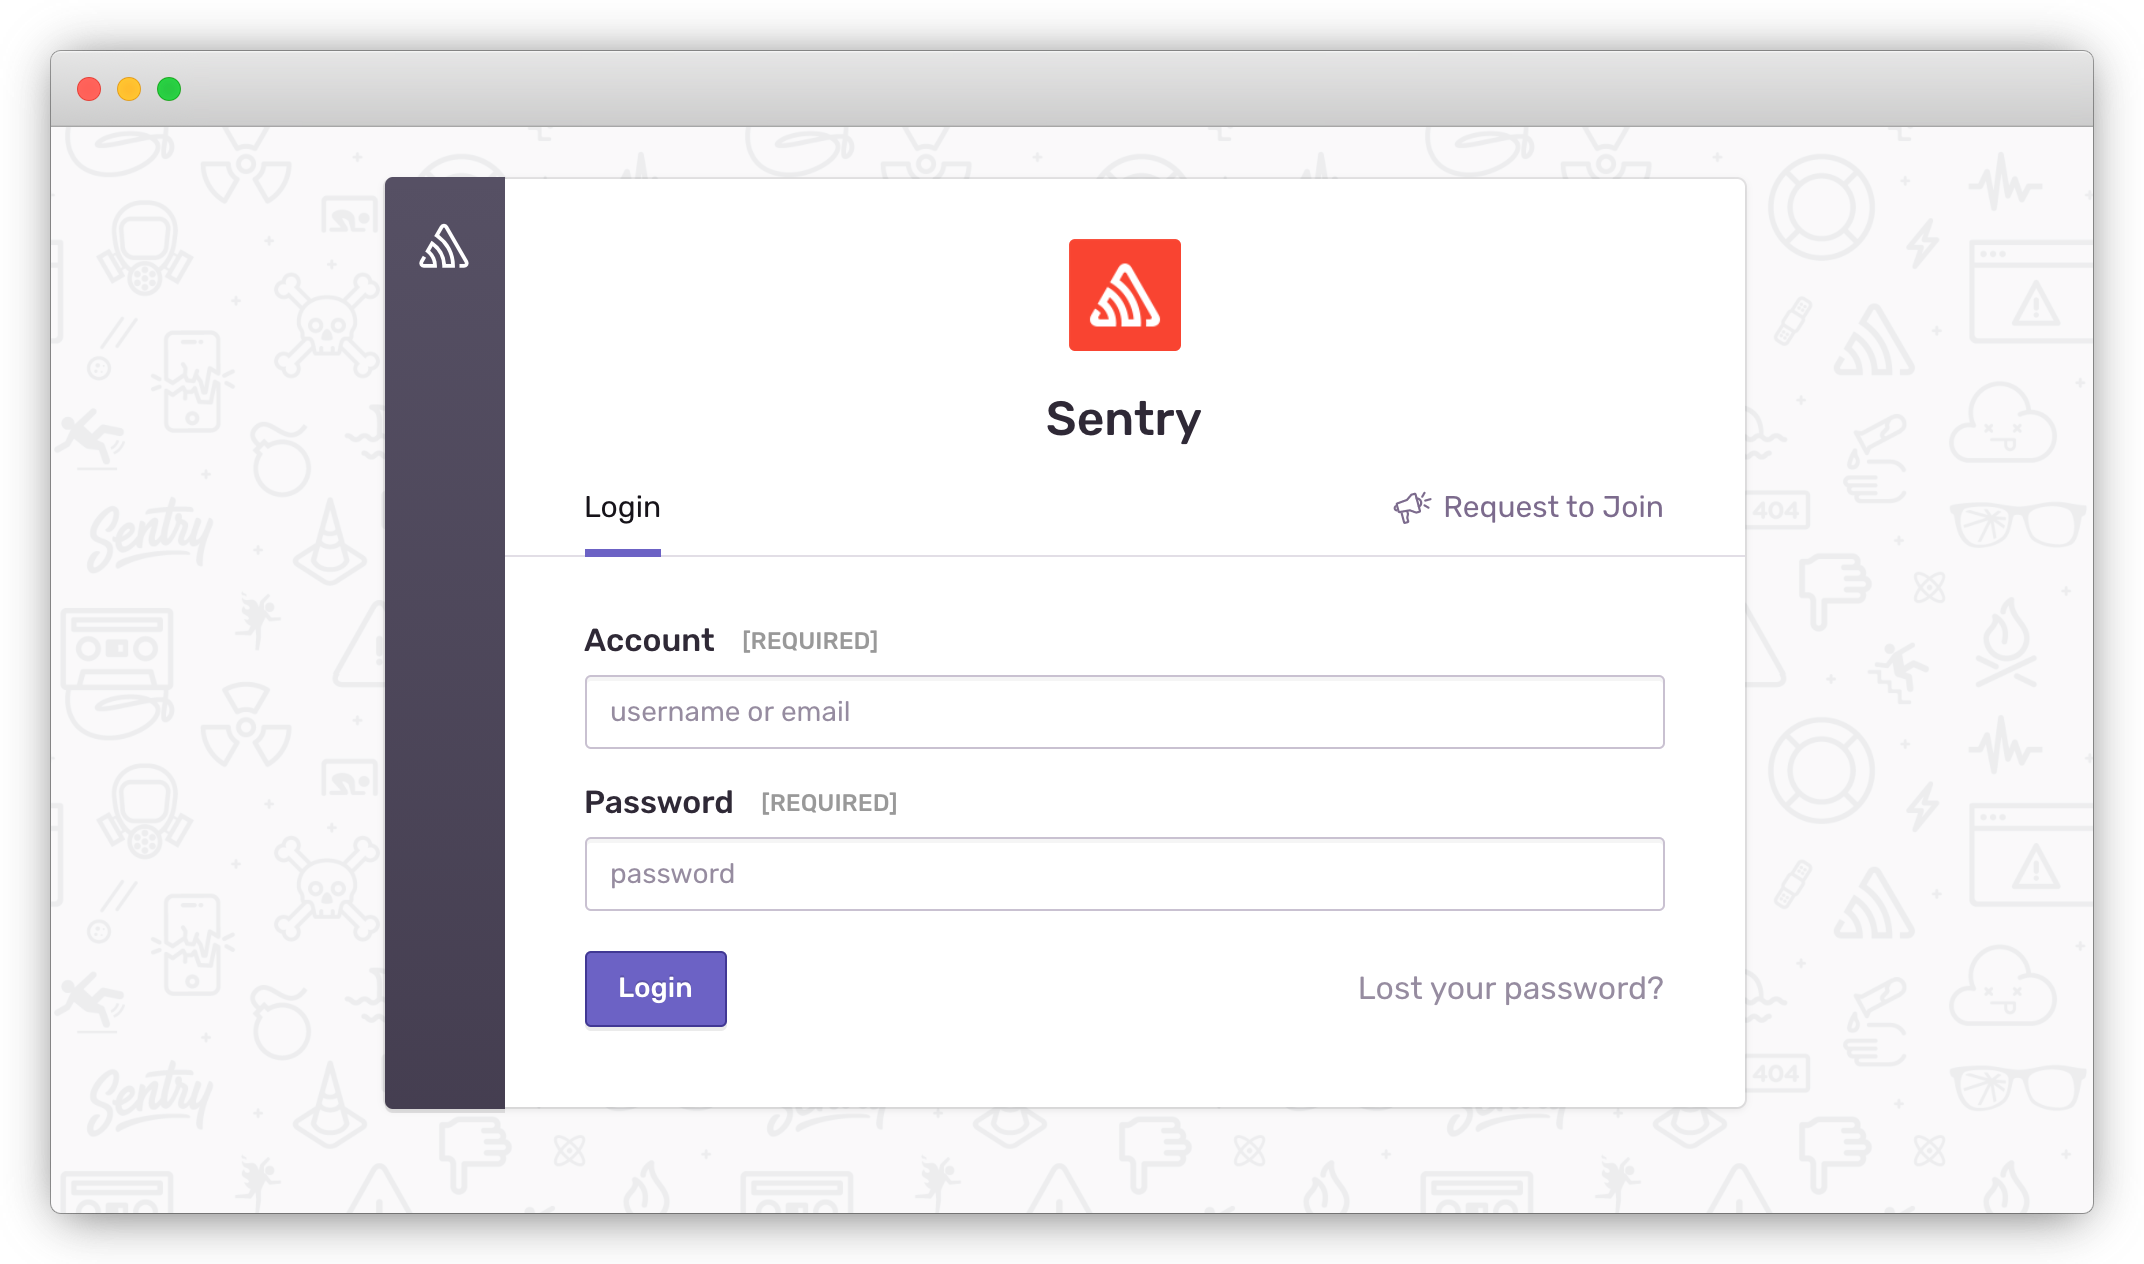
Configuring a reverse proxy
By default, Sentry listens on port 9000. Therefore we configure an Nginx proxy that listens on port 80 (for HTTP) and 443 (for HTTPS) and forwards all requests on these ports to port 9000.
-
Edit the file
/etc/nginx/sites-available/sentry.example.com.confand put the following content in it. Edit theserver_nameto the DNS name of your Sentry Instance:server { listen 80; server_name sentry.example.com; location / { proxy_pass http://localhost:9000; proxy_redirect off; proxy_set_header Host $host; proxy_set_header X-Forwarded-For $proxy_add_x_forwarded_for; proxy_set_header X-Forwarded-Proto $scheme; } } -
Create a symlink to enable the new site in Nginx.
ln -s /etc/nginx/sites-available/sentry.example.com.conf /etc/nginx/sites-enabled/sentry.example.com.conf -
Restart
nginxto activate the new configuration.service nginx restart -
Run
certbotto request a Let's Encrypt TLS certificate for HTTPS connections to Sentry.certbot --nginxThe interactive certificate creation wizard of
certbotprompts for additional information during certificate creation:Enter email address (used for urgent renewal and security notices) (Enter 'c' to cancel): me@myemail.com <- Enter your email address - - - - - - - - - - - - - - - - - - - - - - - - - - - - - - - - - - - - - - - - Please read the Terms of Service at https://letsencrypt.org/documents/LE-SA-v1.2-November-15-2017.pdf. You must agree in order to register with the ACME server at https://acme-v02.api.letsencrypt.org/directory - - - - - - - - - - - - - - - - - - - - - - - - - - - - - - - - - - - - - - - - (A)gree/(C)ancel: a <- Type **a** to accept the terms of service - - - - - - - - - - - - - - - - - - - - - - - - - - - - - - - - - - - - - - - - Would you be willing to share your email address with the Electronic Frontier Foundation, a founding partner of the Let's Encrypt project and the non-profit organization that develops Certbot? We'd like to send you email about our work encrypting the web, EFF news, campaigns, and ways to support digital freedom. - - - - - - - - - - - - - - - - - - - - - - - - - - - - - - - - - - - - - - - - (Y)es/(N)o: y <- If you like to share your email address with the EFF, press **y**, otherwise **n** Which names would you like to activate HTTPS for? - - - - - - - - - - - - - - - - - - - - - - - - - - - - - - - - - - - - - - - - 1: sentry.example.com - - - - - - - - - - - - - - - - - - - - - - - - - - - - - - - - - - - - - - - - Select the appropriate numbers separated by commas and/or spaces, or leave input blank to select all options shown (Enter 'c' to cancel): 1 <-- Select the appropriate number for the certificate name. In this example **1** Obtaining a new certificate Performing the following challenges: http-01 challenge for sentry.example.com Waiting for verification... Cleaning up challenges Deploying Certificate to VirtualHost /etc/nginx/sites-enabled/sentry.example.com Please choose whether or not to redirect HTTP traffic to HTTPS, removing HTTP access. - - - - - - - - - - - - - - - - - - - - - - - - - - - - - - - - - - - - - - - - 1: No redirect - Make no further changes to the webserver configuration. 2: Redirect - Make all requests redirect to secure HTTPS access. Choose this for new sites, or if you're confident your site works on HTTPS. You can undo this change by editing your web server's configuration. - - - - - - - - - - - - - - - - - - - - - - - - - - - - - - - - - - - - - - - - Select the appropriate number [1-2] then [enter] (press 'c' to cancel): 2 <- Type **2** to automatically redirect all HTTP requests to HTTPS. Type **1** to allow plain HTTP connections. Redirecting all traffic on port 80 to ssl in /etc/nginx/sites-enabled/sentry.example.com - - - - - - - - - - - - - - - - - - - - - - - - - - - - - - - - - - - - - - - - Congratulations! You have successfully enabled https://sentry.example.com You should test your configuration at: https://www.ssllabs.com/ssltest/analyze.html?d=sentry.example.com - - - - - - - - - - - - - - - - - - - - - - - - - - - - - - - - - - - - - - - - IMPORTANT NOTES: - Congratulations! Your certificate and chain have been saved at: /etc/letsencrypt/live/sentry.example.com/fullchain.pem Your key file has been saved at: /etc/letsencrypt/live/sentry.example.com/privkey.pem Your cert will expire on 2020-12-23. To obtain a new or tweaked version of this certificate in the future, simply run certbot again with the "certonly" option. To non-interactively renew *all* of your certificates, run "certbot renew" - Your account credentials have been saved in your Certbot configuration directory at /etc/letsencrypt. You should make a secure backup of this folder now. This configuration directory will also contain certificates and private keys obtained by Certbot so making regular backups of this folder is ideal. - If you like Certbot, please consider supporting our work by: Donating to ISRG / Let's Encrypt: https://letsencrypt.org/donate Donating to EFF: https://eff.org/donate-le
Disabling direct access to the Sentry application
We disable direct access to the Sentry application, running on port 9000 for security reasons. All requests to the application have to pass via the Nginx reverse proxy. To do this we use the UFW firewall.
- Start by defining the policy, that refuses everything by default.
ufw default deny - Enable outgoing traffic.
ufw default allow outgoing - Authorize SSH, HTTP and HTTPS connections to the machine.
ufw allow 22/tcp ufw allow 80/tcp ufw allow 443/tcp - Enable the new firewall configuration.
ufw enable
Command may disrupt existing ssh connections. Proceed with operation (y|n)? y <- type **y**
Firewall is active and enabled on system startup
Connecting to the Sentry interface
- Connect from a browser:
https://sentry.example.com/once the installation completes. - Log in with the user created during the installation.
- Provide additional information and parameters. The Sentry Dashboard displays:
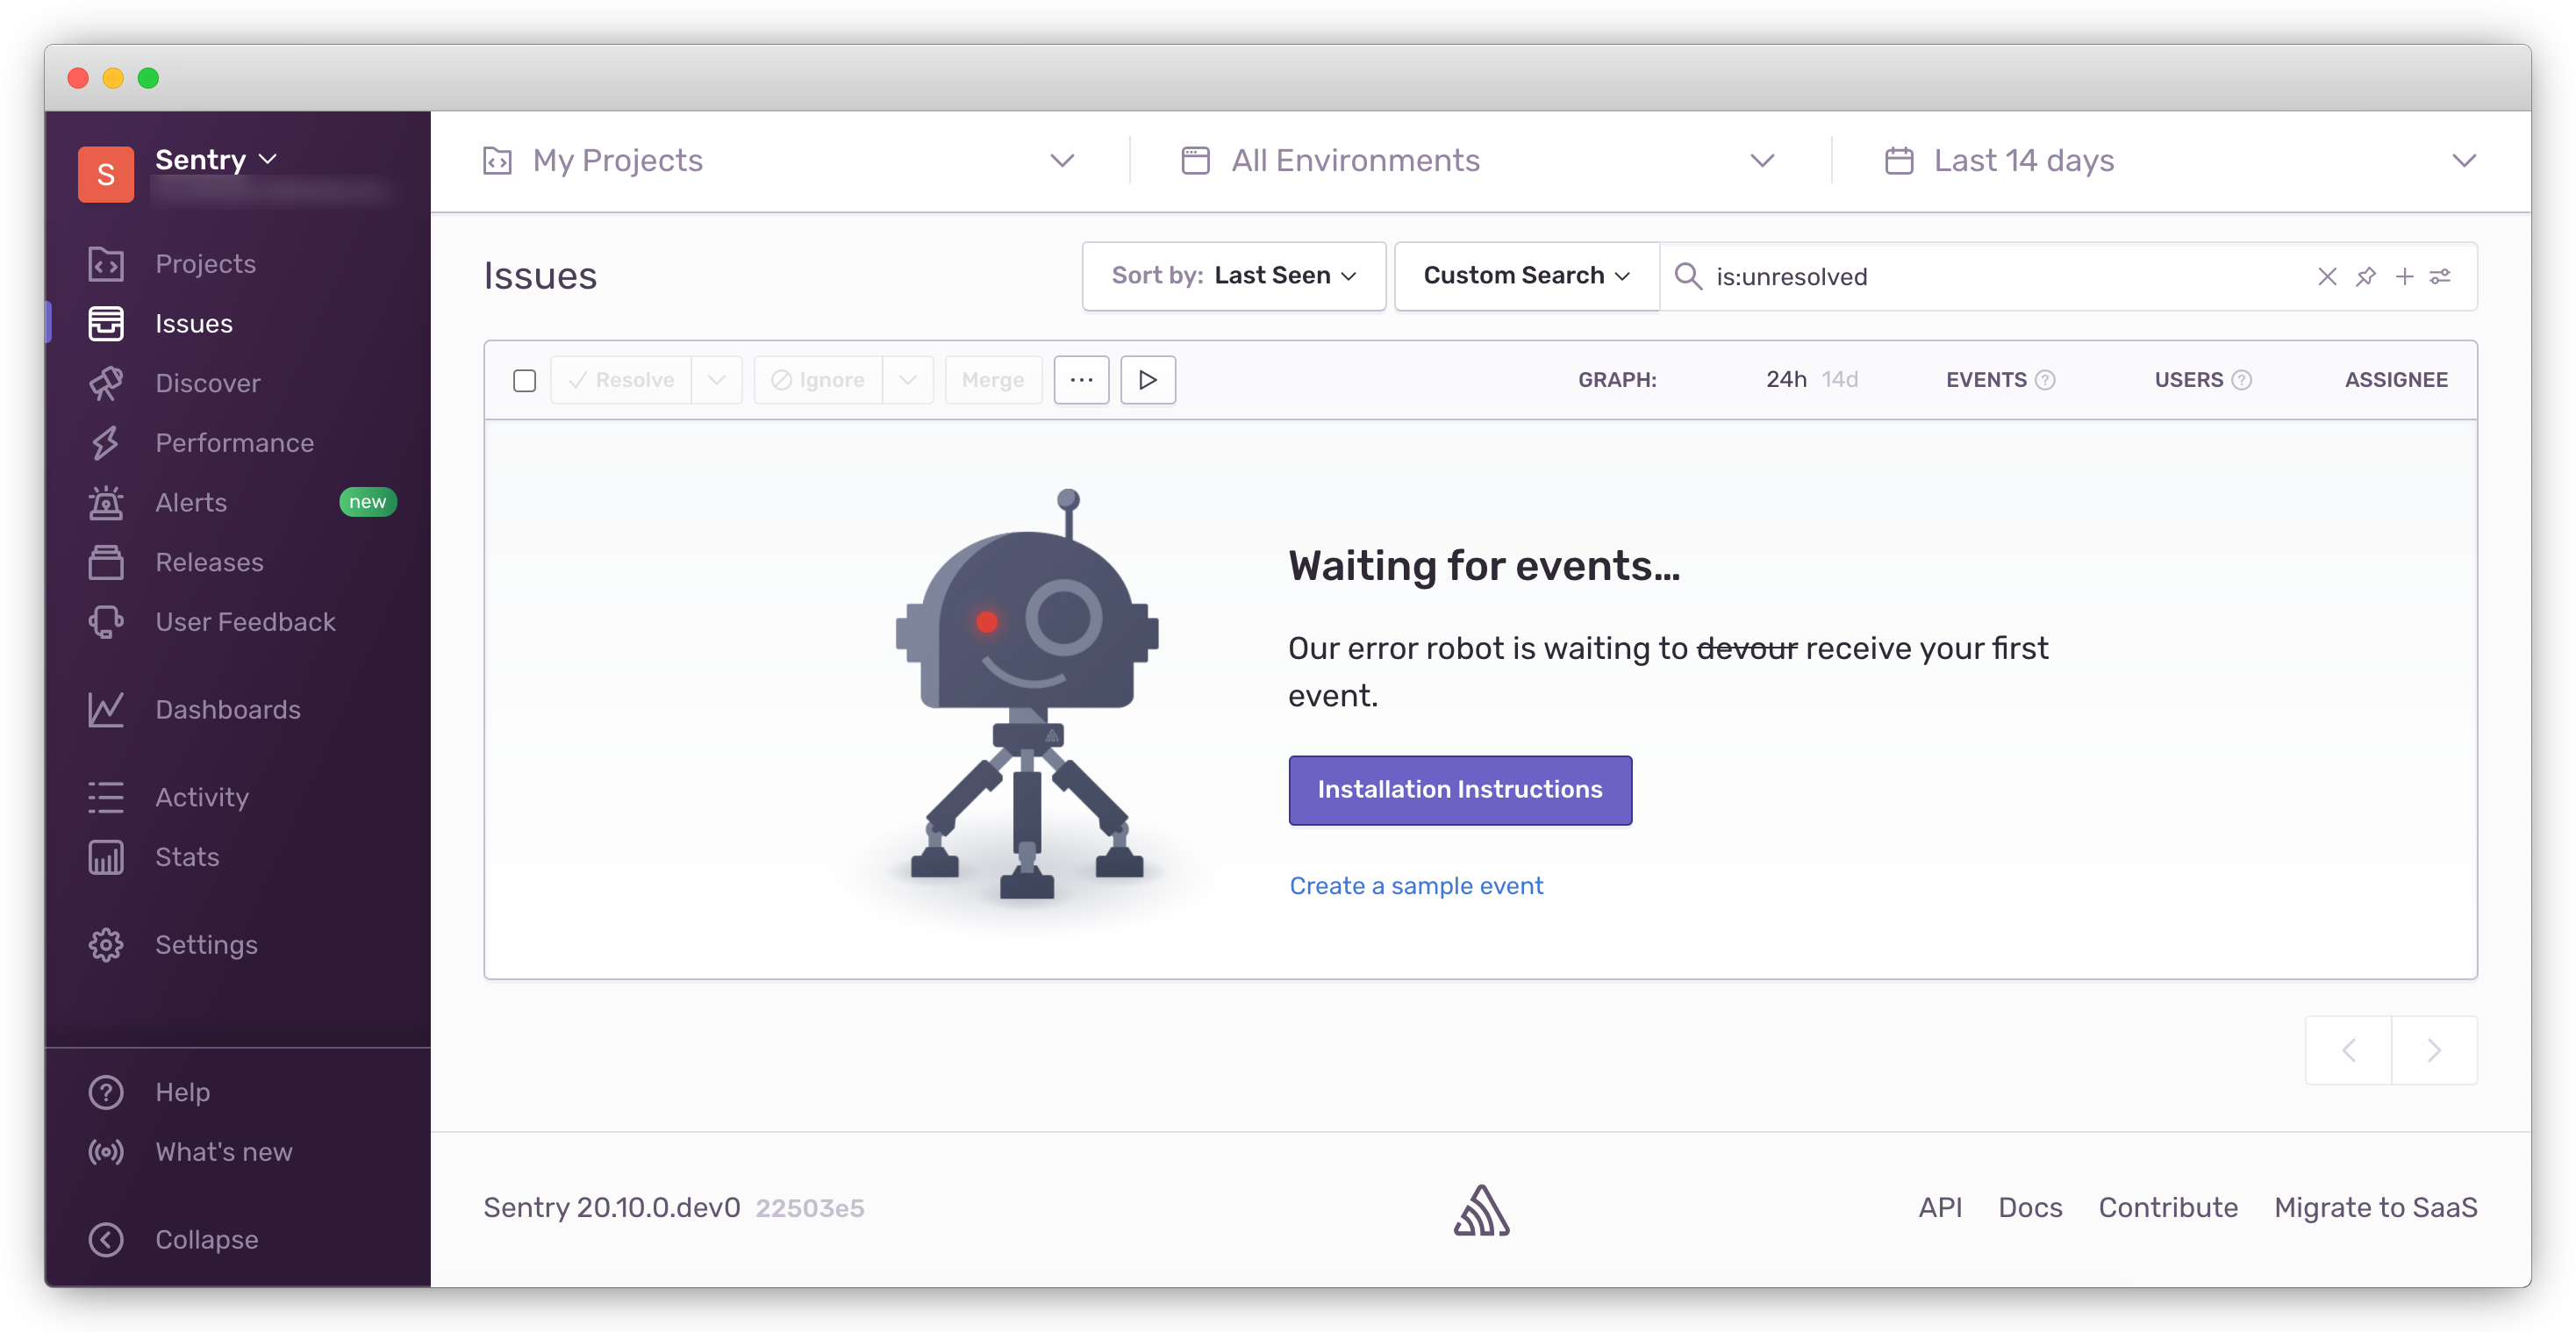
- Click Projects > New Project to create a new project.
Your Sentry server is running now, and you can integrate it with your applications. You can also add additional features by adding different Plugins into Sentry.
Sentry is a powerful tool you can use to automate your workflow and increase the user experience by reducing the time to market of your applications. There are many SDK's for various programming languages available.
Visit our Help Center and find the answers to your most frequent questions.
Visit Help Center