Configuring Flask on Ubuntu Bionic Beaver
Flask is a web application framework written in Python. Flask is easy to get started with as a beginner because there is little boilerplate code for getting a simple app up and running.
Before you start
To complete the actions presented below, you must have:
- A Scaleway account logged into the console
- Owner status or IAM permissions allowing you to perform actions in the intended Organization
- An SSH key
- An Instance running on Ubuntu Bionic Beaver (20.04 LTS)
Setting up the environment
- Connect to your Instance using SSH.
- Update the APT package cache and upgrade the software already installed on the Instance:
apt update && apt upgrade -y
Installing Python
If you do not have Python installed on your computer, download the installer from the Python official website.
To make sure your Python installation is functional, you can open a
terminal window and type python3, or if that does not work, just python.
python3which returns
Python 3.8.10 (default, Nov 26 2021, 20:14:08)
[GCC 9.3.0] on linux
Type "help", "copyright", "credits" or "license" for more information.
To exit the interactive prompt, you can type exit() and press Enter. On
the Linux and Mac OS X versions of Python you can also exit the
interpreter by pressing Ctrl+D. On Windows, the exit shortcut is Ctrl+Z,
followed by Enter.
Setting up Flask
In Python, packages such as Flask are available in a public repository, from where anybody can download and install them. The official Python package repository is called PyPI, which stands for Python Package Index.
-
Optionally, if you have not installed
pip, run the following command:apt install python3-pip -
Install Flask.
pip install Flask -
Create a folder called
FlaskApp.mkdir FlaskApp -
Navigate to the FlaskApp folder and create a file called
app.py.cd FlaskApp nano app.py -
Paste the following content to the
app.pyfile.from flask import Flask app = Flask(__name__) @app.route("/") def main(): return "Welcome to the first Flask App!" if __name__ == "__main__": app.run(host='0.0.0.0') -
Save the changes and execute
app.py.python3 app.pywhich returns
* Serving Flask app "app" (lazy loading) * Environment: production WARNING: Do not use the development server in a production environment. Use a production WSGI server instead. * Debug mode: off * Running on http://0.0.0.0:5000/ (Press CTRL+C to quit) -
Open your web browser and type the
server_ip:port. It should display:
Creating URL routes
URL Routing makes URLs in your Web app easy to remember.
We will create several URL routes:
- /hello
- /writers/
- /writers/tutorials/
-
Copy the code below and save it as
app.py:app = Flask(__name__) @app.route("/") def index(): return "Index!" @app.route("/hello") def hello(): return "Hello Cloud Riders!" @app.route("/hello") def hello(): return "Hello!" @app.route("/writers") def writers(): return "Have a nice day, from the Scaleway Tech Writers!" @app.route("/writers/<string:name>/") def getWriters(name): return name if __name__ == "__main__": app.run(host='0.0.0.0') -
Restart the application:
python3 app.pyTry the URLs in your browser:
- http://server_ip:5000/
- http://server_ip:5000/hello
- http://server_ip:5000/writers
Each route should display what is defined in the
app.pyabove, for instance, http://server_ip:5000/hello displays:
Styling Flask pages
In Flask, templates are written as separate files, stored in a templates folder that is inside the application package. So after making sure that you are in the FlaskApp directory, create the directory where templates will be stored.
Following the procedure to create applications shown in the previous steps, we will create a new application called hello.py running on port 80. with the following configuration:
from flask import Flask, flash, redirect, render_template, request,
session, abort

app = Flask(__name__)

@app.route("/")
def index():
    return "Flask App!"

@app.route("/hello/<string:name>/")
def hello(name):
    return render_template(
        'test.html',name=name)

if __name__ == "__main__":
app.run(host='0.0.0.0', port=80)-
Create a directory called
templates:mkdir templates -
Create a
test.htmlfile:nano test.html -
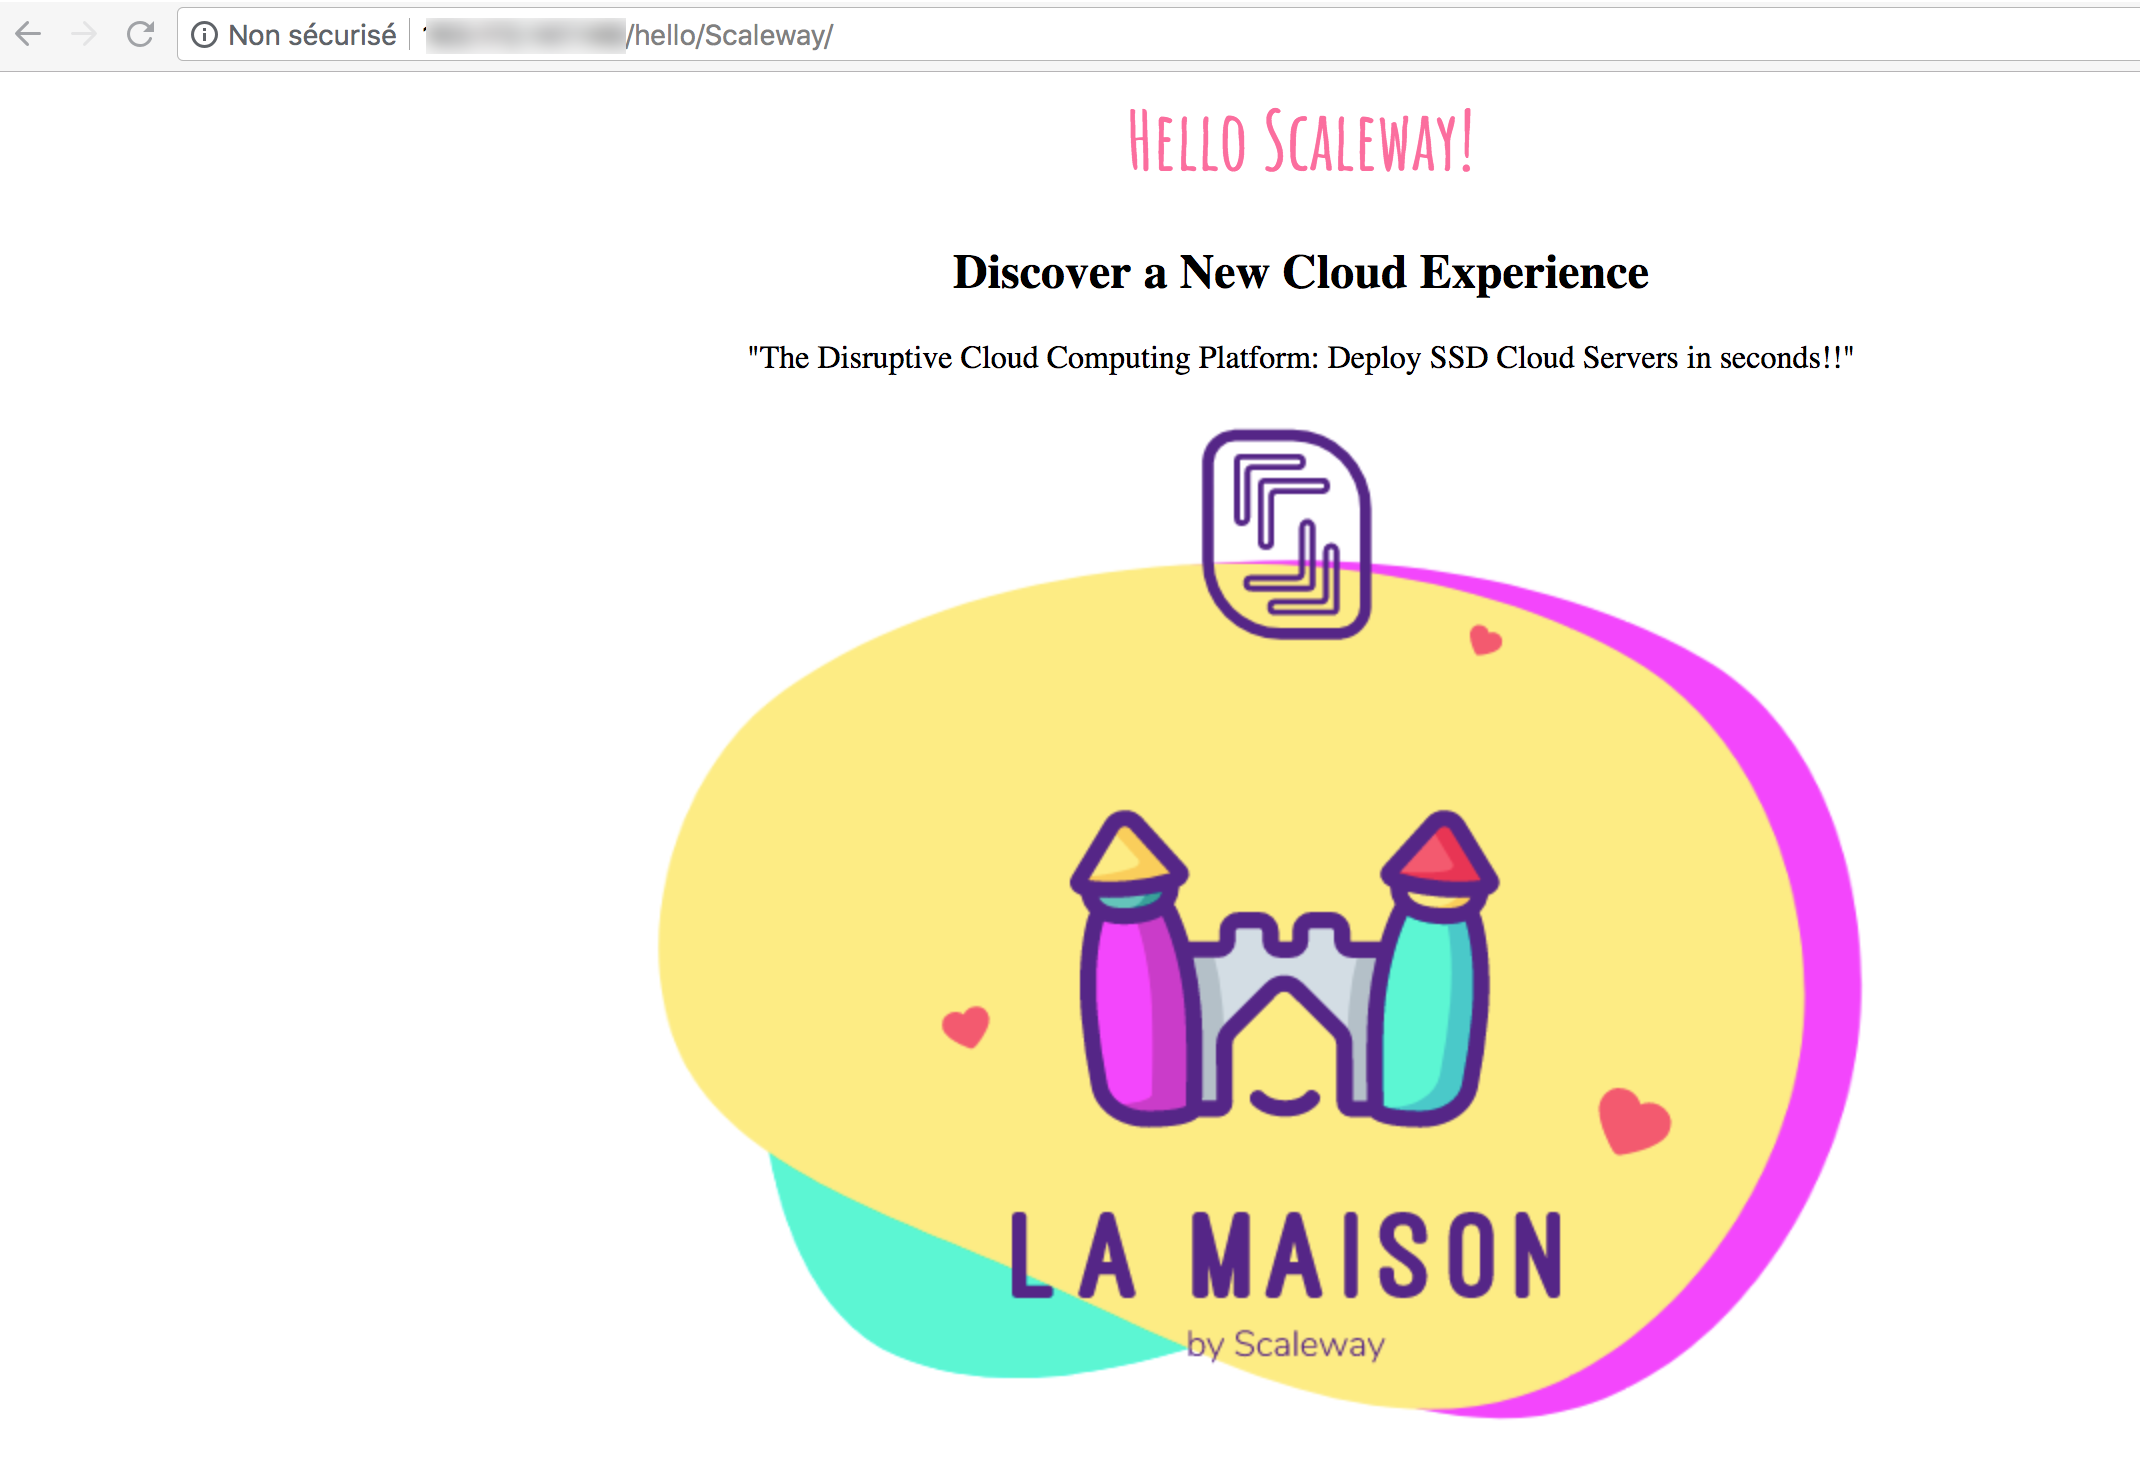
Paste the following code into your
test.htmlfile, save your changes, and exit.{% extends "layout.html" %} {% block body %} <div class="block1"> <h1>Hello {{name}}!</h1> <h2>Discover a New Cloud Experience</h2> <p> "The Disruptive Cloud Computing Platform: Deploy SSD Cloud Servers in seconds!!" </p> </div> {% endblock %} -
Create a
layout.htmlfile usingnano layout.html, and paste the following code:<html> <head> <title>Website</title> <style> @import url(http://fonts.googleapis.com/css?family=Amatic+SC:700); body { text-align: center; } h1 { font-family: 'Amatic SC', cursive; font-weight: normal; color: #FD6C9E; font-size: 2.5em; } </style> </head> <body> {% block body %}{% endblock %} -
Launch the application:
python3 hello.pythe application should display
Passing variables
Let's try and display random Scaleway catchphrases instead of always the same one. We will need to pass both the name and the quote variables.
-
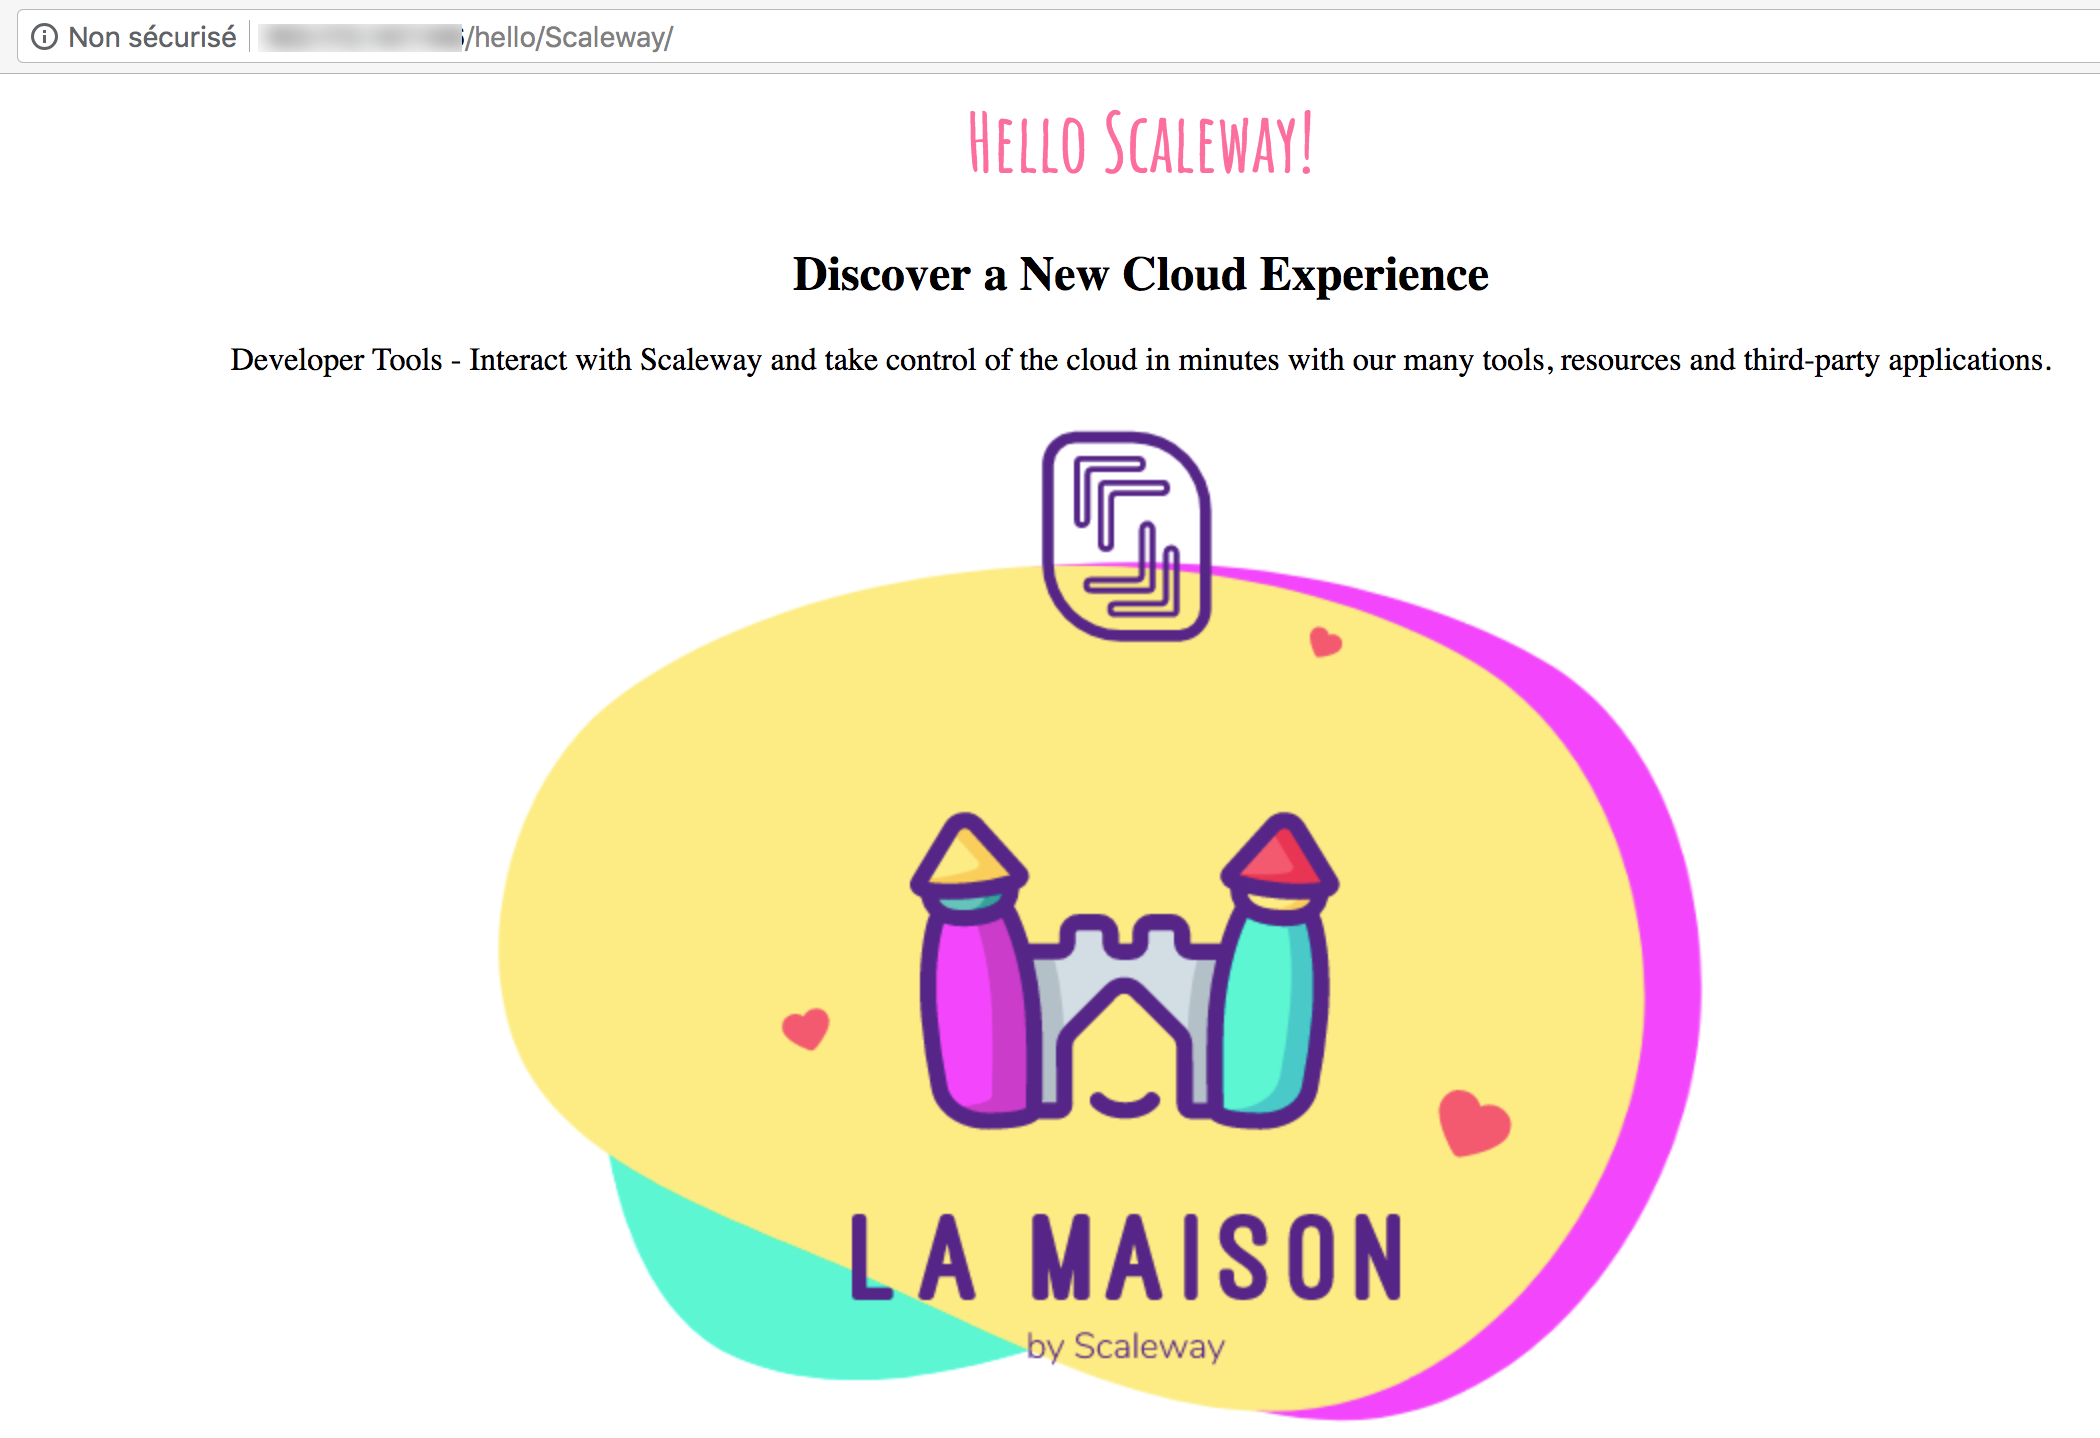
In the
templatesdirectory, edittest.htmlto match the following:{% extends "layout.html" %} {% block body %} <div class="block1"> <h1>Hello {{name}}!</h1> <h2>Discover a New Cloud Experience</h2> <p>{{quote}}</p> </div> {% endblock %} -
Save and exit.
-
In the application called
hello.py, update the configuration to look like the following:from flask import Flask, flash, redirect, render_template, request, session, abort from random import randint app = Flask(__name__) @app.route("/") def index(): return "Flask App!" #@app.route("/hello/<string:name>") @app.route("/hello/<string:name>/") def hello(name): # return name quotes = [ "Pay as You Go - Enjoy a new cloud experience starting at 0.004euros per hour.", "Multiple Datacenters - Maximize your services reliability by running your infrastructure through autonomous facilities spread across multiple regions.", "Over 5 Tb/s of internet bandwidth - Deliver your content anywhere thanks to our multiple high-end transit providers and the best peerings.", "Limitless Infrastructure Combinations - Additional volumes, movable IPs, security groups and hot snapshots are available on all our servers.", "Developer Tools - Interact with Scaleway and take control of the cloud in minutes with our many tools, resources and third-party applications.", "Hourly Billing - All our cloud resources are billed per hour with monthly capping. Scaleway pricing is predictable and transparent, with no hidden costs."$ randomNumber = randint(0,len(quotes)-1) quote = quotes[randomNumber] return render_template( 'test.html',**locals()) if __name__ == "__main__": app.run(host='0.0.0.0', port=80)As you can notice, we updated the
quotesvariable with an array of multiples quotes. These can be accessed as quote[0], quote[1], quote[2] and so on. The function randint() returns a random number between 0 and the total number of quotes, one is subtracted because we start counting from zero.We also added a locals() function which always returns a dictionary of the current namespace.
-
Save and exit.
-
Run the application
hello.py.python3 hello.py
To learn more about Flask, refer to the official Flask documentation.
Visit our Help Center and find the answers to your most frequent questions.
Visit Help Center