Deploying WordPress on a Scaleway Kubernetes cluster with the Application Library
WordPress is a well-known CMS (Content Management System) allowing you to create evolving websites.
This tutorial teaches you how to install WordPress on a Scaleway Kubernetes Kapsule or Kosmos cluster by using the Application Library in the Easy-Deploy feature.
You can perform most of these steps directly from the Scaleway console.
Before you start
To complete the actions presented below, you must have:
- A Scaleway account logged into the console
- Owner status or IAM permissions allowing you to perform actions in the intended Organization
- A Scaleway Kubernetes Kapsule or Kosmos cluster
- Installed kubectl on your local computer
Creating a Kubernetes Kapsule cluster and deploying WordPress
-
Go to the Kubernetes dashboard in the Scaleway console.
-
Select the cluster you want to deploy WordPress to.
-
Select the Easy Deploy tab.
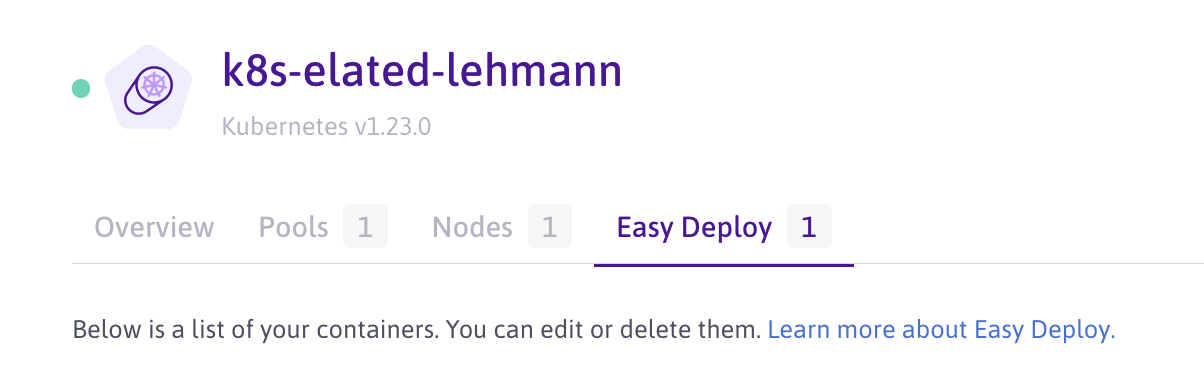
The Application Library allows you to deploy a WordPress CMS application. You can use the search bar to locate the application.
-
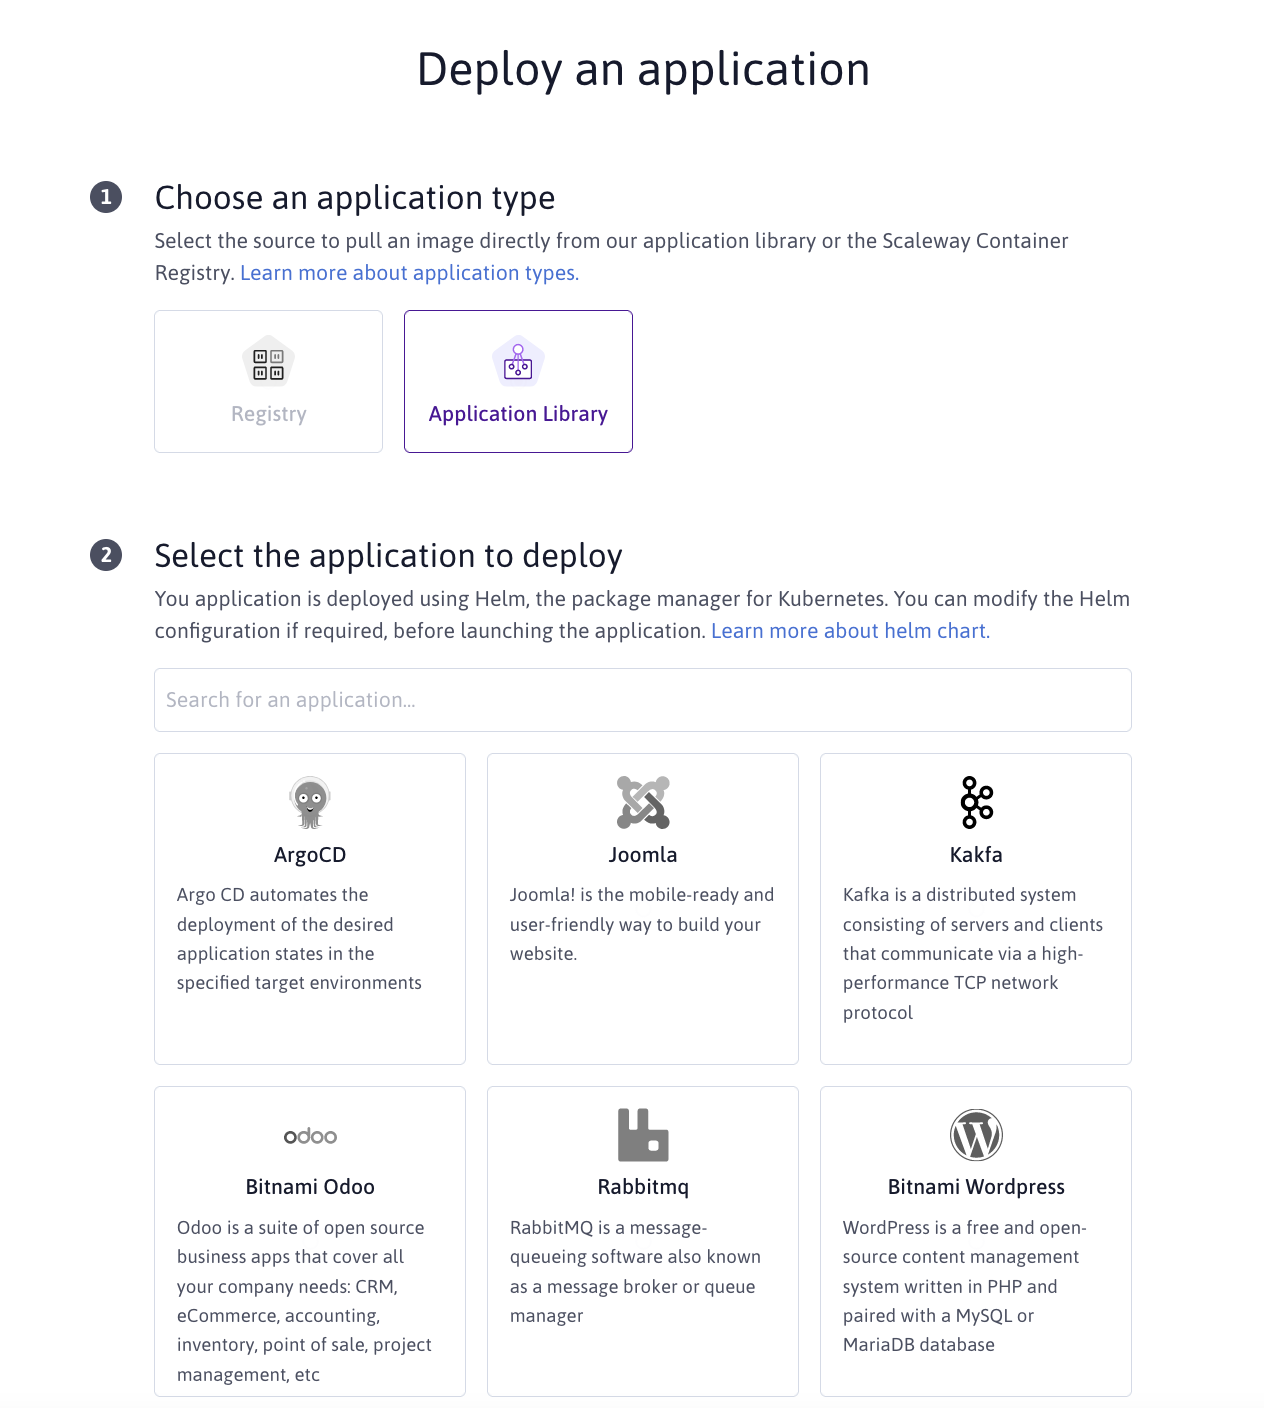
Click Deploy an application.
-
Select Application Library as the application type.
-
Search for the application you want to deploy using the search bar.
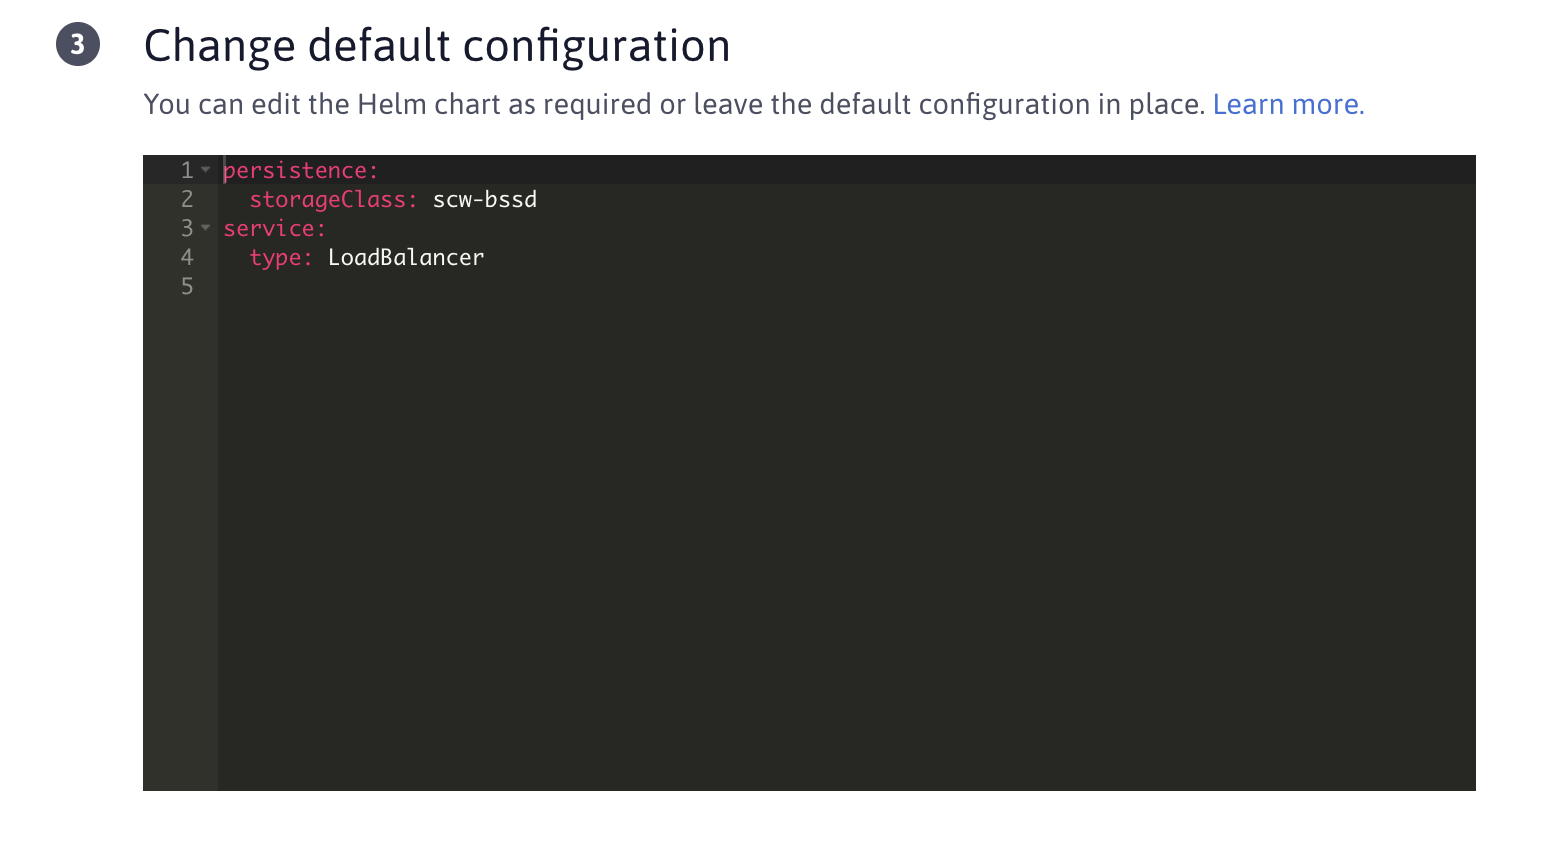
The default configuration for the application is set automatically in a YAML format when you select it. You can edit the configuration to fit to your application deployment within the YAML editor displayed.
-
Enter a name for your application and the Kubernetes namespace you want to deploy it to.
-
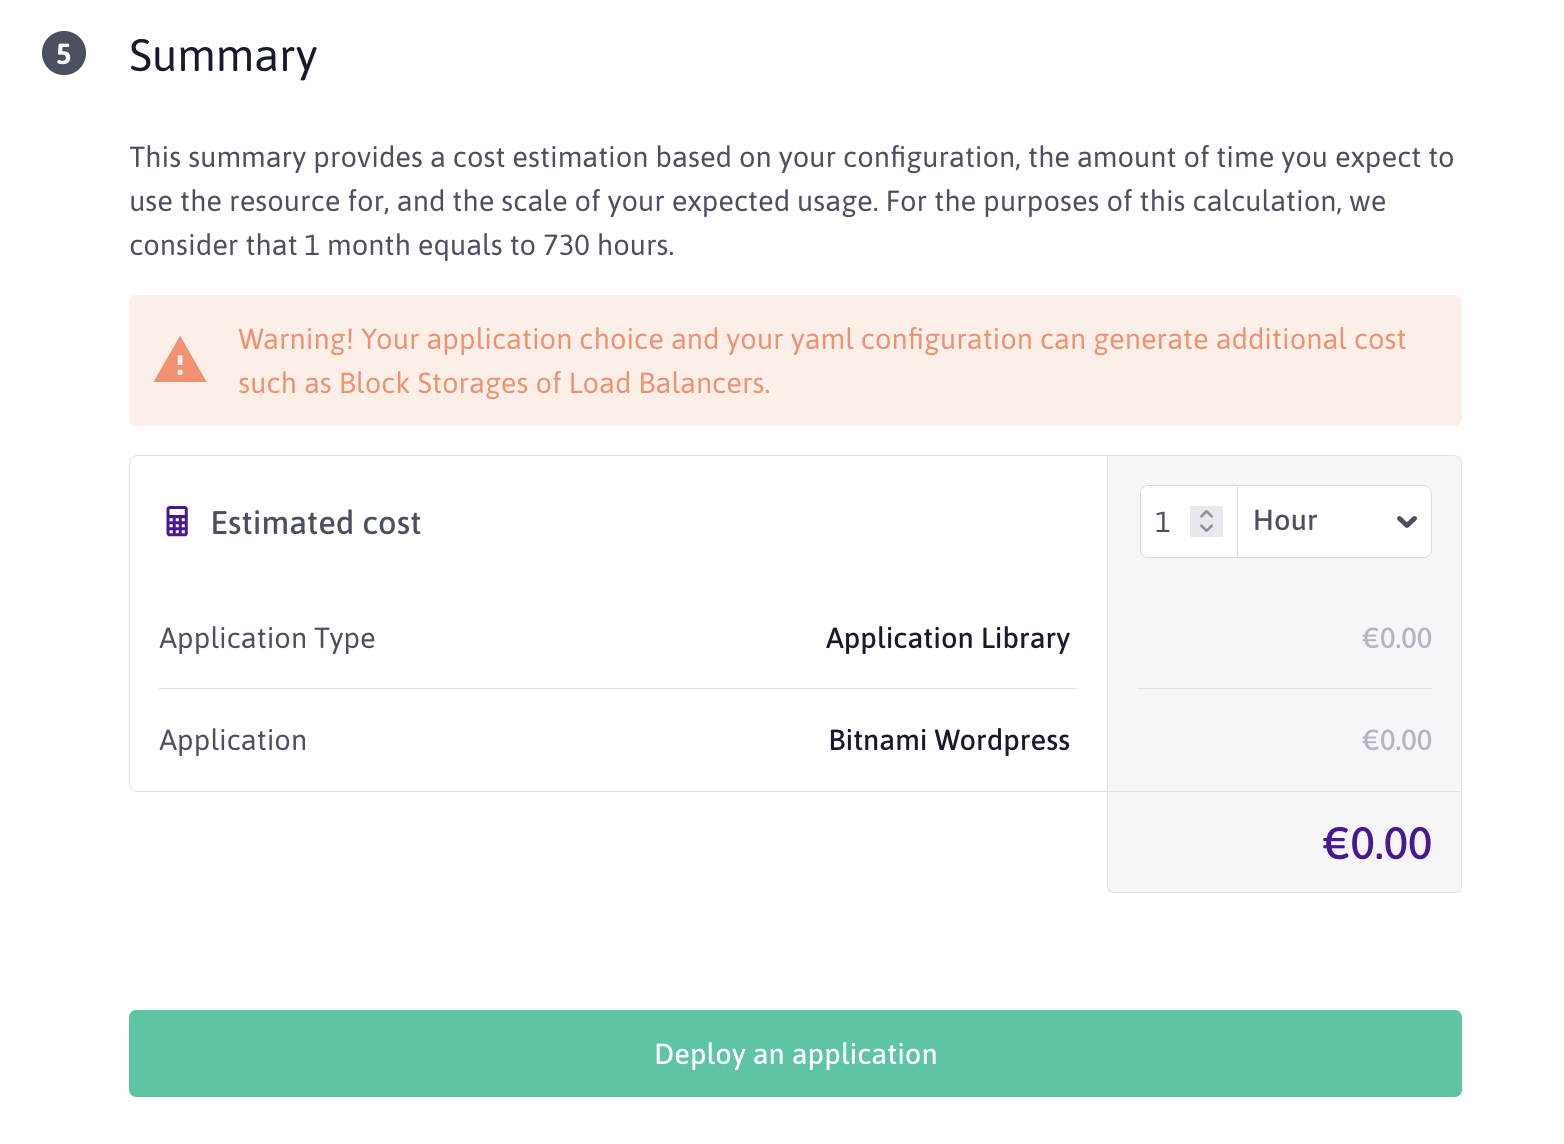
Once configured, click Deploy an application to deploy your application on your Kubernetes cluster.
You are then redirected to the listing page of our deployed applications.
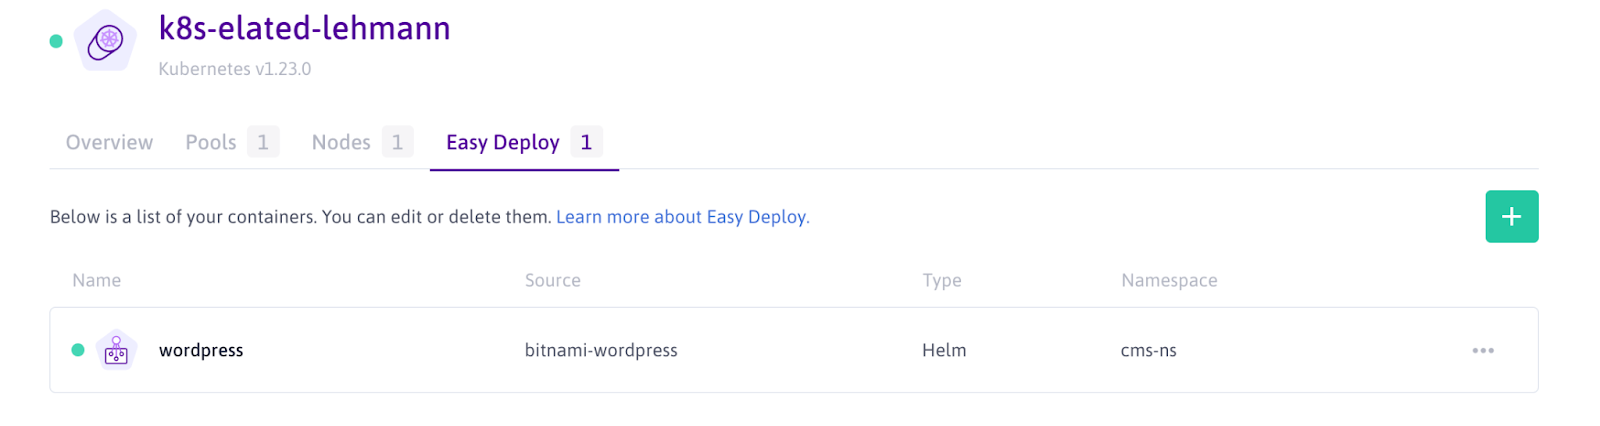
-
Check that the deployment is successful by running the command
kubectl get all -n cms-nsin your terminal.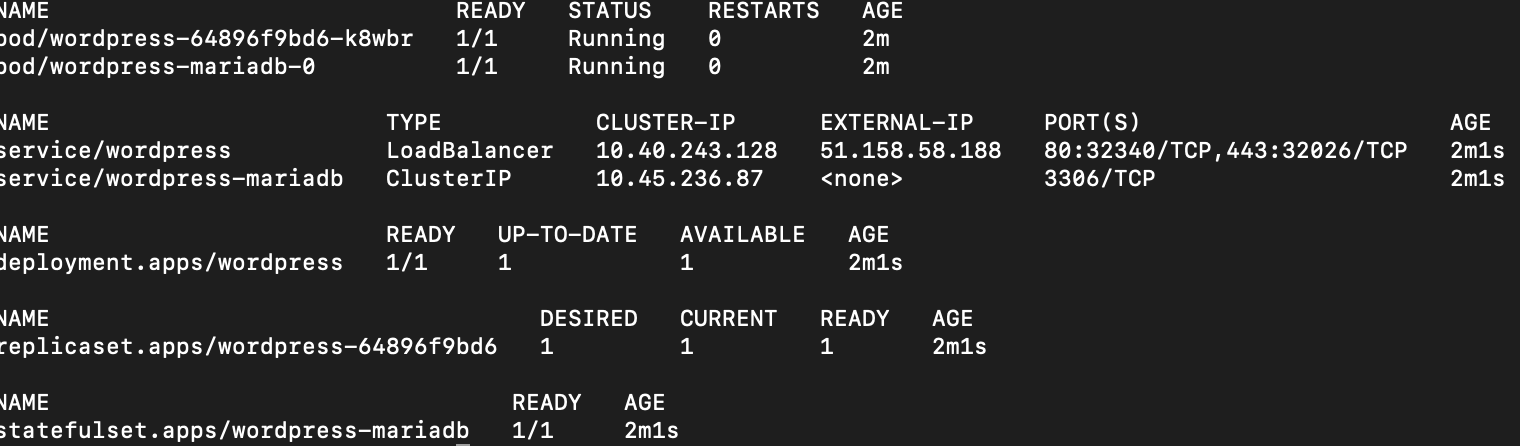
You can see that your WordPress application is running, and has even created a MariaDB database within your cluster to store our data on Scaleway Block Storage. You also have access to the Load Balancer that was created to access your WordPress using the external IP displayed.
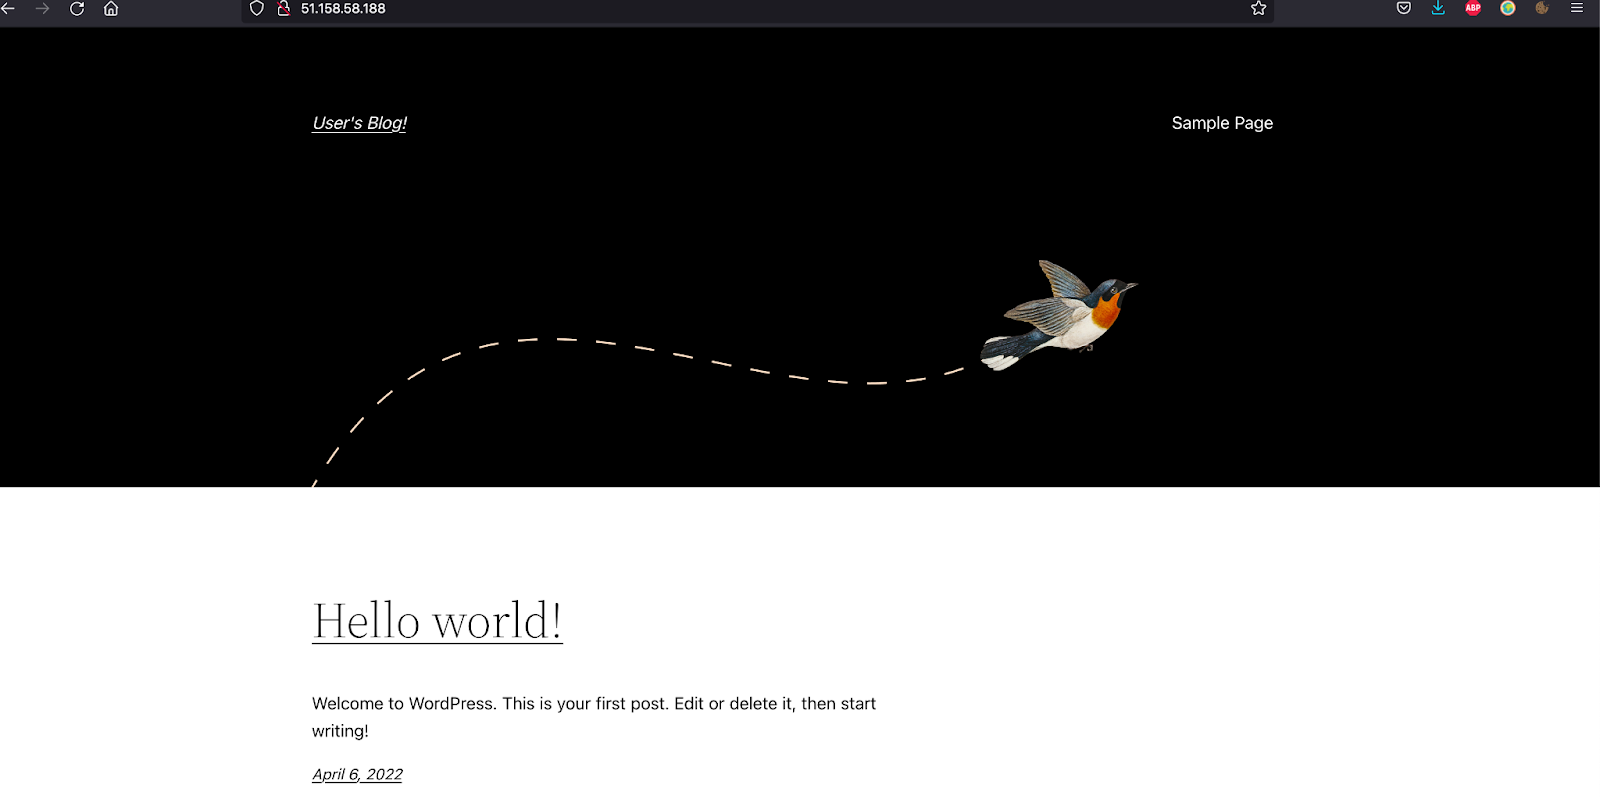
-
Access your WordPress application by entering the external IP provided in a web browser. The WordPress website displays in your browser.
Visit our Help Center and find the answers to your most frequent questions.
Visit Help Center