How to configure an IPv6 subnet on a Dedibox running Windows Server
Before you start
To complete the actions presented below, you must have:
- A Dedibox account logged into the console
- A Dedibox dedicated server
- Requested a /48 IPv6 prefix
How to set the DUID in the Windows Registry
- Launch the Registry Editor by typing
regedit.exein the start menu:
- Scroll down until you reach the following setting:
HKEY_LOCAL_MACHINE\System\CurrentControlSet\services\TCPIP6\Parametersand edit the valueDhcpv6DUIDwith the DUID of your block by double clicking on the default value:
How to configure IPv6 connectivity
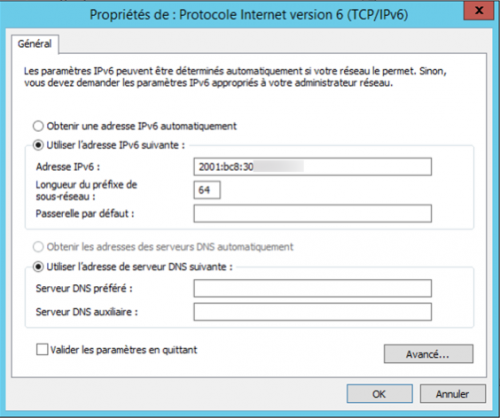
- Go to your network settings, and double-click on your internet connection.
- Open the connection details and enter the IPv6 settings. Set the IP of the machine to an IPv6 address of your subnet and the netmask:
- Once you have saved the configuration, open a terminal and test the connection by running a
ping -6 google.comortracert -6 google.com: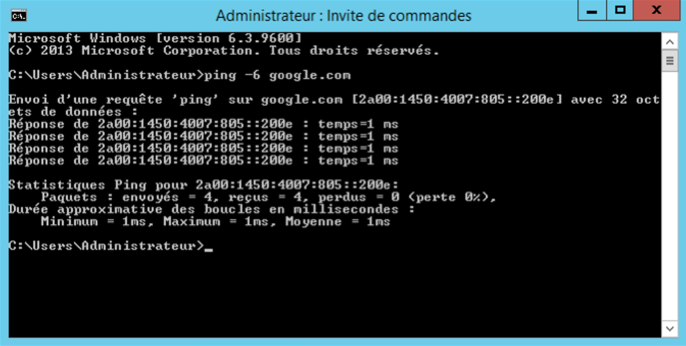
See Also
Still need help?Create a support ticket