Configuring the WordPress SMTP plug-in with Transactional Email
Before you start
To complete the actions presented below, you must have:
- A Scaleway account logged into the Scaleway console
- Owner status or IAM permissions allowing you to perform actions in the intended Organization
- Configured your domain with Transactional Email
- Added SPF, DKIM, MX and DMARC records to your domain
Creating your resources
- Create an API key from the Scaleway console. Make sure that you take note of your secret key.
- Create an Instance with a WordPress image from the InstantApps tab.
- Create a security group, choose your Instance to it to the security group, and check the Enable SMTP ports box.
Configuring and logging in to your WordPress website
- Copy your Instance's public DNS and paste it into a web browser, then hit
Enter. The WordPress language configuration page displays. - Select your preferred language, then click Continue. The WordPress installation page displays.
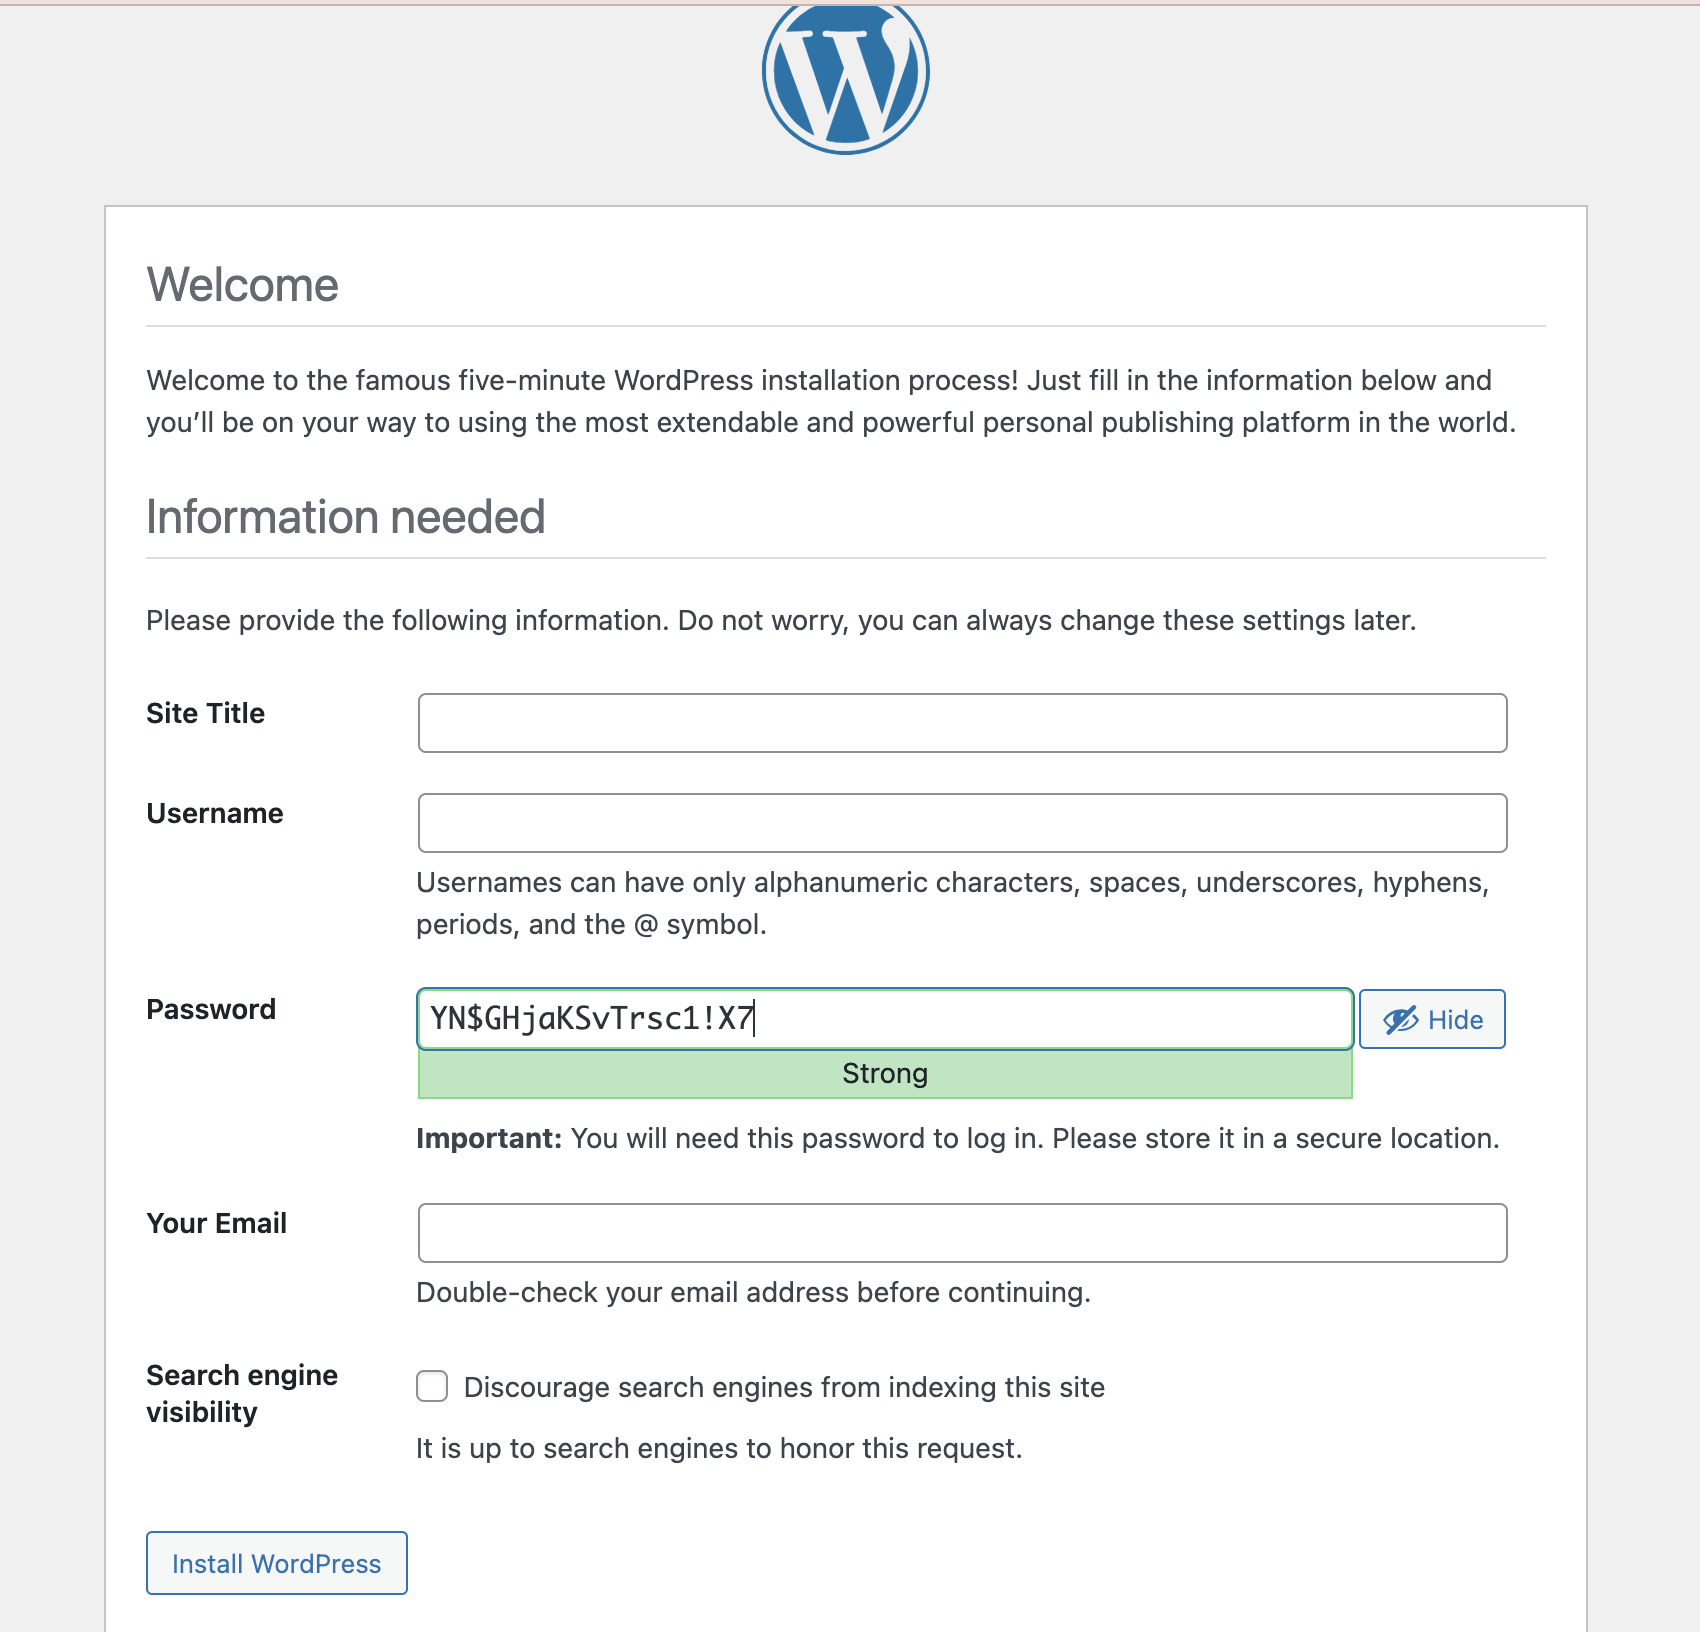
- Configure your WordPress website, then click Install WordPress. A confirmation page displays.
- Log in to your WordPress website using the credentials you have created.
Installing the WordPress plug-in
- Click Plugins in the WordPress left-side menu. The Installed Plugins section displays.
- Click the Add New Plugin section.
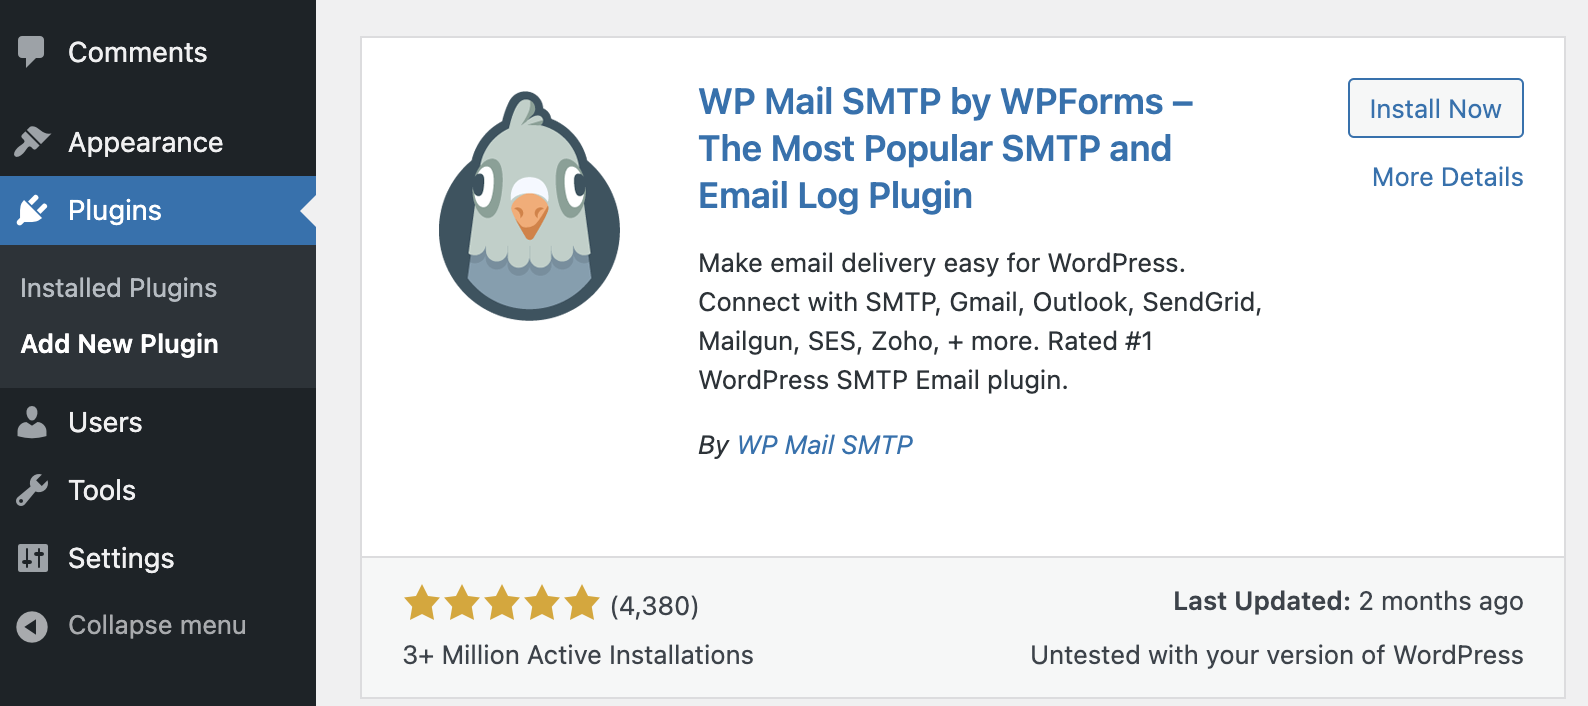
- Type
WP Mail SMTPin the search bar in the top right-hand corner. - Click Install Now and wait until you see the Installed status.
- Click Installed Plugins and check that the plug-in appears in the list of your plugins.
- Click Activate under the plug-in.
Configuring the WordPress plug-in
- Click Settings under WP Mail SMTP. You are redirected to the General tab.
- Click the Launch Setup Wizard button to configure the plug-in. You are redirected to the WP Mail SMTP welcome page.
- Click Let's Get Started.
- Choose Other SMTP, then click Save and Continue.
- Enter
smtp.tem.scaleway.comin the SMTP Host field. - Select SSL in the Encryption field.
- In the SMTP Port enter either of the Transactional Email TLS connection ports:
465or2465. - Switch on the Enable Authentication toggle.
- Access your Transactional Email domain, retrieve your Username in the SMTP configuration section of the Overview tab, and paste it in the SMTP Username field.
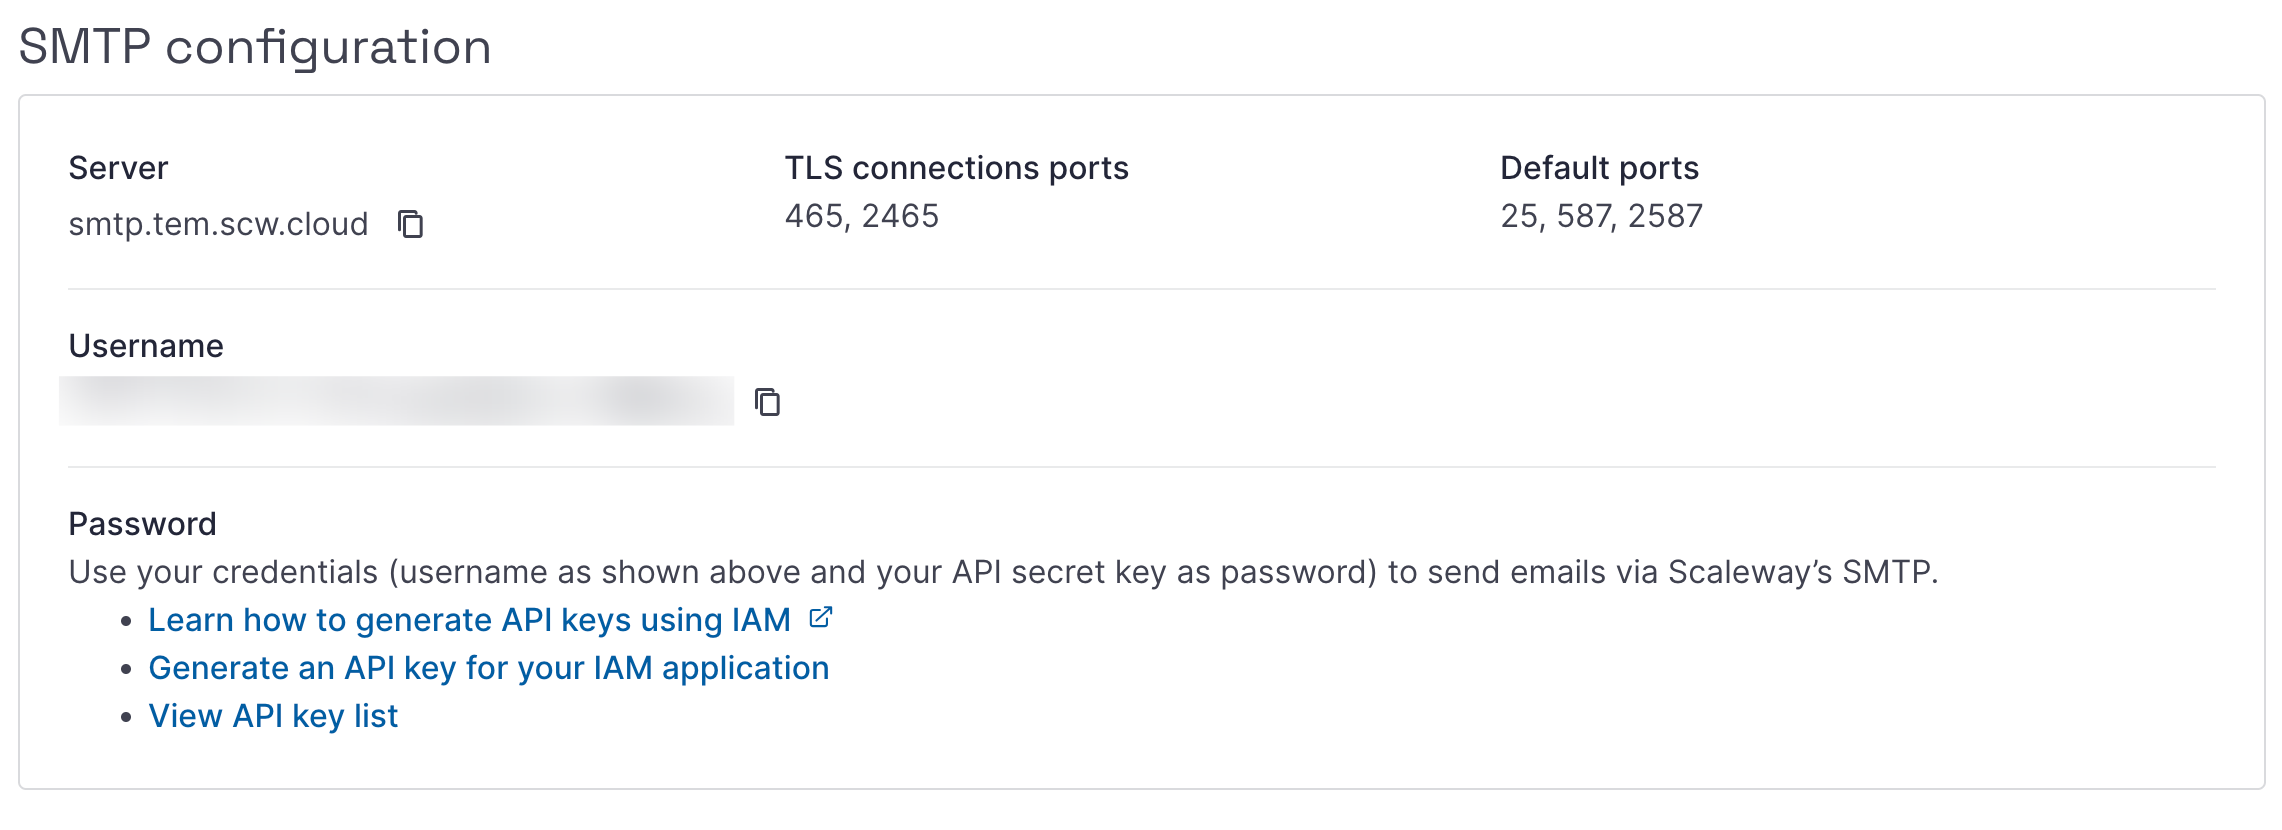
- Use your Scaleway API secret key as your SMTP password.
- Enter the name you want your emails to originate from in the From Name field.
- Switch on the Force From Name toggle. This will ignore the from name value set by other plug-ins, and force WordPress to use the one you have defined in the step above.
- Switch the Force From Email toggle to ON. This will ignore the from email address value set by other plug-ins, and force WordPress to use the one you have defined in the step above.
- Click Save and Continue.
- Select the email features you want to enable, then click Save and Continue.
Sending emails
- Click the Email Test tab.
- Type the email address you want to send your test email to in the Send To field. For testing purposes, we recommend that you send the email to an email address you can access.
- Click the Send Email button.
- Check that the email was sent to the email address you have added.
Questions?
Visit our Help Center and find the answers to your most frequent questions.
Visit Help Center