Setting up a custom email domain with iCloud and Scaleway DNS
iCloud is Apple's service that allows you to securely store and manage your data across the entire Apple ecosystem.
While it is most commonly used for the storage of photos or the backup of devices in the cloud, an iCloud+ feature correctly named Custom Email Domain allows you to set up an email address with your own domain.
Before you start
To complete the actions presented below, you must have:
- An iCloud account upgraded with iCloud+ premium features
- Configured a domain name
- A Scaleway account logged into the console
- Owner status or IAM permissions allowing you to perform actions in the intended Organization
Adding the domain on iCloud
-
Log into your iCloud account
-
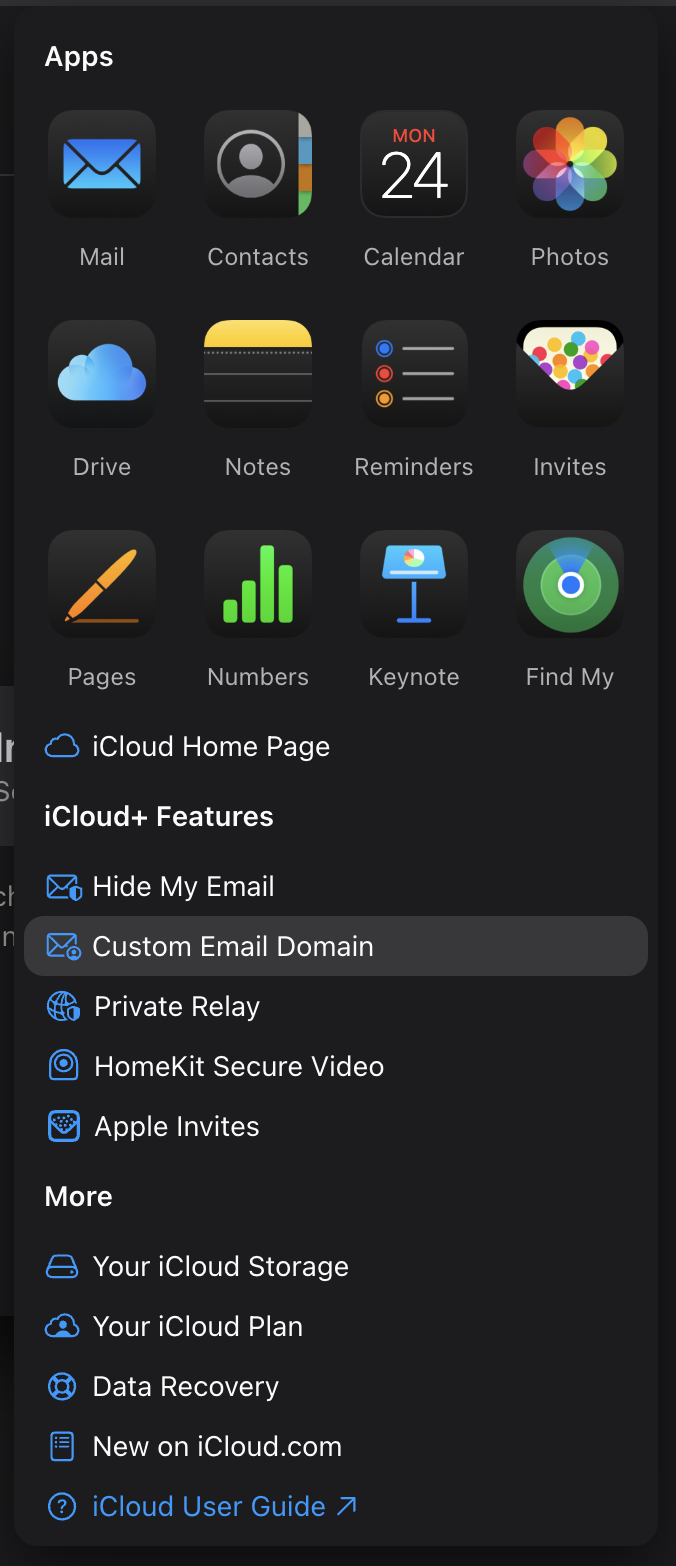
Click the button that looks like a grid, next to your avatar, in the navbar at the top of the page. A menu displays.

-
Click Custom Email Domain. A new page with a form displays.
-
Click Add a domain you own.
-
Select Only You.
-
Type the domain you own and want to use for your email address. For example, if you want your email address to be
me@mysuperdomain.com, typemysuperdomain.com. A multi-steps instruction displays.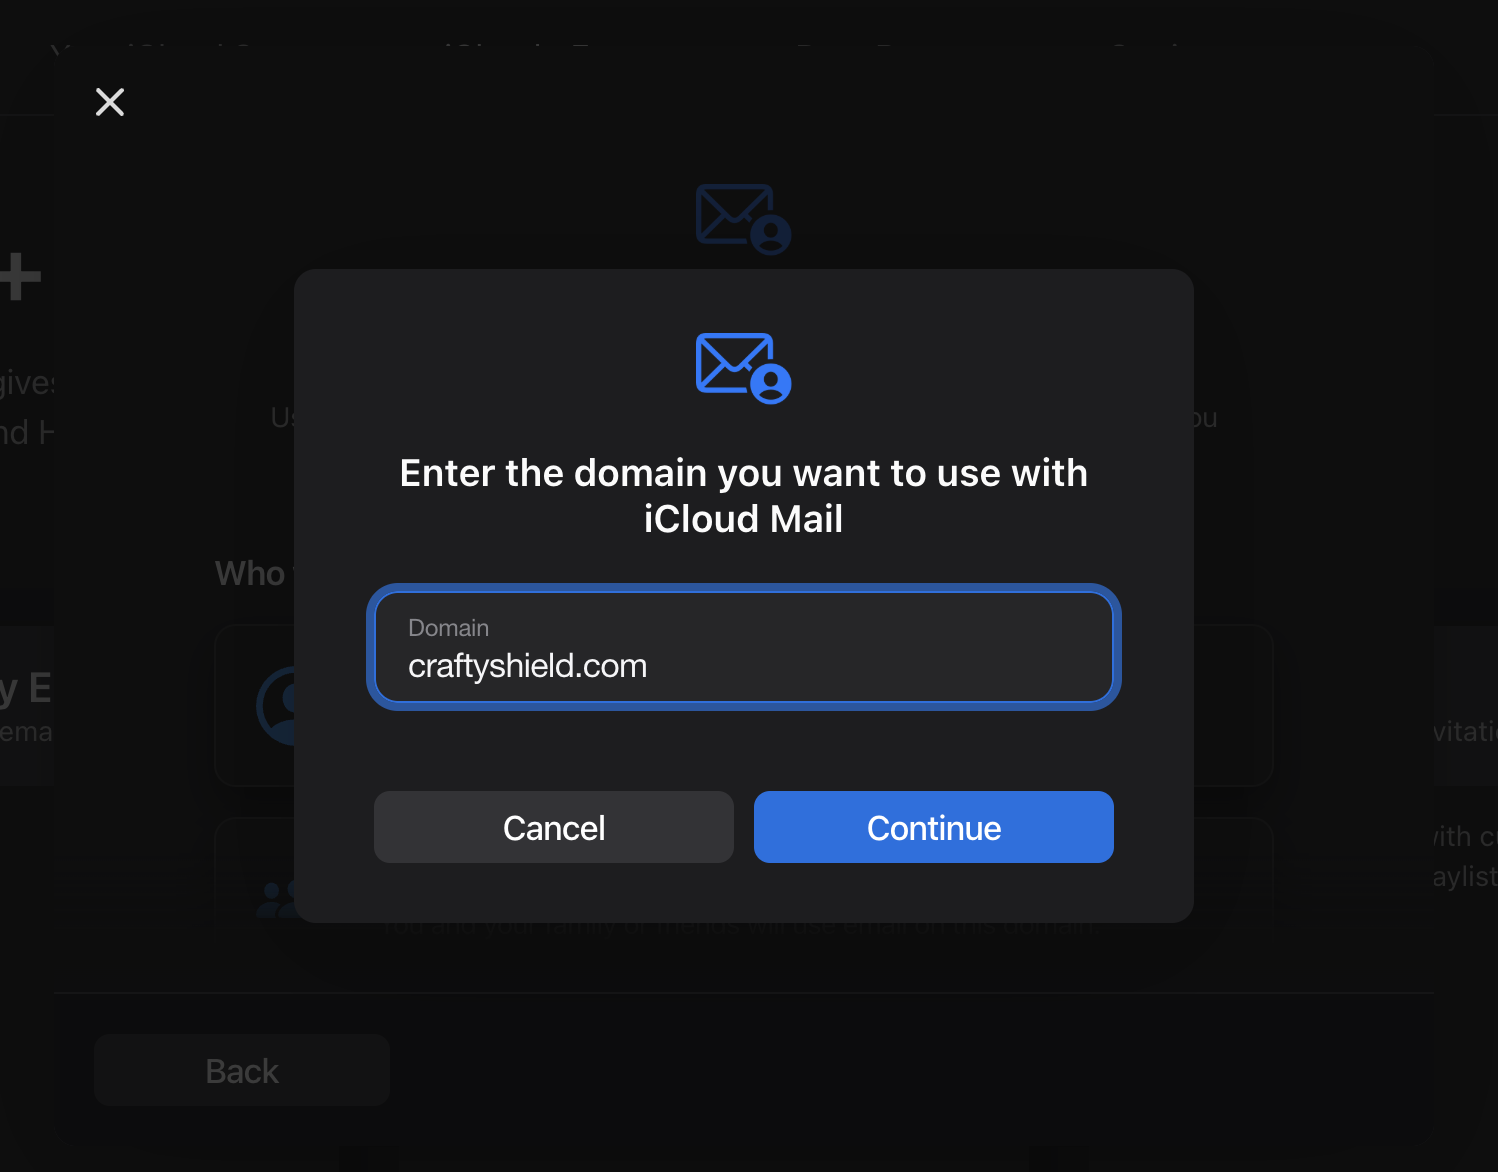
-
Choose No email addresses at step 2.
-
Click View at step 3. The list of your domain's records displays. Keep this page open since you will need to copy them into your own domain's records in Scaleway DNS.
Configuring the domain's records on Scaleway DNS
- Log into the Scaleway console
- Click Domains and DNS in the menu on the left. The list of your domains displays.
- Click your domain, the DNS Zone tab, and Root zone.
- Click Add records. We will add all records provided by iCloud. Adding all records is mandatory for the setup to work.
MX records
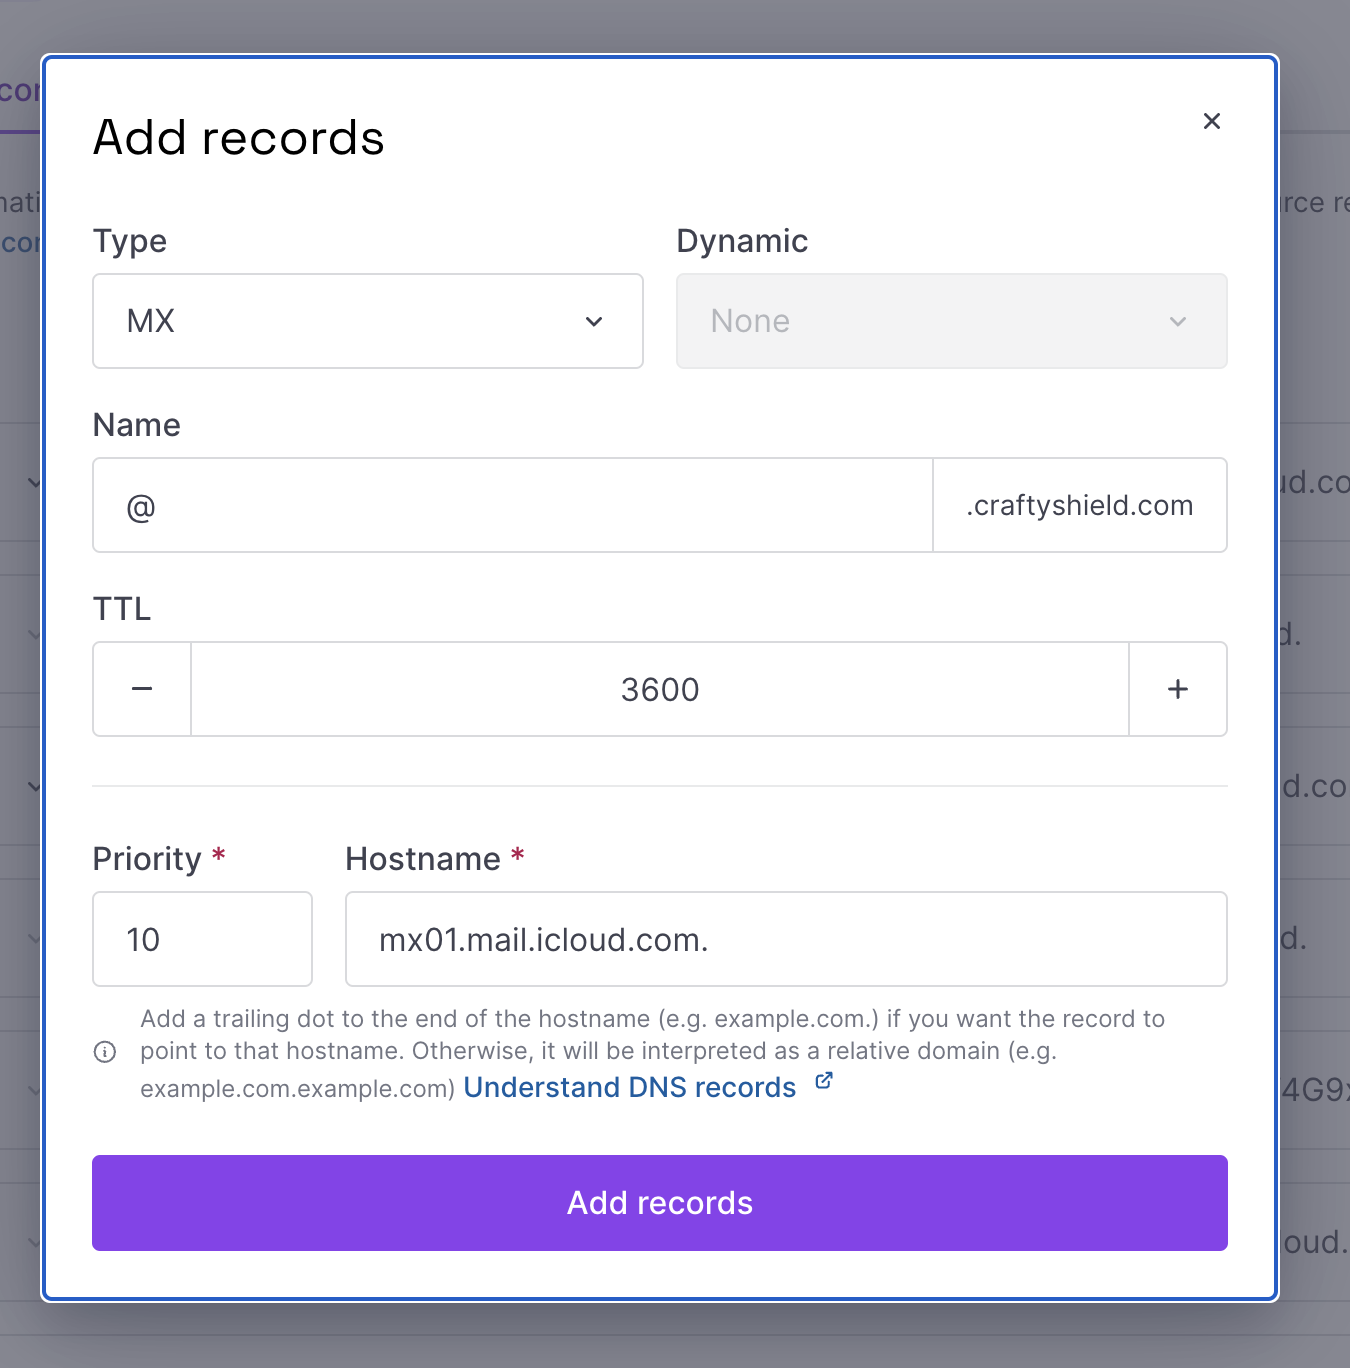
There are two MX records. The correspondence between iCloud's MX instructions and Scaleway DNS records is as follows:
| iCloud | Scaleway DNS | Values (example) |
|---|---|---|
| Type | Type | MX |
| Host | Name | @ |
| Value | Hostname | mx02.mail.icloud.com. / mx02.mail.icloud.com. |
| Priority | Priority | 10 |
TXT record
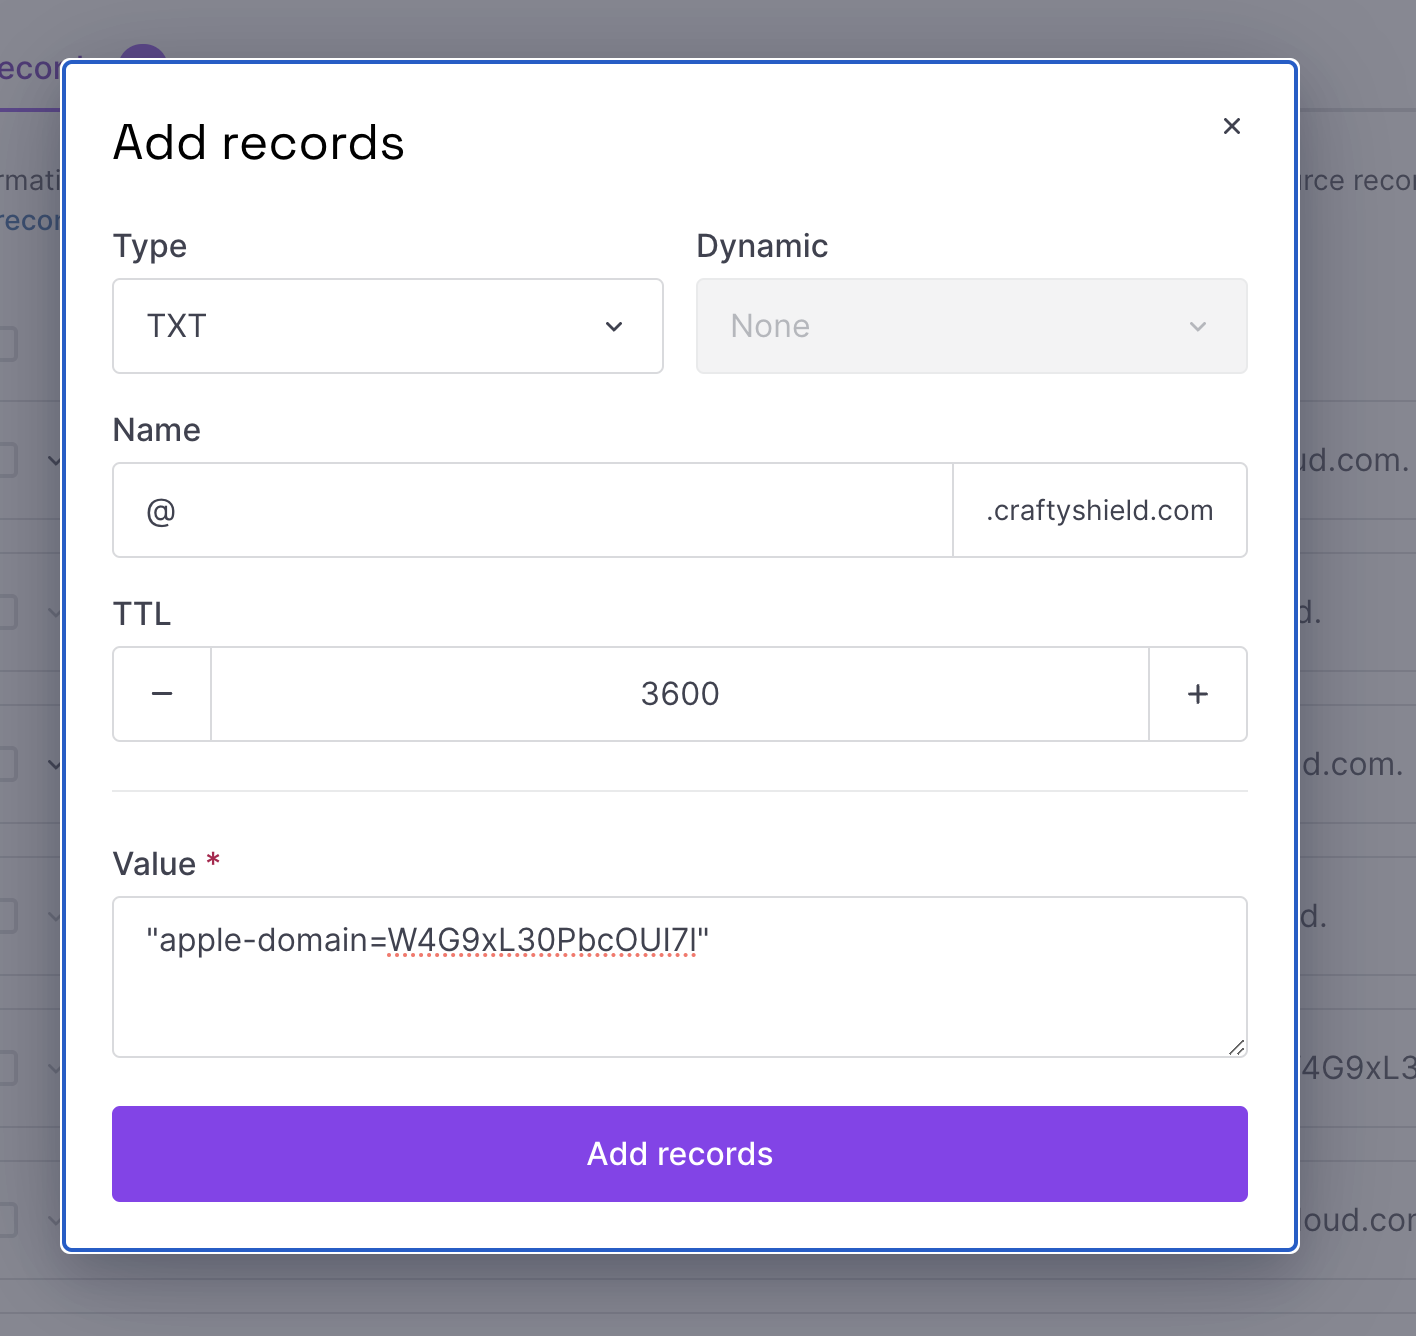
The correspondence between iCloud's TXT instructions and Scaleway DNS records is as follows:
| iCloud | Scaleway DNS | Values (example) |
|---|---|---|
| Type | Type | TXT |
| Host | Name | @ |
| Value | Value | apple-domain=xxx |
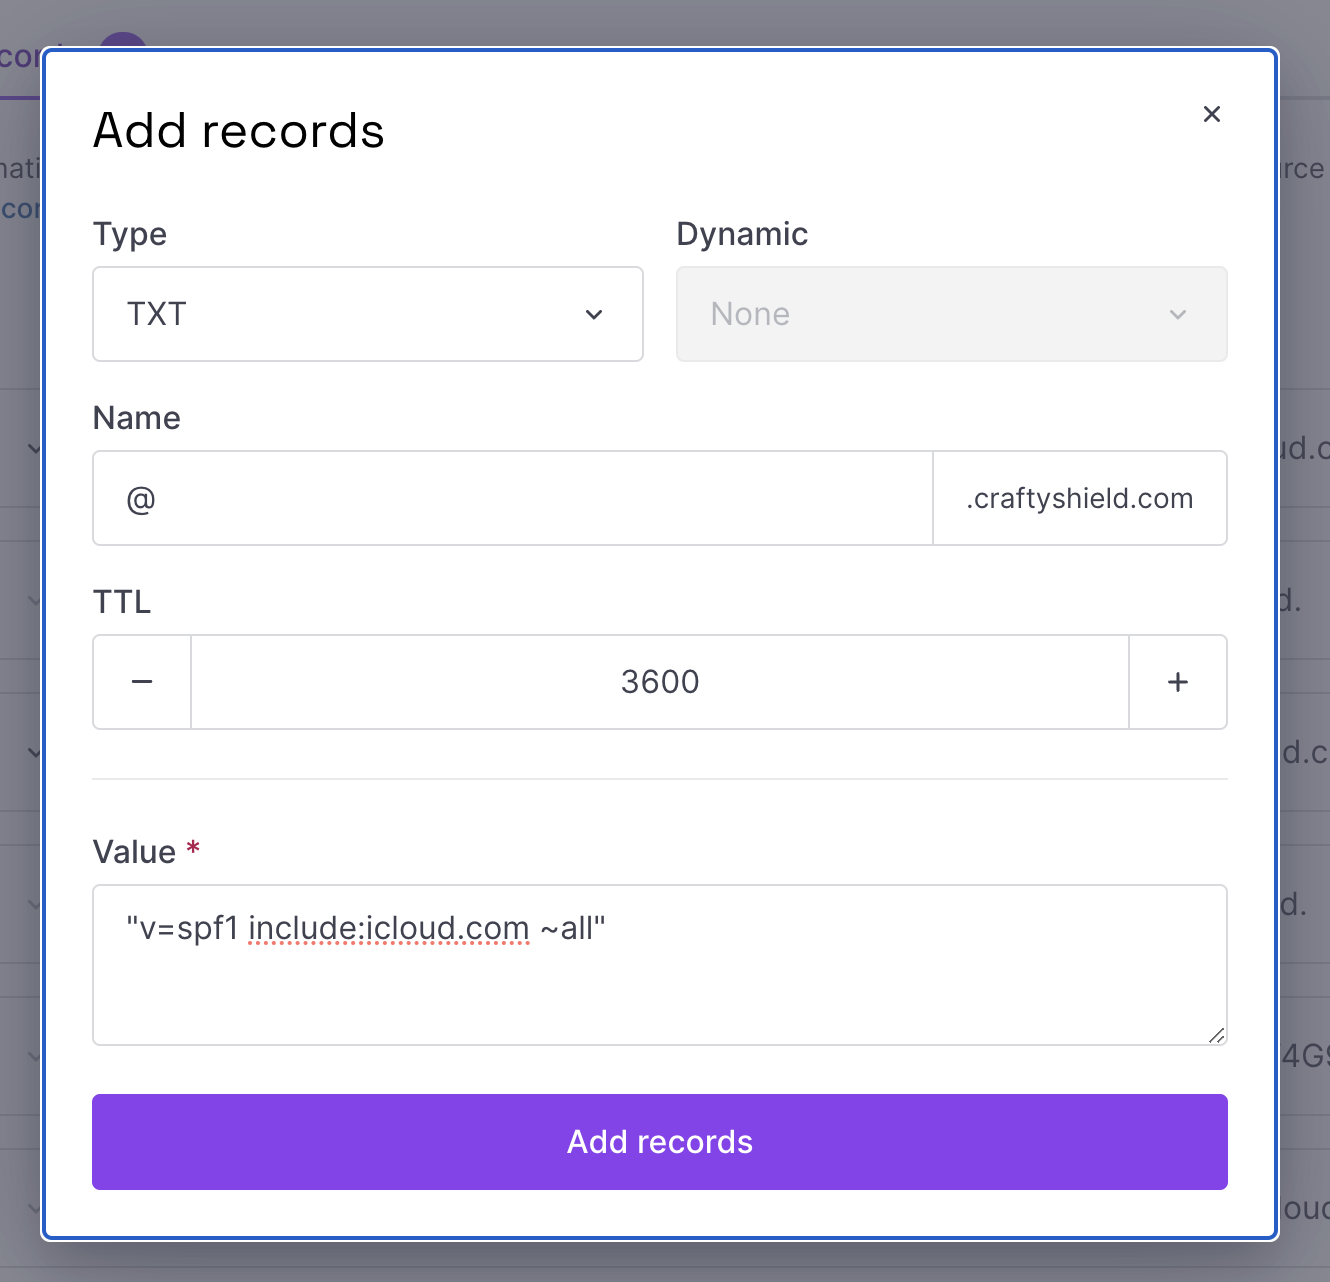
SPF record
The correspondence between iCloud's SPF instructions and Scaleway DNS records is as follows:
| iCloud | Scaleway DNS | Values (example) |
|---|---|---|
| Type | Type | TXT |
| Host | Name | @ |
| Value | Value | "v=spf1 include:icloud.com ~all" |
DKIM record
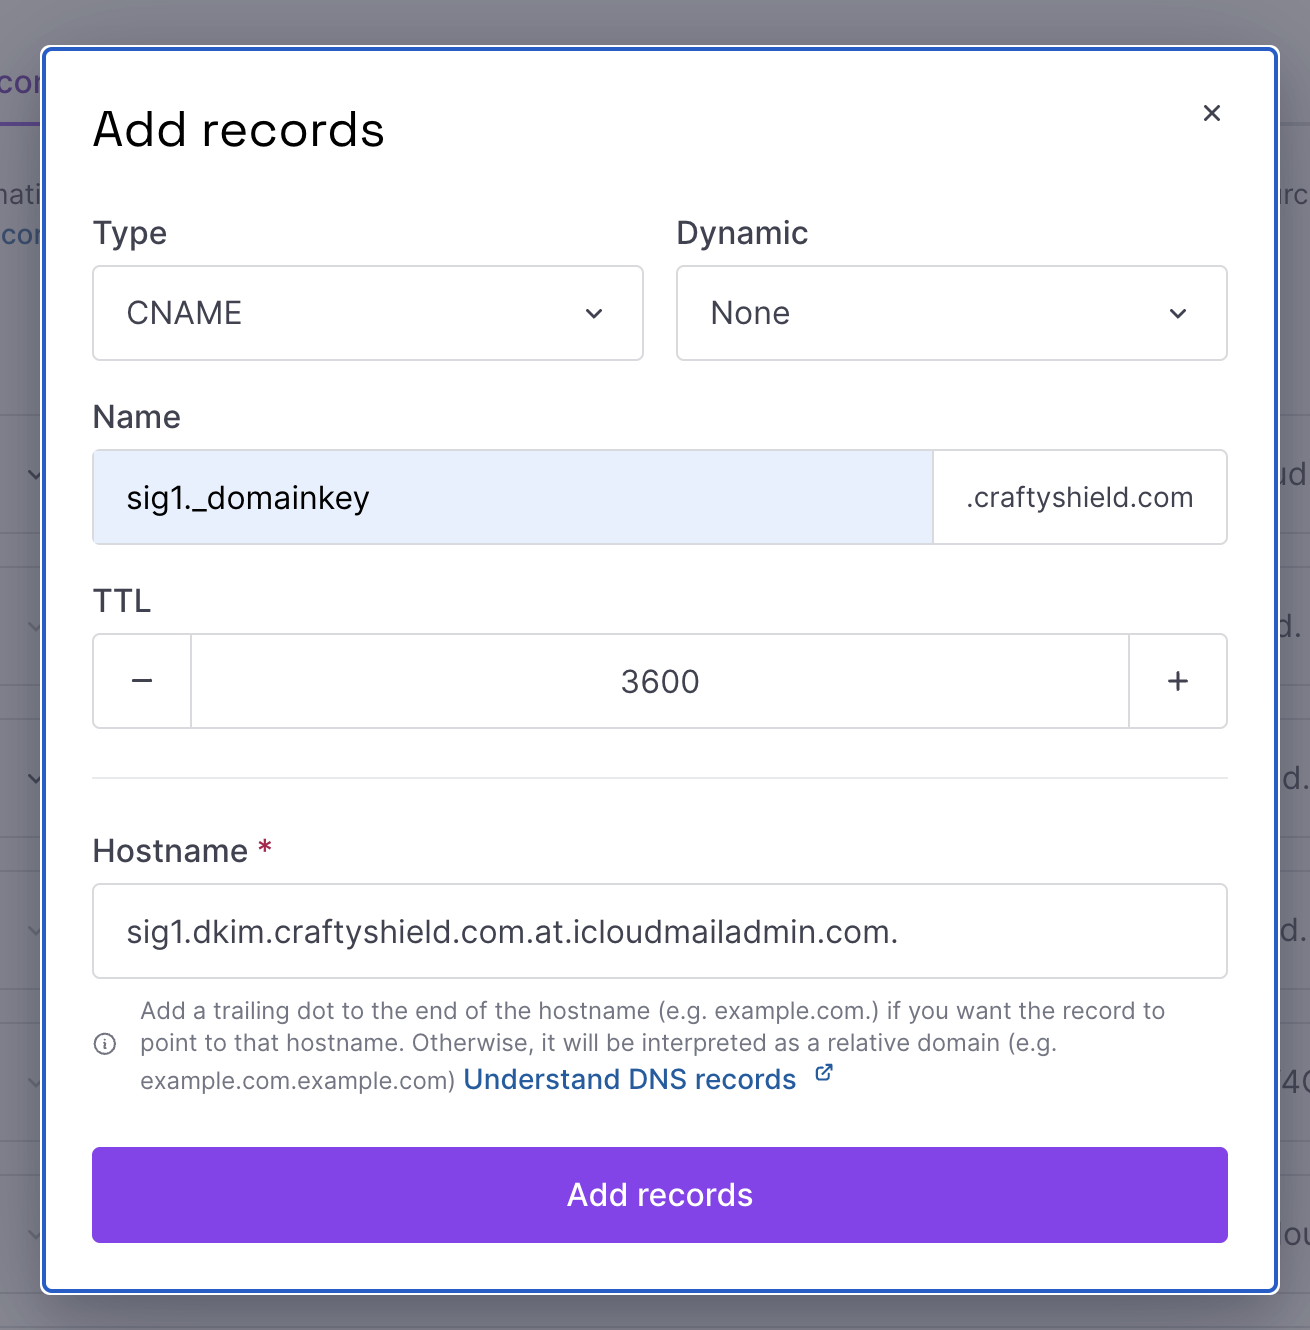
The correspondence between iCloud's DKIM instruction and Scaleway DNS records is as follows:
| iCloud | Scaleway DNS | Values (example) |
|---|---|---|
| Type | Type | CNAME |
| Host | Name | sig1._domainkey |
| Value | Hostname | sig1.dkim.xxx.at.icloudmailadmin.com. |
Verifying the records on iCloud
-
Go back to your iCloud account.
-
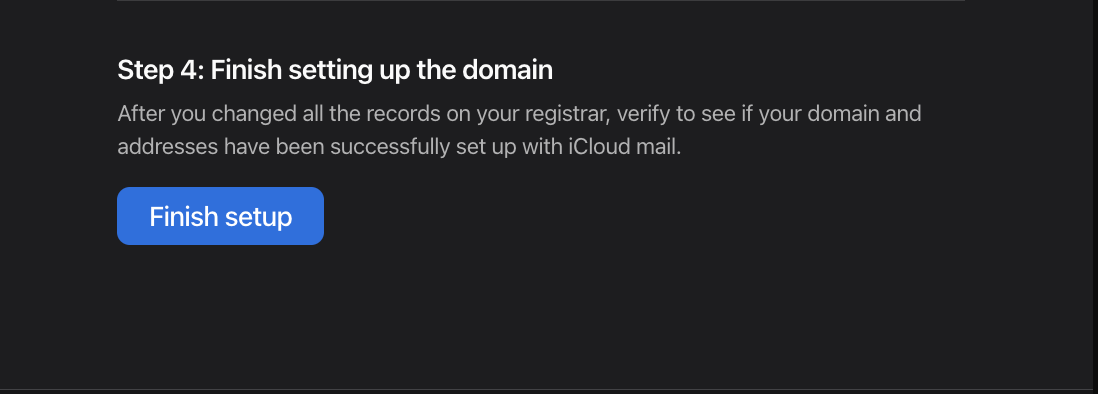
Select Finish setup at step 4 and click Confirm.
-
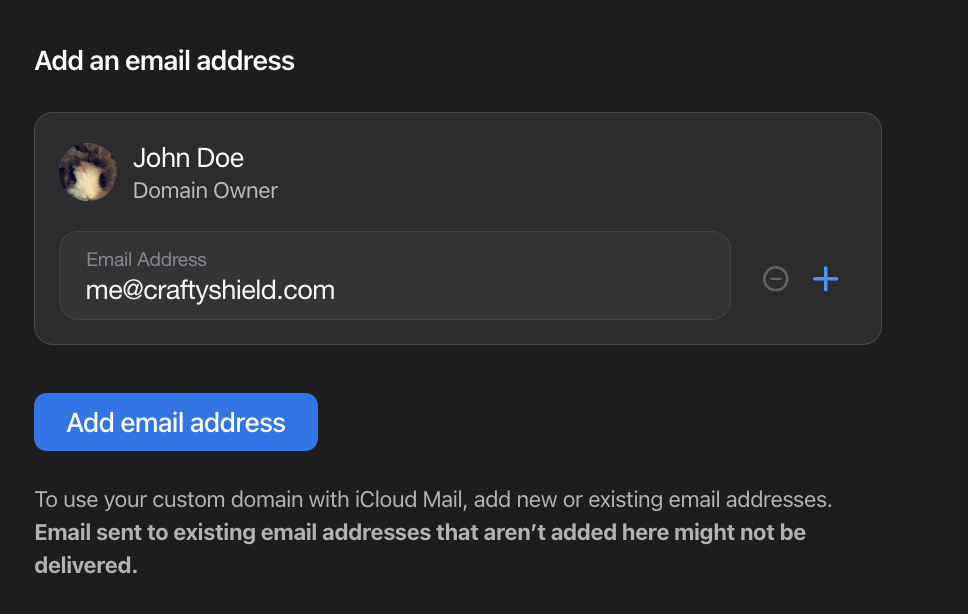
Add an email address of your choice.
You can now send emails using this address via iCloud Mail!
Visit our Help Center and find the answers to your most frequent questions.
Visit Help Center