How to configure DNS zones
A DNS zone is a distinct part of the domain namespace that allows granular control of DNS components.
It contains configuration stored in multiple DNS records. Each record consists at minimum of a type, a time to live (TTL), and a value. For example, type A records contain information to resolve a domain name to its associated IP address.
Each zone name created translates into a domain name. For example, the zone myzone in the domain example.com becomes myzone.example.com. This works also on multiple levels, meaning that the zone myzone.subdomain becomes the domain name myzone.subdomain.example.com.
Before you start
To complete the actions presented below, you must have:
- A Scaleway account logged into the console
- Owner status or IAM permissions allowing you to perform actions in the intended Organization
- Linked your domain with Scaleway DNS
How to add a new DNS zone
- Click Domains and DNS in the Domains & Web Hosting section of the Scaleway console side menu. The Domains and DNS dashboard displays.
- Click the domain for which you want to add a DNS zone. The domain's Overview tab displays.
- Click the DNS Zones tab. A list of DNS zones you have configured within the selected domain displays.
- Click + Add zone to create a new DNS zone. A pop-up appears prompting you to enter a zone name.
- Enter a name, check the estimated cost, and click Add zone.
How to manage DNS records
- Click Domains and DNS in the Domains & Web Hosting section of the Scaleway console side menu. The Domains and DNS dashboard displays.
- Click the domain for which you want to manage DNS records. The domain's Overview tab displays.
- Click the DNS Zones tab. A list of DNS zones you have configured within the selected domain displays.
- Click more icon next to the DNS zone of your choice, then Records to manage the zone's DNS records.
- Click + Add records to add records.
- Select the desired record type in the drop-down, and fill out the required information.
- Click Add records to confirm.
How to edit an existing DNS zone name
- Click Domains and DNS in the Domains & Web Hosting section of the Scaleway console side menu. The Domains and DNS dashboard displays.
- Click the domain for which you want to edit a DNS zone. The domain's Overview tab displays.
- Click the DNS Zones tab. A list of the DNS zones you have configured within the selected domain displays.
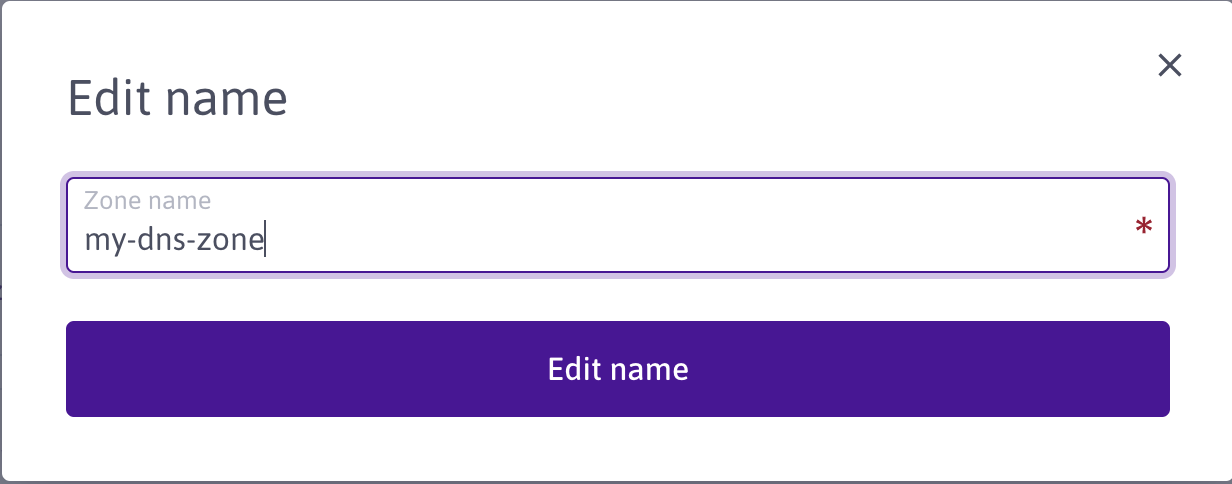
- Click more icon, then Edit name to edit a zone's name.

- Enter a new name in the pop-up, then click Edit name to confirm.
How to delete an existing DNS zone
- Click Domains and DNS in the Domains & Web Hosting section of the Scaleway console side menu. The Domains and DNS dashboard displays.
- Click the domain for which you want to delete a DNS zone. The domain's Overview tab displays.
- Click the DNS Zones tab. A list of the DNS zones you have configured within the selected domain displays.
- Click more icon, then click Delete.
- Type DELETE in the pop-up, and click Delete zone to confirm the action.
See Also
Still need help?Create a support ticket