How to deploy containerized applications with the Easy Deploy feature
The Easy Deploy feature allows you to pull images directly from Scaleway Container Registry, instantly deploying containerized applications in your Kubernetes Kapsule and Kubernetes Kosmos clusters.
You can also deploy off-the-shelf applications pre-configured for Scaleway products, such as Load Balancer and Block Storage.
With only the basic options to set, you can use Kubernetes Kapsule or Kosmos without needing to manage your .yaml manifests.
Before you start
To complete the actions presented below, you must have:
- A Scaleway account logged into the console
- Owner status or IAM permissions allowing you to perform actions in the intended Organization
- A valid API key
- Created a Scaleway Kubernetes Kapsule or Kosmos cluster
- Created a Scaleway Container Registry namespace (not mandatory if deploying using the Application Library)
How to deploy an application
- Click Kubernetes in the Containers section of the Scaleway console side menu. The Kubernetes Kapsule dashboard displays.
- From the drop-down menu, select the geographical region you want to manage.
- Click the name of the cluster you wish to deploy your image on. The Cluster information tab displays.
- Click the Easy Deploy tab.
- Click Deploy application.
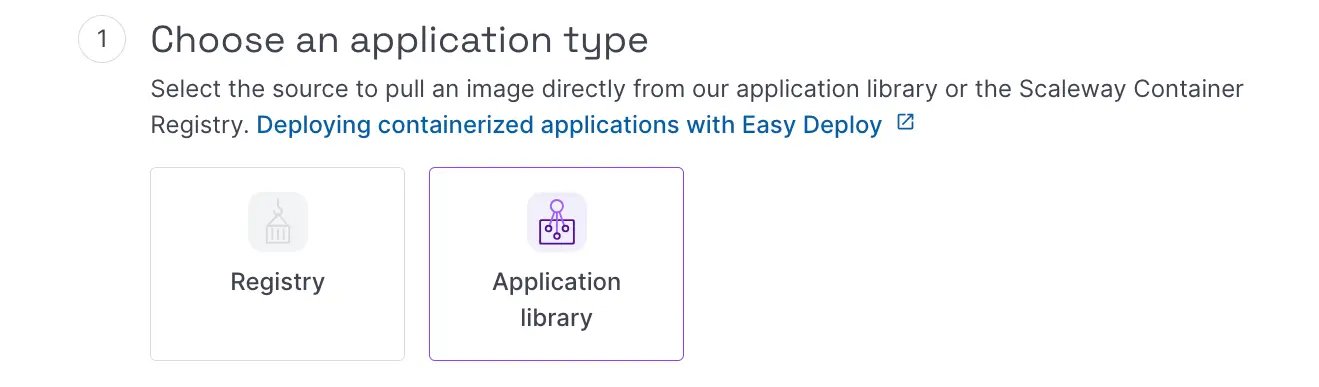
- Deploy the application. This step can be done in two ways:
-
Deployment from Container Registry
-
After selecting Container Registry, enter a name for your application as well as the Kubernetes namespace on which the deployment will run. By default, the application is deployed on the
defaultnamespace. -
Select the Container Registry namespace you would like to deploy from the Container Registry. Specify Container and Tag.
You can configure the deployment of your clusters in two ways: Deployments or CronJobs.
A Deployment represents a set of identical pods with no individual identities managed by a deployment controller. The deployment controller runs multiple replicas of an application as specified in a ReplicaSet. If any pods fail or become unresponsive, the deployment controller replaces them until the actual state equals the desired state. When using a deployment Kubernetes object, you do not need to manage your pods or ReplicaSet.
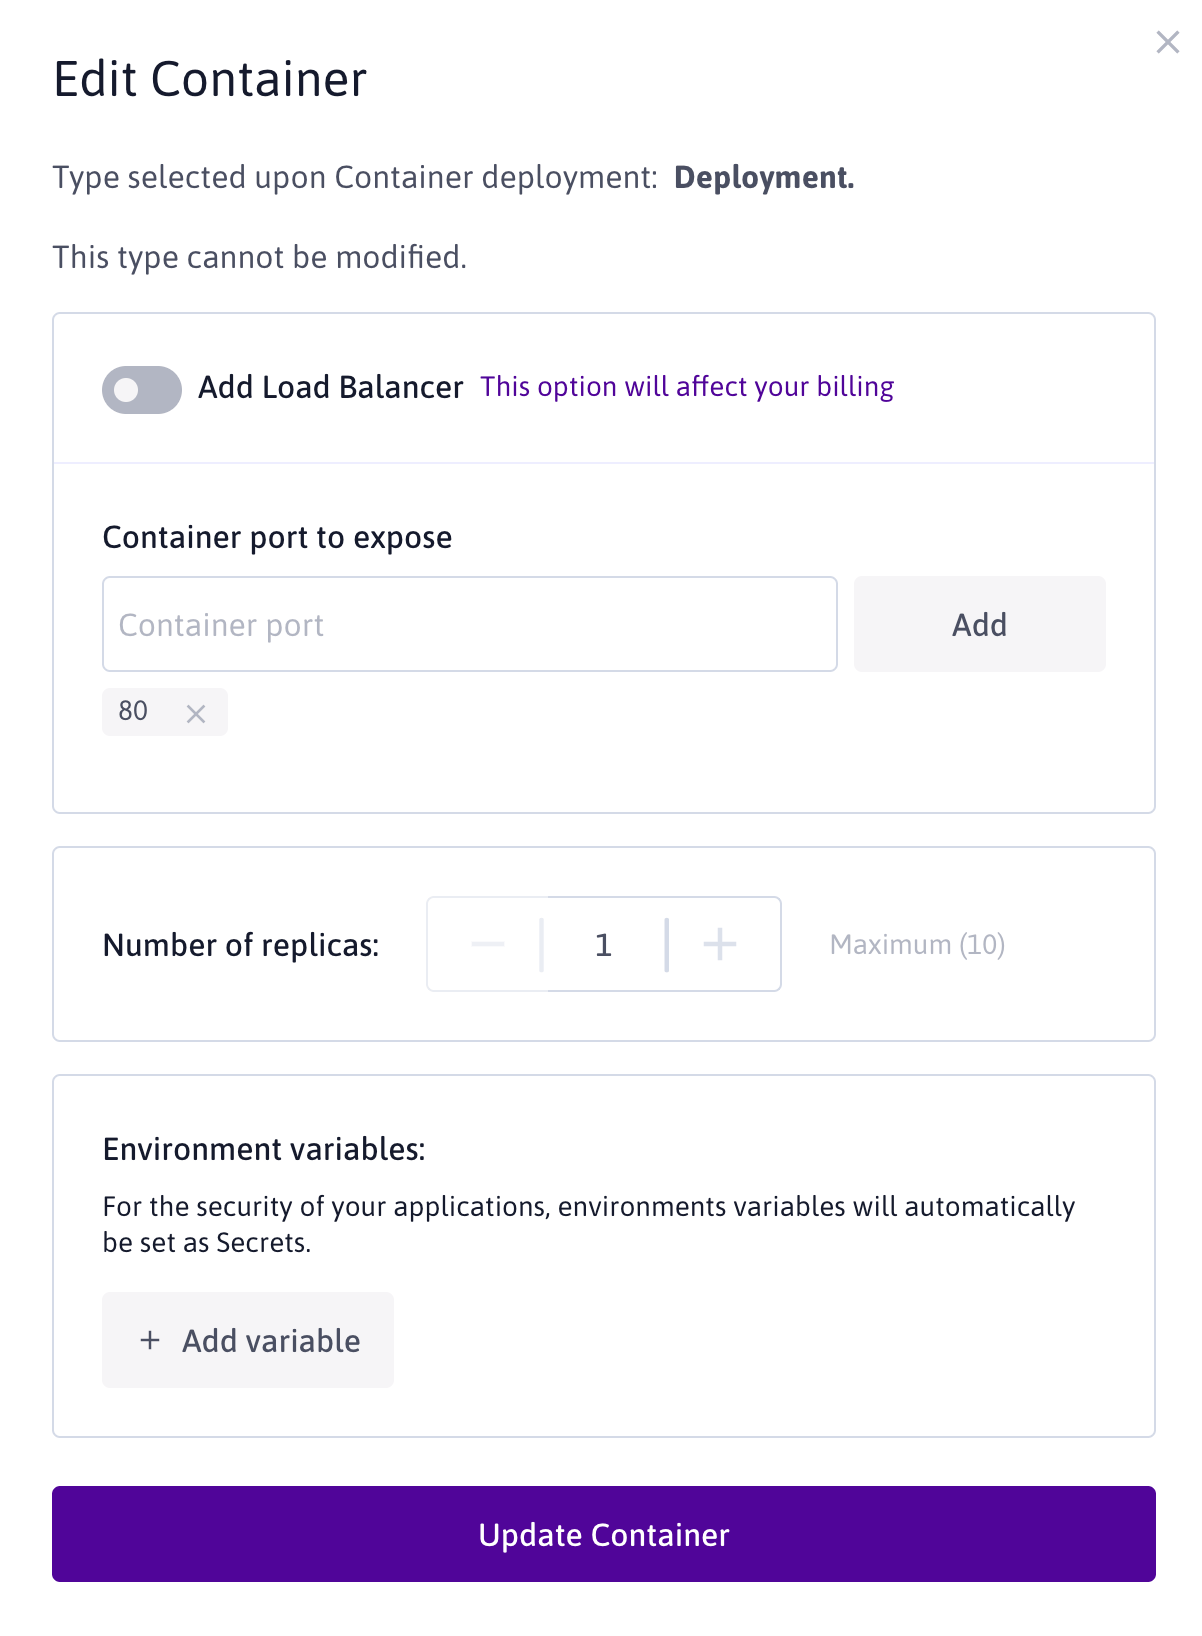
You can set up a Load Balancer for your container, create several replicas and add environment variables, such as database host/credentials.
CronJobs in Kubernetes work like traditional cron jobs on Linux. They can be used to run tasks at a specific time or interval and may be useful for jobs such as backups or cleanup tasks. You can edit your deployments and CronJob settings, but cannot modify the type of deployment nor the container to deploy. If you need to do so, you will need to delete the existing deployment and create a new one accordingly.
For CronJobs, an instruction schedule must be defined. Each cron instruction is scheduled using the following syntax:
Minute (mm): 0 - 59
Hour (hh): 0 - 23
Day of the Month (dd): 1 - 31
Month (MMM): 1 - 12
Day of the Week (DDD): 0 - 6 (Sunday to Saturday, 7 is also Sunday on some systems)
Each instruction can also be:
*: at each unit (1, 2, 3, 4...)
5,8: at unit 5 and 8
2-5: at unit 2 to 5
*/3: every 3 unit (0, 3, 6, 9...)
10-20/3: every 3 units, between the tenth and the twentieth (10, 13, 16, 19)

Example: 45 23 * * 6
This example executes program at 23:45 (11:45 PM) every Saturday.
You must also include a path to your script in the Command box and set up environment variables.
-
Select a deployment type and fill out the prompted information according to your choice. A summary of your choices is available.
-
Click Deploy application to proceed. The list of your deployed applications displays.
-
-
Deployment from Application Library
- After selecting Application Library, enter a name for your container as well as the Kubernetes namespace on which the deployment will run. By default, the application is deployed on the
defaultnamespace.
-
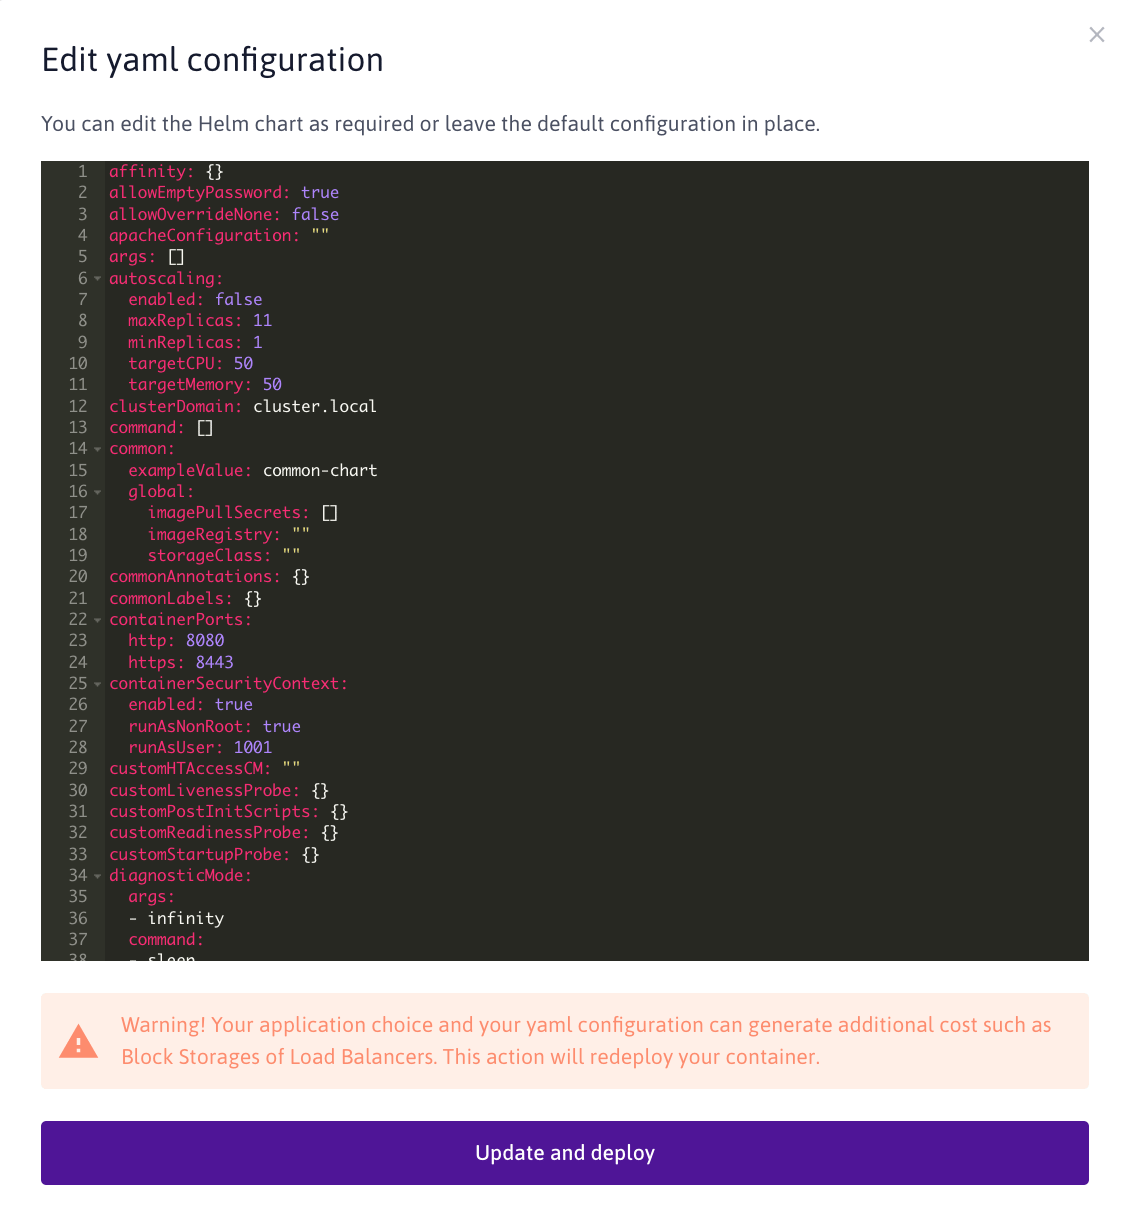
Search and select the application you want to deploy from our library. For example, you can choose to deploy the WordPress application. A default
yamlconfiguration will preload to show the specifics defaults values of the application. You can modify or add values to theyamlas you see fit.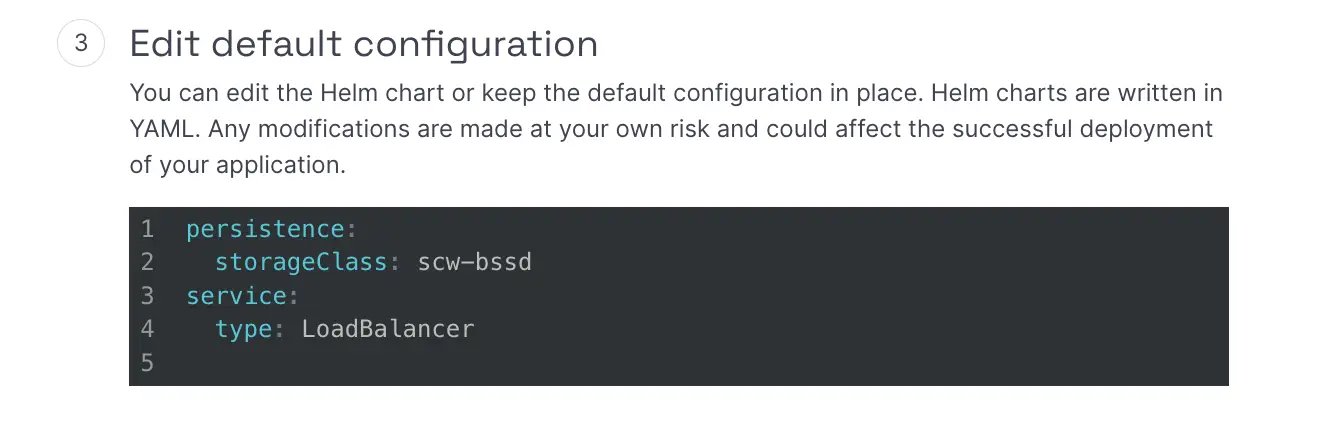
- Using
scw-bssdStorage type will imply the creation of Scaleway Block Storage resources by your Kubernetes cluster, having an impact on your final invoice. - Using
LoadBalancerservice will imply the creation of a Scaleway Load Balancer, having an impact on your final invoice.
- Using
-
Click Deploy application to proceed. The list of your deployed applications displays.
-
If you created a LoadBalancer to expose your application, use the
kubectlcommand to list the services of your cluster and get the LoadBalancer external IP.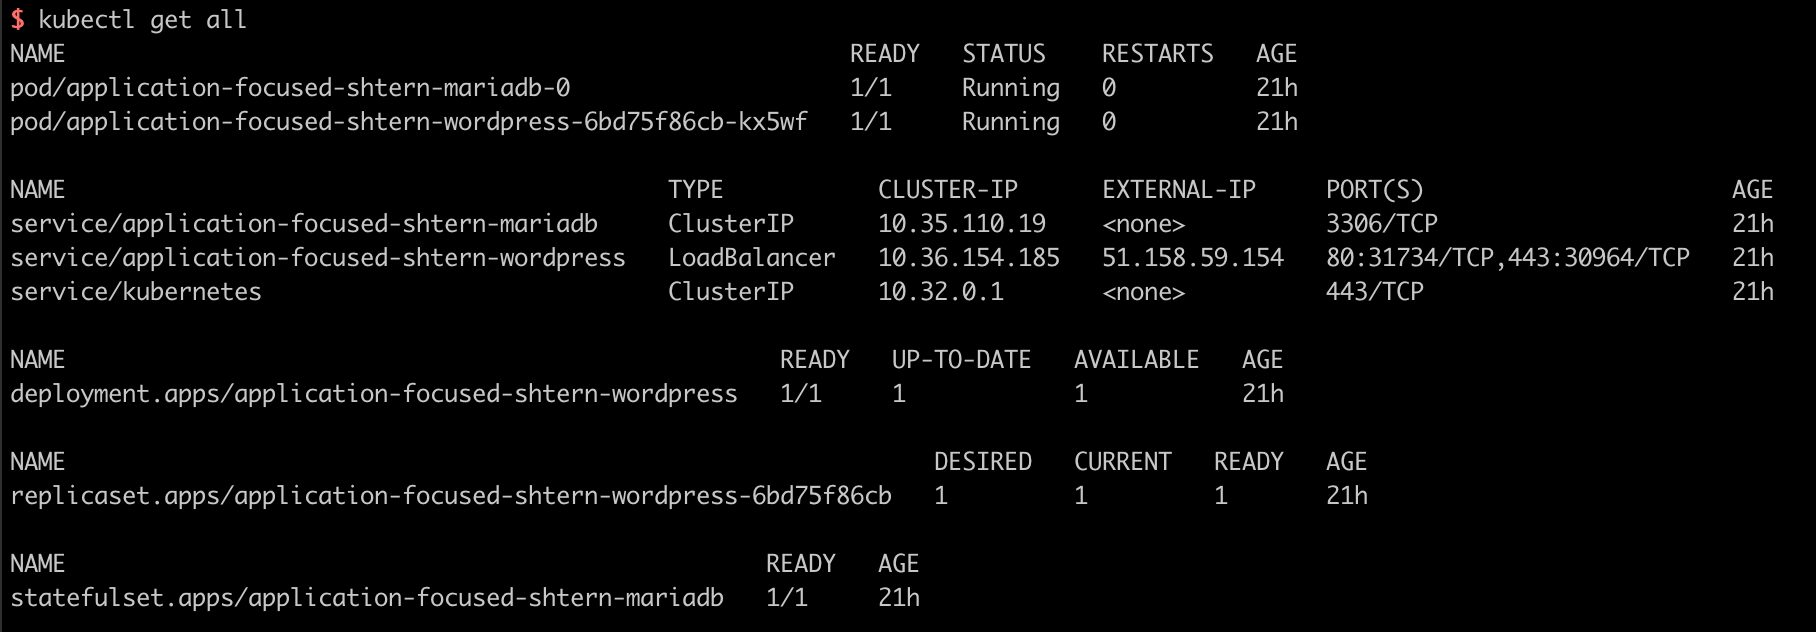
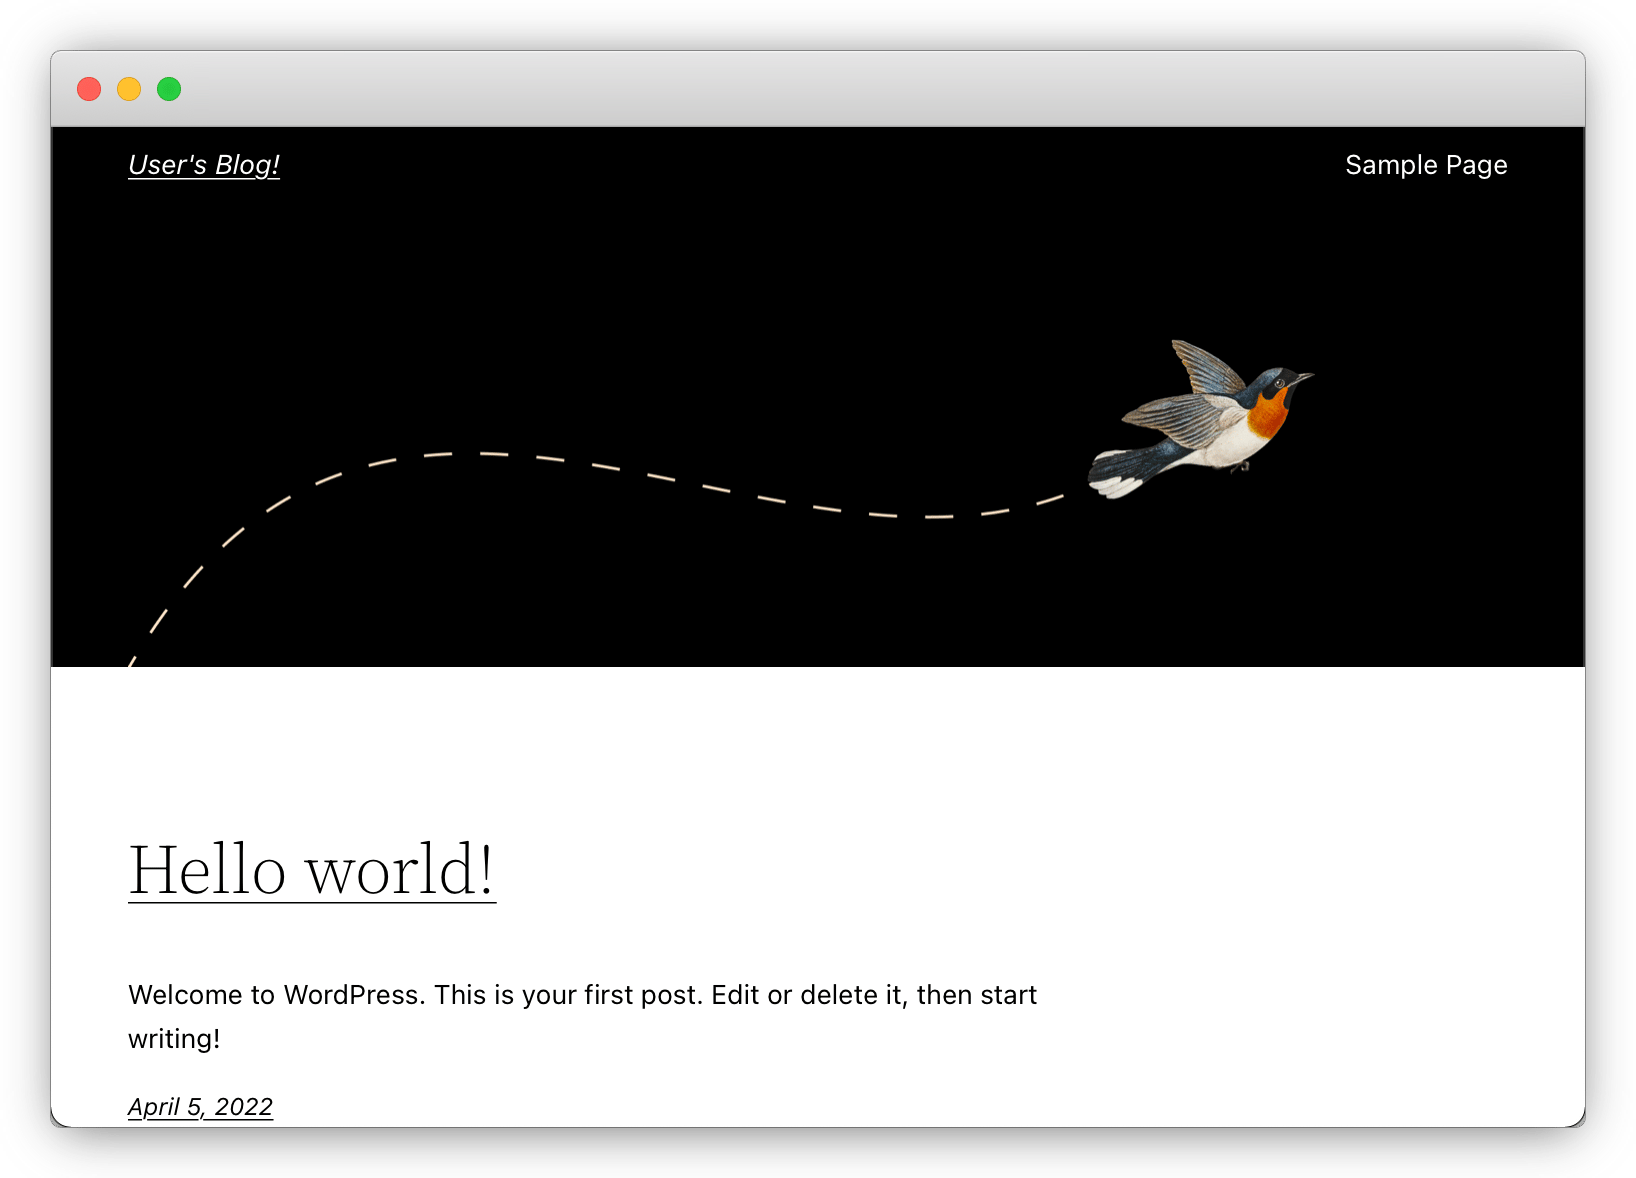
-
Get the Load Balancer's external IP and use it in your web browser to access your application (WordPress in this case)
- After selecting Application Library, enter a name for your container as well as the Kubernetes namespace on which the deployment will run. By default, the application is deployed on the
How to edit an application
- Click Kubernetes in the Containers section of the Scaleway console side menu. The Kubernetes Kapsule overview displays.
- From the drop-down menu, select the geographical region you want to manage.
- Click edit icon next to the container you wish to edit, then click Edit in the menu. A pop-up displays with the configuration options.
- When modifying an application deployed from Container Registry, modify the container parameters according to your requirements, then click Update container to conclude.
- When modifying an application deployed from the Application Library, modify the application configuration according to your requirements, then click Update and deploy to conclude.
How to delete an application
- Click Kubernetes in the Containers section of the Scaleway console side menu. The Kubernetes Kapsule dashboard displays.
- From the drop-down menu, select the geographical region you want to manage.
- Click edit icon next to the container you want to delete, then click Delete in the pop-up menu. A message prompt displays to request confirmation.
- To confirm the deletion of the deployment, click Delete Deployment.