How to upload and use an SSH Key for Dedibox
SSH keys offer a more secure method of identity authentication on computer systems compared to passwords. Each SSH key comprises a private and a public part, which can be generated on your computer. The public part serves the purpose of passwordless authentication and can be uploaded to the Scaleway Dedibox console and then transferred to your dedicated server during installation.
Before you start
To complete the actions presented below, you must have:
- A Dedibox account logged into the console
-
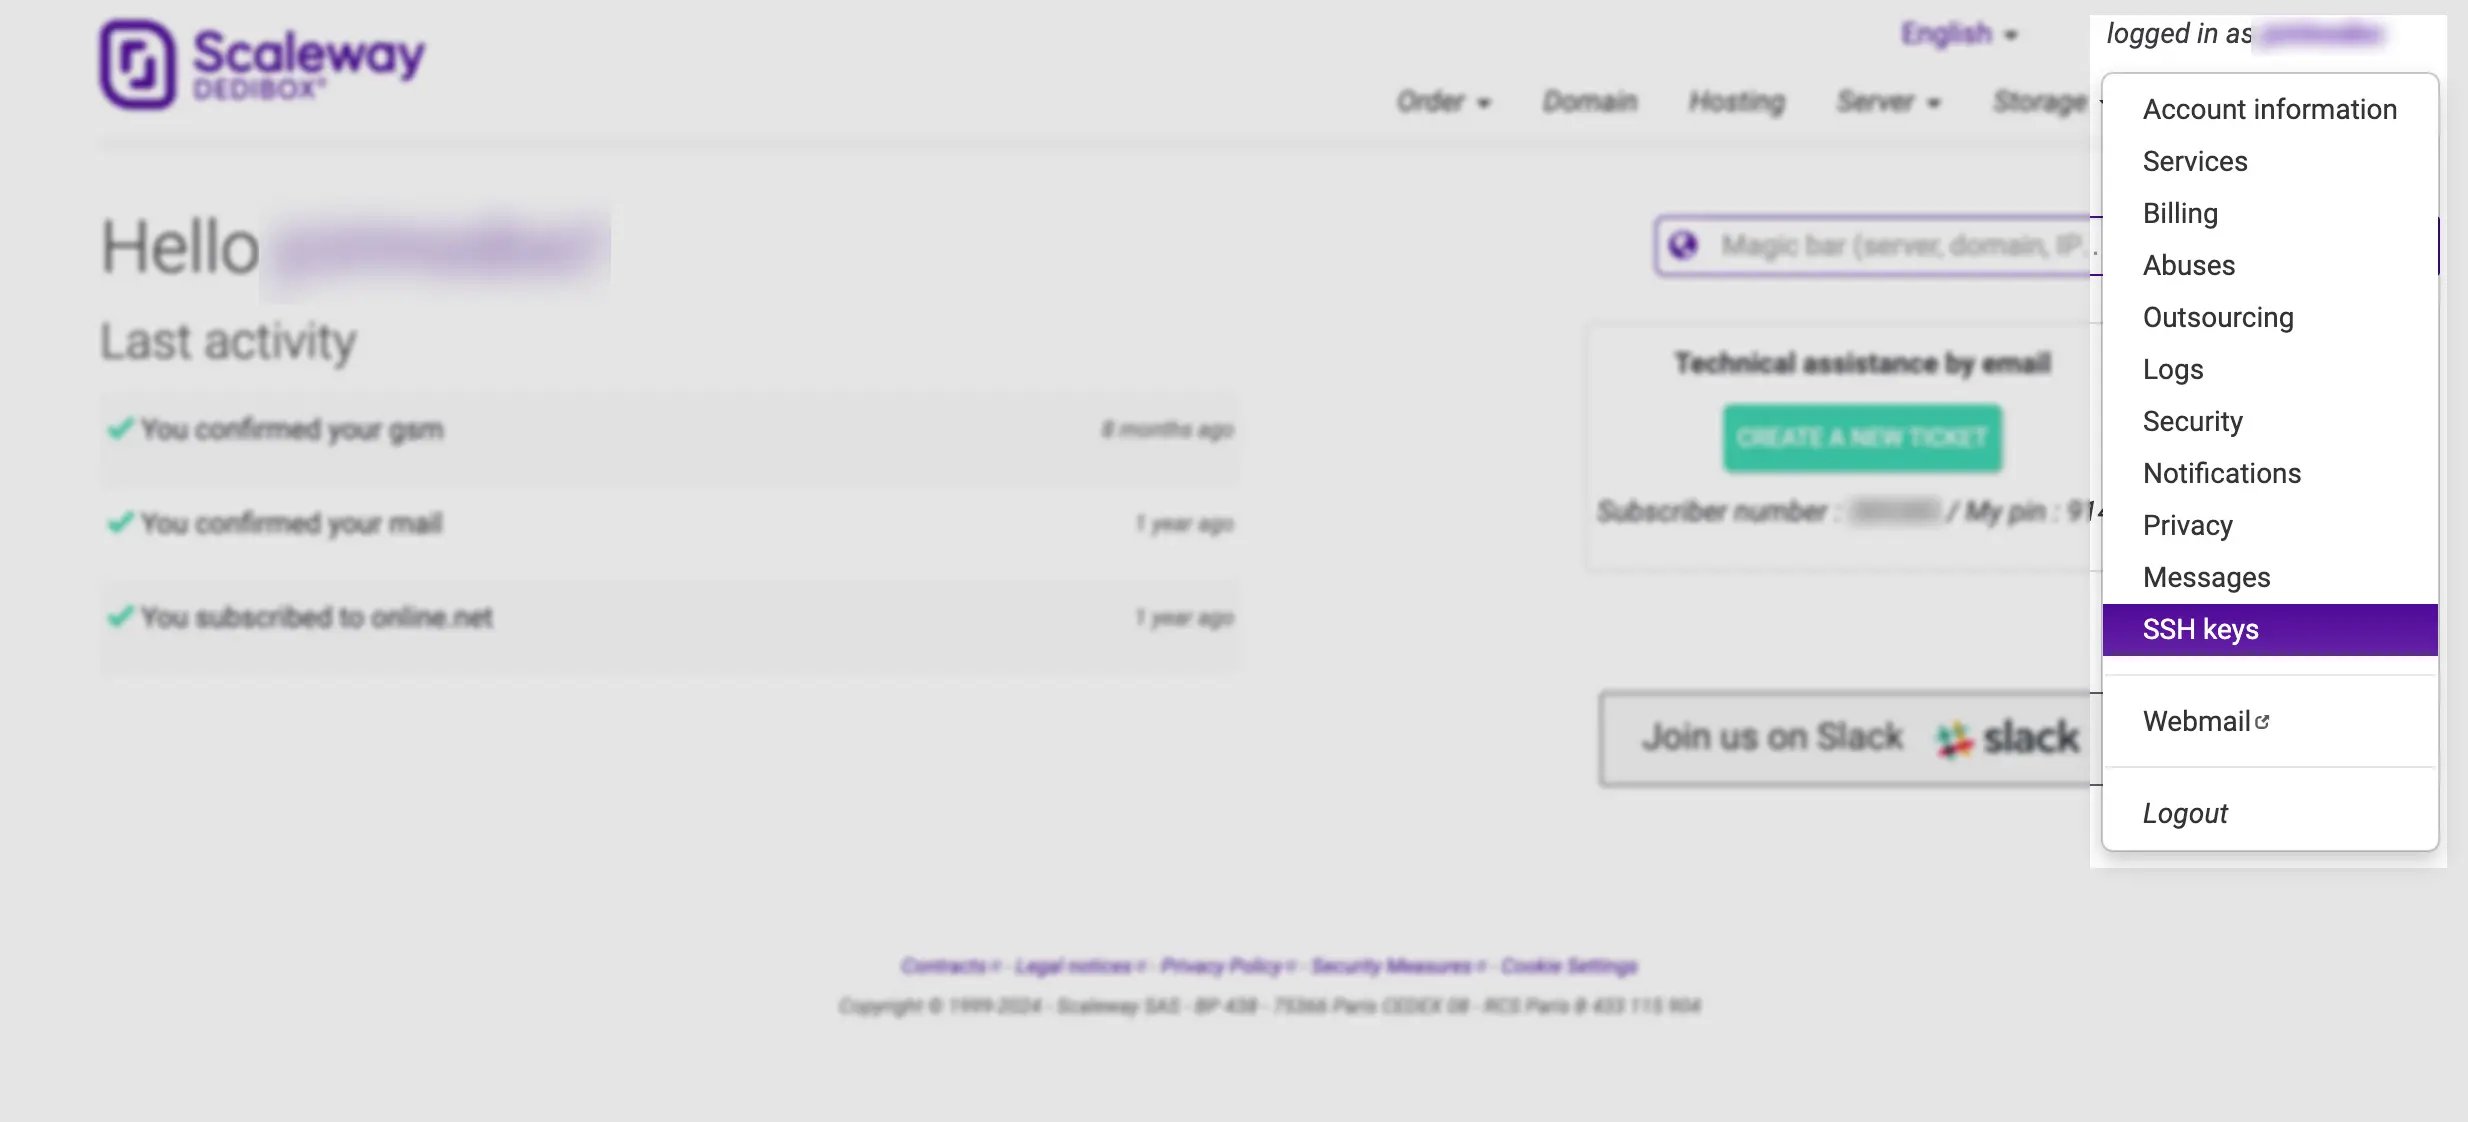
In the top right corner of the Dedibox console, click on your username to open the pop-up menu. From there, select SSH keys.
You will be taken to a page displaying all your existing SSH keys (if you have not created any key yet, the list will be empty).
-
Click Add SSH key to open the SSH key form.
-
Provide a description of your choice (e.g., your computer's name) and paste the public key into the designated field.
-
Click Add SSH key to upload the public key to your Scaleway Dedibox account.
With the SSH key now uploaded, you can select it during the Dedibox installation process and use it for authentication on your server.