How to encrypt your emails with PGP using the Scaleway webmail
The webmail used at Scaleway to read your emails, offers options to encrypt your mails with PGP, helping to ensure:
- Confidentiality of emails
- That the sender is who they claim to be
The Scaleway webmail interface currently offers one way of encrypting your emails: Mailvelope.
Before you start
To complete the actions presented below, you must have:
- A Dedibox account logged into the Online console
- Created a Webhosting Classic
- Configured an email account
How to configure Mailvelope
Mailvelope works on the client side and requires you to install an extension in your browser:
- Install the
Mailvelopeextension depending on the browser you use. - Once the extension is installed, click Options.
- Generate or import an already existing key. You can keep the advanced parameters in their default values.
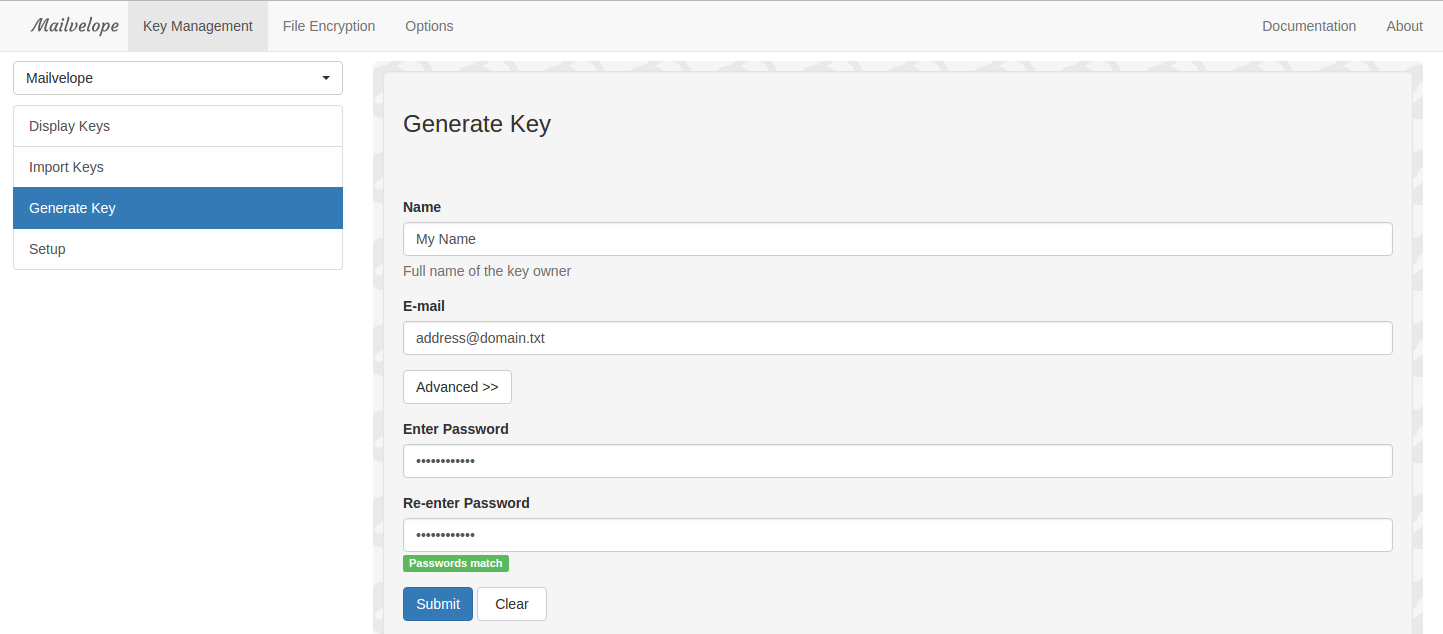
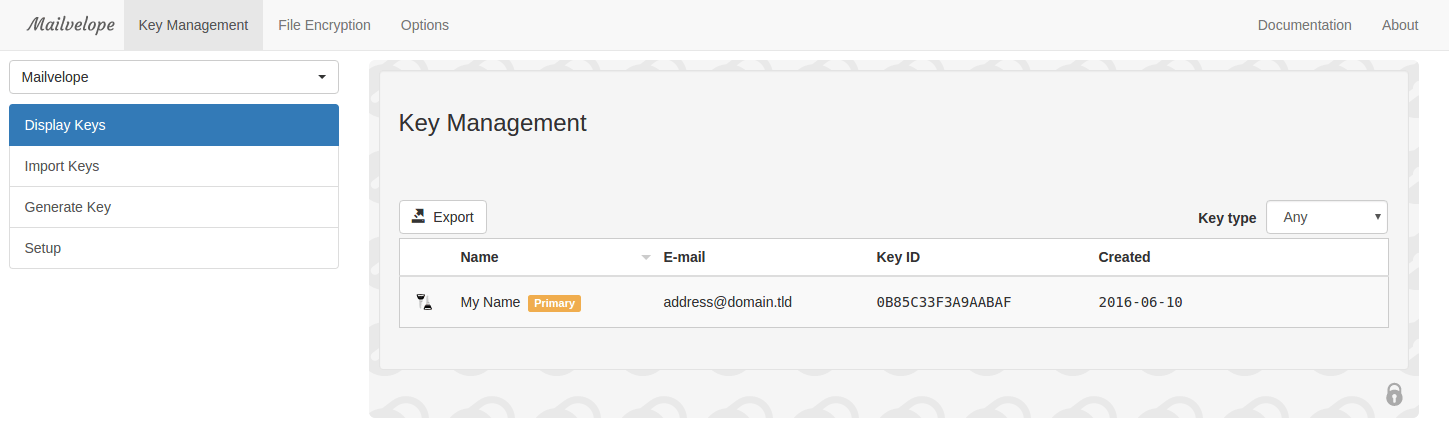
- Once generated or imported, the key appears in the list of available keys in the extension.
- Enter your Scaleway webmail interface and click the logo of the extension, then Add.
How to write a PGP signed or encrypted email
- Once you have configured the extension, go back to your webmail and open the interface for writing new emails.
- Click the icon of the extension to write an email with PGP. A pop-up displays.
- Write your email and click sign or encrypt the email.
- Enter your key password:
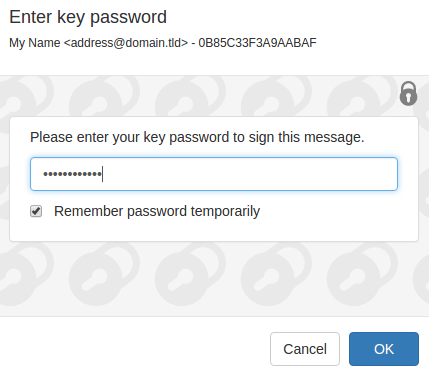
- Click OK.
How to encrypt and sign an email
- Choose your identity in the drop-down box.
- Choose the addressee of your email to be able to encrypt it with their public key.
How to send an email
- Once you have been redirected after encrypting and/or signing, your email will appear in its final form in the window of the extension displaying:
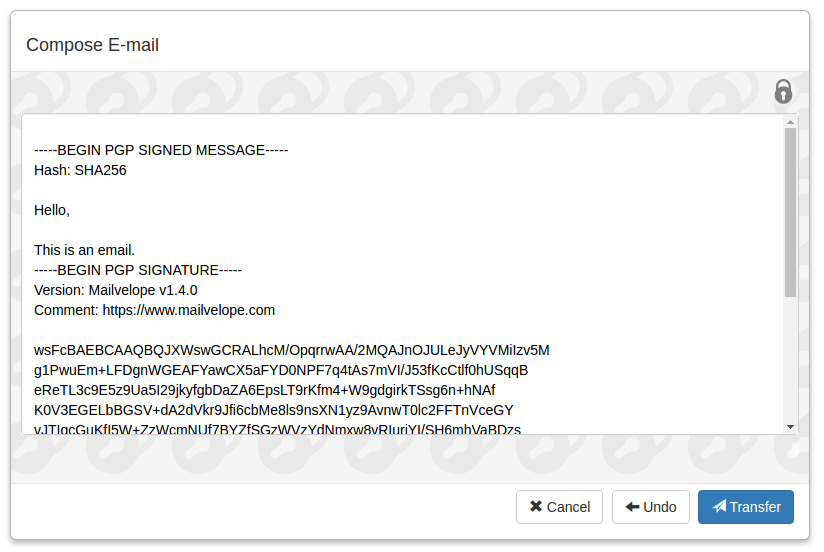
- Click Transfer to transfer your email into your webmail's interface.
- Once transferred, you can send the email from your interface.
See Also
Still need help?Create a support ticket