How to use the RPN VPN with your Dedibox Servers
The RPN VPN service allows you to access machines inside your RPN from an external connection or from a Dedibox server that does not have an RPN interface.
The feature is based on OpenVPN and you can add the RPN VPN to your RPNv1 group like any other server.
The RPN VPN service allows you to:
- Connect from anywhere to your totally secure and private network.
- Connect servers which do not have an RPN interface to the RPN.
Before you start
To complete the actions presented below, you must have:
- A Dedibox account logged into the console
- An RPN-compatible Dedibox dedicated server
- Installed an OpenVPN client on your local computer
How to download the RPN VPN configuration
-
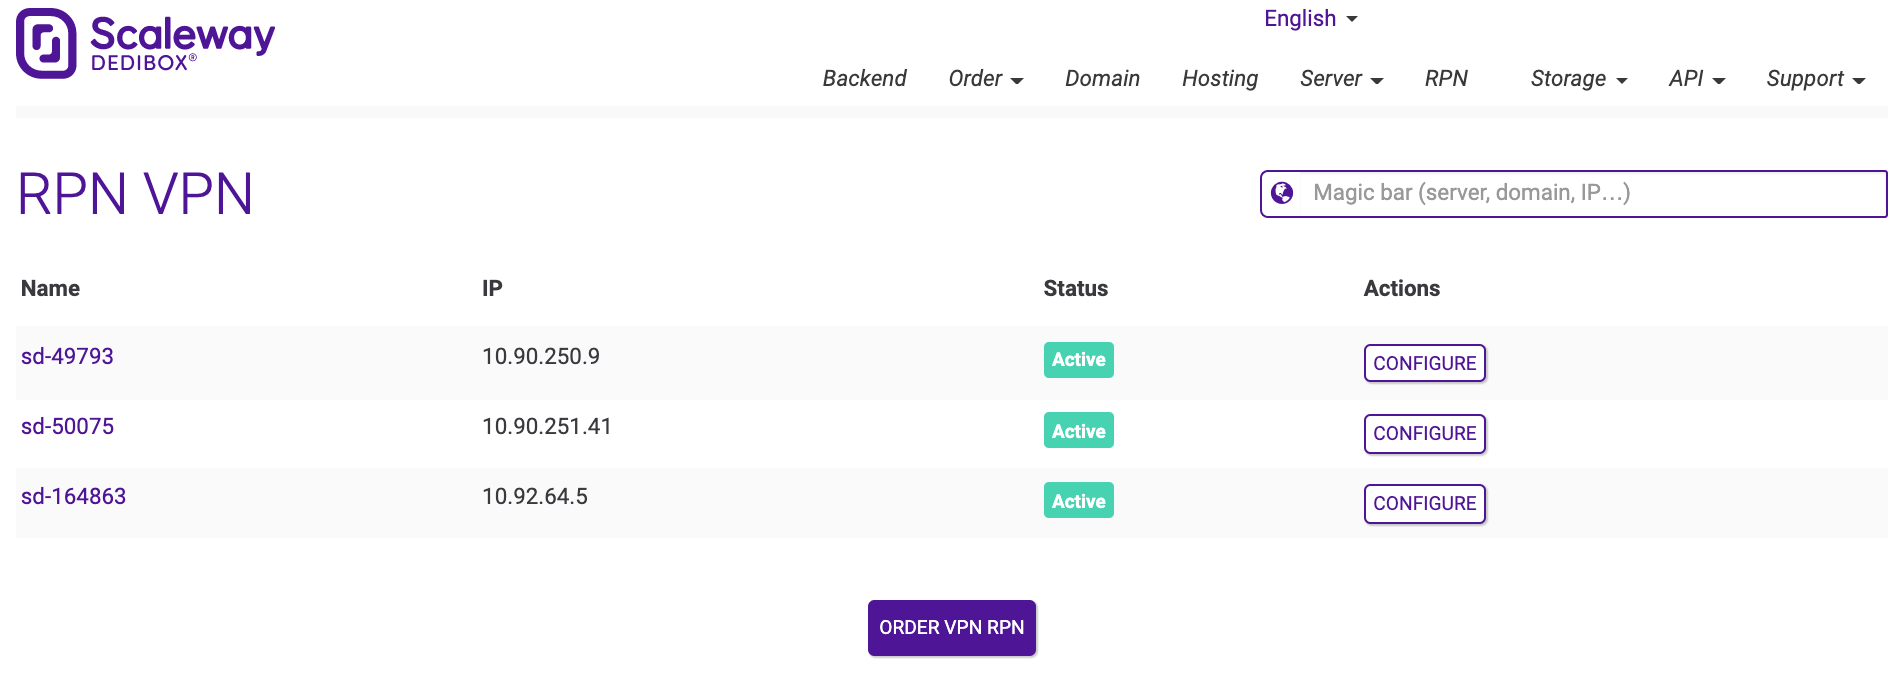
Click Storage > RPN VPN in the top menu of the Dedibox console. A summary of your RPN VPN services displays.

-
Click Configure next to the RPN VPN service you want to configure. The RPN VPN information displays.
-
Download the certificate files for your RPN VPN. Click Show Password to display the password associated with your RPN VPN.

How to configure the RPN VPN client
How to configure the Linux client
-
Launch the installation of OpenVPN using the following command.
root@<your-server-ip>:~# apt install openvpn -
Edit the client configuration file
/etc/openvpn/client.confin a text editor. For example withnano:root@<your-server-ip>:~# nano /etc/openvpn/client.confThe configuration file looks like the following example:
client
dev tun
;proto tcp
proto udp
float
remote <IP of the RPN VPN server> 1194
nobind
persist-key
persist-tun
ca <ca.crt>
cert <cert.crt>
key <cert.key>
askpass <password file>
ns-cert-type server
comp-lzo
verb 3
Set the following values in the configuration file:
<IP of the RPN VPN server>: IP of the RPN VPN server<ca.crt>: Path to ca.crt<cert.crt>: Path to the client .crt<cert.key>: Path to the client .key<password file>: Path to the file containing your password
Then save the file and exit the text editor.
-
To start the VPN automatically during the boot process of the server, edit the file
/etc/default/openvpnand insert the following line:AUTOSTART="client"This line allows OpenVPN to start automatically with the configuration file located at
/etc/openvpn/client.conf.Once the connection to the RPN VPN server is established, you can use your RPN VPN IP to check whether a new interface displays:
root@mydedibox:/etc/default# ifconfig tun0
tun0      Link encap:UNSPEC  HWaddr 00-00-00-00-00-00-00-00-00-00-00-00-00-00-00-00
        inet addr:10.90.250.25  P-t-P:10.90.250.26  Mask:255.255.255.255
You can also check if the routes for the RPN network were set:
root@mydedibox:/etc/default# route -n | grep 10.90
10.90.0.0       10.90.250.26    255.255.0.0     UG    0      0        0 tun0
10.90.250.1     10.90.250.26    255.255.255.255 UGH   0      0        0 tun0
10.90.250.26    0.0.0.0         255.255.255.255 UH    0      0        0 tun0
Now you can configure your server in your RPN group.