How to use the serial console
Some Dedibox server models do not have KVM over IP, but allow the visualization of a video output on a serial console. This allows you to interact with the server even if you have locked yourself out, for example by a malicious network configuration.
Before you start
To complete the actions presented below, you must have:
How to access the serial console
- From the console, click Server > Server list on the top menu. A list of your servers displays.
- Click Manage next to the relevant server.
- Click Serial Console. The connection information displays.
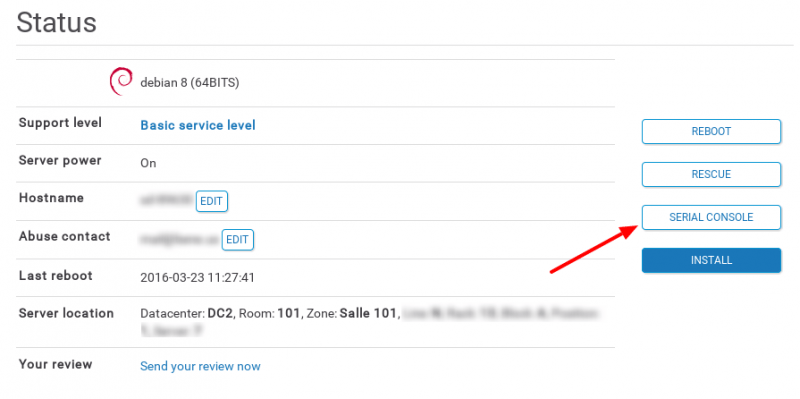
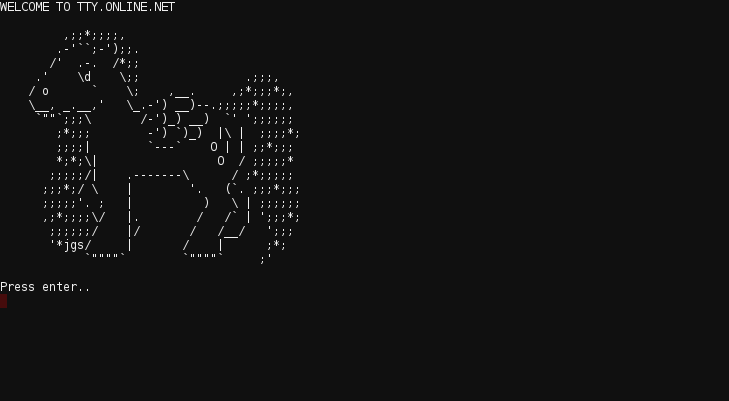
- Click Access to access the serial console of your server.
How to configure the serial console
On certain installations, the serial console may not be activated by default. These steps show you how to activate it from the command line of your server.
On SystemD-based operating systems (Ubuntu 18.04 and later / Debian 8 and later / CentOS)
To activate it on each reboot:
systemctl enable getty@ttyS1.serviceTo activate it on an already booted server:
systemctl start getty@ttyS1.serviceOn Ubuntu 14.04
Create the folder /etc/init/ttyS1.conf:
# ttyS1 - getty
#
# This service maintains a getty on ttyS1 from the point the system is
# started until it is shut down again.

start on stopped rc RUNLEVEL=[12345]
stop on runlevel [!12345]

respawn
exec /sbin/getty -L 9600 ttyS1 vt102
After a reboot of the server, the serial console will be activated.
On Debian 7 (Wheezy)
-
Edit the file
/etc/inittab. -
Uncomment the following line:
T1:23:respawn:/sbin/getty -L ttyS1 9600 vt100To put the changes into effect type:
init q
GRUB
In certain cases, GRUB may not be configured to show the serial console.
- Edit
/etc/default/grub, to add/change the following lines:GRUB_TERMINAL=serial GRUB_SERIAL_COMMAND="serial --unit=1 --speed=9600 --word=8 --parity=no --stop=1" - Save the changes.
- Update your GRUB:
update-grub or update-grub2.
On ESXi
Directly from the vSphere client:
-
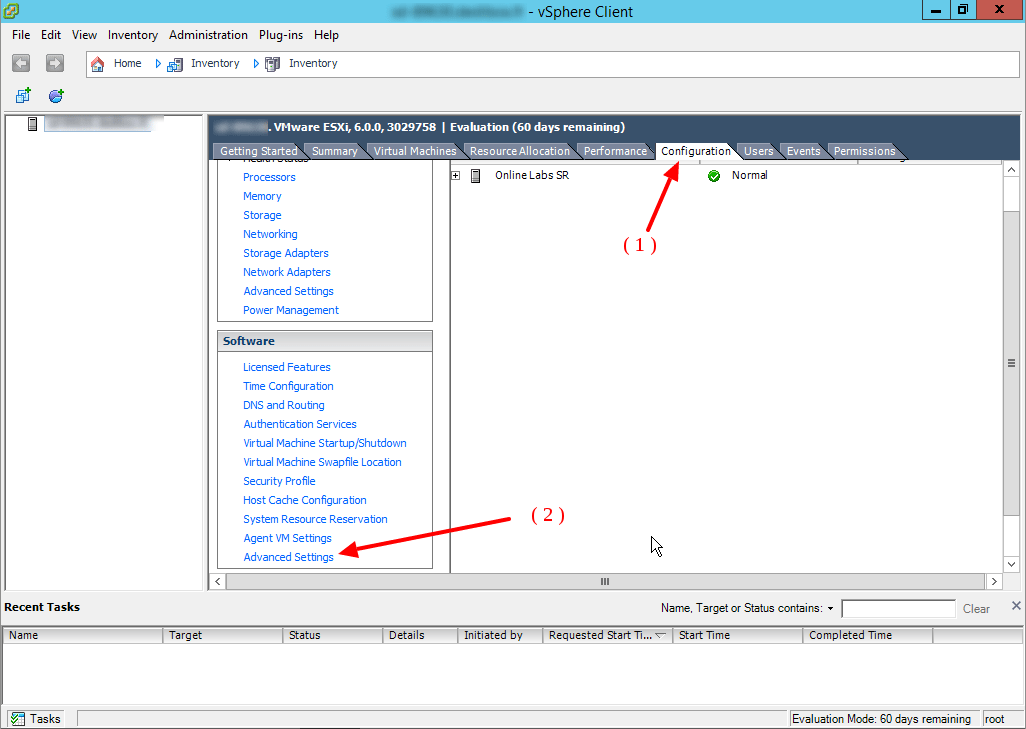
Enter the Configuration tab (1). In the Software section, click on Advanced Settings (2).
A new window will open.
-
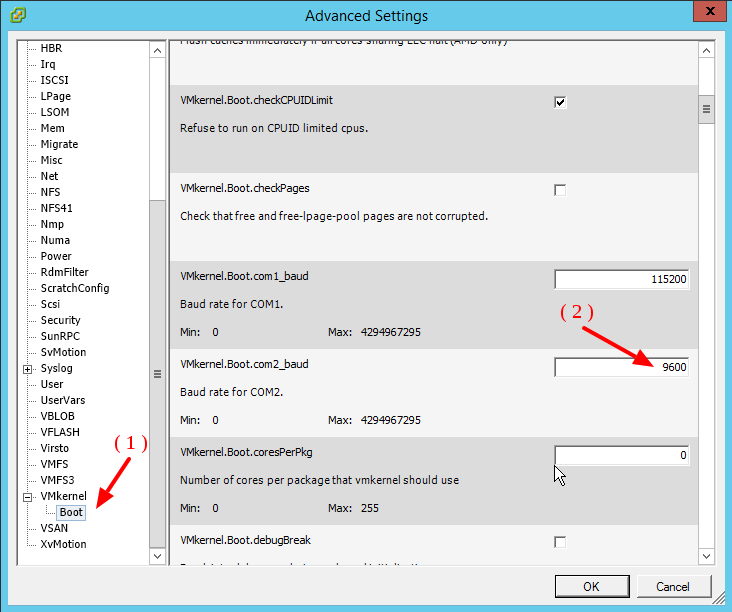
Go to VMKernel and open it by clicking on the small + icon on the left.
-
Click on Boot (1).
-
On the right side of the window, look for the VMKernel.Boot.com2_baud option
-
Enter 9600 (2) as value:
-
Look for the VMKernel.Boot.tty2Port value5. Enter 9600 (2) as value:
-
Look for the VMKernel.Boot.tty2Port value.
-
Reboot the ESXi host. You can now use the serial console of your server.
On FreeBSD
- Edit the
/boot/loader.conffile:boot_multicons="YES" boot_serial="YES" comconsole_speed="9600" console="comconsole" comconsole_port="0x2F8"
This will activate the console during the boot process of your server.
2. Edit the /etc/ttys file to add the following information at the ttyu1 line:
ttyu1 "/usr/libexec/getty std.9600" vt100 on secure- Reboot your server to access the serial console.