How to configure the DELL PERC H200 RAID controller from the KVM
Before you start
To complete the actions presented below, you must have:
- A Dedibox account logged into the console
- A Dedibox dedicated server with a DELL PERC H200 RAID controller
-
Click Server > Server list to display the list of your servers. Click the identifier of the server you want to configure. The server information page displays.
-
Click IDRAC in the menu on the right and validate the terms. Then enter your connection IP address and click Create. Your iDRAC session credentials display. Login to iDRAC using the credentials shown.
-
The iDRAC dashboard displays. Click Launch in the Virtual Console Preview section to launch the Java-based KVM-over-IP applet. Once the server's screen output is visible in the KVM applet, reboot the machine.
-
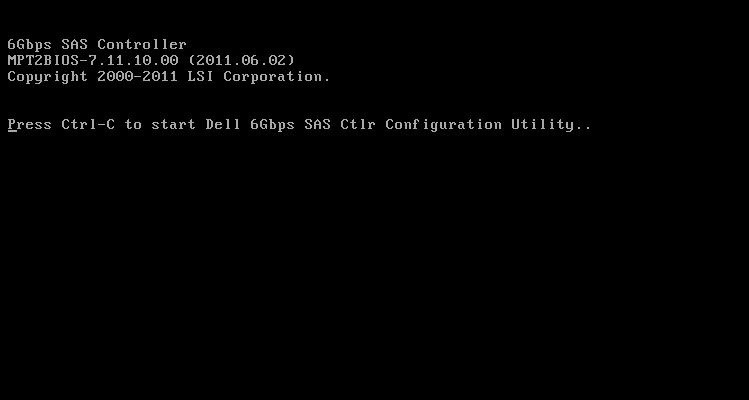
Press CTRL + C during the boot process to enter the RAID configuration utility:
-
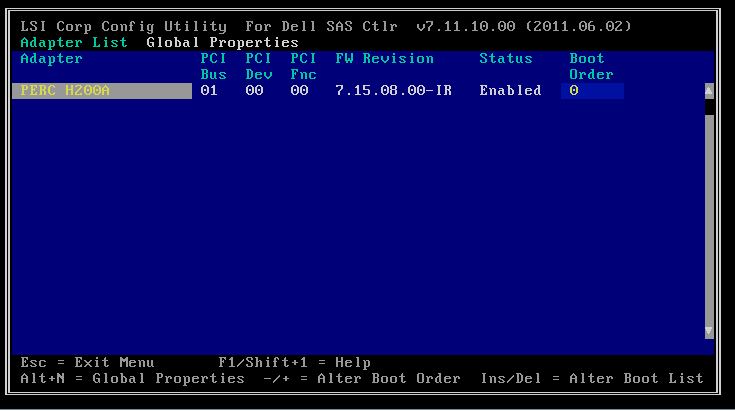
The RAID configuration utility main screen displays. Select the RAID controller to configure and press Enter.
-
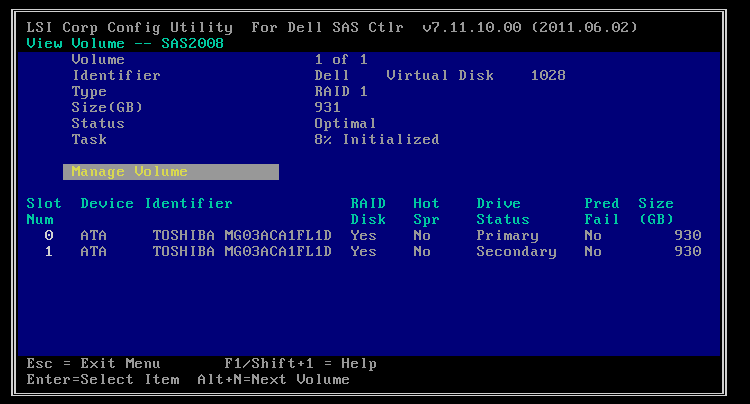
Select RAID Properties and press enter. The RAID configuration displays. Select Manage volume and press Enter.
-
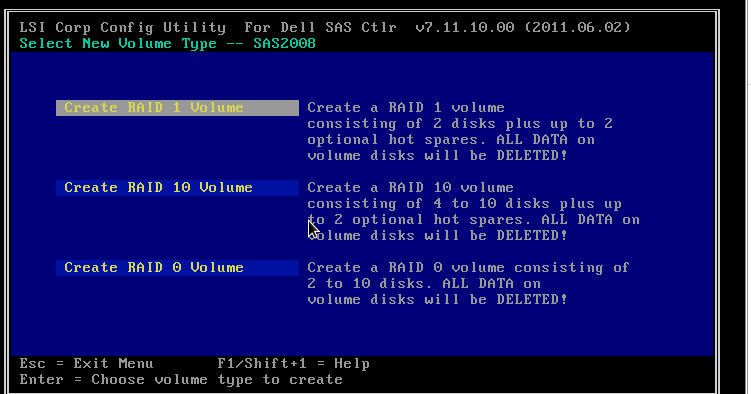
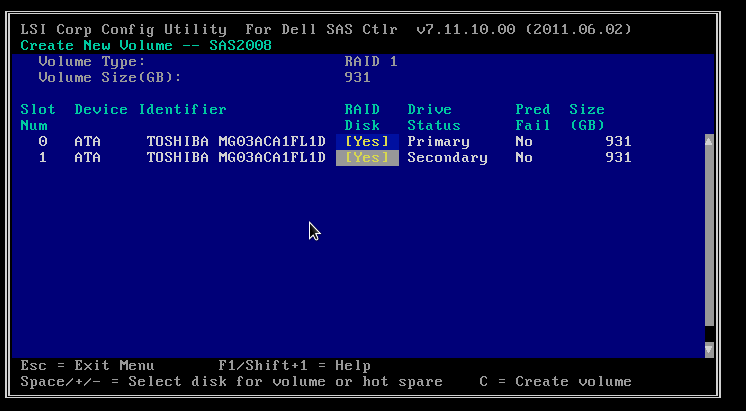
Create a new volume and select the RAID type for the volume:
-
Select the drives for the volume and save your settings:
-
Press C to validate your edits. Then select Save changes and then Exit menu to finalize the RAID configuration and reboot your server.