How to use the KVM Dell iDRAC 6
This page shows you how to use KVM on a Dedibox with DELL iDRAC 6.
Before you start
To complete the actions presented below, you must have:
- A Dedibox account logged into the console
- Installed Podman on your machine
- Installed Java on your local computer
- A Dedibox server with a Dell iDRAC 6 IPMI interface
Creating an iDRAC 6 session
- Click Server > Server List in your Dedibox console. The list of your dedicated servers displays.
- Click the name of the server you want to access. The server's status page displays.
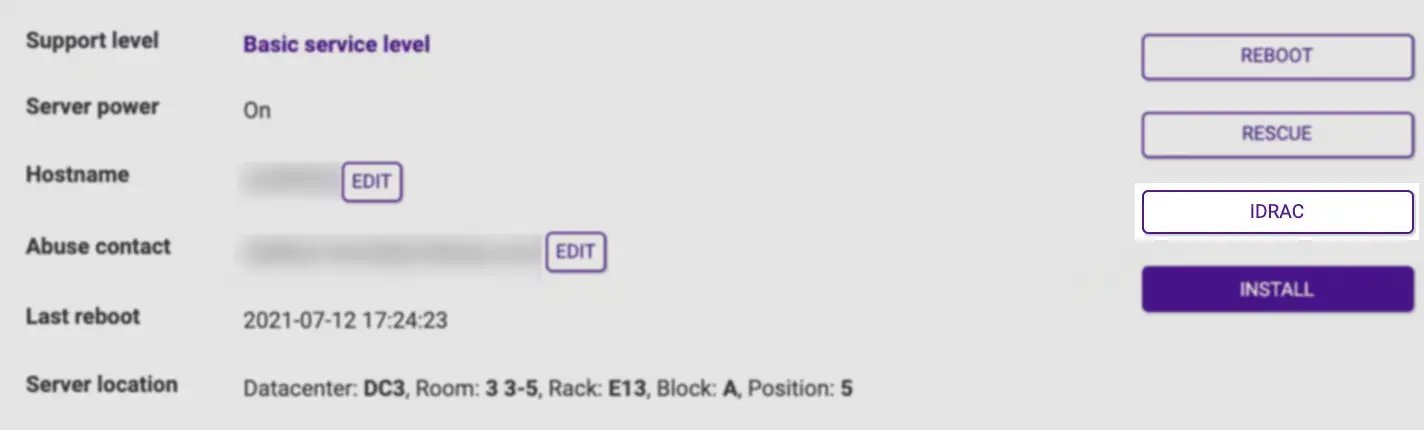
- Click iDRAC in the menu on the right. A pop-up displays.
- Accept the terms for iDRAC access by clicking I Accept.
- Enter the authorized IPv4 address for the iDRAC connection. The IP address of your internet connection is already pre-filled in the form. Then click Create to generate your credentials.
The connection URL and your credentials display. Click on the link to access the iDRAC interface.
Accessing the KVM-over-IP device using Docker
You can use Docker to access the KVM-over-IP device of your Dedibox.
Here are the rewritten steps for use with Docker Desktop:
Installation
- On macOS and Windows, Docker Desktop is available for download from the official Docker website.
- On Ubuntu, you can install Docker Desktop using the official Docker installation instructions.
Pull the repository
Pull the iDRAC 6 dockerized Docker repository:
docker pull domistyle/idrac6Run the container
- Run the container with the following command:
docker run -d -p 5800:5800 -p 5900:5900 -e IDRAC_HOST=$ip -e IDRAC_USER=$user -e IDRAC_PASSWORD=$password domistyle/idrac6 - Access the HTML5 KVM by opening
http://localhost:5800in a web browser.
Alternative: Accessing the KVM-over-IP device using Java
If you do not want to use Docker to access the KVM-over-IP device of your server, you can use a Java applet to launch the virtual console.
-
Open the connection URL of your iDRAC in your web browser, then log in using the credentials displayed during access creation.
-
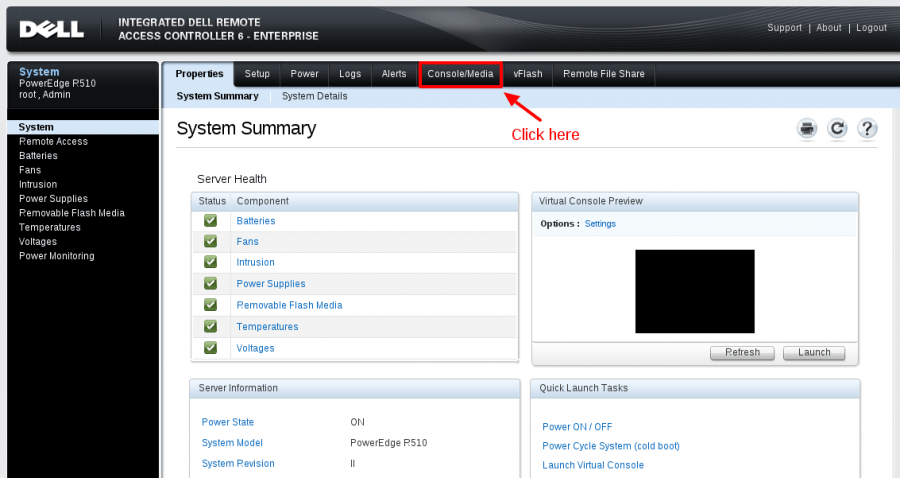
Click Console/Media the top menu.
-
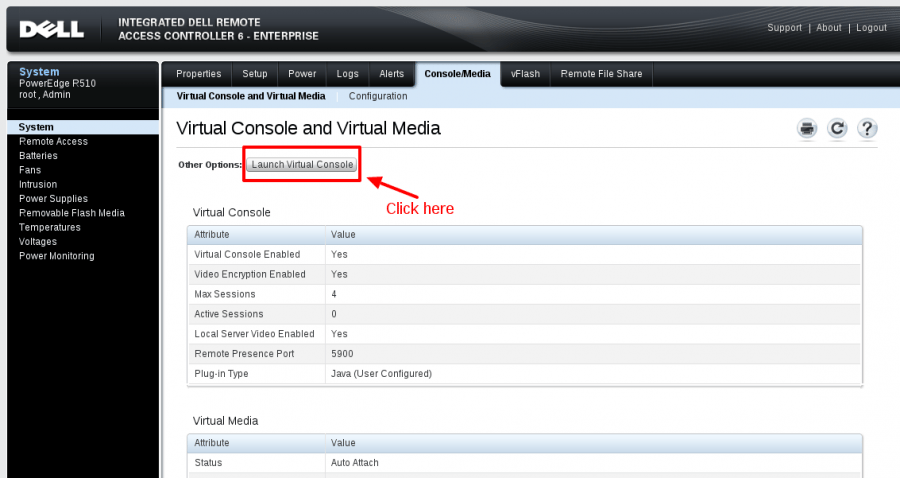
Click Launch Virtual Console.
-
Download and execute the Java web start file. The virtual console window displays.
Installing an operating system using the virtual console
You can use the virtual console to install an operating system on your server.
-
Connect to the virtual console as described in the previous section.
-
Download the ISO file of the operating system you want to install.
-
Click Virtual Media > Launch virtual media in the virtual console window. A pop-up window displays.
-
Click Add Image... and select the ISO file containing your operating system. Keep the window open.
-
Go back to the virtual console window and click Power > Reboot to restart the machine.
-
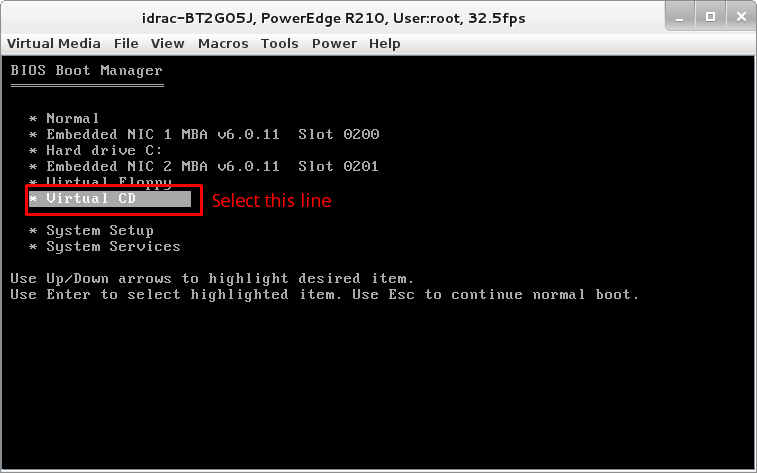
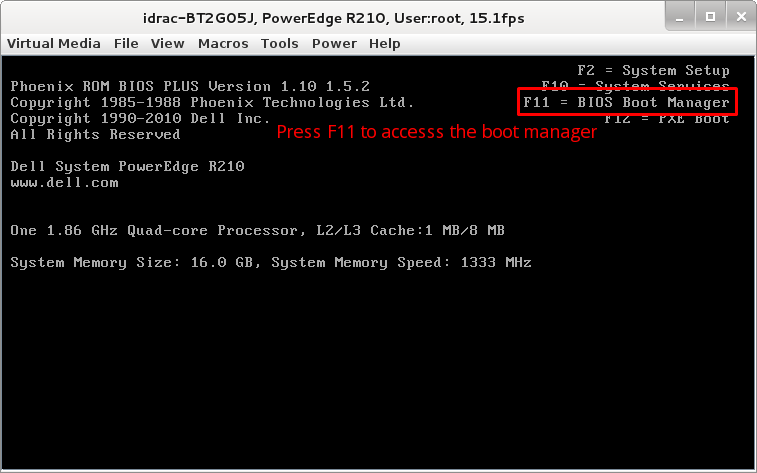
During the boot process, press F11 to access the BIOS boot manager.
-
Select Virtual CD to boot the server using the ISO file mounted in the virtual CD drive.