Deploying a Mist open source streaming server
MistServer is one of the leading OTT (internet streaming) toolkits with an open source core. It allows you to deliver your media content to your users via the internet. Mist Server supports the OBS Studio suite, making it easy to set up your own web stream.
Before you start
To complete the actions presented below, you must have:
- A Scaleway account logged into the console
- Owner status or IAM permissions allowing you to perform actions in the intended Organization
- An SSH key
- An Instance running on Ubuntu Focal Fossa
- A domain or subdomain pointed to your Instance
Installing Mist Server
- Connect to your Instance via SSH.
ssh root@your.instance.ip.address - Download the latest version of the open source edition of Mist Server.
curl -o - https://releases.mistserver.org/is/mistserver_64Vlatest.tar.gz 2>/dev/null | sh
Mist Server installs automatically, once the installation completes a message displays:
Successfully installed MistServer using systemd. Starting MistServer.Configuring MistServer
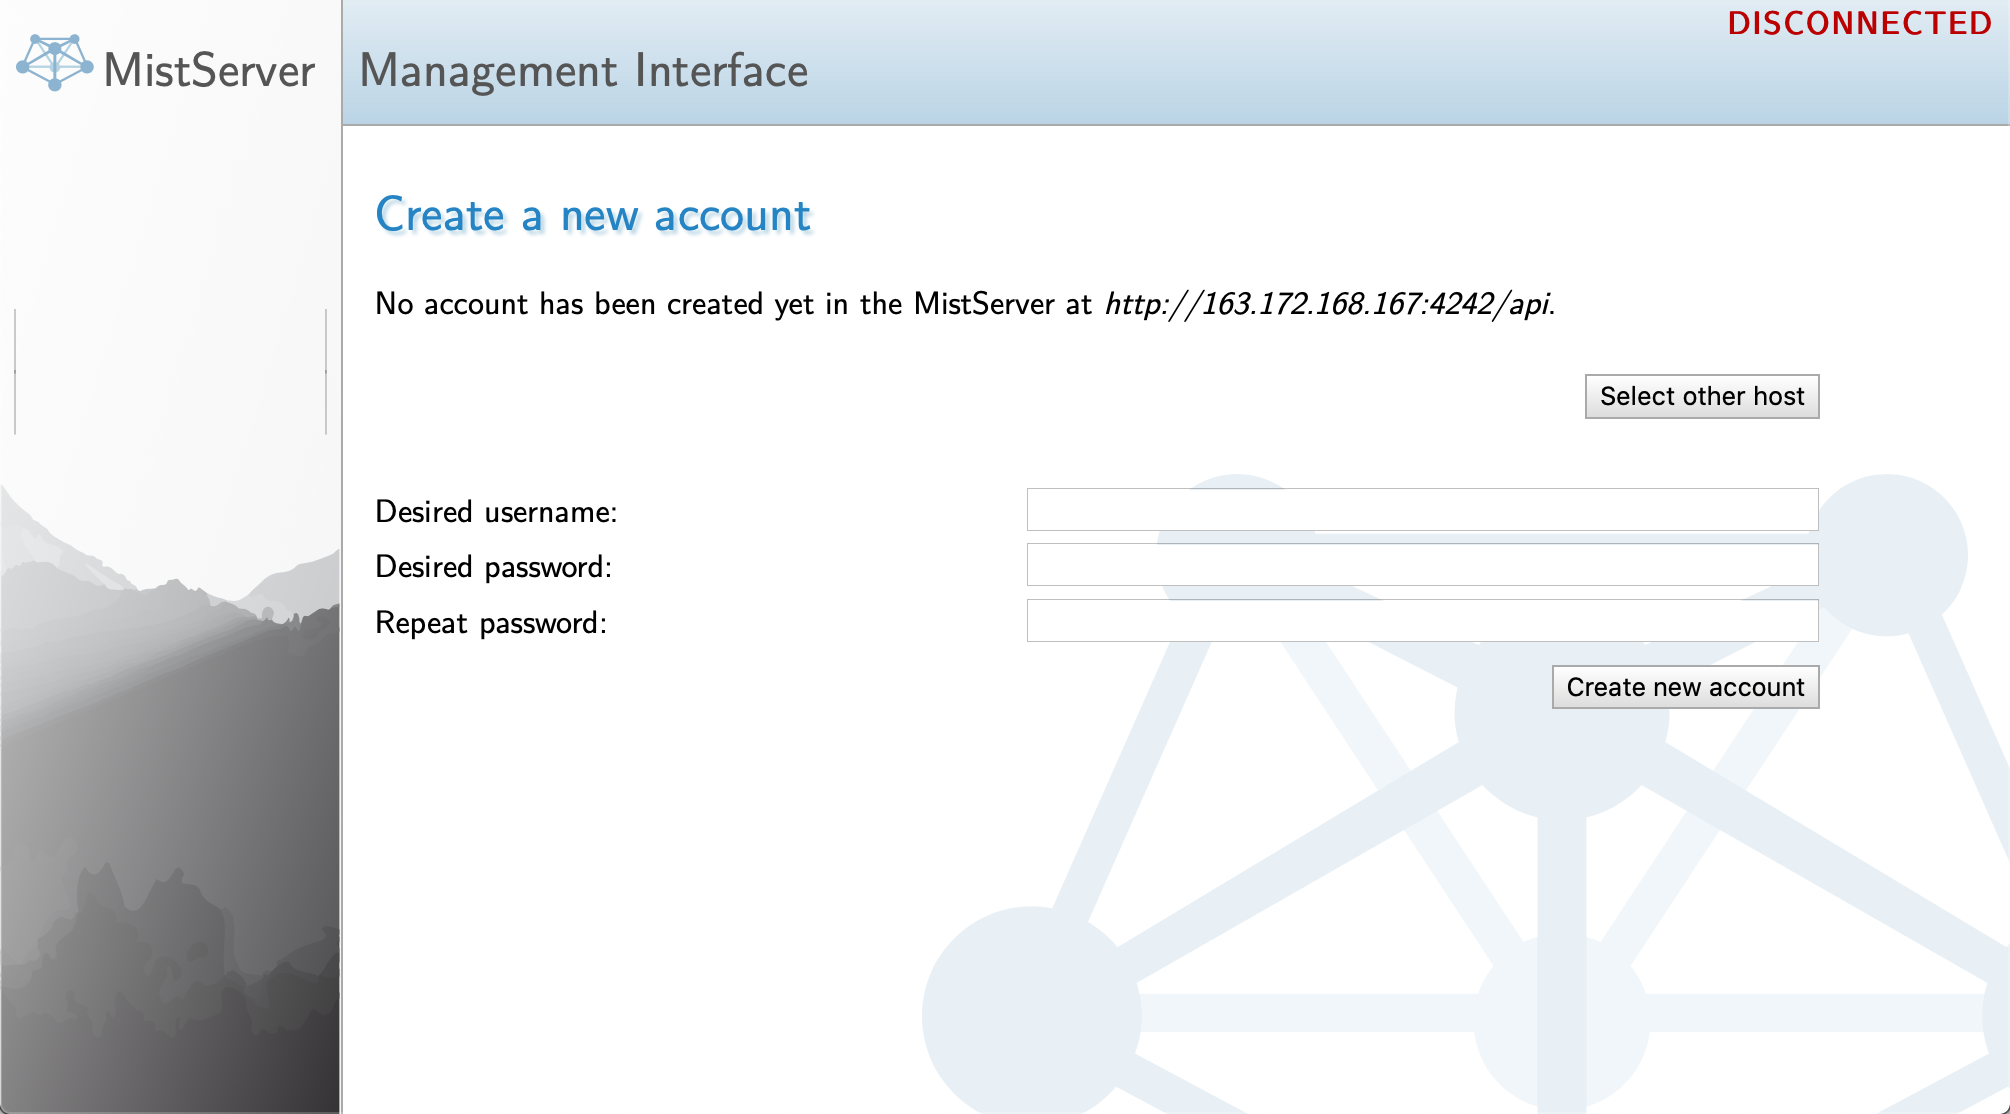
- Open a web browser and point it to
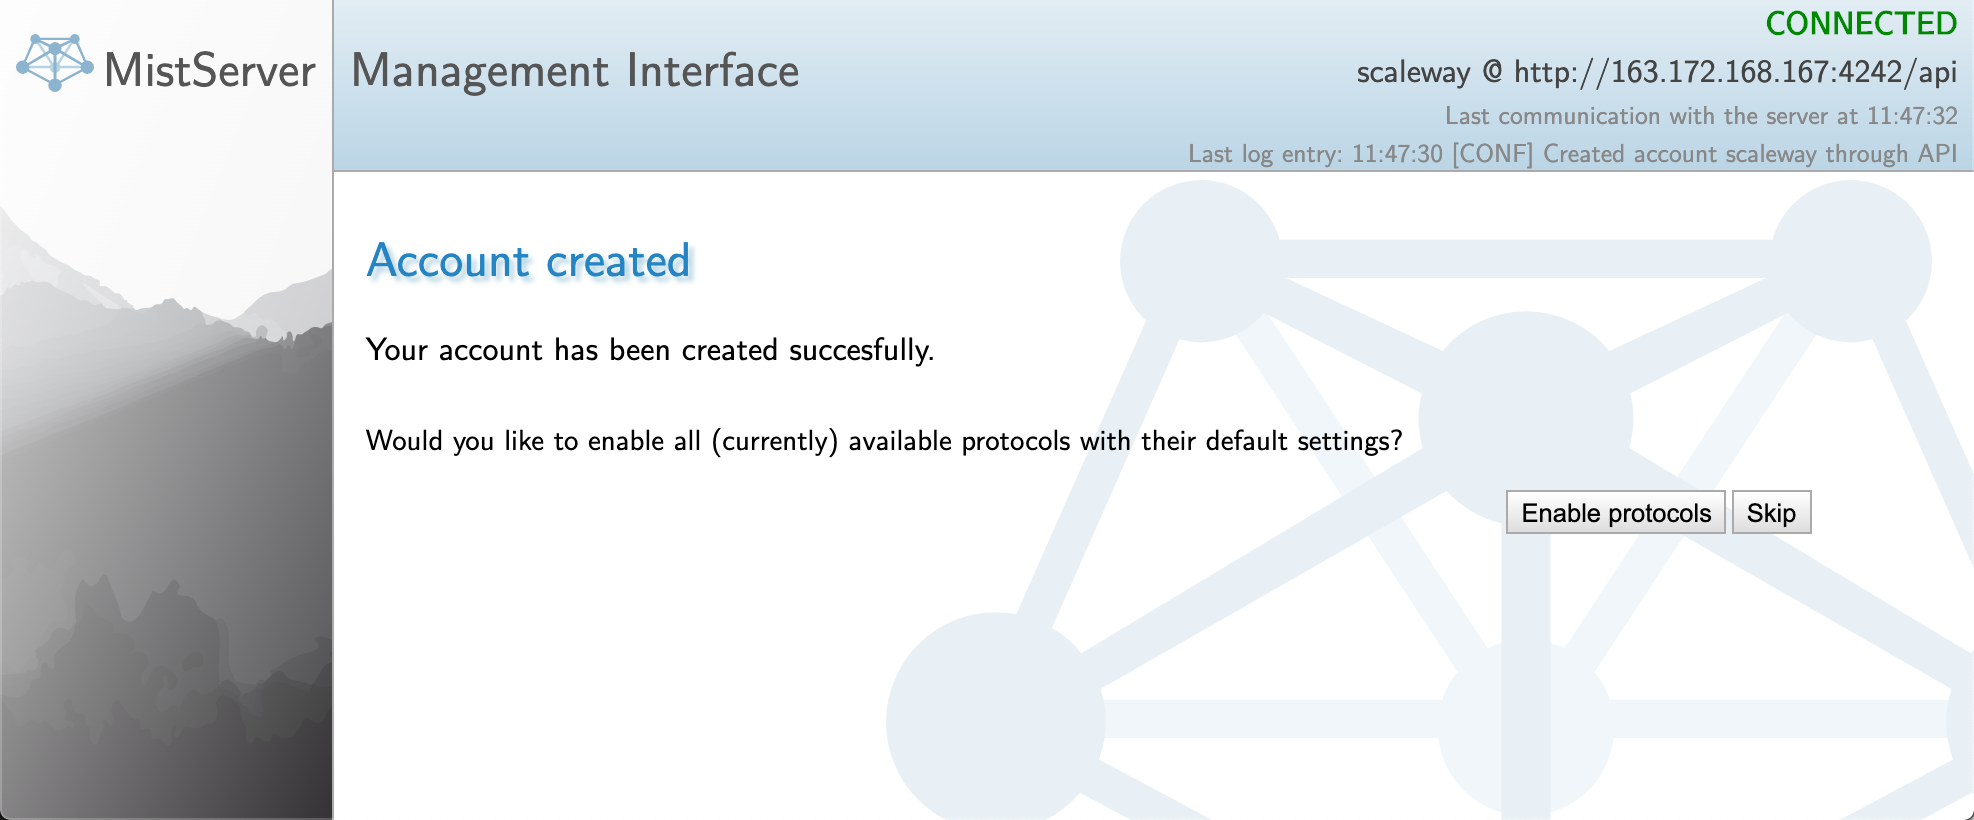
http://your.instance.ip.address:4242/(replaceyour.instance.ip.addresswith the IP of your Instance). The Mist Server configuration interface displays. - Enter your desired username, password, and its confirmation. Then click Create New Account.
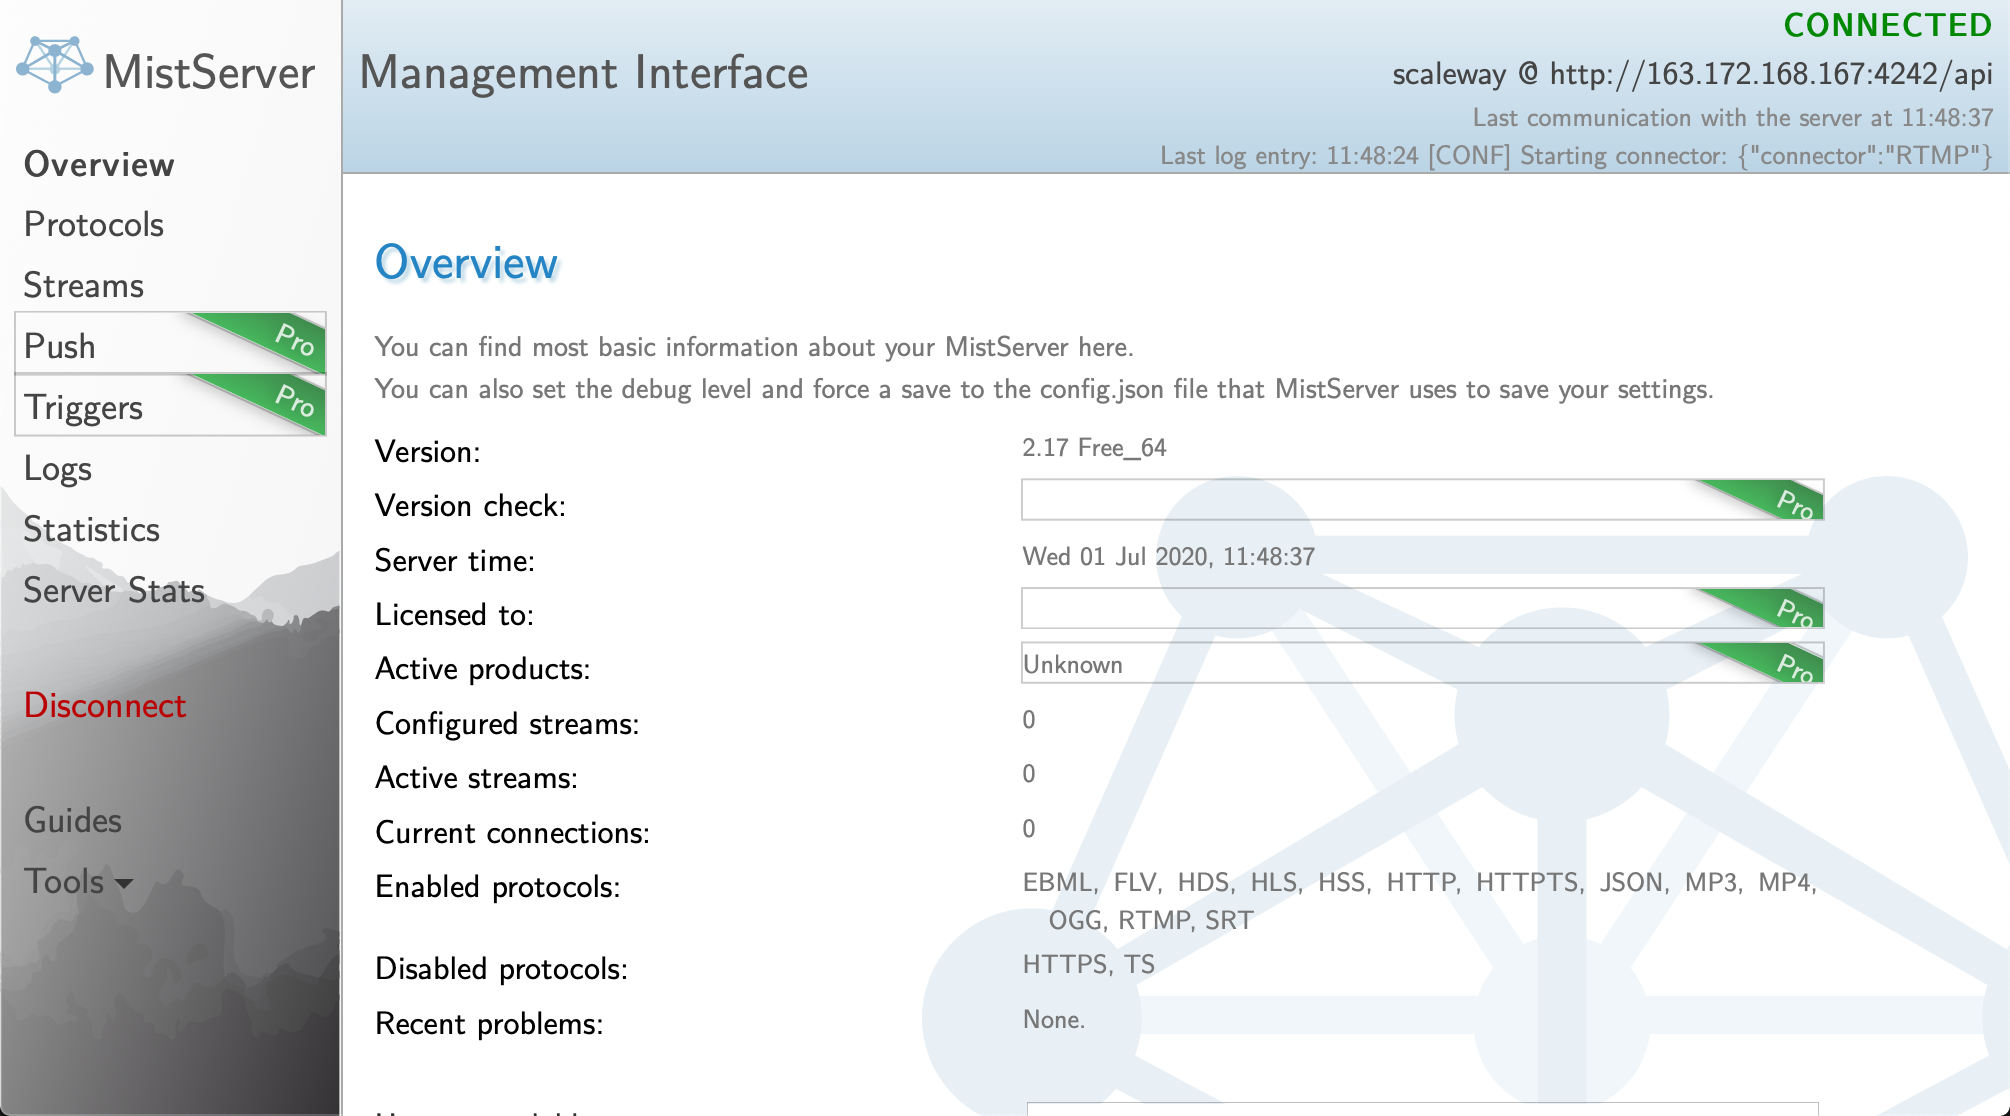
- Click Enable protocols to enable all available streaming protocols.
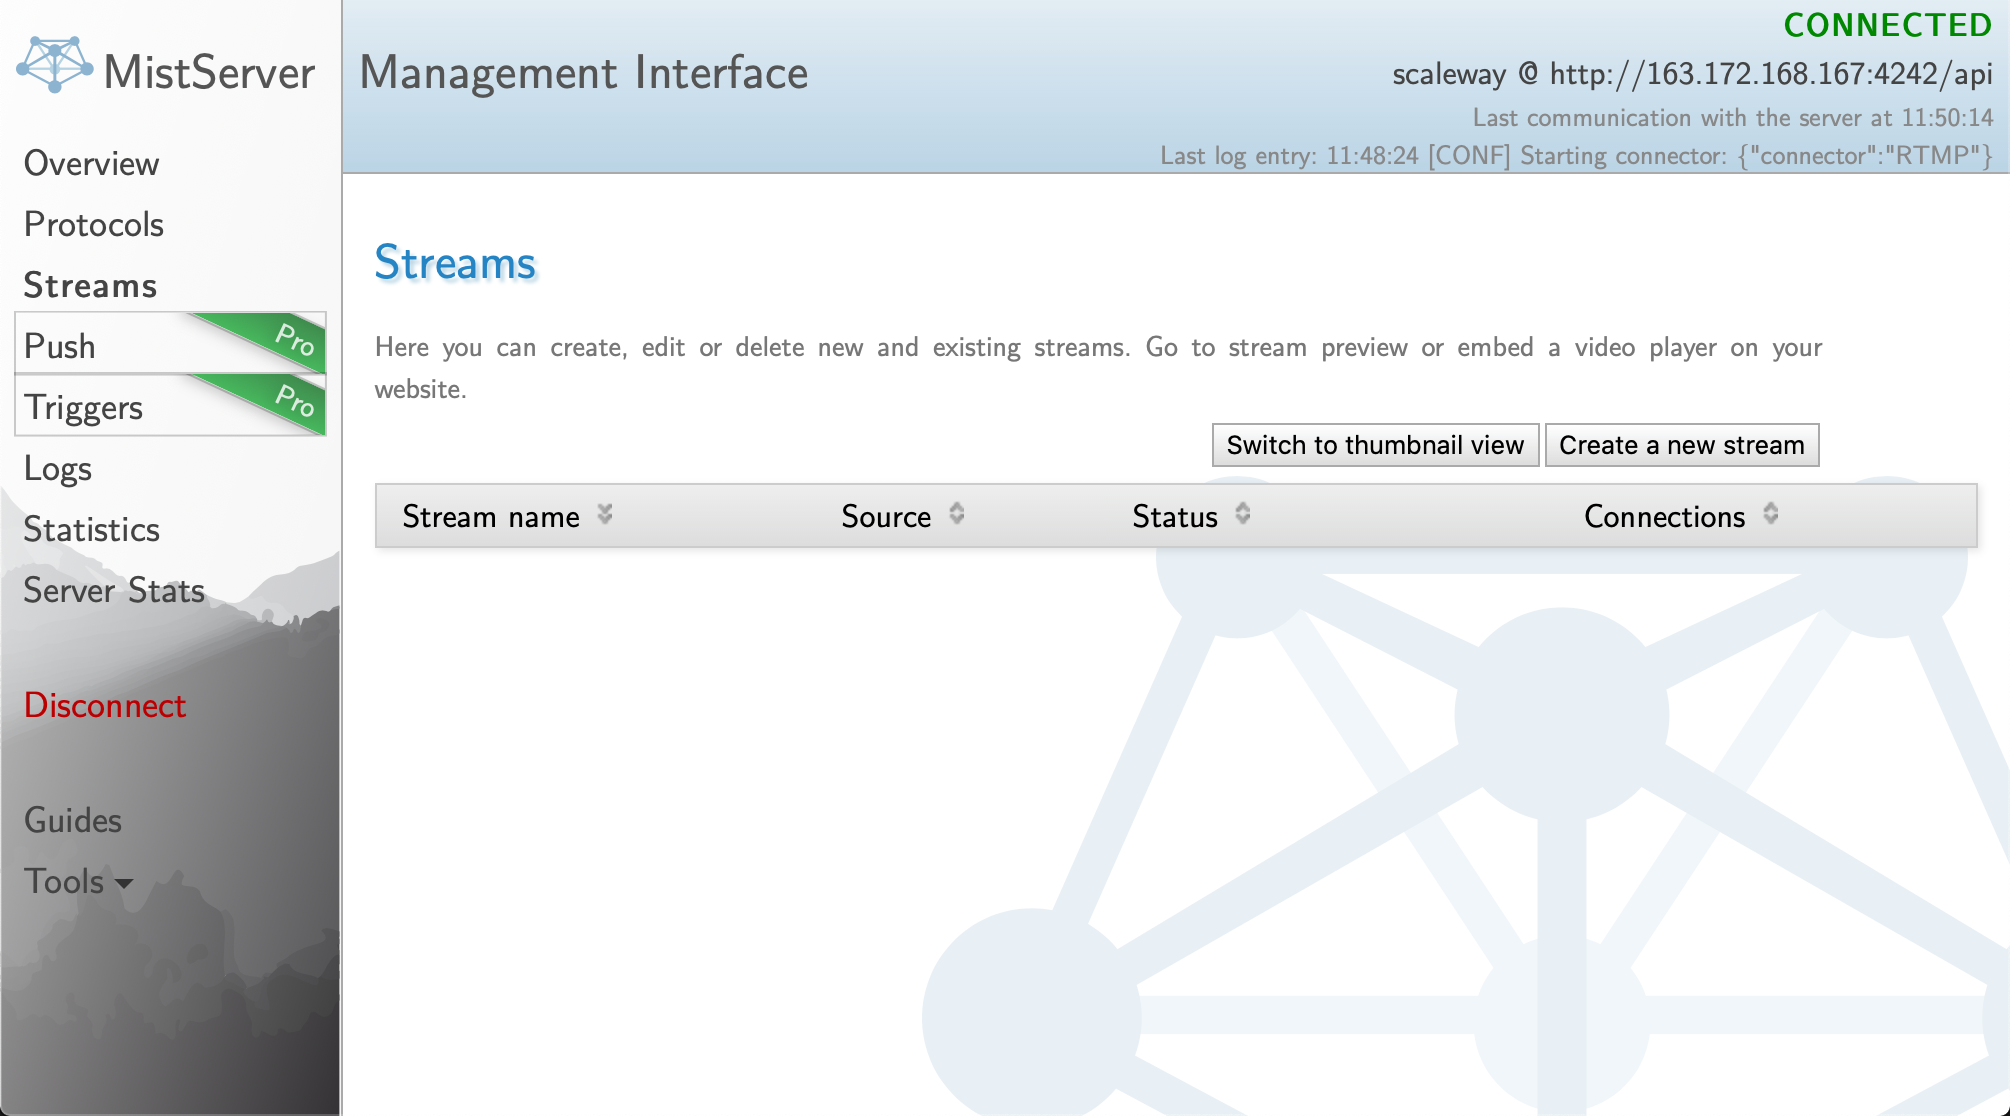
The MistServer overview page displays. 4. Click Streams on the left menu to enter the stream section.
-
Click Create a new stream to launch the stream creation wizard.
-
Enter the details of the new stream and click Save.
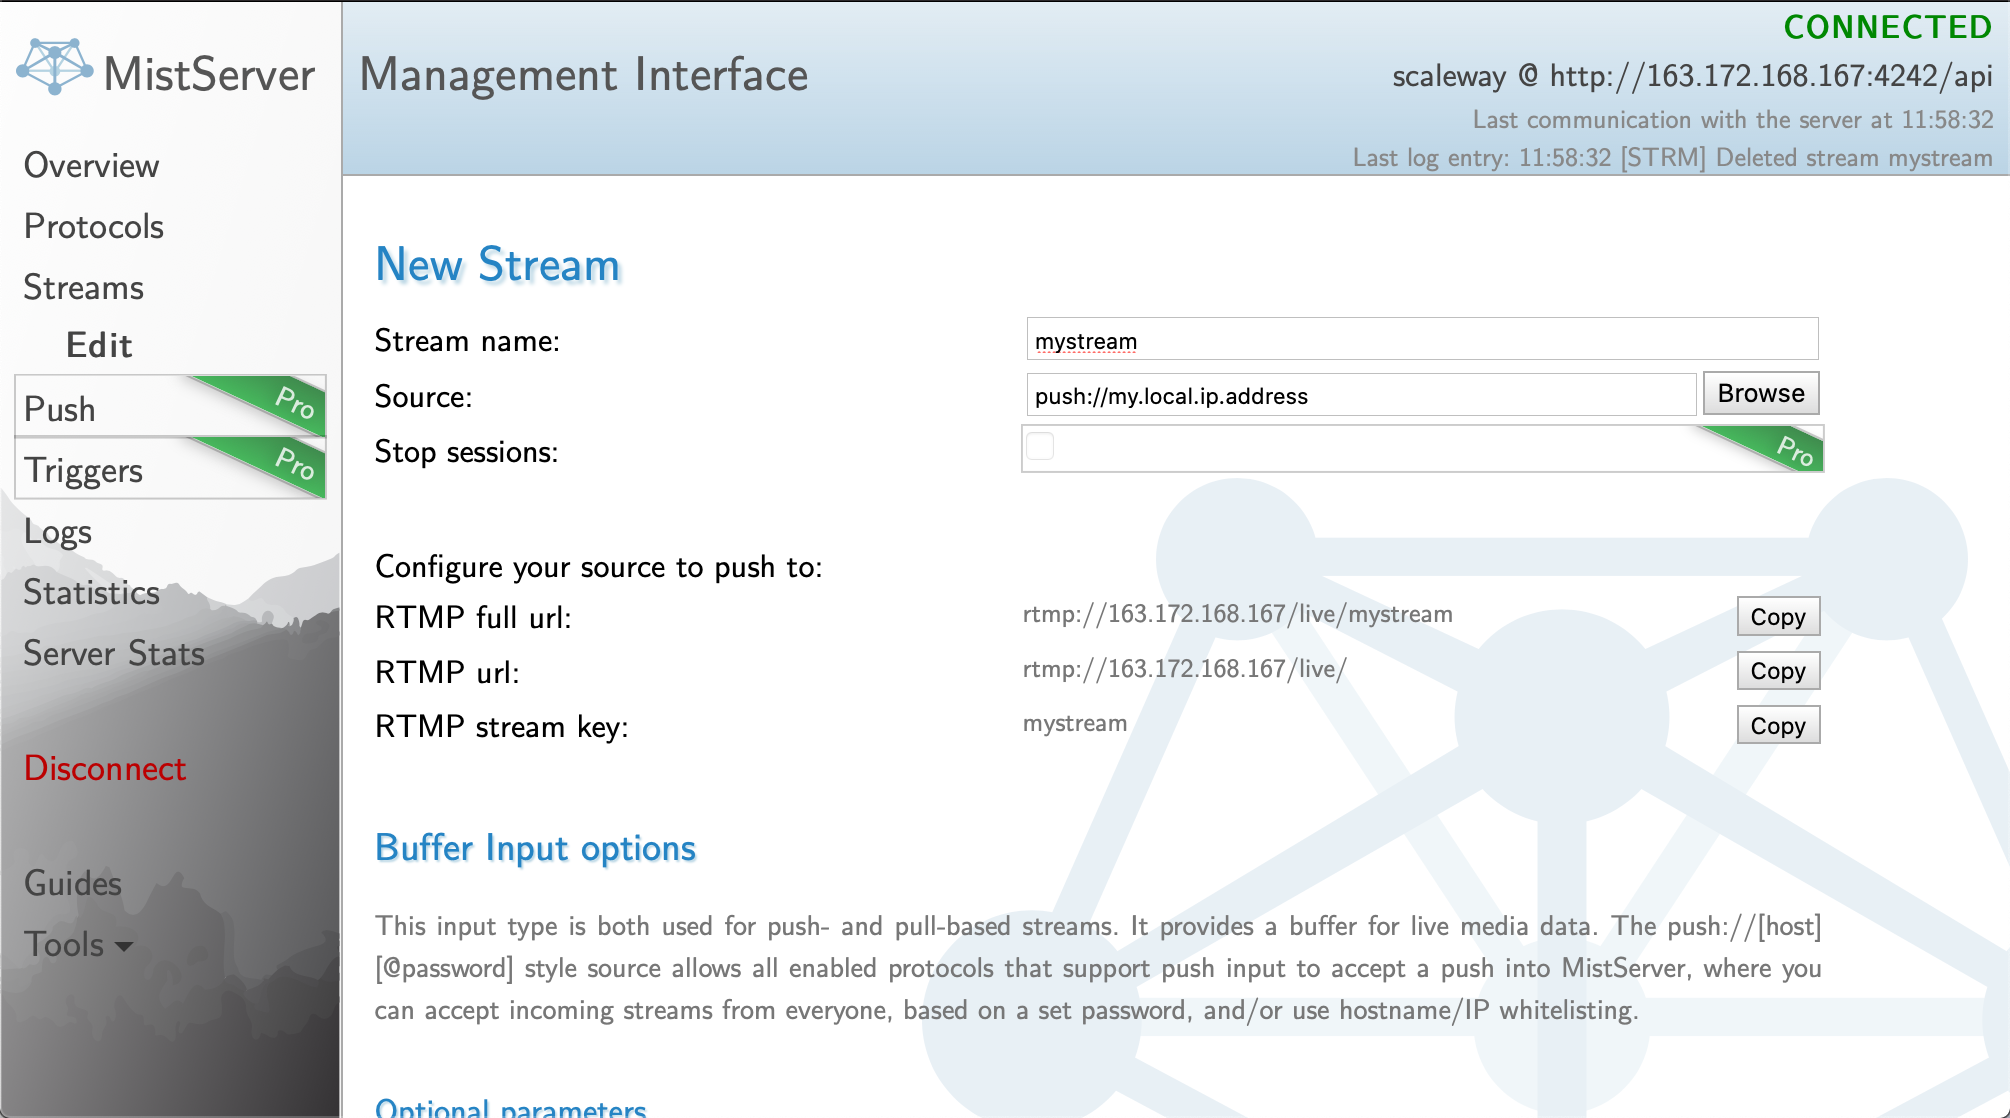
- Stream name: Enter a name of your choice for the stream, i.e.
mystream. - Source: Enter the source of the stream. You can either stream local files from your Instance. Click Browse to select the content. To stream a live stream, enter the IP address of the source in the text box, e.g.
play://51.15.123.231.
- Stream name: Enter a name of your choice for the stream, i.e.
Configuring OBS Studio
-
Download the latest version of OBS Studio from their website. The Software is available For macOS, Windows, and Linux.
-
Install OBS Studio on your local computer.
-
Configure the streaming server in OBS Studio by clicking on Settings -> Stream.
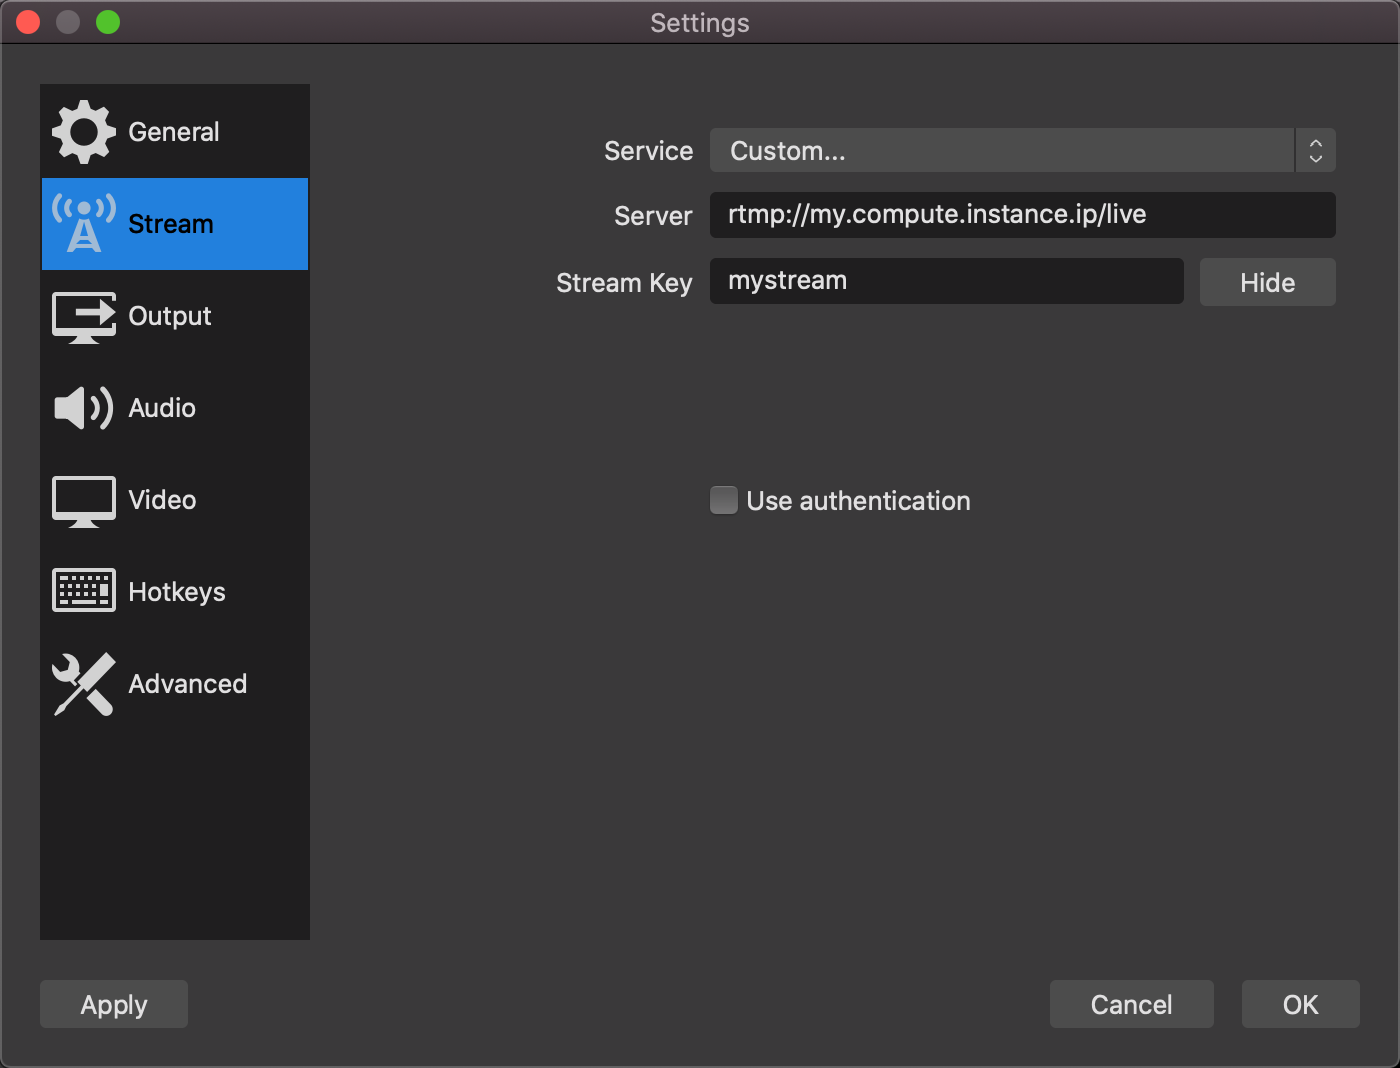
- Service Choose
Customfrom the drop-down menu - Server Enter the stream URL of your Instance, for example:
rtmp://51.15.123.222/live - Stream Key Enter the name of the stream you have configured previously.
- Service Choose
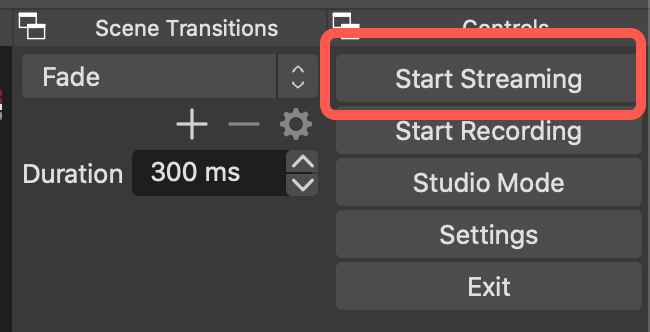
Once configured, click OK to validate your settings. 4. Add audio and video sources to OBS Studio. For more information on how to add different sources, refer to the official documentation. 5. Click Start Streaming in OBS Studio to start the stream.
- Click Preview from the Streams list in MistServer to visualize a preview version of your stream.
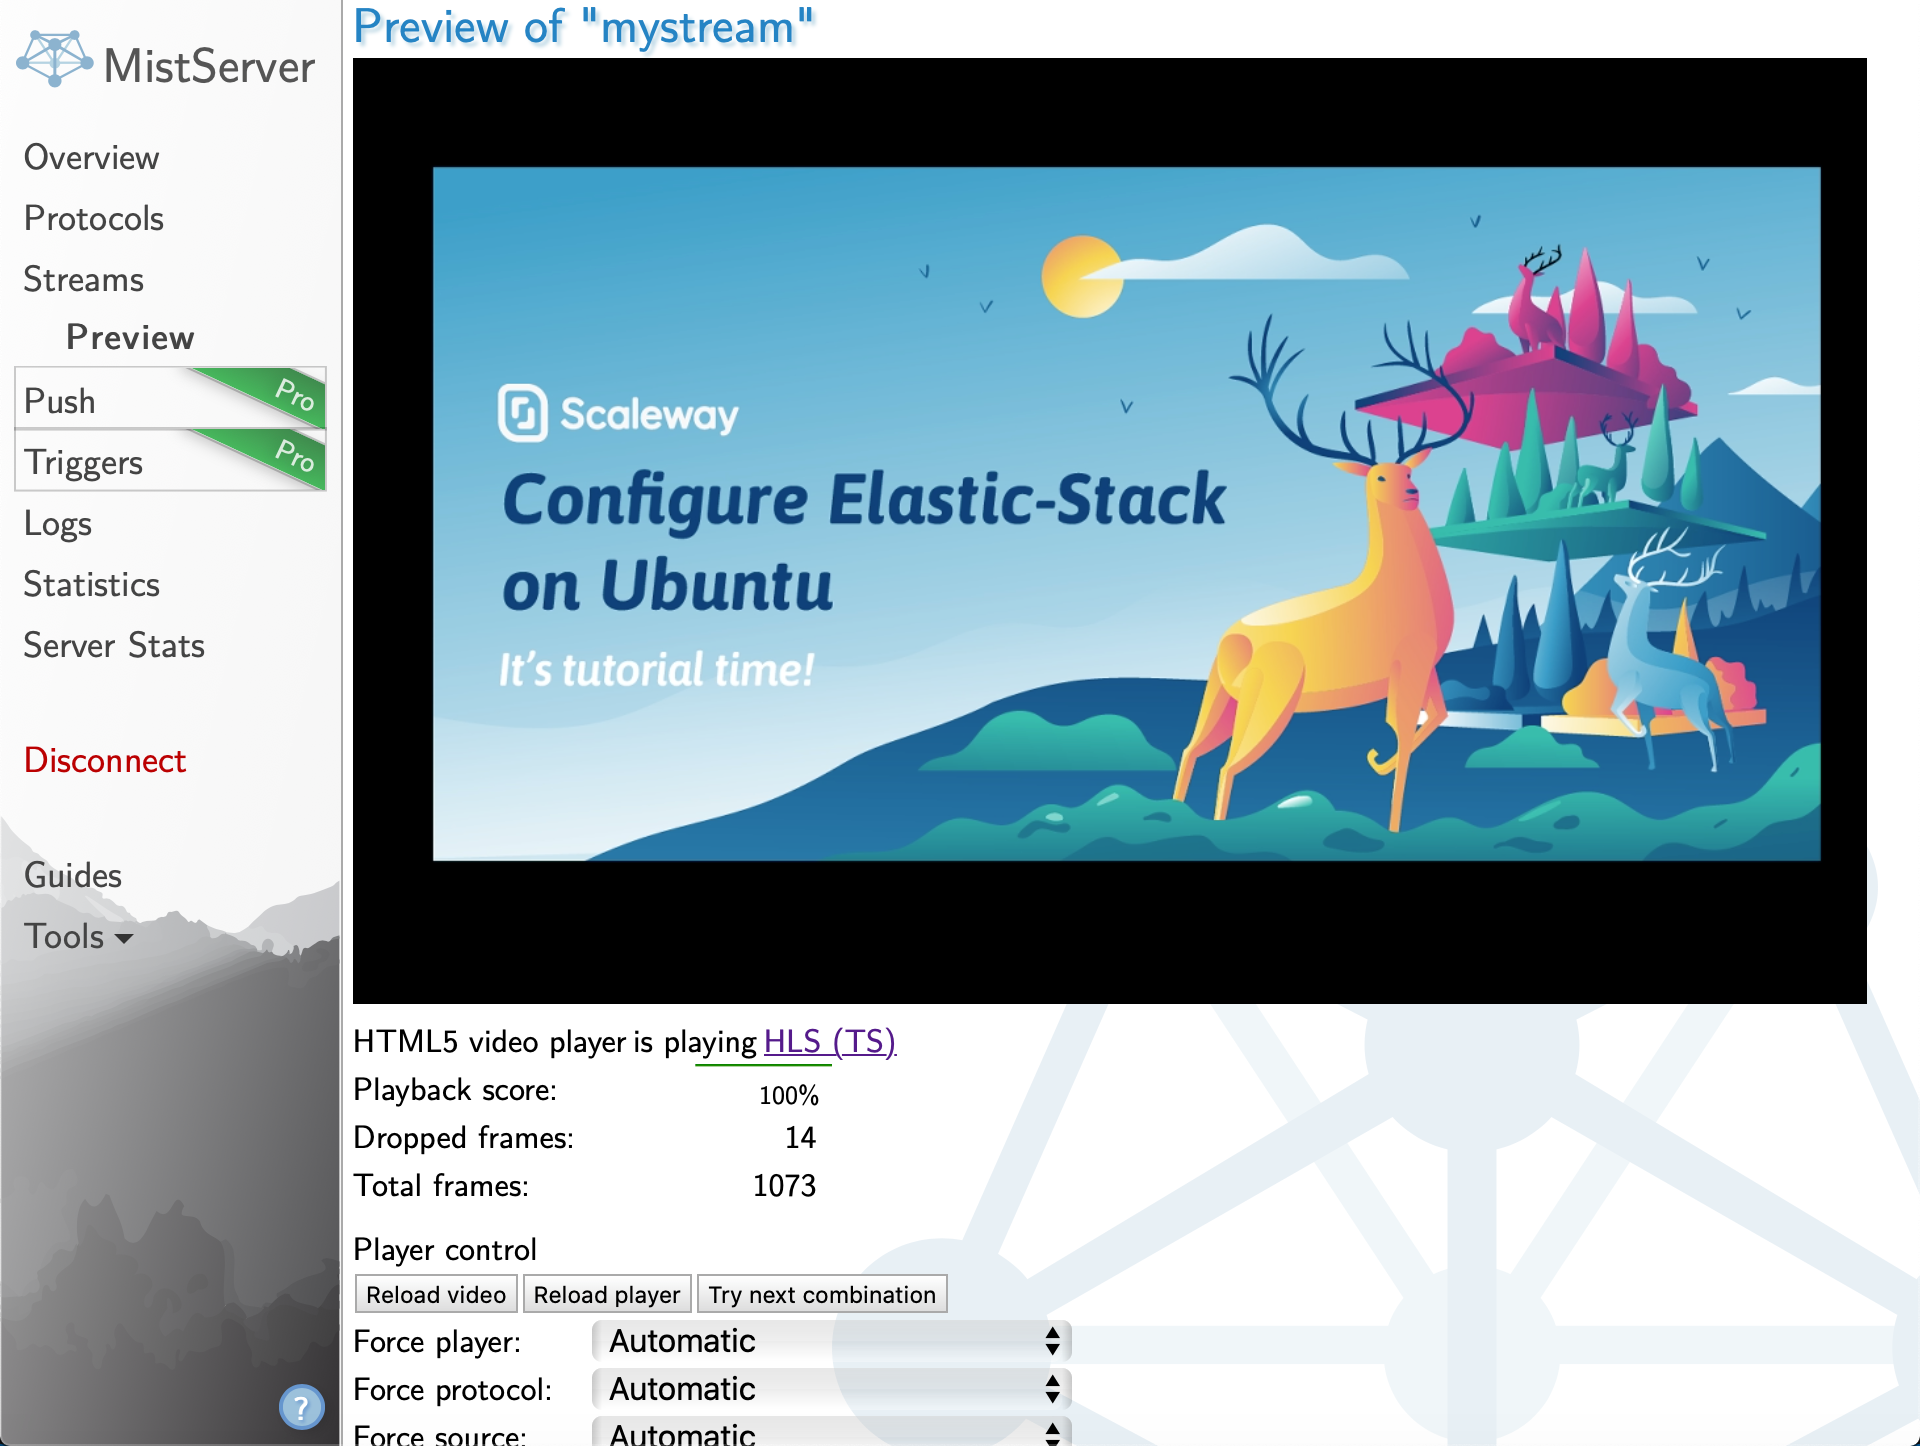
If required you can test the different stream settings to find the best configuration for your stream.
Accessing the stream
MistServer provides several ways to access your stream, either directly from a dedicated website or by embedding it into your existing site.
- From the Streams list, click Embed to display different ways to access your stream:
The embed code for your stream displays.
- Use the toggles below the code box to configure the advanced parameters of the player used for your stream:
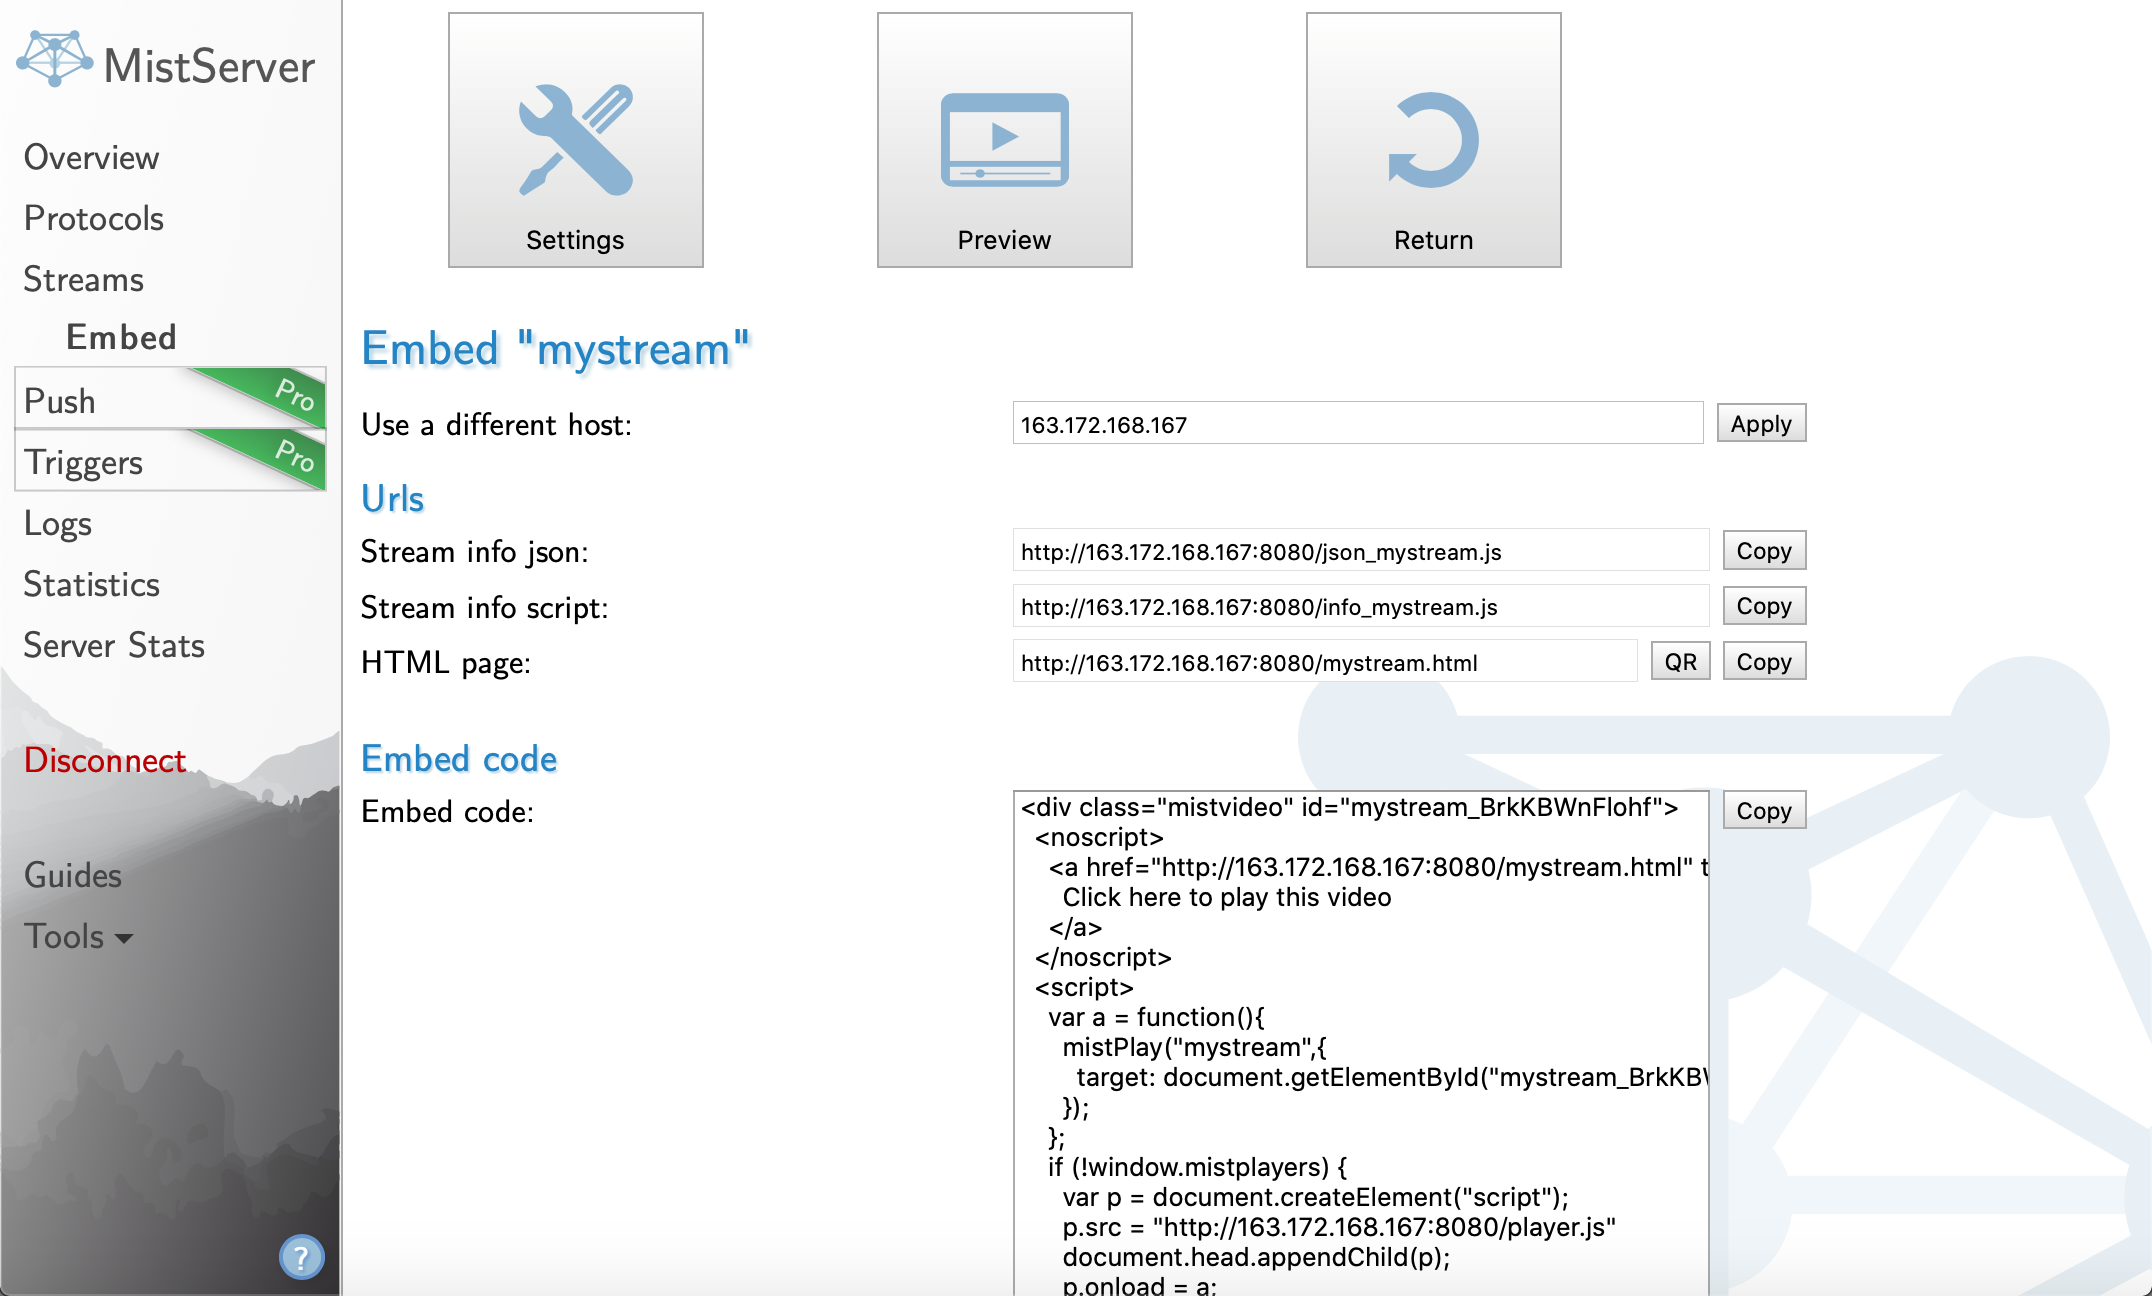
Once everything is set, copy the code and paste it into your website. Alternatively, you can use the dedicated HTML page to link to the stream. It will be available at http://<your_compute_instance_ip>:8080/<stream-name>.html.
You can now start streaming your video content directly using your Instance. To learn more about MistServer, refer to the official documentation.
Visit our Help Center and find the answers to your most frequent questions.
Visit Help Center