Using Veeam Backup & Replication with Object Storage
Veeam Overview
Veeam Backup & Replication is a proprietary backup application, developed by Veeam for virtual environments built on VMware vSphere and Microsoft Hyper-V hypervisors.
The solution provides backup, restore, and replication functionality for virtual machines, physical servers, and workstations as well as cloud-based workloads.
A native Object Storage interface for Veeam Backup & Replication is part of the Release 9.5 update 4, available in General Availability since January 22nd, 2019. It allows to push backups to an Amazon S3-compatible service to maximize backup capacity.
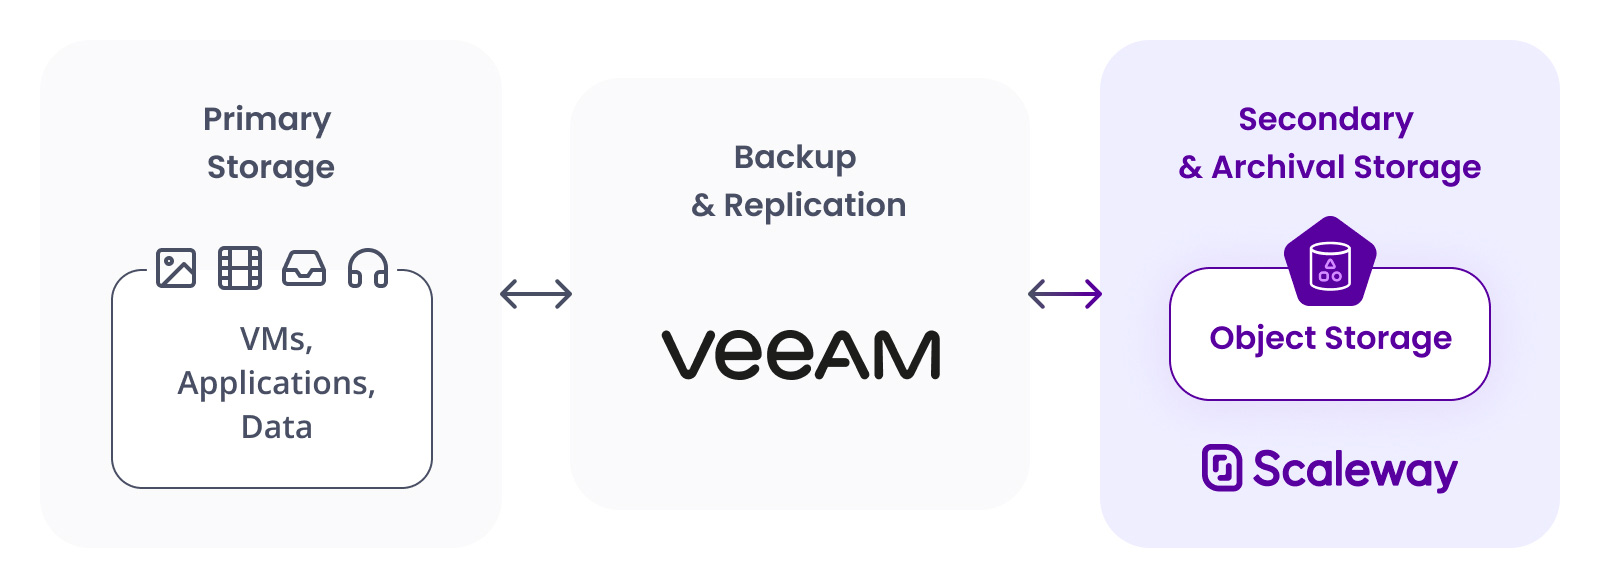
The following schema represents the functionality of Veeam Backup and Restore which acts as an intermediate agent to manage primary data storage and secondary and archival storage:
Before you start
To complete the actions presented below, you must have:
- A Scaleway account logged into the console
- Owner status or IAM permissions allowing you to perform actions in the intended Organization
- A machine running VMware vSphere
- An intermediate Instance running Veeam Backup & Replication
- An Object Storage bucket
Configuring Veeam backup & replication
Configuring an Object Storage repository
-
Once the Veeam Application is installed on your intermediate Instance, start the Veeam Console by double-clicking on the corresponding icon:

-
Enter the appropriate credentials, and click Connect:

-
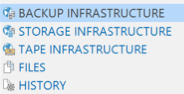
Once logged into the Veeam console, click Backup Infrastructure:
-
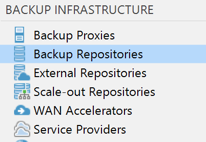
Click Backup Repositories to enter the backup repository settings:
-
Click Add Repository to add the Object Storage bucket as a repository:
-
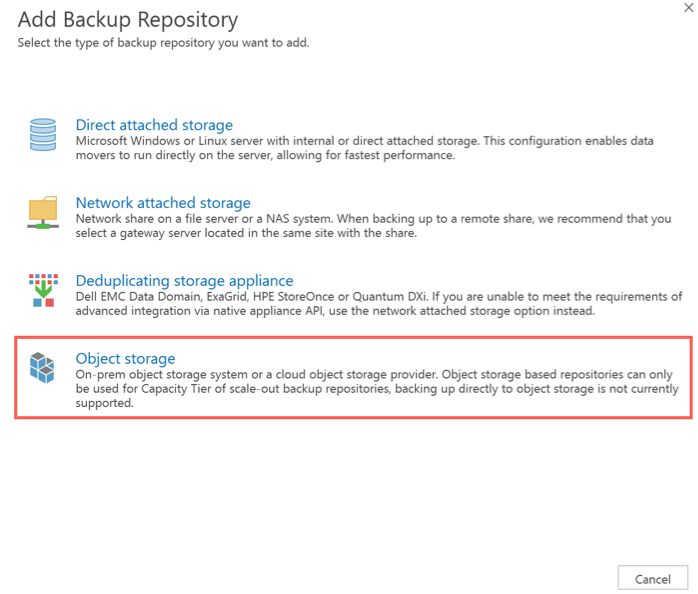
Choose Object Storage:
-
Click S3 Compatible:

-
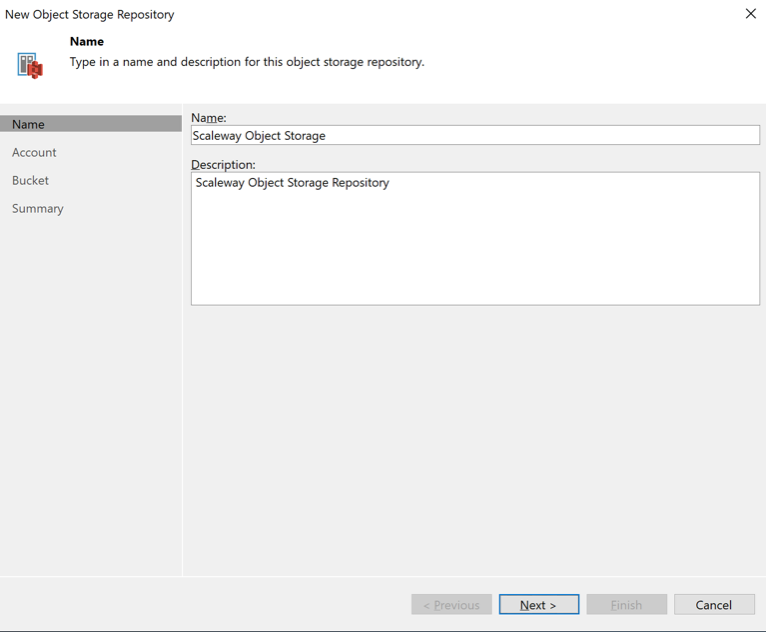
The setup wizard for the repository appears, provide a name and additional information for it, then click Next:
-
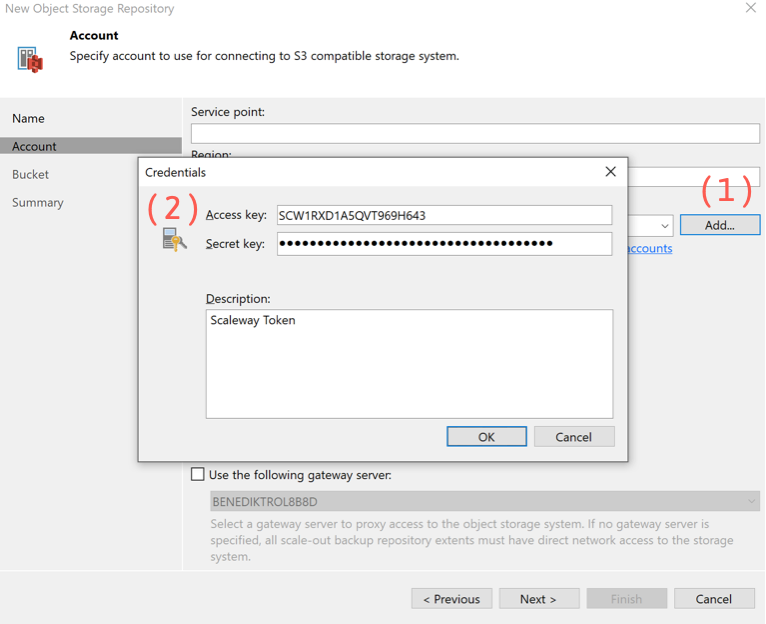
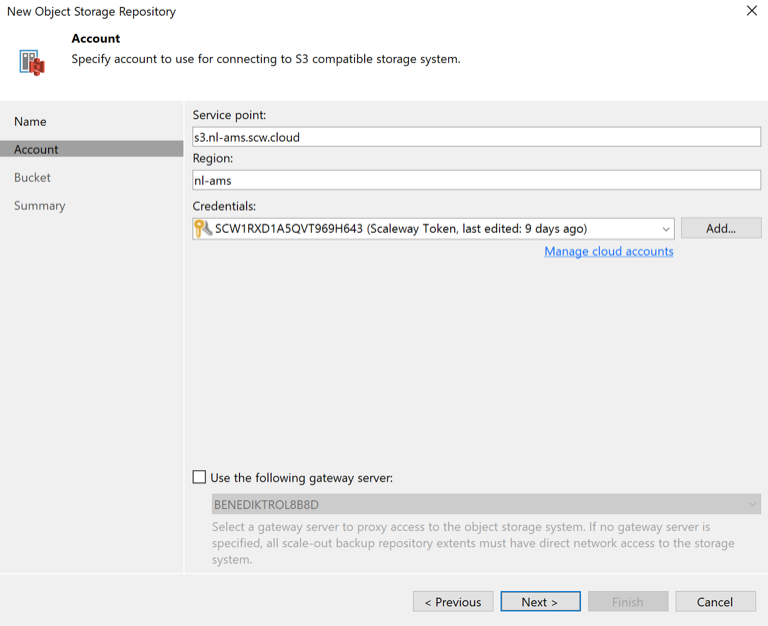
Click Add (1) to enter the API key (2) related to the bucket. Optionally a description can be provided:
-
Provide the Service Point (regional endpoint), and the Region of your bucket, then click Next:
-
Veeam will connect to the Object Storage infrastructure and download the list of buckets. Choose the bucket to be used with Veeam from the drop-down list.
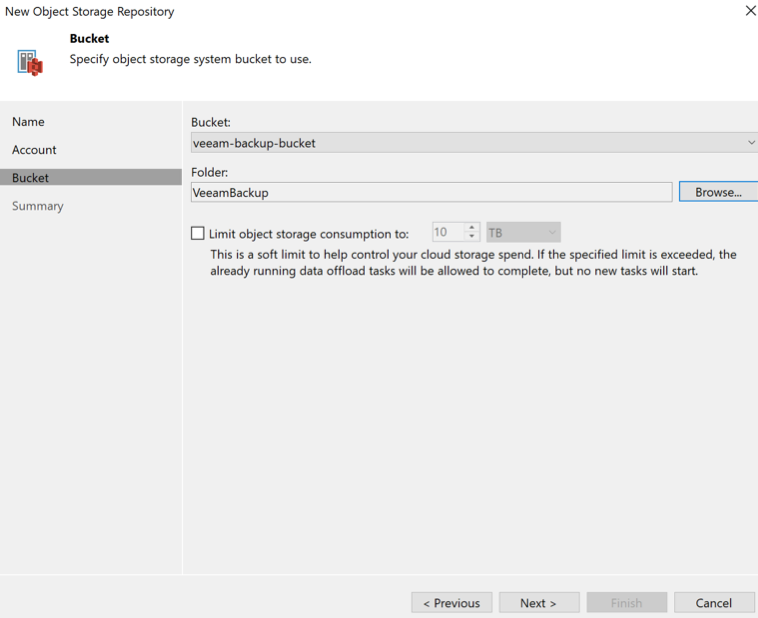
-
Click Browse, create and select the folder for storing backups, then click Next:
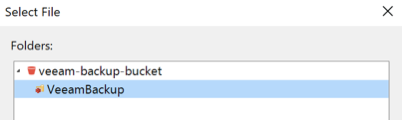
-
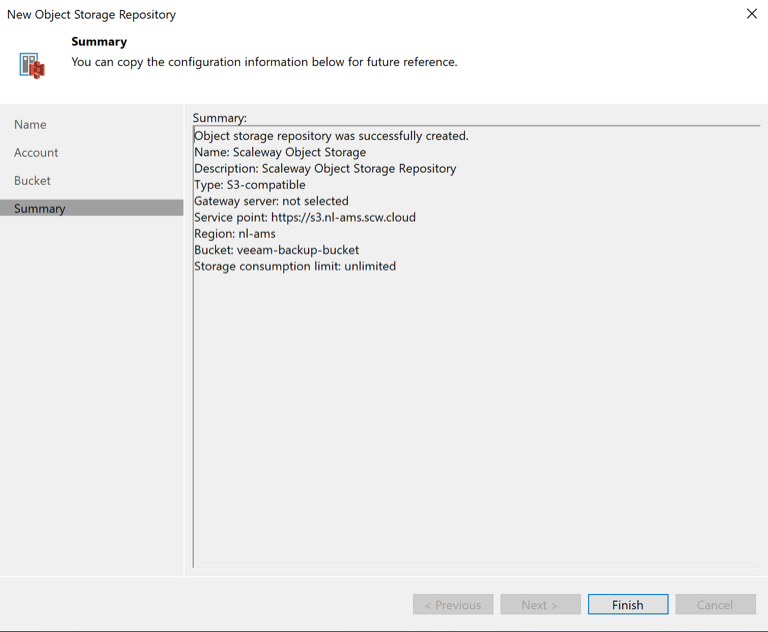
Verify all settings in the summary before clicking on Finish:
Configuring a local backup repository
- As Veeam cannot currently push backups directly to an Amazon S3-compatible system, a local backup repository is required which will be configured as Storage Tier with Object Storage in a later step. Click Add Repository:
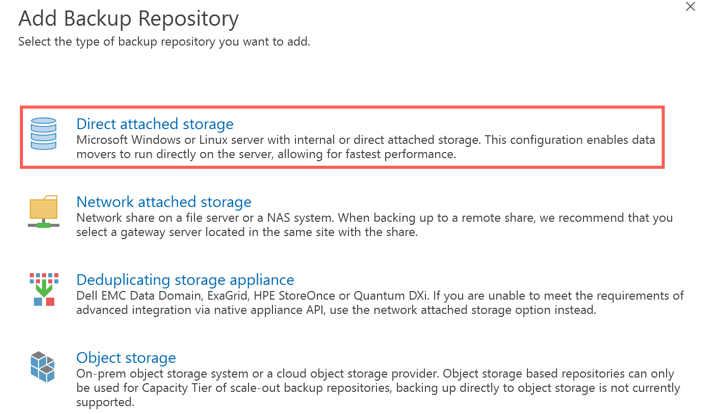
- Choose Direct Attached Storage from the provided options:
- Click Microsoft Windows:

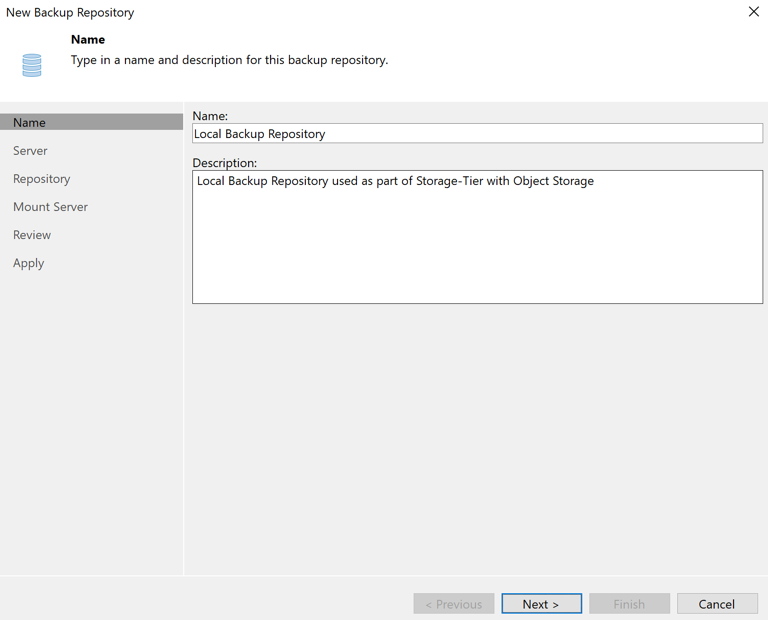
- Enter a Name and an optional Description for the repository, then click Next:
- The local machine is pre-configured in this step, then click Next:

- Click Browse to select a folder for local backups, then click Next:
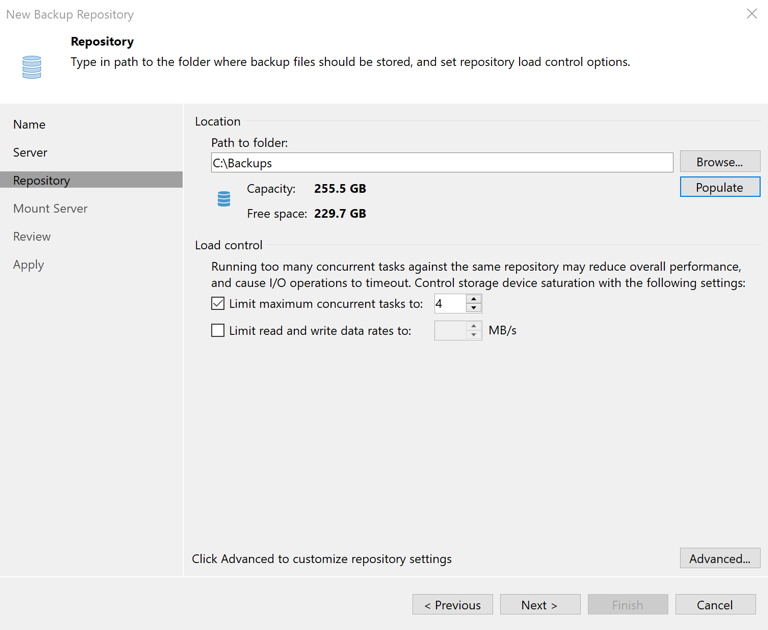
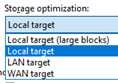
- Keep these settings with the default values and click Next:

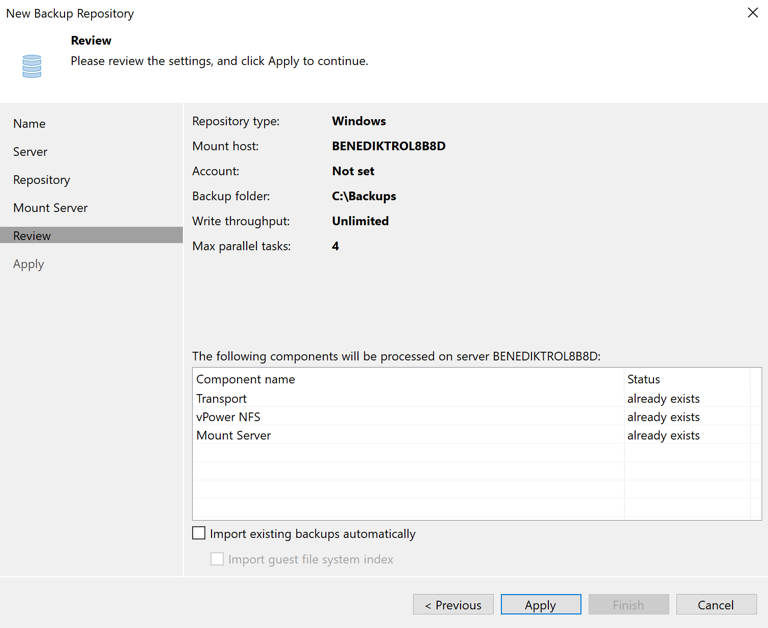
- A summary of the configuration is shown, click Apply to apply the configuration to the repository:
- Veeam applies the configuration and runs some checks. Once they have completed, exit the wizard by clicking on Finish:

Configuring a scale-out repository
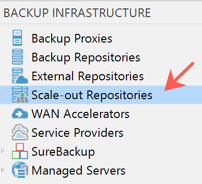
- Enter the Scale-out Repositories section:
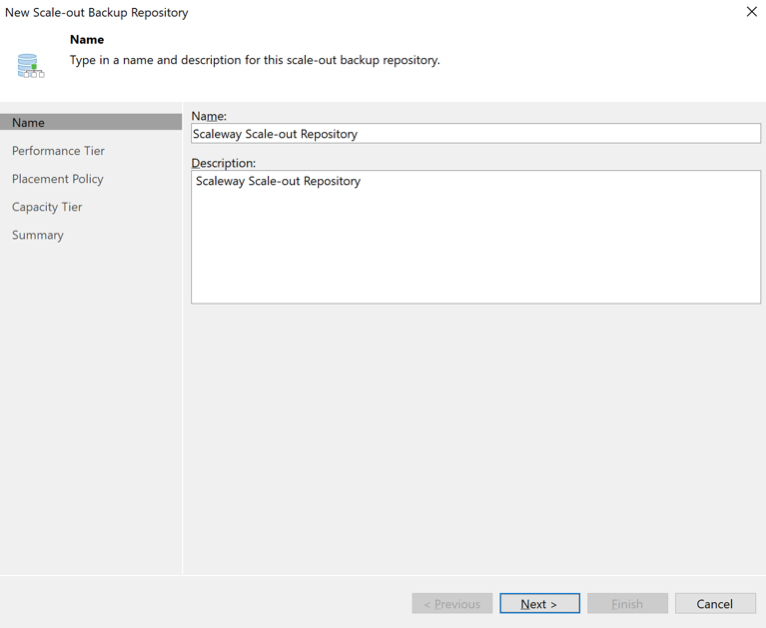
- Enter a Name and an optional Description for the Scale-out repository, then click Next:
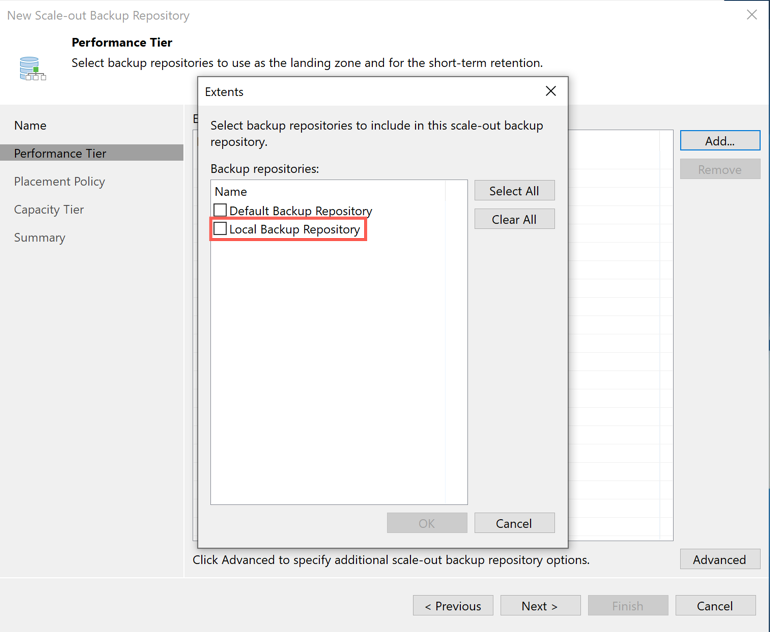
- Click Add and choose the local Backup repository from the list. Confirm and click Next:
- Choose the Placement Policy for the repository. The default settings can be used, click Next:

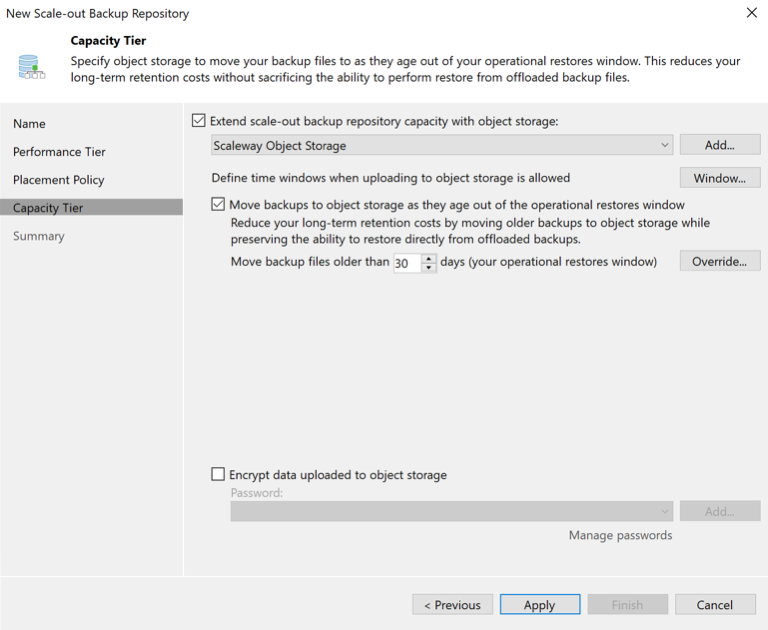
- Click Extend Scale-out capacity with Object Storage and choose your Object Storage repository from the drop-down list. It is also possible to define a time frame in which backups are uploaded to Object Storage and after how many days backups are transferred automatically. If required data can also be encrypted by activating the option. Once the Object Storage settings are configured, click Apply:
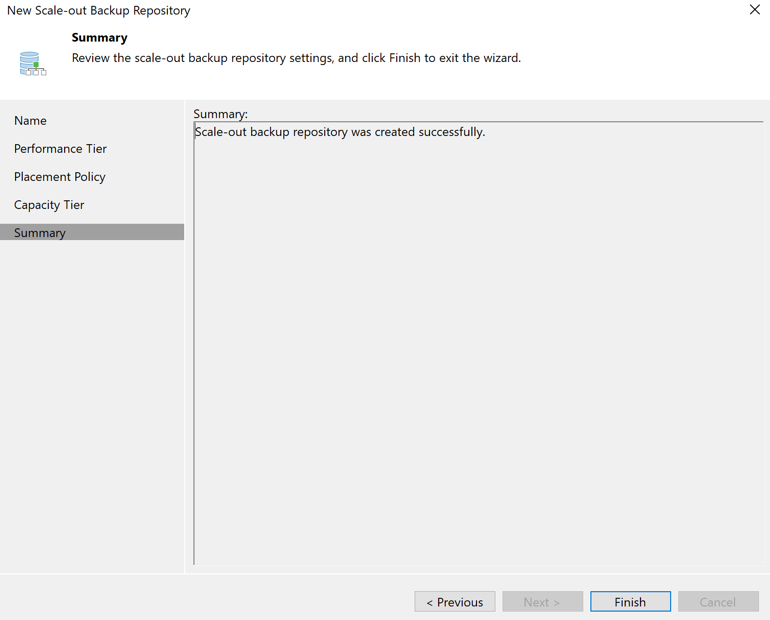
- Once the scale-out bucket is configured, exit the wizard by clicking Finish.
Adding a vSphere hypervisor in Veeam
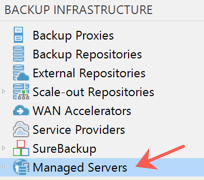
- Click Managed Servers in the Backup Infrastructure tab of the Veeam console:
- Click Add Server in the menu bar:
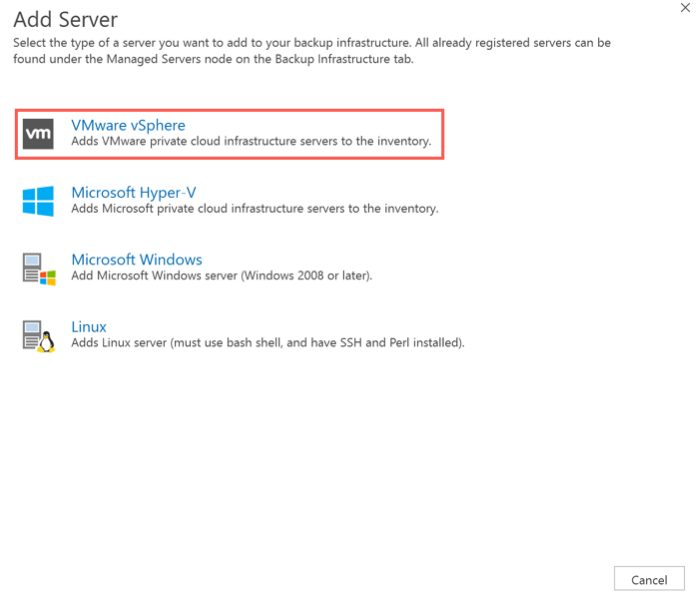
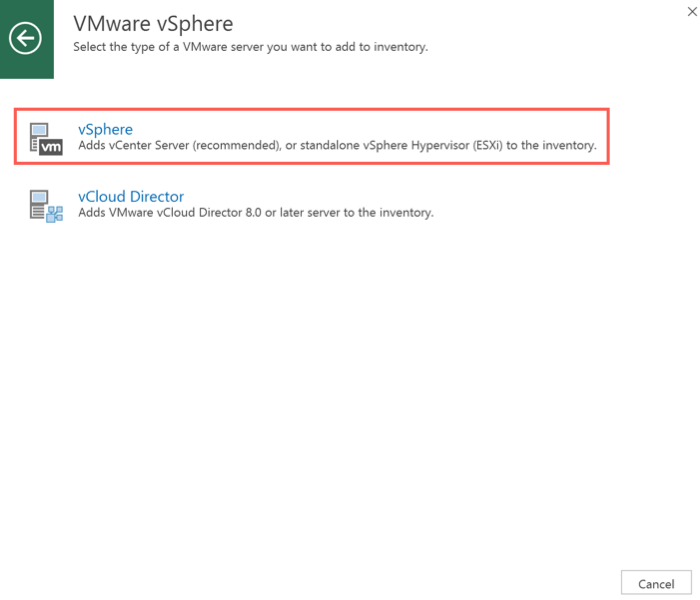
- Choose VMware vSphere from the list of virtualization technologies:
- Click vSphere to launch the configuration wizard:
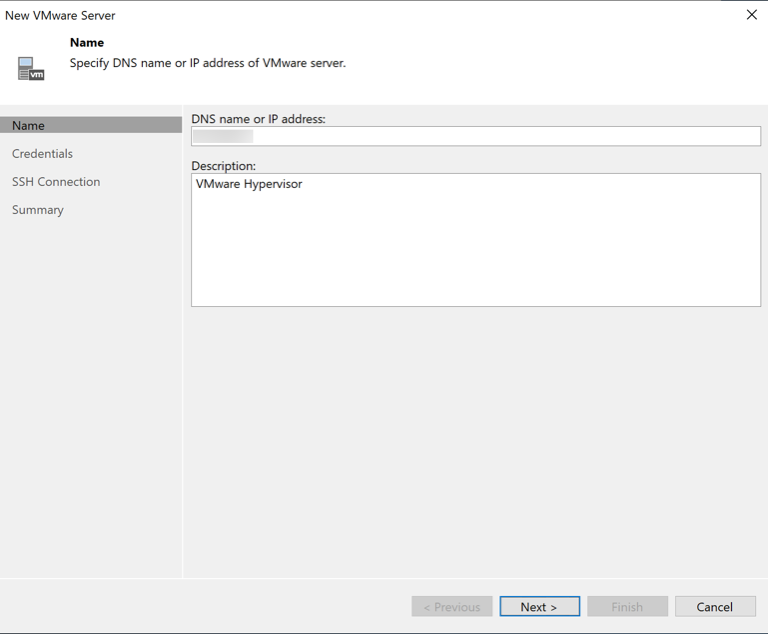
- Enter the DNS Name or IP of the Hypervisor and an optional description of the server, then click Next:
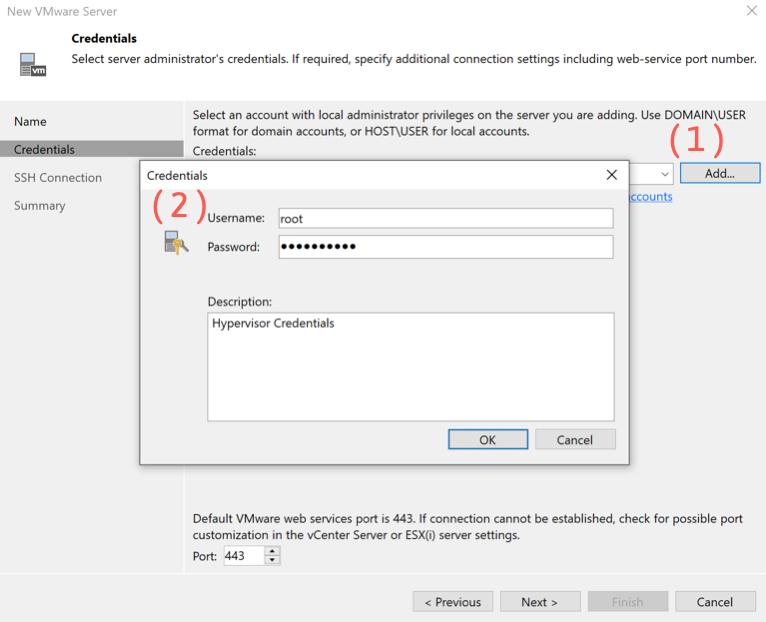
- Click Add (1) and enter the connection credentials for the hypervisor (2). Validate by clicking on OK. If the Hypervisor listens on a non-standard port, edit it. Click Next to go to the next step:
- A summary of the connection is shown. Click Finish to exit the wizard.
Configuring a backup job
-
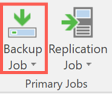
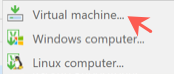
On the Homepage of the Veeam console, click New Backup, then Virtual Machine in the drop-down menu:
-
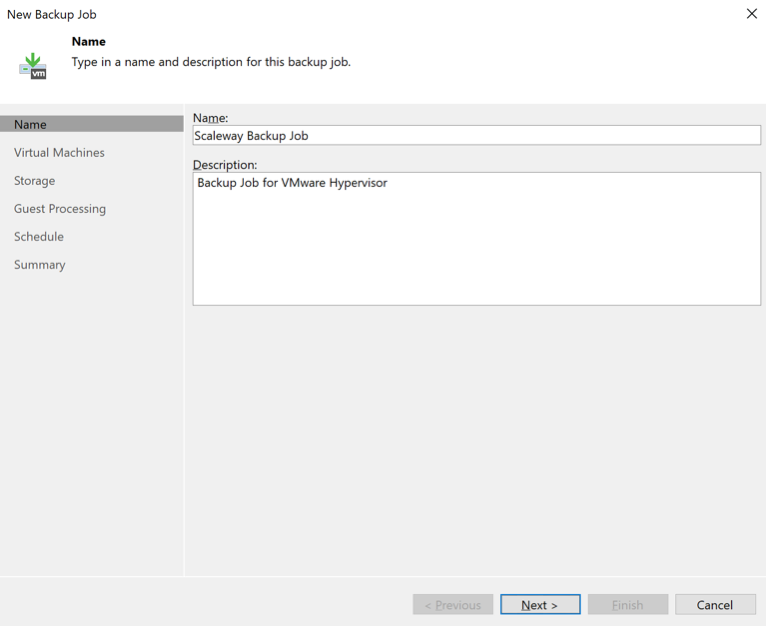
Enter a Name and an optional Description for the backup job, then click Next:
-
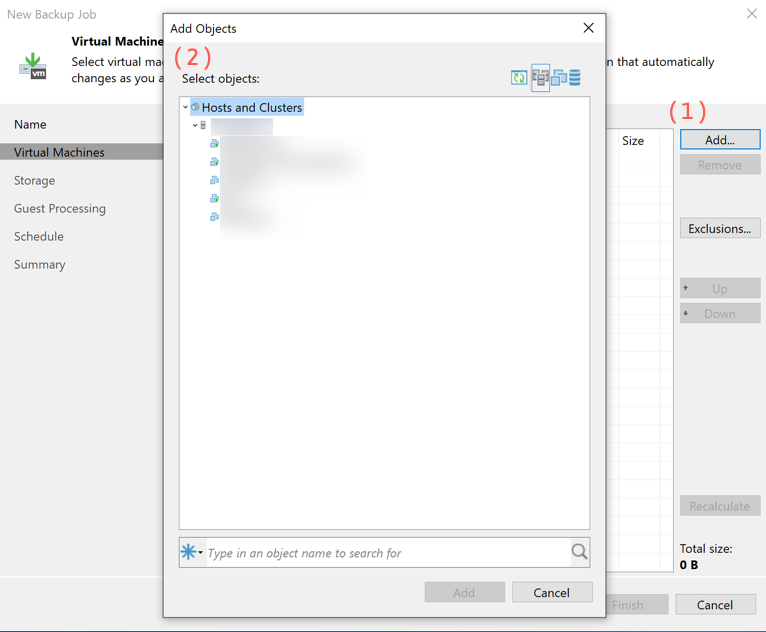
Click Add (1) and choose the virtual machines or hypervisors (2) to be backed up. Once finished, click Next:
-
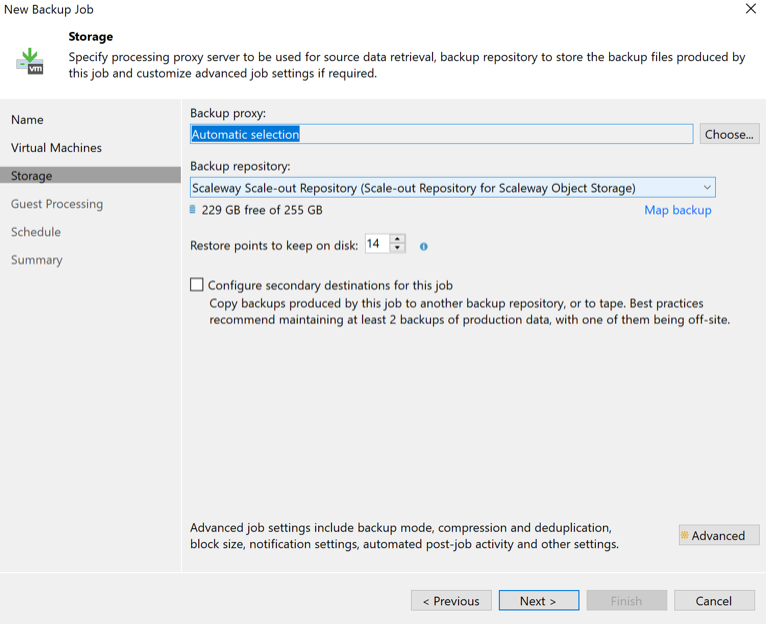
Choose the previously configured Scale-out repository from the drop-down menu and choose the restore points to keep on disk for the backup. Click Next once this is done:
-
Configure guest OS processing options for virtual machines (the default settings are usually sufficient), then click Next:

-
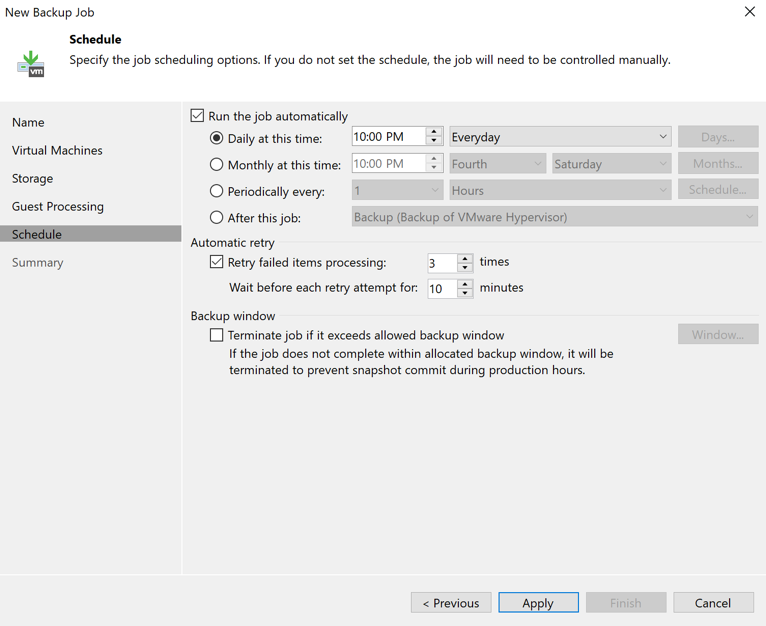
Configure a schedule to execute the backup job automatically. If no schedule is configured, the job must be started manually for each backup. Once the schedule is set, click Next:
-
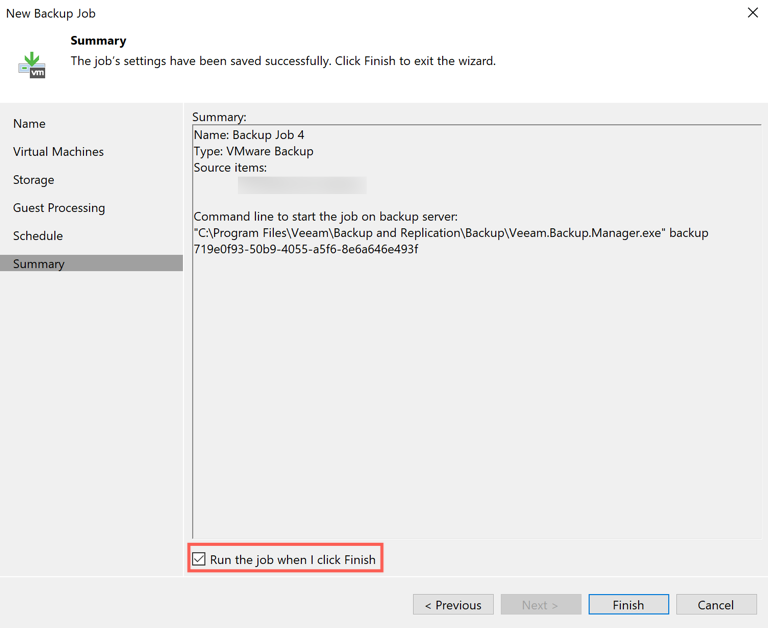
A summary of the configured job is shown. Tick the box Run the job when I click Finish to execute the job immediately. If the box is not ticked, the first backup will be created according to the schedule. Click Finish to exit the wizard:
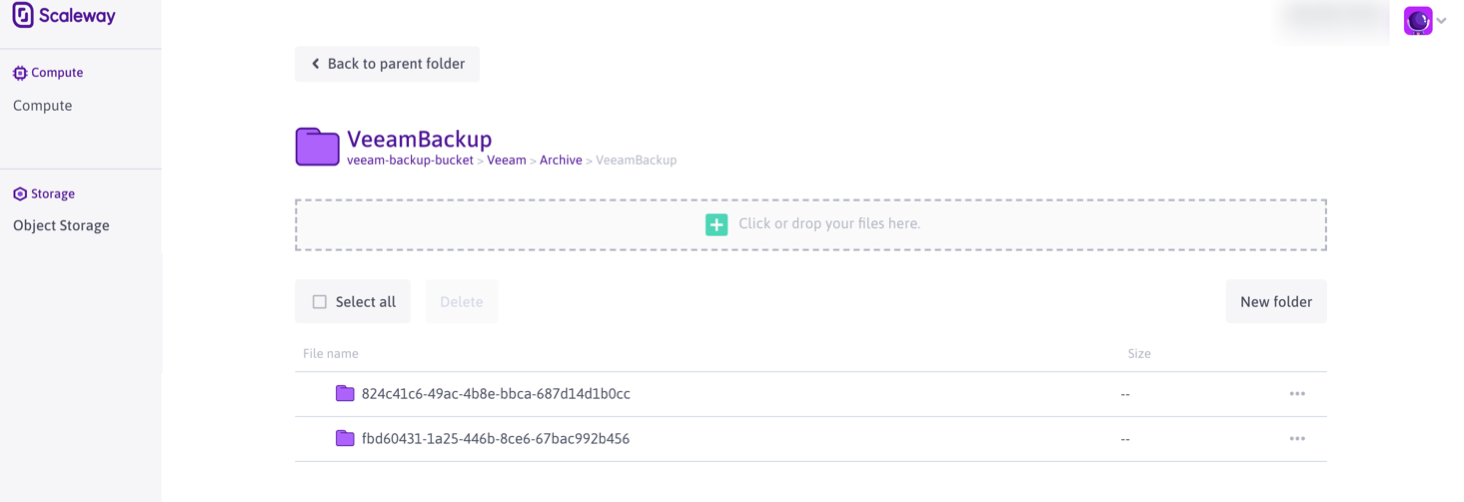
Veeam proceeds with the backup and stores data on Object Storage. To verify it, log yourself into the Scaleway console, enter the Object Storage section, and choose the Bucket used for Veeam. Several files and folders created by the application are visible:
Troubleshooting
This section is designed to help you solve common issues encountered while performing the actions described in the procedure.
Bucket access errors
Error messages
Failed to preprocess target Error: S3 error: Access DeniedError: Shared memory connection was closed.Failed to upload disk 'shadowSpec>'Agent failed to process method {DataTransfer.SyncDisk}.
Cause
The application cannot access the Object Storage resource.
Solution
If you encounter one or several of the error messages above:
-
make sure that you have the
ObjectStorageFullAccessIAM permission. -
make sure that there is no bucket policy preventing the application to access your bucket.
Too many requests error
Error messages
Error: S3 error: Too Many RequestsCode: Too Many RequestsShared memory connection was closed.Agent failed to process method {DataTransfer.SyncDisk}.
Cause
Scaleway Object Storage applies a rate limit on PUT operations for safety reasons.
Solution
You can limit the number of concurrent tasks and update the timeout duration of Object Storage requests on the Veeam Backup & Replication server managing the backup copy operation by adding the elements below:
HKEY_LOCAL_MACHINE\SOFTWARE\Veeam\Veeam Backup and Replication

S3ConcurrentTaskLimit
Type: REG_DWORD
Value: 8

Type: DWORD
Name: S3RequestTimeoutSec
Value: 900

Type: DWORD
Name: S3RequestRetryTotalTimeoutSec
Value: 9000
Then, restart every Veeam service, or restart the Veeam server.
Going further
If you did not manage to identify the error and solve it by yourself, open a support ticket, and provide as many details as possible, along with the necessary information below:
- Object Storage Endpoint (e.g.
s3.fr-par.scw.cloud) - Bucket name
- Object name (if the request concerns an object)
- Request type (PUT, GET, etc.)
- HTTP status code
- Date and time (timestamp)
- User-agent (SDK, client, console, etc.)
- Transaction ID (if possible)
- Log / trace of the error (if possible)
Visit our Help Center and find the answers to your most frequent questions.
Visit Help Center