How to manage frontends and backends
Once you have created a frontend and a backend for your Load Balancer, you can:
- Add additional frontends and backends
- Edit the settings of the frontend and backend
- Delete frontends and backends
This page shows you how to carry out these actions.
Before you start
To complete the actions presented below, you must have:
- A Scaleway account logged into the console
- Owner status or IAM permissions allowing you to perform actions in the intended Organization
- Created a Load Balancer
How to create and add frontends to a Load Balancer
See our dedicated documentation.
How to create and add backends to a Load Balancer
See our dedicated documentation.
How to edit frontends
-
Click Load Balancers in the Network section of the Scaleway console side menu. The Load Balancer dashboard displays.
-
Click the Load Balancer you want to edit. The Load Balancer information page displays.
-
Click the Frontends tab.
-
Click more icon next to the frontend you want to edit.
-
Click Edit.
-
Make your edits. You can change:
- Frontend name
- Port
- SSL Certificate(s)
- Attached backend
- HTTP/3 activation (under Advanced Settings)
-
Click Edit frontend.
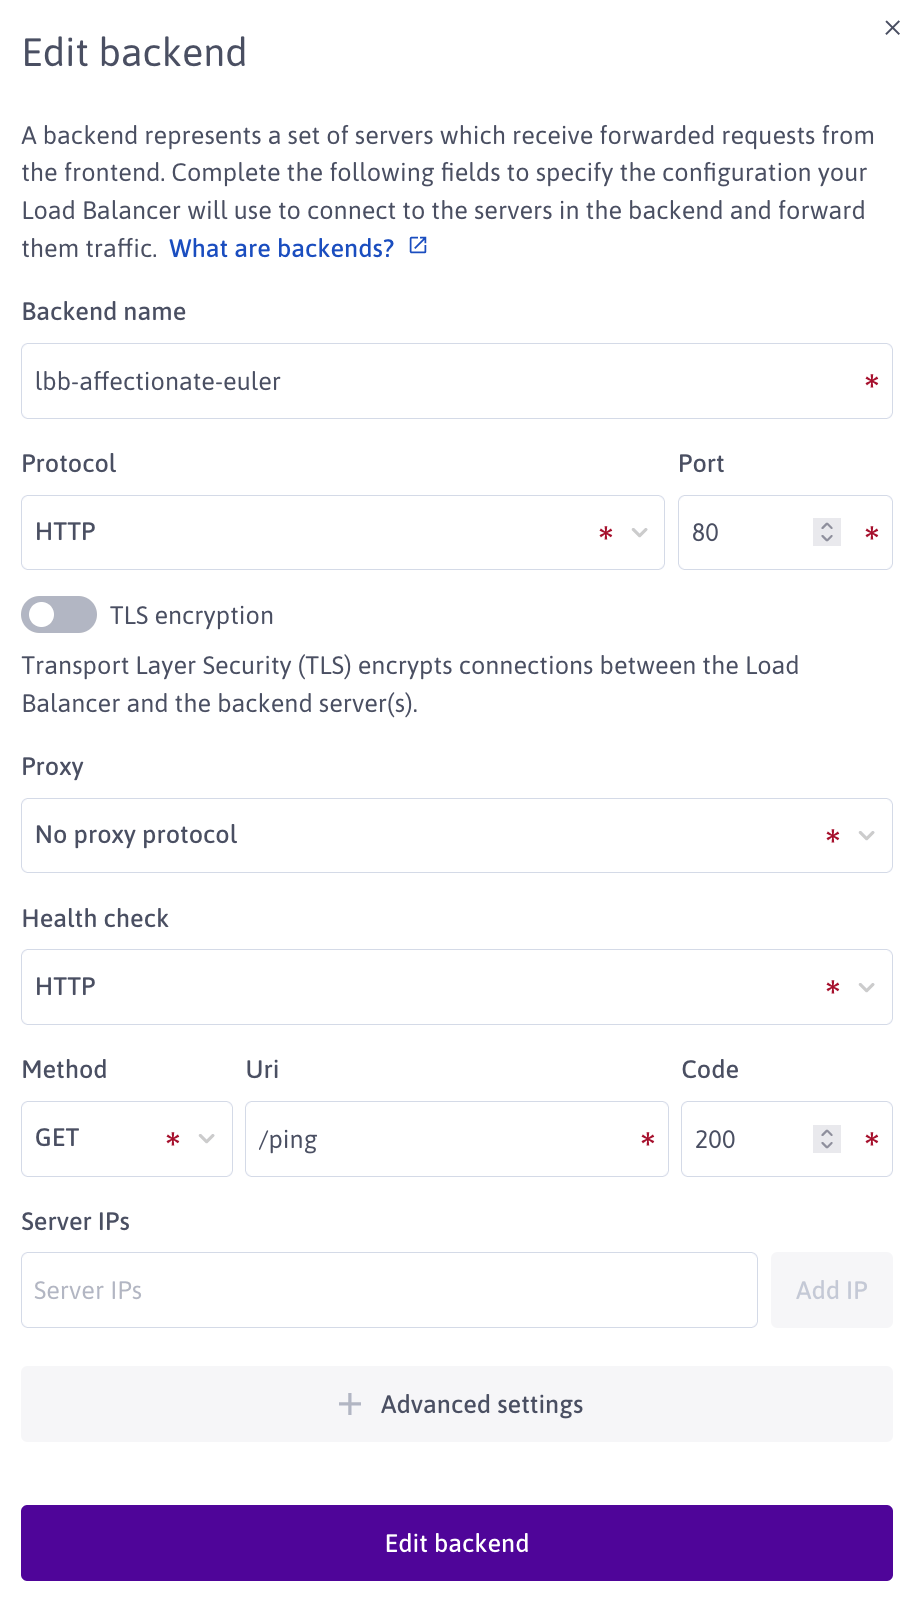
How to edit backends and health checks
-
Click Load Balancers in the Network section of the Scaleway console side menu. The Load Balancer dashboard displays.
-
Click the Load Balancer you want to edit. The Load Balancer information page displays.
-
Click the Backends tab.
-
Click more icon next to the backend you want to edit.
-
Click Edit backend or Edit health check.
-
Make your edits.
-
Click Edit backend (or Edit health check) once your edits are done.
How to delete frontends
-
Click Load Balancers in the Network section of the Scaleway console side menu. The Load Balancer dashboard displays.
-
Click the Load Balancer you want to edit. The Load Balancer information page displays.
-
Click the Frontends tab.
-
Click more icon next to the frontend you want to delete.
-
Click Delete.
-
Confirm that you understand this action will irreversibly delete your frontend and its settings, by clicking Delete frontend.
How to delete backends
-
Click Load Balancers in the Network section of the Scaleway console side menu. The Load Balancer dashboard displays.
-
Click the Load Balancer you want to edit. The Load Balancer information page displays.
-
Click the Backends tab.
-
Click more icon next to the backend you want to delete.
-
Click Delete.
-
Confirm that you understand this action will irreversibly delete your backend and its settings, by clicking Delete backend.