How to activate DHCP on a legacy Private Network
All Private Networks created after July 12 2023 have DHCP built into them. A CIDR block is defined when you create the Private Network. When a resource is attached to the Private Network, an IPv4 and IPv6 address is statically allocated to them from this block. This is all managed by our internal IPAM and removes the need for manual configuration of your IP addresses.
However, while DHCP is built into all new Private Networks, it may not be automatically activated for older Private Networks. Previously, DHCP was a function of Public Gateways. Only legacy Private Networks that were previously attached to a Public Gateway with DHCP, have DHCP automatically activated on them. On all other Private Networks created prior to July 12 2023, DHCP remains deactivated by default.
We highly recommend activating DHCP on all of your Private Networks, to let us take care of IP address management in our fully-integrated ecosystem. This page explains how to activate DHCP on Private Networks where it has not been automatically activated.
Before you start
To complete the actions presented below, you must have:
- A Scaleway account logged into the console
- Owner status or IAM permissions allowing you to perform actions in the intended Organization
- Created a Private Network in which DHCP is not yet activated, before July 12, 2023
How to activate DHCP on a Private Network
-
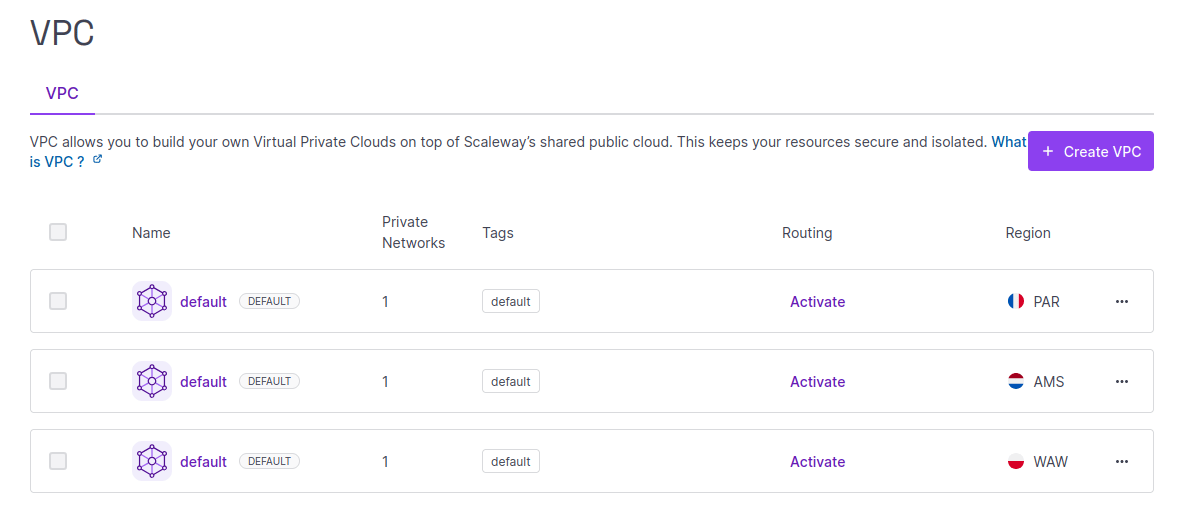
Click VPC in the Network section of the side menu. The following screen displays:
-
Click the VPC for the region that corresponds to your Private Network.
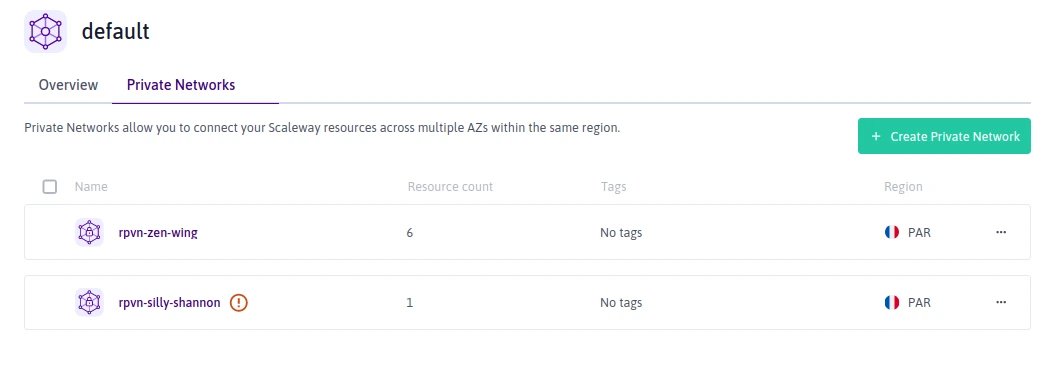
A list of your Private Networks in this VPC displays. Private Networks that do not have DHCP activated have an ! icon next to them.
-
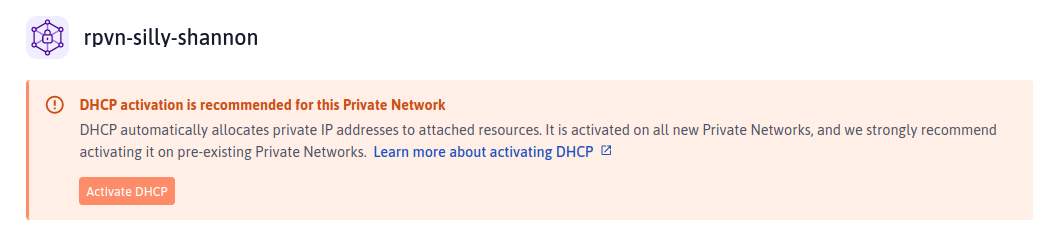
Click the Private Network you want to activate DHCP on. The following banner displays:
-
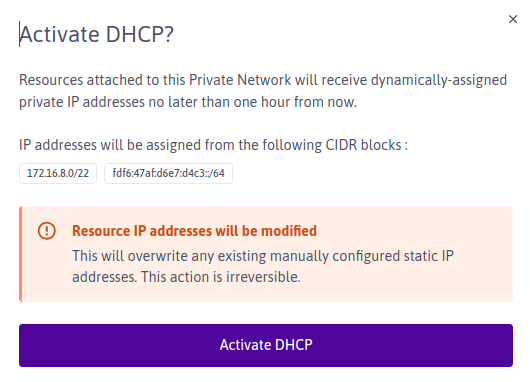
Click Activate DHCP on the banner. The following screen displays:
-
Read the warning message carefully, and click Activate DHCP when you are ready.
DHCP is activated on your network, and attached resources will receive dynamically assigned static IP addresses no later than one hour from the time of activation. You can view their IP addresses by following this procedure.