How to attach resources to a Private Network
VPC allows you to build your own Virtual Private Cloud on top of Scaleway's shared public cloud. Within each VPC, you can create multiple Private Networks and attach Scaleway resources to them, as long as the resources are in an AZ within the network's region. Attached resources can then communicate between themselves in an isolated and secure layer 2 network, away from the public internet.
Private Networks also have built-in Dynamic Host Configuration Protocol (DHCP), making it easy to manage the private IP addresses of your resources on the network.
Up to 512 resources can be attached to each Private Network, and each resource can be attached to up to eight Private Networks.
The following resource types can be attached to a Private Network:
Scaleway-managed resources:
- Instances
- Elastic Metal servers
- Apple silicon (Mac mini)
- Load Balancers
- Public Gateways
- Managed Databases for PostgreSQL and MySQL
Custom resources
- Custom resources with a MAC address, e.g. a VM hosted on an Elastic Metal server
Before you start
To complete the actions presented below, you must have:
- A Scaleway account logged into the console
- Owner status or IAM permissions allowing you to perform actions in the intended Organization
- Created a Private Network
- Created at least one Scaleway resource in the same region as your Private Network
How to attach a resource to a Private Network
-
Click VPC in the Network section of the side menu. Your VPC dashboard displays:
-
Click the VPC containing the Private Network to which you want to attach a resource.
A list of Private Networks in this VPC displays:
-
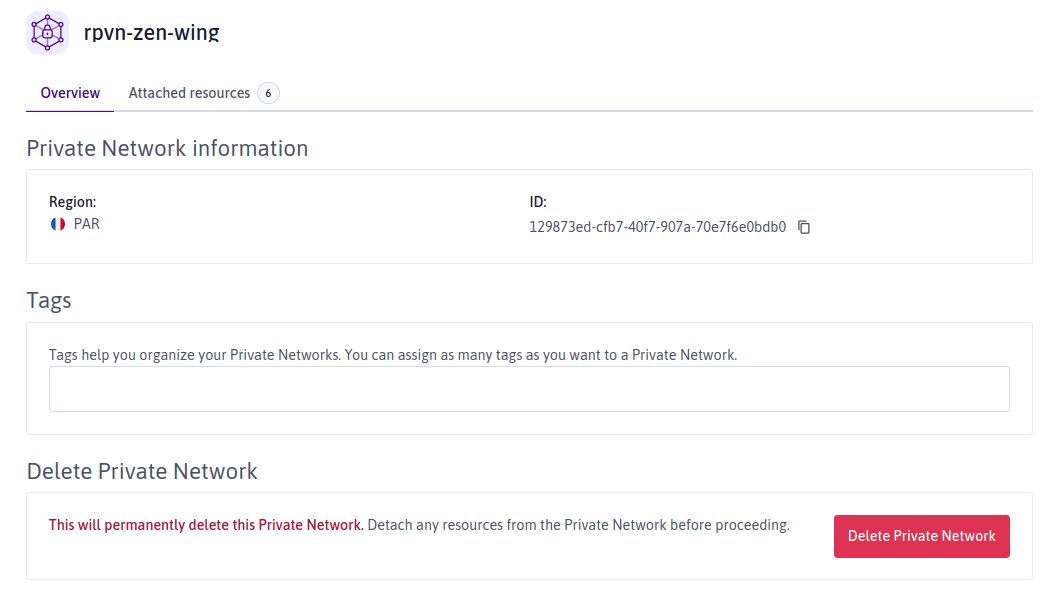
Click the Private Network to which you want to attach a resource.
The Private Network's dashboard displays.
-
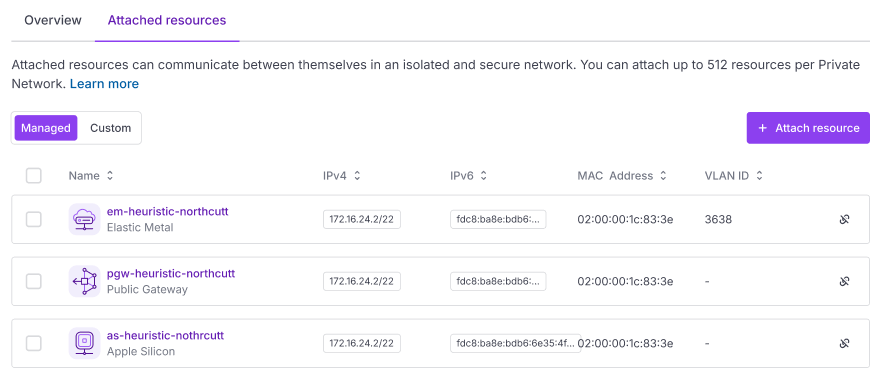
Click the Attached resources tab.
-
Use the toggle to select the type of resource you want to attach:
- Managed resources are created and managed via Scaleway, e.g. Instances, Elastic Metal servers, Load Balancers, Managed Databases, Kubernetes Kapsules, Public Gateways, Apple silicon etc.
- Custom resources are created and managed by yourself, e.g. virtual machines you are hosting on a Proxmox cluster on an Elastic Metal server.
-
Click + Attach resource. A pop-up displays.
-
Complete the required information about the resource to attach. This depends on whether you are attaching a managed or custom resource.
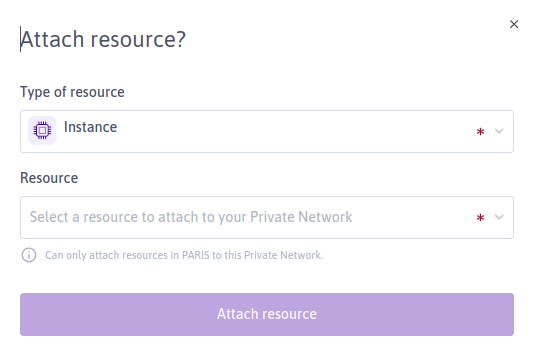
- From the first drop-down, select the type of managed resource (Instance, Elastic Metal server etc.) to attach.
- From the second drop-down, select the specific resource of this type to attach. Only resources within the same region as the Private Network will be displayed.
- Select whether to auto-allocate an available IP from the pool of addresses for the Private Network or specify an IP that you have already reserved via IPAM.
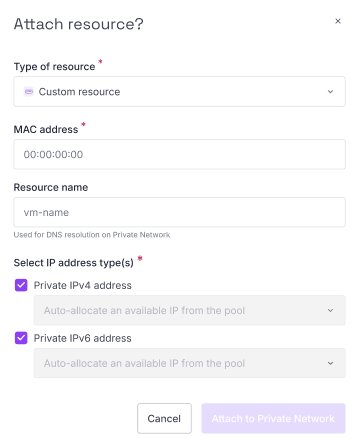
- Select Custom resource from the Type of resource dropdown.
- Enter the MAC address of the custom resource you want to attach, e.g.
00:1B:44:11:3A:B7. - Enter the name of the resource. This will be used for DNS resolution on the Private Network.
-
Click Attach to Private Network to finish.
You are returned to the list of attached resources, where the newly-attached resource now displays.
For Elastic Metal servers and Apple silicon Mac minis, manual configuration of the network interface is required. This is not required for Instances or other types of managed resource. See the relevant documentation for Elastic Metal or Apple silicon for full instructions.
How to view the resource's IP address
When you attach a resource to a Private Network, it gets a private IPv4 address on that network (and also an IPv6 address, if supported by the resource). Private IPs are assigned from the CIDR block defined at the time of the Private Network's creation, either via auto-assignment or specification of a particular reserved IP.
No matter whether it is auto-allocated or pre-reserved, the IP remains stable for as long as the resource is attached to the Private Network, and does not risk changing even across reboots and long poweroffs. An auto-allocated IP is lost only when you delete the resource or detach it from the Private Network. Reserved IPs remain reserved even after you delete the resource or detach it from the Private Network, until you release the address.
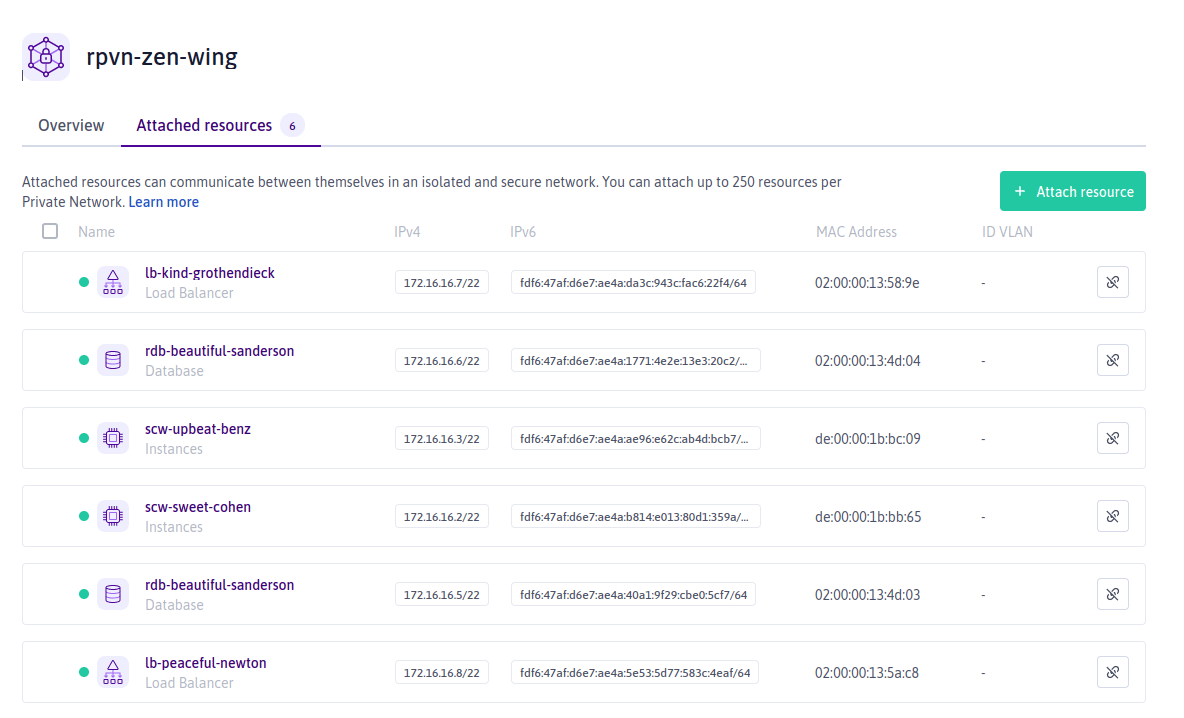
You can view a resource's IPv4 or v6 address in the Attached Resources tab of the Private Network itself (follow steps 1 - 5 above).
It can also be viewed via the Private Networks tab of the resource's own dashboard.
How to access a resource on a Private Network via its hostname (DNS)
In addition to using its IP address, you can also access a resource on a Private Network via its hostname, thanks to VPC's inbuilt private DNS.
A resource's hostname is equivalent to the name you gave the resource when creating it. For example, if you have an Instance with the name instance123 attached to a Private Network named prodpn, its address on that network is instance123.prodpn.internal. The .internal is important to allow Scaleway DNS to distinguish public and private hostnames.
For full information on Scaleway internal DNS and hostname formats, including troubleshooting advice, see our dedicated documentation.
How to detach a resource from a Private Network
-
Click VPC in the Network section of the side menu.
-
Click the VPC containing the Private Network from which you want to detach a resource.
A list of Private Networks in this VPC displays.
-
Click the Private Network from which you want to detach a resource.
-
Click the Attached resources tab.
The Private Network's dashboard displays.
-
Click the Attached resources tab.
-
Use the toggle to select the type of resource you want to detach:
- Managed resources are created and managed via Scaleway, e.g. Instances, Elastic Metal servers, Load Balancers, Managed Databases, Kubernetes Kapsules, Public Gateways, Apple silicon etc.
- Custom resources are created and managed by yourself, e.g. virtual machines you are hosting on a Proxmox cluster on an Elastic Metal server.
-
Click the unlink icon icon next to the resource you want to detach.
-
Click Detach resource when prompted to confirm.