Sending SMS from IoT Devices using Twilio
SMS messages are the universal way to quickly send information to someone, with high reachability, quick delivery, and a high rate of opening. Today, we are going to take a look at how to send SMS messages right from your IoT Hub.
For this tutorial, we will set up a standard scenario: Imagine that you have a house with intrusion sensors, and you want to be alerted by SMS when one of them is triggered. We can do this easily with IoT Hub.
First, the plan: a Device will send a message, which will be caught by an IoT Hub Route, which then triggers a Serverless Function which will finally call the SMS provider API.
For the SMS provider we chose Twilio, as they offer a small amount of credit when you register, which should be enough to play with this tutorial. If you prefer to use another SMS provider, you can use it as long as they provide API access.
We are going to do things in reverse order:
- Get Twilio credentials
- Create a Serverless Function
- Set up an IoT Hub and configure a Route to the Function
- Give it a try
Before you start
To complete the actions presented below, you must have:
- A Scaleway account logged into the console
- Owner status or IAM permissions allowing you to perform actions in the intended Organization
Getting Twilio credentials
-
Create a Twilio account on their website.

-
Validate your email address and your phone number to finish to sign-up process.
-
If you want to add another verified phone number, go to Verified Caller IDs.
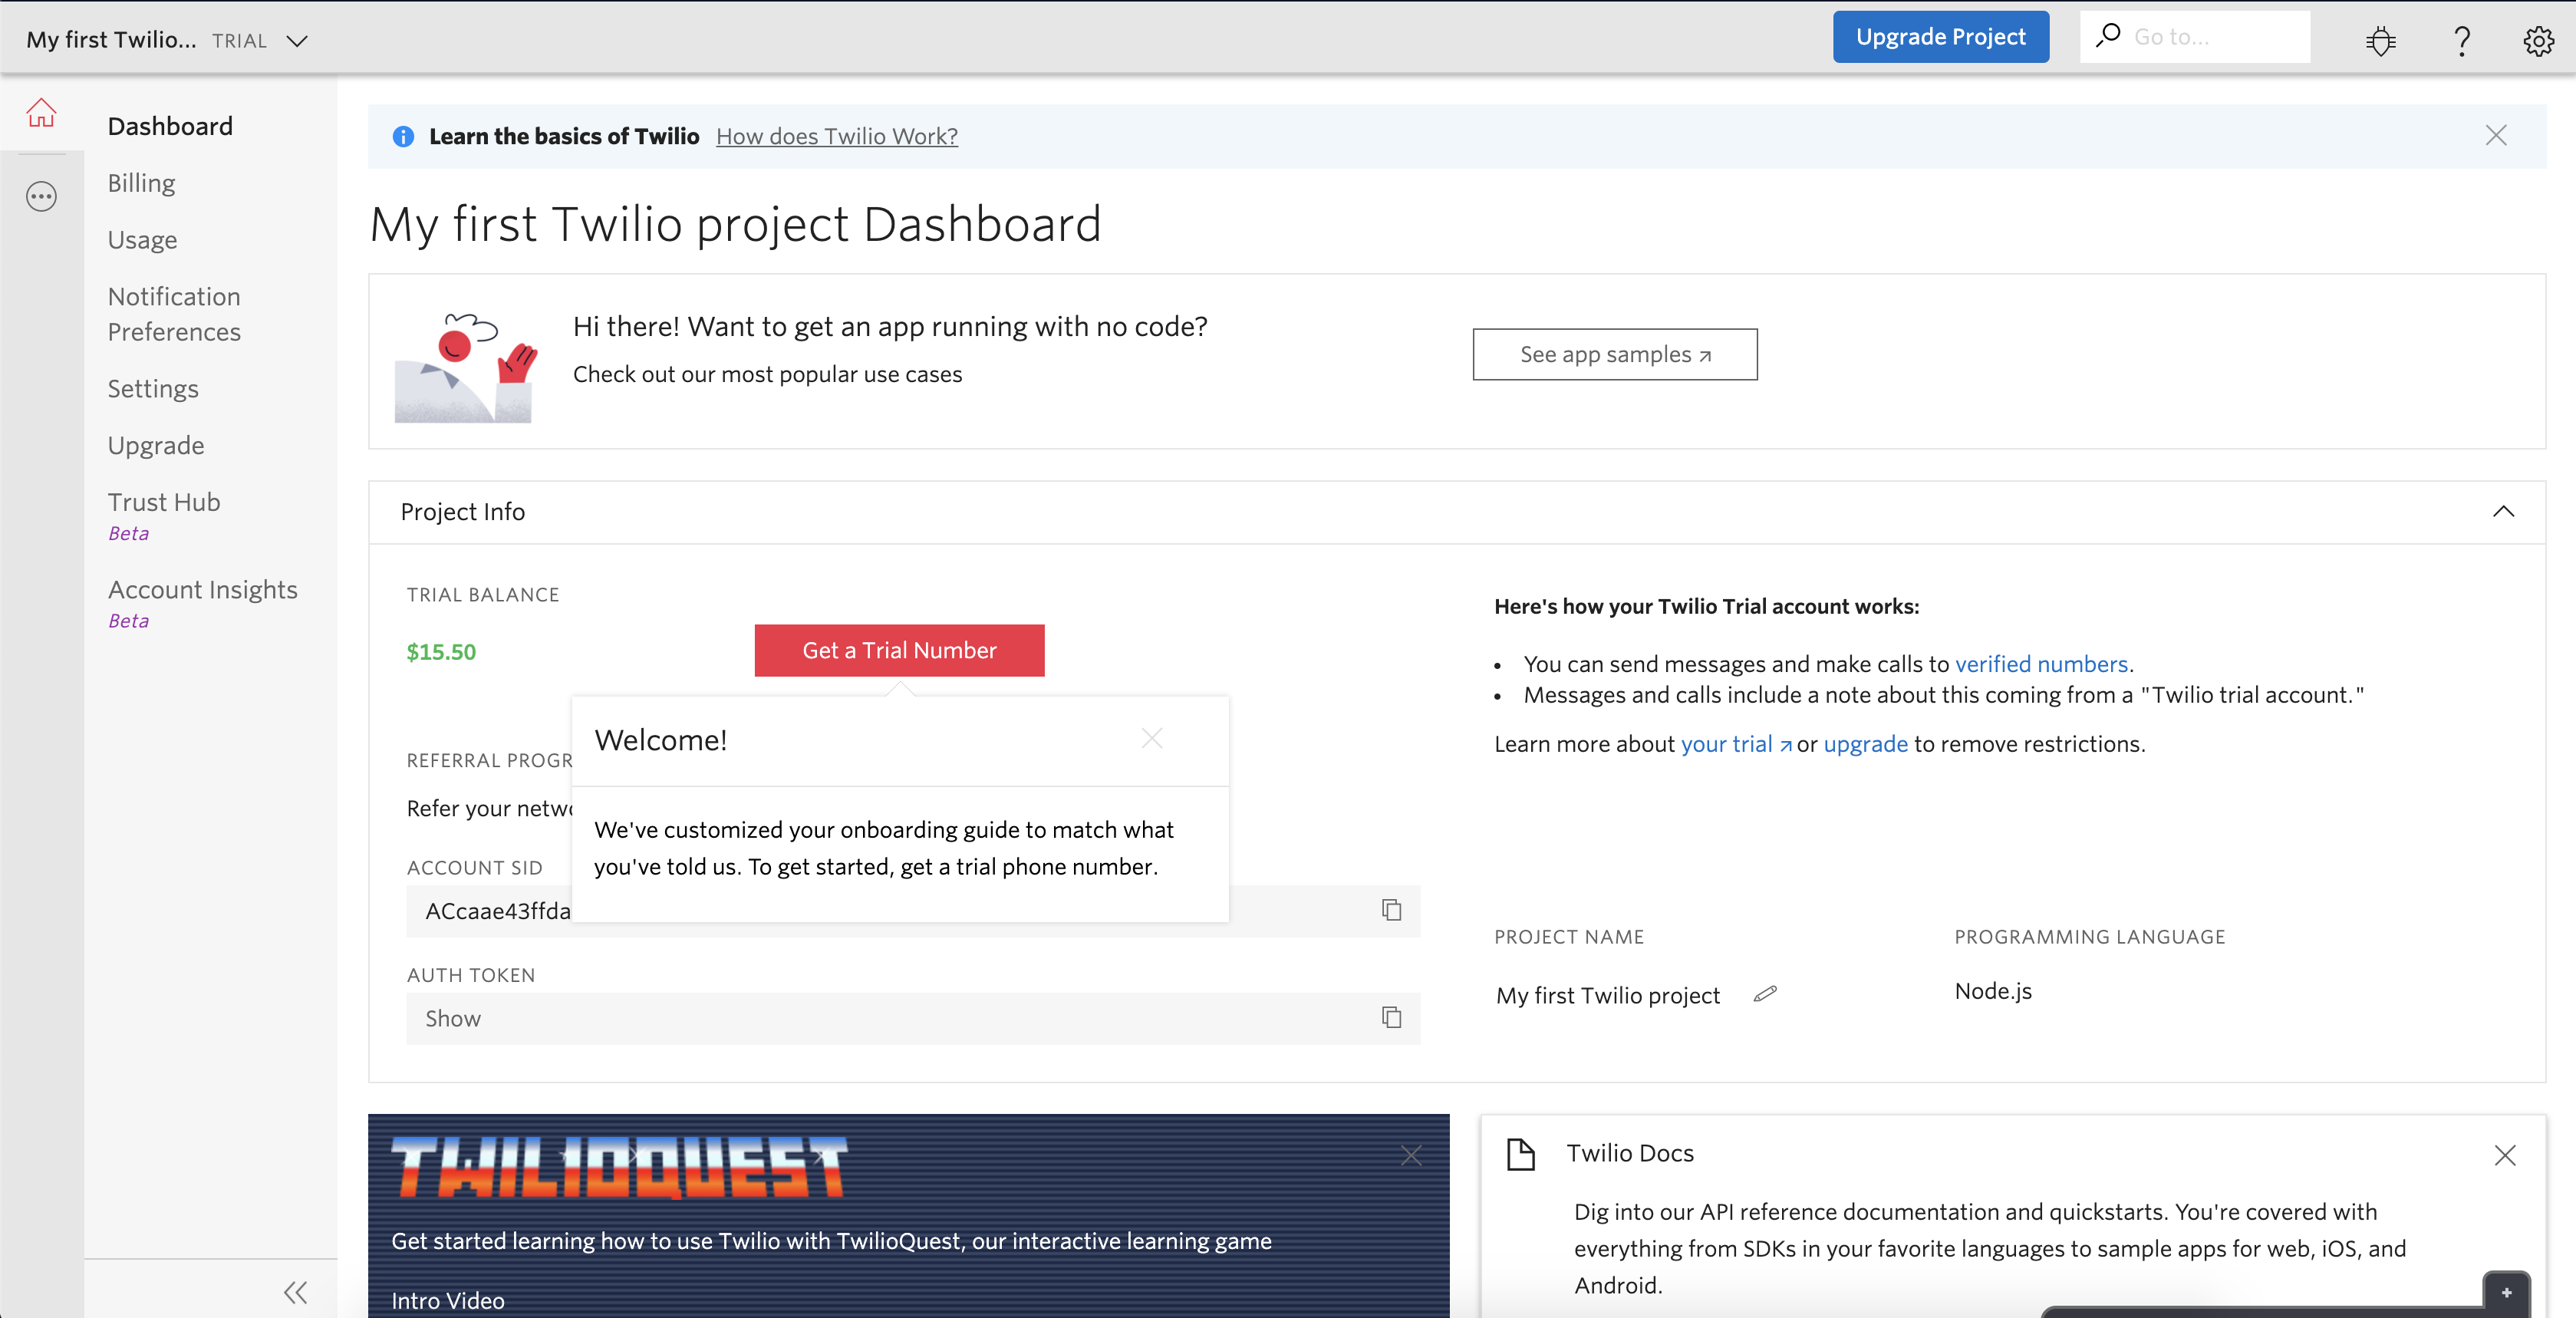
On your project's dashboard, start by getting a phone number:

-
Head to the Messaging / Setting Started page and click
Show your Auth Token.In the text area below you should see something like:
curl 'https://api.twilio.com/2010-04-01/Accounts/<your account ID>/Messages.json' -X POST \
--data-urlencode 'To=+01234567890' \
--data-urlencode 'From=+12345678901' \
-u <your Account ID>:<your Auth Token>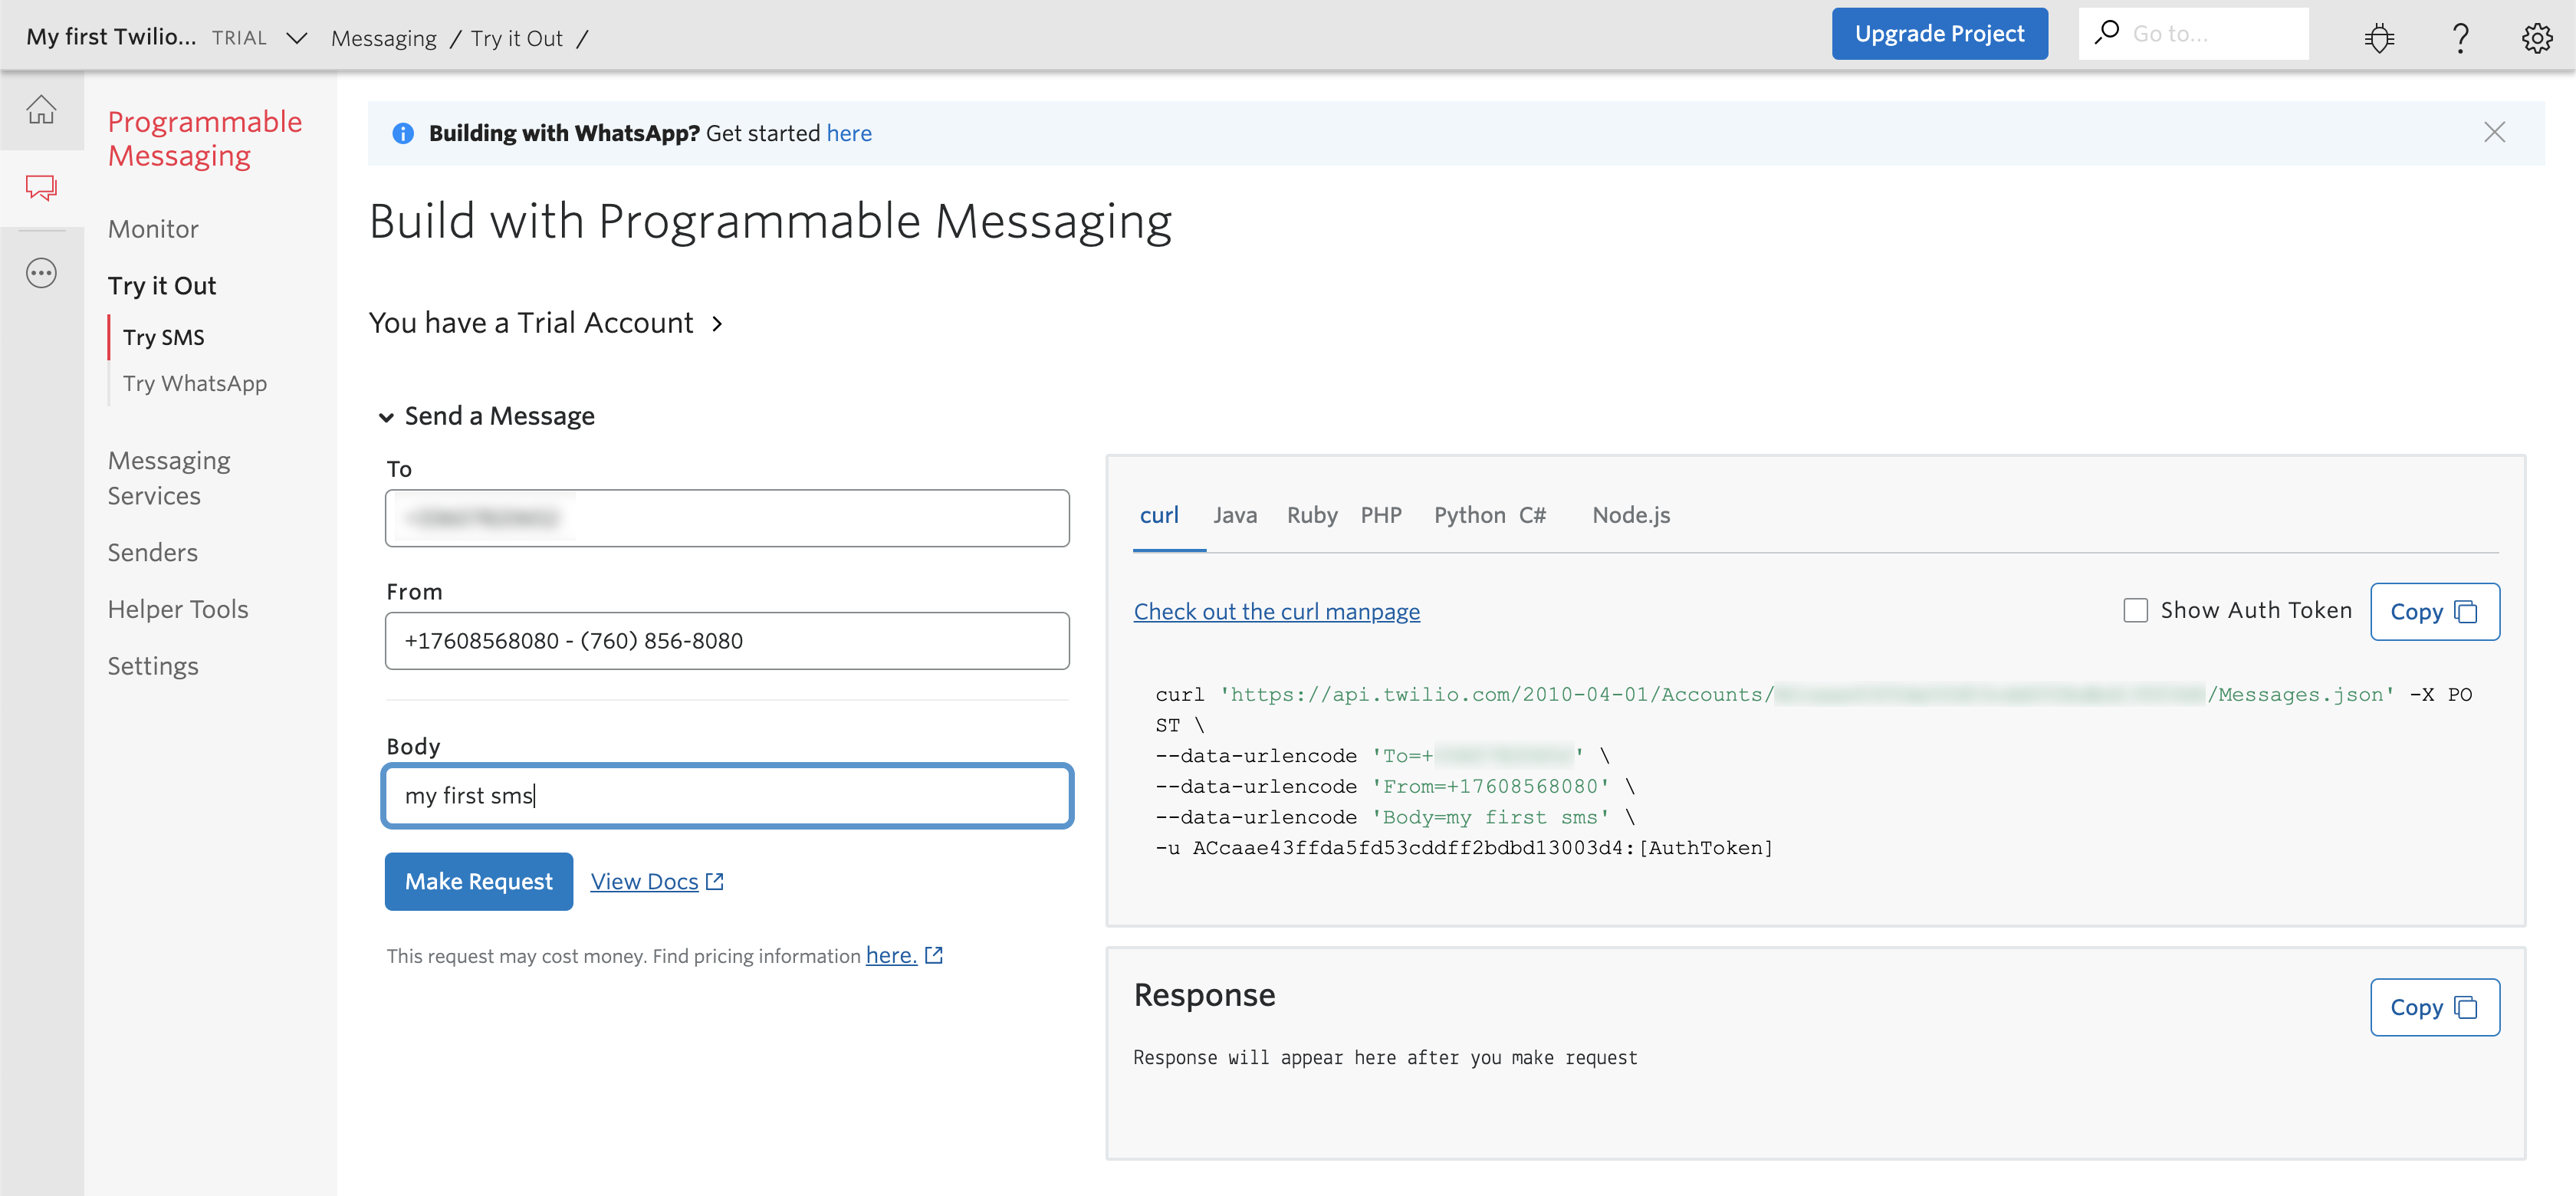
-
Write down the
FromandTophone numbers, along with yourAccount IDandAuth Token, we will need these in the Serverless Function.That's it for Twilio, let's proceed to the Serverless Function setup.
Create a Serverless Function
-
Head to the Serverless section of your Scaleway console and create a new Namespace.
-
Once done, create a new function, set
python3as the runtime, paste the following code in the code editor, choose any name for your function, leave everything else with the default settings, and click create.#!/usr/bin/python3 import urllib import urllib.request twAccount = '<Account ID>' twToken = '<Auth Token>' smsFrom = '<"From" Phone Number>' smsTo = '<"To" Phone Number>' url = "https://api.twilio.com/2010-04-01/Accounts/{}/Messages.json".format(twAccount) password_mgr = urllib.request.HTTPPasswordMgrWithDefaultRealm() password_mgr.add_password(None, url, twAccount, twToken) handler = urllib.request.HTTPBasicAuthHandler(password_mgr) opener = urllib.request.build_opener(handler) urllib.request.install_opener(opener) params = urllib.parse.urlencode({ 'From': smsFrom, 'To': smsTo, 'Body': 'This is an alert from Scaleway IoT Hub!' }).encode('ascii') urllib.request.urlopen(url, data=params)Do not forget to replace empty variables (
twAccount,twToken,smsFrom, andsmsTo) with the information you got from the Twilio console.
That's it for the function. While is it being deployed, write down the Function endpoint (under the Function settings tab), and let's proceed to the IoT Hub configuration.
Creating and setting-up an IoT Hub
Here we are going to set up an IoT Hub to trigger the Function when we receive the alert message from the sensor.
Let's say we want the Hub to trigger our function when a message is published on the my-home/alert topic.
-
Create an IoT Hub in the IoT Hub section of the Scaleway console.
-
Give it a name, choose the
Sharedplan (this plan is free), and click theCreate a Hubbutton. -
Click your newly created Hub in the list, go to the
Networkstab, and write down the Hub endpoint. -
Click the Hub, go to the
Routestab, and clickCreate a Route. -
Choose any name, type in
my-home/alertin theTopicfield, selectREST QueryunderRoute type, paste the Function endpoint in theEndpointfield, and click theAdd new Routebutton.That's it. Our IoT Hub is ready to send SMS messages!
Testing the configuration
-
Head back to the
Devicestab of your IoT Hub. Add a new Device, name it as you wish, chooseAllow insecure connection, and click theAdd devicebutton. On the Device overview page, click theMQTT Webclientbutton. The client will open and automatically connect. -
To simulate your sensor device write
my-home/alertin theTopicbox and clickPublish. -
Verify on your phone that the message was received.
For more information about Scaleway IoT Hub refer to our product documentation.
Visit our Help Center and find the answers to your most frequent questions.
Visit Help Center