Deploying a remote desktop with XRDP on Ubuntu Jammy Jellyfish (22.04 LTS)
Instances can be used with third-party software to enable remote desktop functionality.
This software captures the screen of the Instance and streams it to another device, allowing users to interact with the remote machine using their local keyboard and mouse.
A remote desktop serves various purposes, including:
- Accessing a remote computer from any location.
- Editing and sharing files seamlessly between different machines via a high-speed internet connection.
- Executing administrative tasks efficiently.
- Conducting live demonstrations of applications installed on the remote machine.
This tutorial guides you through deploying a remote desktop on an Instance running Ubuntu Jammy Jellyfish (22.04 LTS) using the following stack:
- xRDP: An open-source alternative to Microsoft RDP (Remote Desktop Protocol).
- Xfce: A lightweight and stable desktop environment.
Before you start
To complete the actions presented below, you must have:
- A Scaleway account logged into the console
- Owner status or IAM permissions allowing you to perform actions in the intended Organization
- An SSH key
- An Instance running on Ubuntu Jammy Jellyfish (22.04 LTS)
sudoprivileges or access to the root user
Preparing the remote machine
- Connect to your Instance using
ssh:ssh root@<your_instance_ip> - Update the
aptsources list and upgrade the software already installed on the Instance:apt update && apt upgrade -y - Install the required packages for the desktop environment using the
aptpackage manager:The xRDP server binary is available in the default Ubuntu repositories, and it can be installed usingapt install xorg xfce4 xfce4-goodies dbus-x11 x11-xserver-utilsapt. - Run the following command to install the
xrdpandufwpackages, a firewall to protect your Instance from unauthorized access:The package manager configures the service to be automatically started upon system reboot.apt install xrdp ufw - Run the following command to check that the service has been started during the installation:
A message like the following displays, confirming the status
systemctl status xrdp.serviceactive (running):In case the service has not been started automatically, start it with● xrdp.service - xrdp daemon Loaded: loaded (/lib/systemd/system/xrdp.service; enabled; vendor preset: enabled) Active: active (running) since Fri 2022-05-06 14:40:08 UTC; 47s agosystemctl:systemctl start xrdp.service - Open the xRDP configuration file in a text editor of your choice, for example,
nano:nano /etc/xrdp/xrdp.ini - Scroll to the bottom of the file and add the following line, then save the file and exit the text editor:
exec startxfce4 - Restart the xrdp service using
systemctlto activate the new configuration:systemctl restart xrdp.service
Configuring the firewall
- Restrict the access to port
3389to an IP address or a range of IPs. To allow access from the block192.168.1.0/24launch the following command:To allow connections from any host run the following command:ufw allow from 192.168.1.0/24 to any port 3389ufw allow 3389 - Enable the firewall:
ufw enable
Configuring a regular user
We recommend you create a regular user on your Instance, other than the root user, to connect to the remote desktop, to avoid security issues.
- Add the user with the
addusercommand:adduser <myuser> - Install sudo using the
aptpackage manager if you want to give superuser rights to the user (optional).apt install sudo - Add the user to the sudoers file (optional).
adduser <myuser> sudo
Connecting to the remote desktop
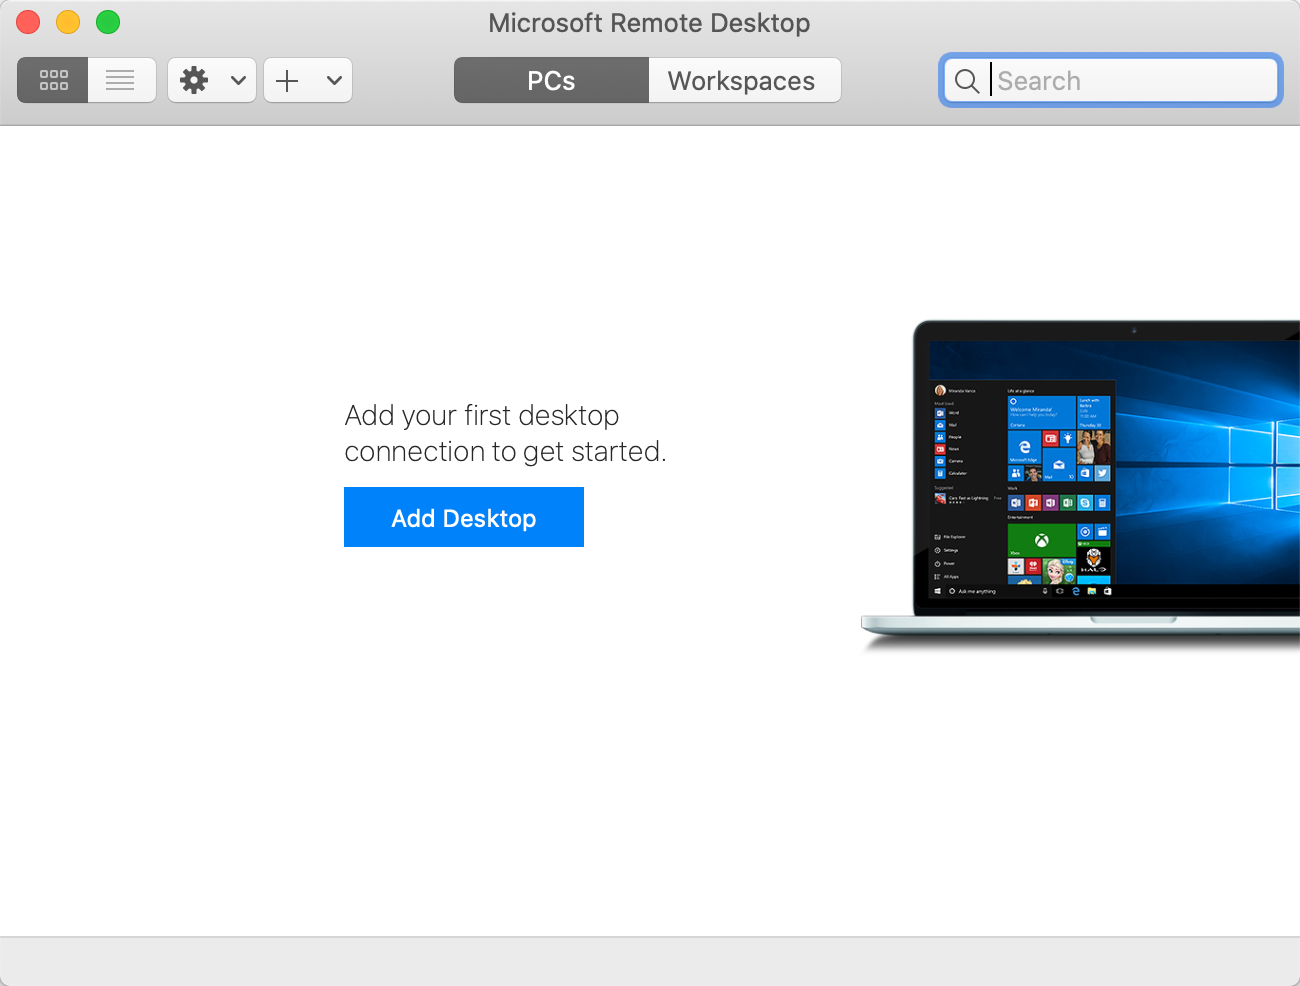
- Download and install an RDP client of your choice. In this tutorial, we use the Microsoft Remote Desktop Client.
- Start the RDP client and click Add Desktop to add a new connection:
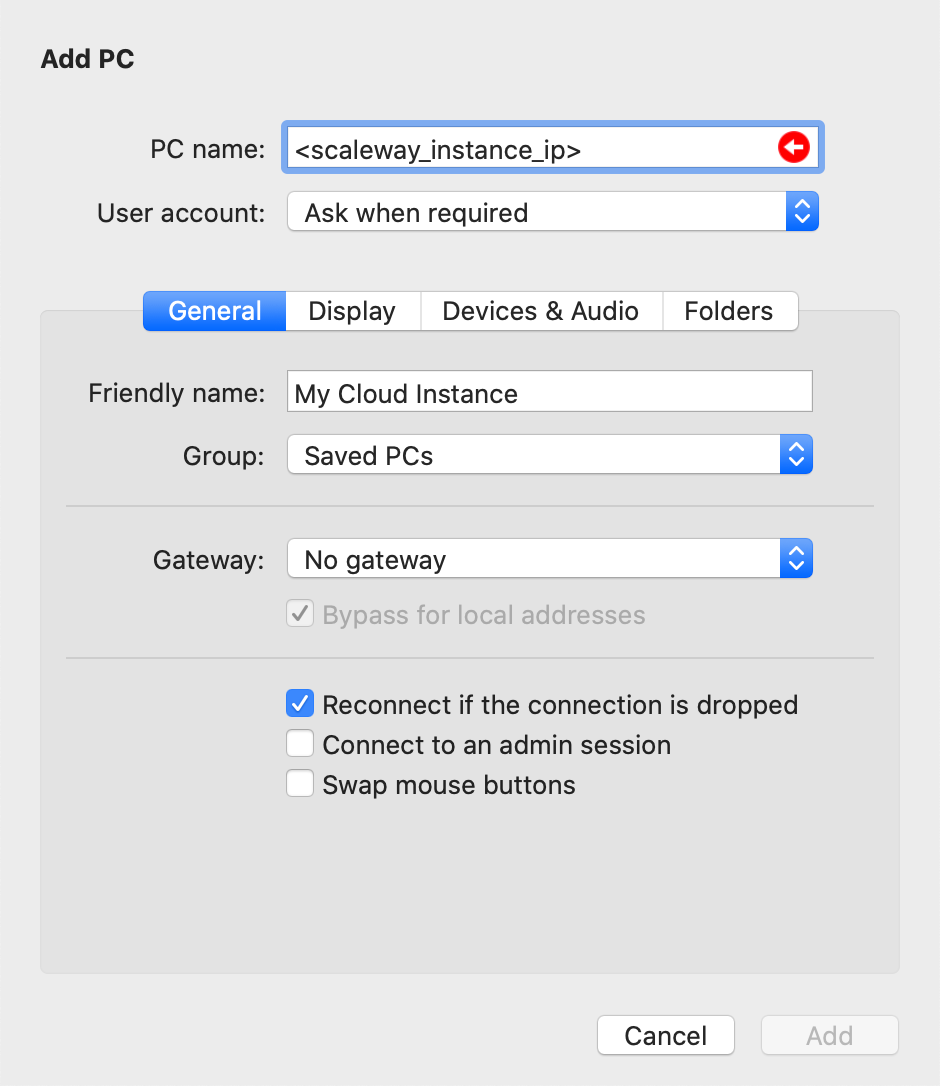
- Enter the connection details. You must enter at least your Instance's IP under PC name. Optionally, you can add a Friendly Name to facilitate the identification of your Instance in case you configure several RDP connections.
- Double-click the connection icon. During the first connection, you may be asked to validate the fingerprint of the Instance. Click OK to confirm the connection.
- Enter the identifier and password of your regular user when prompted.
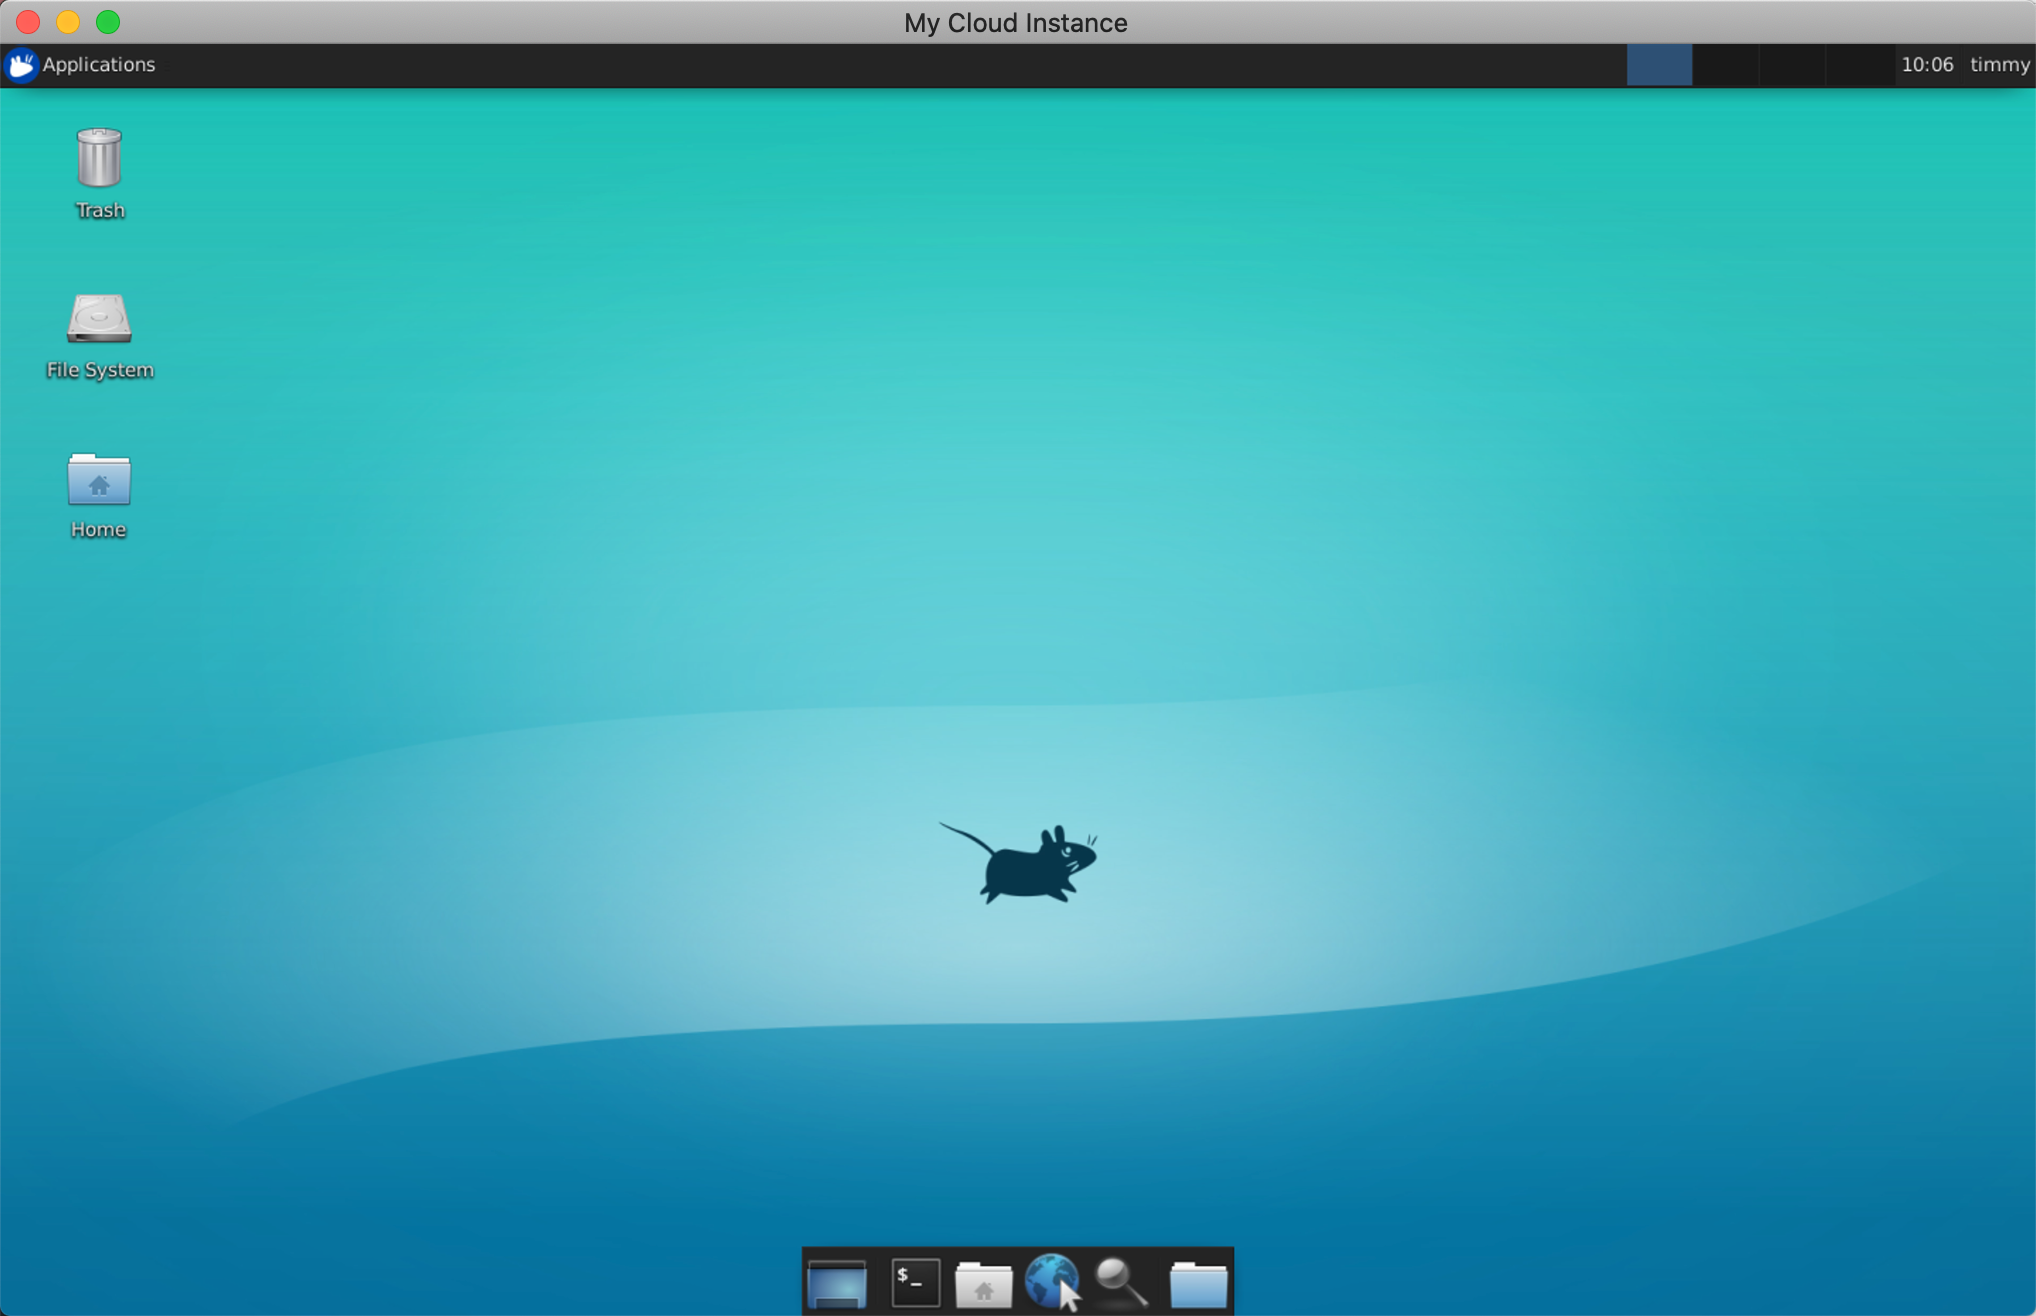
- You are now connected and the remote desktop of your Ubuntu Jammy Jellyfish (22.04 LTS) Instance displays. You can launch applications on the remote machine, as you would locally.
Questions?
Visit our Help Center and find the answers to your most frequent questions.
Visit Help Center