Setting up a learning platform with Moodle on Ubuntu Focal Fossa (20.04 LTS)
Moodle is an open-source Learning Management System (LMS) that provides educators and students with a platform and various tools to create and participate in collaborative online learning environments.
This tutorial shows you how to create your own learning platform by installing Moodle on an Instance using a LEMP-Stack (Ubuntu Linux, Nginx, MariaDB, and PHP).
Before you start
To complete the actions presented below, you must have:
- A Scaleway account logged into the console
- Owner status or IAM permissions allowing you to perform actions in the intended Organization
- An SSH key
- An Instance running on Ubuntu Focal Fossa (20.04 LTS) or later
- A domain or subdomain pointed to your Instance
Installing and configuring the LEMP stack
Software-wise, Moodle requires:
- A web server
- PHP (as it is PHP-based)
- A database server
During this tutorial we install and configure a LEMP-Stack using Nginx, MariaDB and PHP.
- Update the system's
aptrepository information and upgrade it to make sure that the system is up-to-date and has the latest bug fixes and updates installed.apt update && apt -y upgrade - Use Ubuntu's APT package manager to install the stack packages:
apt install nginx mariadb-server mariadb-client php-fpm php-common php-mysql php-gmp php-curl php-intl php-mbstring php-soap php-xmlrpc php-gd php-xml php-cli php-zip
Setting up MariaDB
-
Define a root password for the database server (if not previously set) by running the command:
mysql_secure_installation -
Answer the questions when prompted, as such:
NOTE: RUNNING ALL PARTS OF THIS SCRIPT IS RECOMMENDED FOR ALL MariaDB
      SERVERS IN PRODUCTION USE!  PLEASE READ EACH STEP CAREFULLY!

In order to log into MariaDB to secure it, we'll need the current
password for the root user.  If you've just installed MariaDB, and
you haven't set the root password yet, the password will be blank,
so you should just press enter here.

Enter current password for root (enter for none):
Press enter.
OK, successfully used password, moving on...

Setting the root password ensures that nobody can log into the MariaDB
root user without the proper authorisation.

Set root password? [Y/n]
Answer with
y. Type in your new password, press enter and re-enter it.New password: Re-enter new password: Password updated successfully! Reloading privilege tables.. ... Success!Answer the next four prompts with
yBy default, a MariaDB installation has an anonymous user, allowing anyone to log into MariaDB without having to have a user account created for them. This is intended only for testing, and to make the installation go a bit smoother. You should remove them before moving into a production environment. Remove anonymous users? [Y/n] y ... Success! Normally, root should only be allowed to connect from 'localhost'. This ensures that someone cannot guess at the root password from the network. Disallow root login remotely? [Y/n] y ... Success! By default, MariaDB comes with a database named 'test' that anyone can access. This is also intended only for testing, and should be removed before moving into a production environment. Remove test database and access to it? [Y/n] y - Dropping test database... ... Success! - Removing privileges on test database... ... Success! Reloading the privilege tables will ensure that all changes made so far will take effect immediately. Reload privilege tables now? [Y/n] y ... Success! Cleaning up... All done! If you've completed all of the above steps, your MariaDB installation should now be secure. Thanks for using MariaDB! -
Run the command to verify if the installation was successfully completed:
mysql -u root -pWhen prompted, insert root password. If the installation was successful, you will see the MariaDB welcome message. Type
exitto leave the MariaDB prompt.Some settings need to be added to the MariaDB default configuration file to ensure Moodle is properly installed later on.
-
Open the file using your text editor of choice. In this tutorial, we will use
nano.nano /etc/mysql/mariadb.conf.d/50-server.cnfAnd add the following lines to the end of the Basic Settings section.
innodb_file_format = Barracuda
innodb_file_per_table = 1
innodb_large_prefix = ON
Like so:
# # * Basic Settings # user = mysql pid-file = /run/mysqld/mysqld.pid socket = /run/mysqld/mysqld.sock #port = 3306 basedir = /usr datadir = /var/lib/mysql tmpdir = /tmp lc-messages-dir = /usr/share/mysql #skip-external-locking innodb_file_format = Barracuda innodb_file_per_table = 1 innodb_large_prefix = ON -
Restart MariaDB:
systemctl restart mariadb.service
Setting up PHP
To ensure better performance, Moodle recommends checking and editing some default PHP settings.
-
Open
php.iniwith your preferred text editor:nano /etc/php//fpm/php.ini -
Edit according to these guidelines:
memory_limit = 128M (Larger systems will require a higher setting)
session.save_handler = files
file_uploads = On
session.auto_start = 0
allow_url_fopen = On
short_open_tag = On
cgi.fix_pathinfo = 0
upload_max_filesize =  128M (set to the maximum file size that can be uploaded)
Creating a database
- Log in to MariaDB by running the command below and enter the previously set password when prompted.
mysql -u root -p - Run the following command to create a database called
moodle:CREATE DATABASE moodle; - Create a user called
moodleuserand define a password for the database replacinginsert_passwordwith your password of choice.CREATE USER 'moodleuser'@'localhost' IDENTIFIED BY 'insert_password'; - Grant the user full access to the database.
GRANT ALL ON moodle.* TO 'moodleuser'@'localhost' WITH GRANT OPTION; - Save and exit.
FLUSH PRIVILEGES;
EXIT;
Installing Moodle
We will use git and curl to access and clone the latest version of Moodle.
-
Install the packages, then change the directory to Nginx root.
apt install git curl cd /var/www/ -
Check the most recent version of Moodle on this list of each branch available.
Replace
#with the corresponding branch number before downloading the Moodle packages.git clone -b MOODLE_#_STABLE git://git.moodle.org/moodle.git moodle -
Configure permissions by running the following commands:
mkdir -p /var/www/moodledata
chown -R www-data:www-data /var/www/
chmod -R 755 /var/www/
chown www-data:www-data /var/www/moodledata
Configuring the web server
-
Use a text editor to create a new server block VirtualHost file named
moodleunder the/etc/nginx/sites-availabledirectory to include the client request settings of your web server.nano /etc/nginx/sites-available/moodleCopy and paste the configuration below into the file. Replace
example.comwith your domain name and save.server { listen 80; listen [::]:80; root /var/www/moodle; index index.php index.html index.htm; server_name example.com www.example.com; client_max_body_size 100M; autoindex off; location / { try_files $uri $uri/ =404; } location /dataroot/ { internal; alias /var/www/moodledata/; } location ~ [^/].php(/|$) { include snippets/fastcgi-php.conf; fastcgi_pass unix:/run/php/php-fpm.sock; fastcgi_param SCRIPT_FILENAME $document_root$fastcgi_script_name; include fastcgi_params; } } -
Create a symbolic link to enable the server block and restart Nginx.
ln -s /etc/nginx/sites-available/moodle /etc/nginx/sites-enabled/
systemctl restart nginx.service
You can check if Moodle is accessible via a web interface by accessing
http://localhostusing the server's IP or your domain.
Configuring SSL with Let's Encrypt
By default, the connection between your computer and the server is not encrypted. This makes your connection more vulnerable to external access. To protect user credentials and other confidential information stored in Moodle, you can generate an SSL certificate issued by Let's Encrypt for free.
-
Make sure the system is updated and then install Let's Encrypt.
apt update && apt -y upgrade
apt-get install letsencrypt
We now run a
certbot, provided by Let's Encrypt, to generate a wildcard certificate. This ensures not only the coverage of the domain name but of all possible subdomains (*.example.com).For wildcard certificates, a
DNSchallenge is required. -
Use DNS to challenge domain ownership, specify the endpoint and agree to ACME's subscriber terms simultaneously, and run the command below. Replace
admin@example.comwith your e-mail andexample.comwith your domain name.certbot certonly --manual --preferred-challenges=dns --email admin@example.com --server https://acme-v02.api.letsencrypt.org/directory --agree-tos -d example.com -d *.example.com -
Answer the questions below when prompted. If you agree, type
yand enter when prompted.- - - - - - - - - - - - - - - - - - - - - - - - - - - - - - - - - - - - - - - - Would you be willing to share your email address with the Electronic Frontier Foundation, a founding partner of the Let's Encrypt project and the non-profit organization that develops Certbot? We'd like to send you email about our work encrypting the web, EFF news, campaigns, and ways to support digital freedom. - - - - - - - - - - - - - - - - - - - - - - - - - - - - - - - - - - - - - - - - (Y)es/(N)o: y - - - - - - - - - - - - - - - - - - - - - - - - - - - - - - - - - - - - - - - - NOTE: The IP of this machine will be publicly logged as having requested this certificate. If you're running certbot in manual mode on a machine that is not your server, please ensure you're okay with that. Are you OK with your IP being logged? - - - - - - - - - - - - - - - - - - - - - - - - - - - - - - - - - - - - - - - - (Y)es/(N)o: yThen, you will be requested to add a
TXTrecord through a DNS entry in your DNS provider's interface.Please deploy a DNS TXT record under the name `_acme-challenge.example.com` with the following value: `yOdiaGhHq4zLPTmG8eHOUr5bfBTiYZ-w-3_oFqmZuZw` Before continuing, verify the record is deployed. - - - - - - - - - - - - - - - - - - - - - - - - - - - - - - - - - - - - - - - - Press Enter to ContinueAfter deploying the record, wait several minutes and Press Enter to Continue. You may be prompted to deploy more than one record, as an additional challenge.
When the authentication process has been successfully completed, the wildcard certificates will be ready, and you will see the following output:
Waiting for verification... Cleaning up challenges IMPORTANT NOTES: - Congratulations! Your certificate and chain have been saved at: /etc/letsencrypt/live/scaleway-test.ga/fullchain.pem Your key file has been saved at: /etc/letsencrypt/live/scaleway-test.ga/privkey.pem Your cert will expire on 2020-09-16. To obtain a new or tweaked version of this certificate in the future, simply run certbot again. To non-interactively renew *all* of your certificates, run "certbot renew" -
Resume the configuration of Let's Encrypt by re-opening the
moodleserver block.nano /etc/nginx/sites-available/moodleAnd include the new settings, as indicated below. Replace
example.comwith your domain name when necessary.server { listen 80; listen [::]:80; server_name *.example.com; return 301 https://$host$request_uri; } server { listen 443 ssl http2; listen [::]:443 ssl http2; root /var/www/moodle; index index.php index.html index.htm; server_name example.com www.example.com; if ($host != "example.com") { return 301 https://example.com$request_uri; } ssl_certificate /etc/letsencrypt/live/example.com/fullchain.pem; ssl_certificate_key /etc/letsencrypt/live/example.com/privkey.pem; ssl_trusted_certificate /etc/letsencrypt/live/example.com/chain.pem; ssl_protocols TLSv1 TLSv1.1 TLSv1.2 TLSv1.3; ssl_ciphers 'TLS13+AESGCM+AES128:ECDHE-ECDSA-CHACHA20-POLY1305:ECDHE-RSA-CHACHA20-POLY1305:ECDHE-ECDSA-AES128-GCM-SHA256:ECDHE-RSA-AES128-GCM-SHA256:ECDHE-ECDSA-AES256-GCM-SHA384:ECDHE-RSA-AES256-GCM-SHA384:DHE-RSA-AES128-GCM-SHA256:DHE-RSA-AES256-GCM-SHA384:ECDHE-ECDSA-AES128-SHA256:ECDHE-RSA-AES128-SHA256:ECDHE-ECDSA-AES128-SHA:ECDHE-RSA-AES256-SHA384:ECDHE-RSA-AES128-SHA:ECDHE-ECDSA-AES256-SHA384:ECDHE-ECDSA-AES256-SHA:ECDHE-RSA-AES256-SHA:DHE-RSA-AES128-SHA256:DHE-RSA-AES128-SHA:DHE-RSA-AES256-SHA256:DHE-RSA-AES256-SHA:ECDHE-ECDSA-DES-CBC3-SHA:ECDHE-RSA-DES-CBC3-SHA:EDH-RSA-DES-CBC3-SHA:AES128-GCM-SHA256:AES256-GCM-SHA384:AES128-SHA256:AES256-SHA256:AES128-SHA:AES256-SHA:DES-CBC3-SHA:!DSS'; ssl_prefer_server_ciphers on; ssl_session_cache shared:SSL:50m; ssl_session_timeout 1d; ssl_session_tickets off; ssl_ecdh_curve X25519:sect571r1:secp521r1:secp384r1; client_max_body_size 100M; autoindex off; location / { try_files $uri $uri/ =404; } location /dataroot/ { internal; alias /var/www/moodledata/; } location ~ [^/].php(/|$) { include snippets/fastcgi-php.conf; fastcgi_pass unix:/run/php/php-fpm.sock; fastcgi_param SCRIPT_FILENAME $document_root$fastcgi_script_name; include fastcgi_params; } } -
Restart PHP and Nginx.
systemctl reload nginx.service
systemctl reload php-fpm.service
Completing Installation in the web browser
Access your Moodle interface via a web browser using your domain name or IP address. The Moodle setup wizard displays.
-
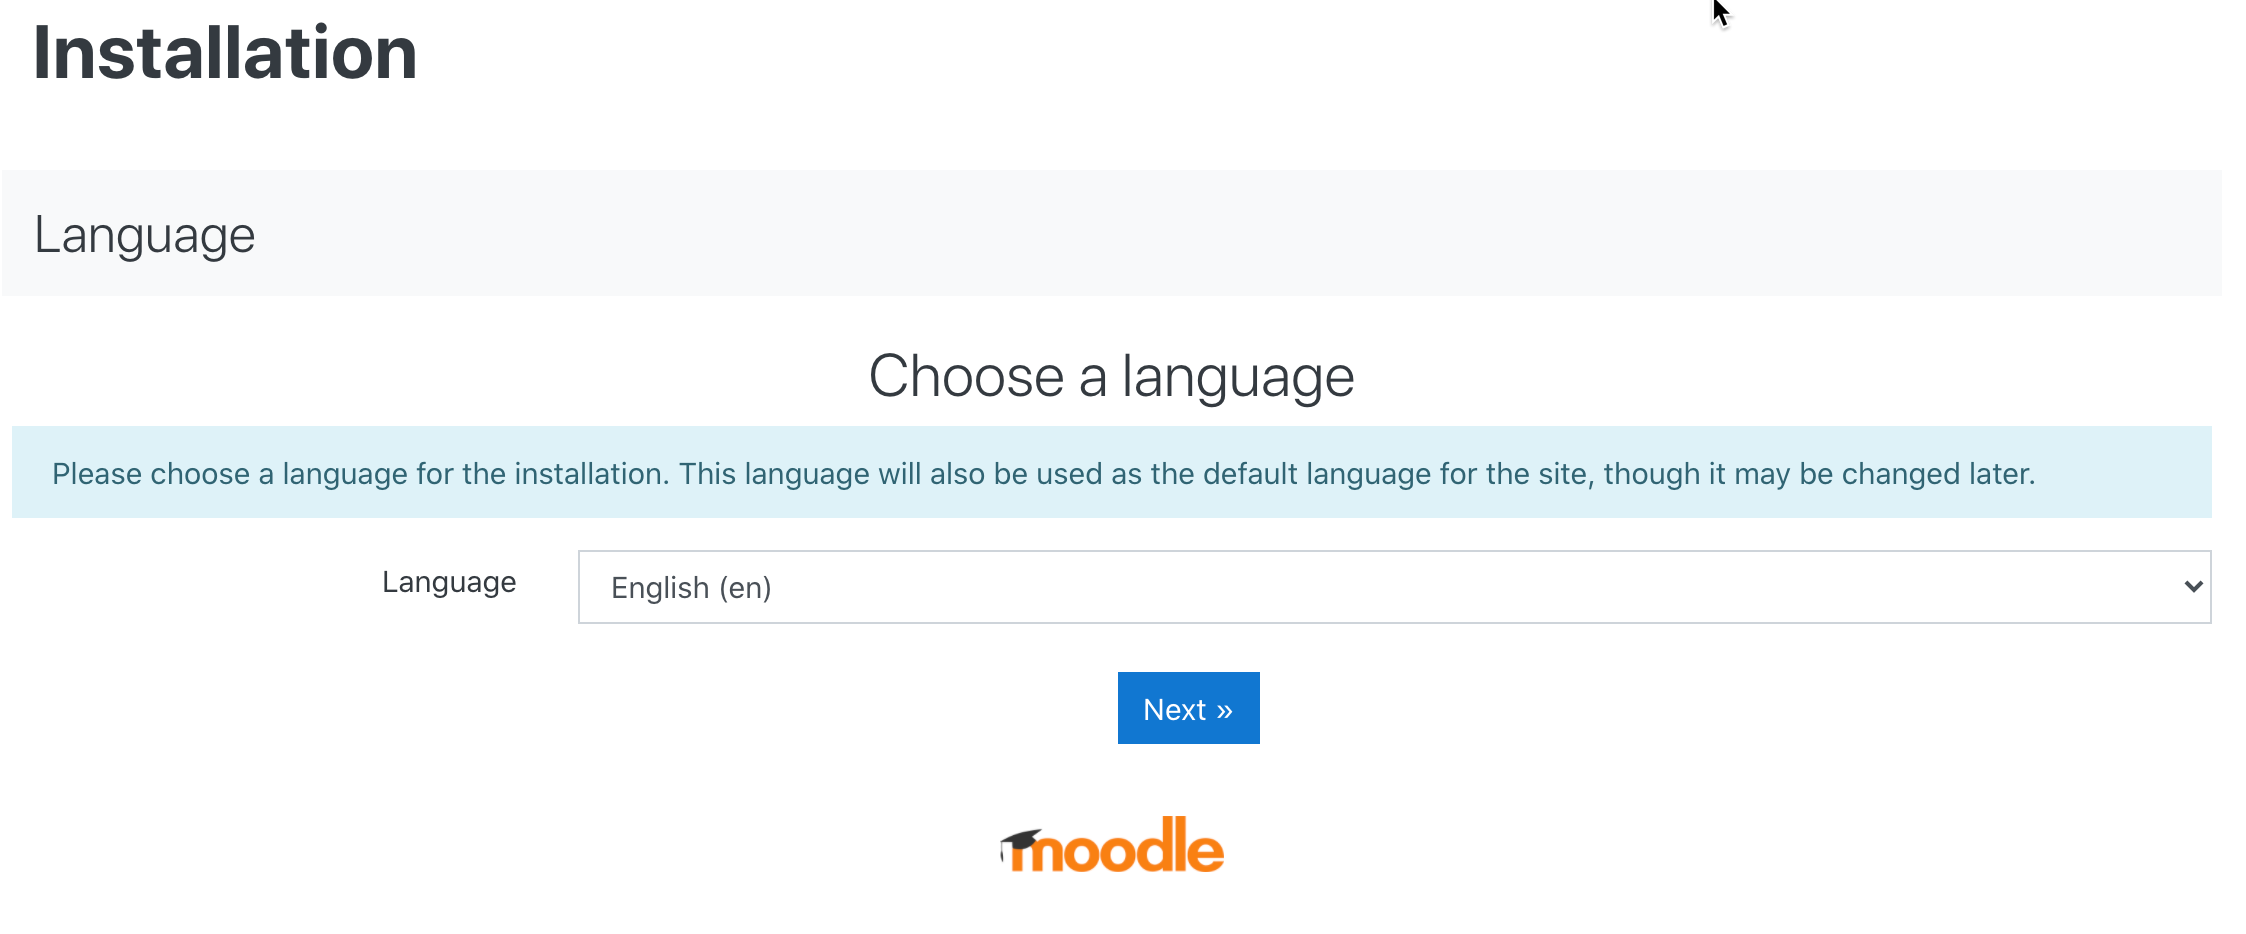
Choose a language and click Next.
-
Check and confirm Moodle's directory paths on your server by clicking next.

-
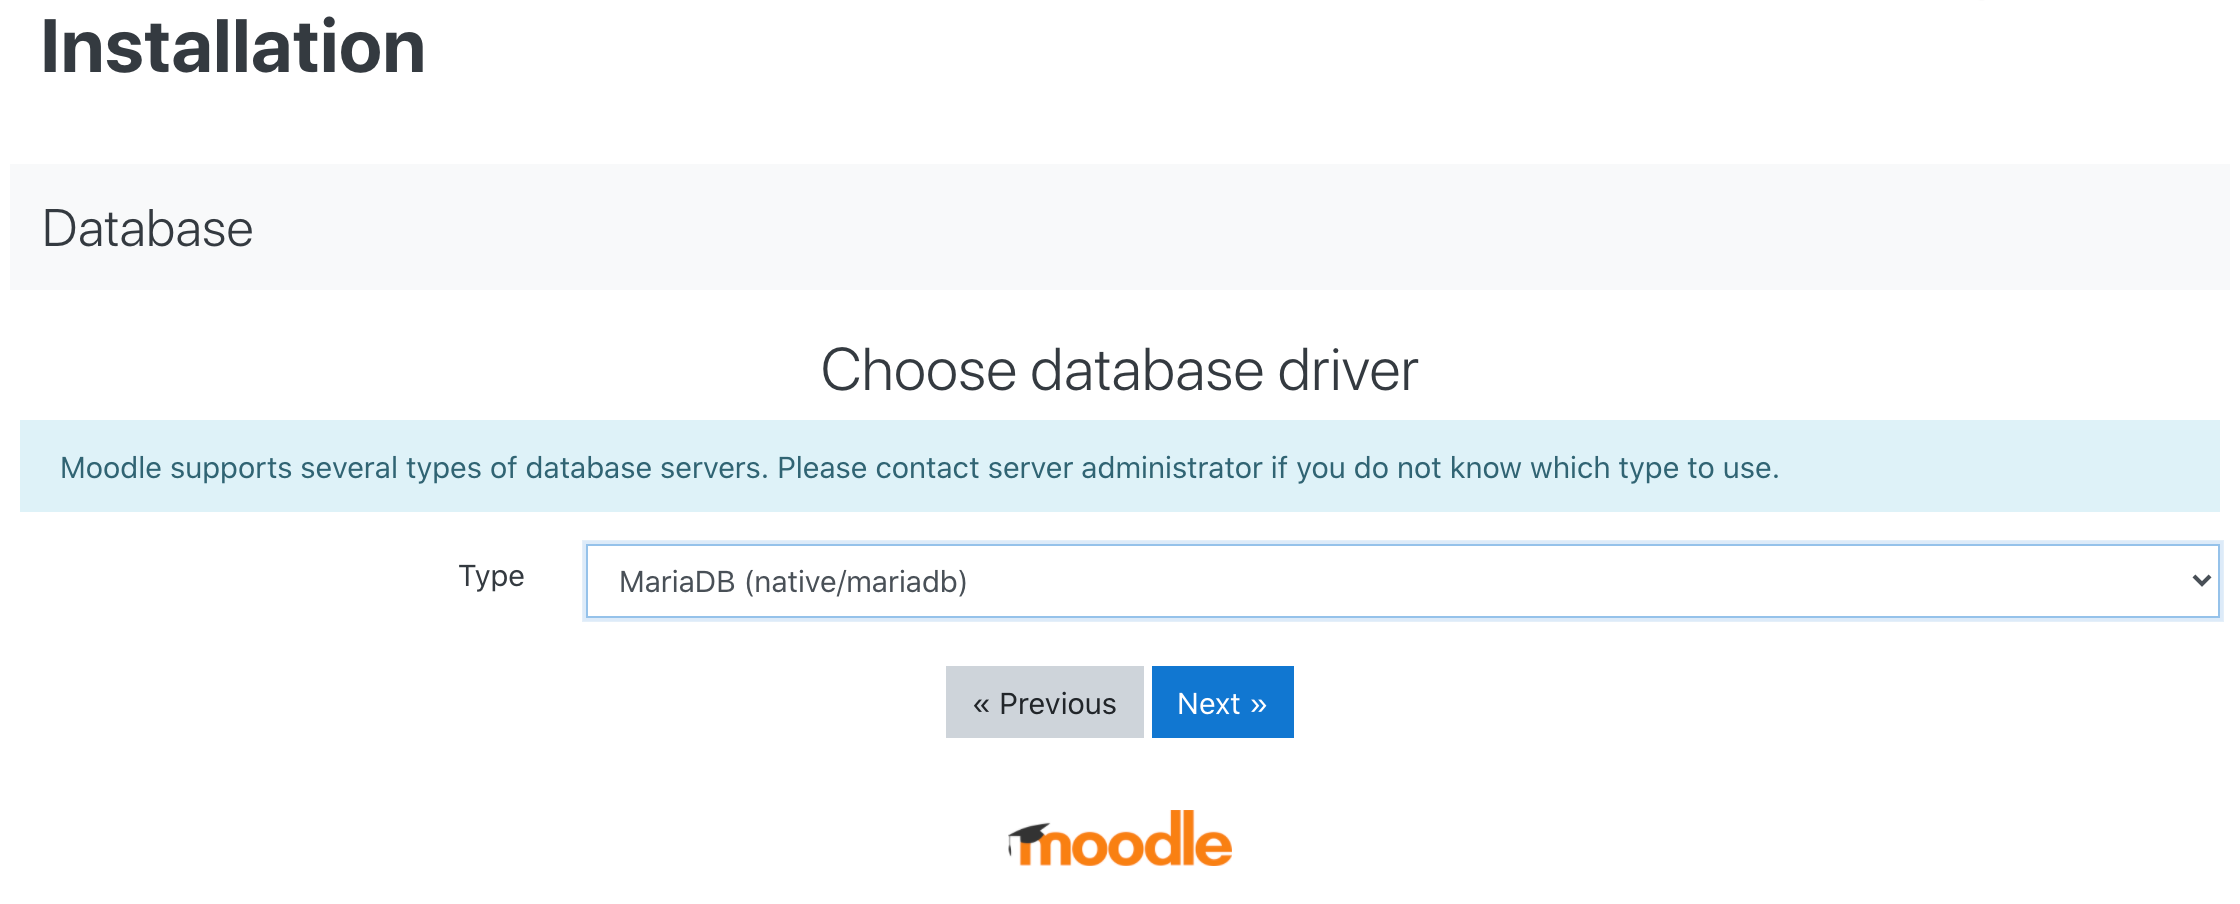
Select a database driver when prompted: MariaDB (native/mariadb), then proceed.
-
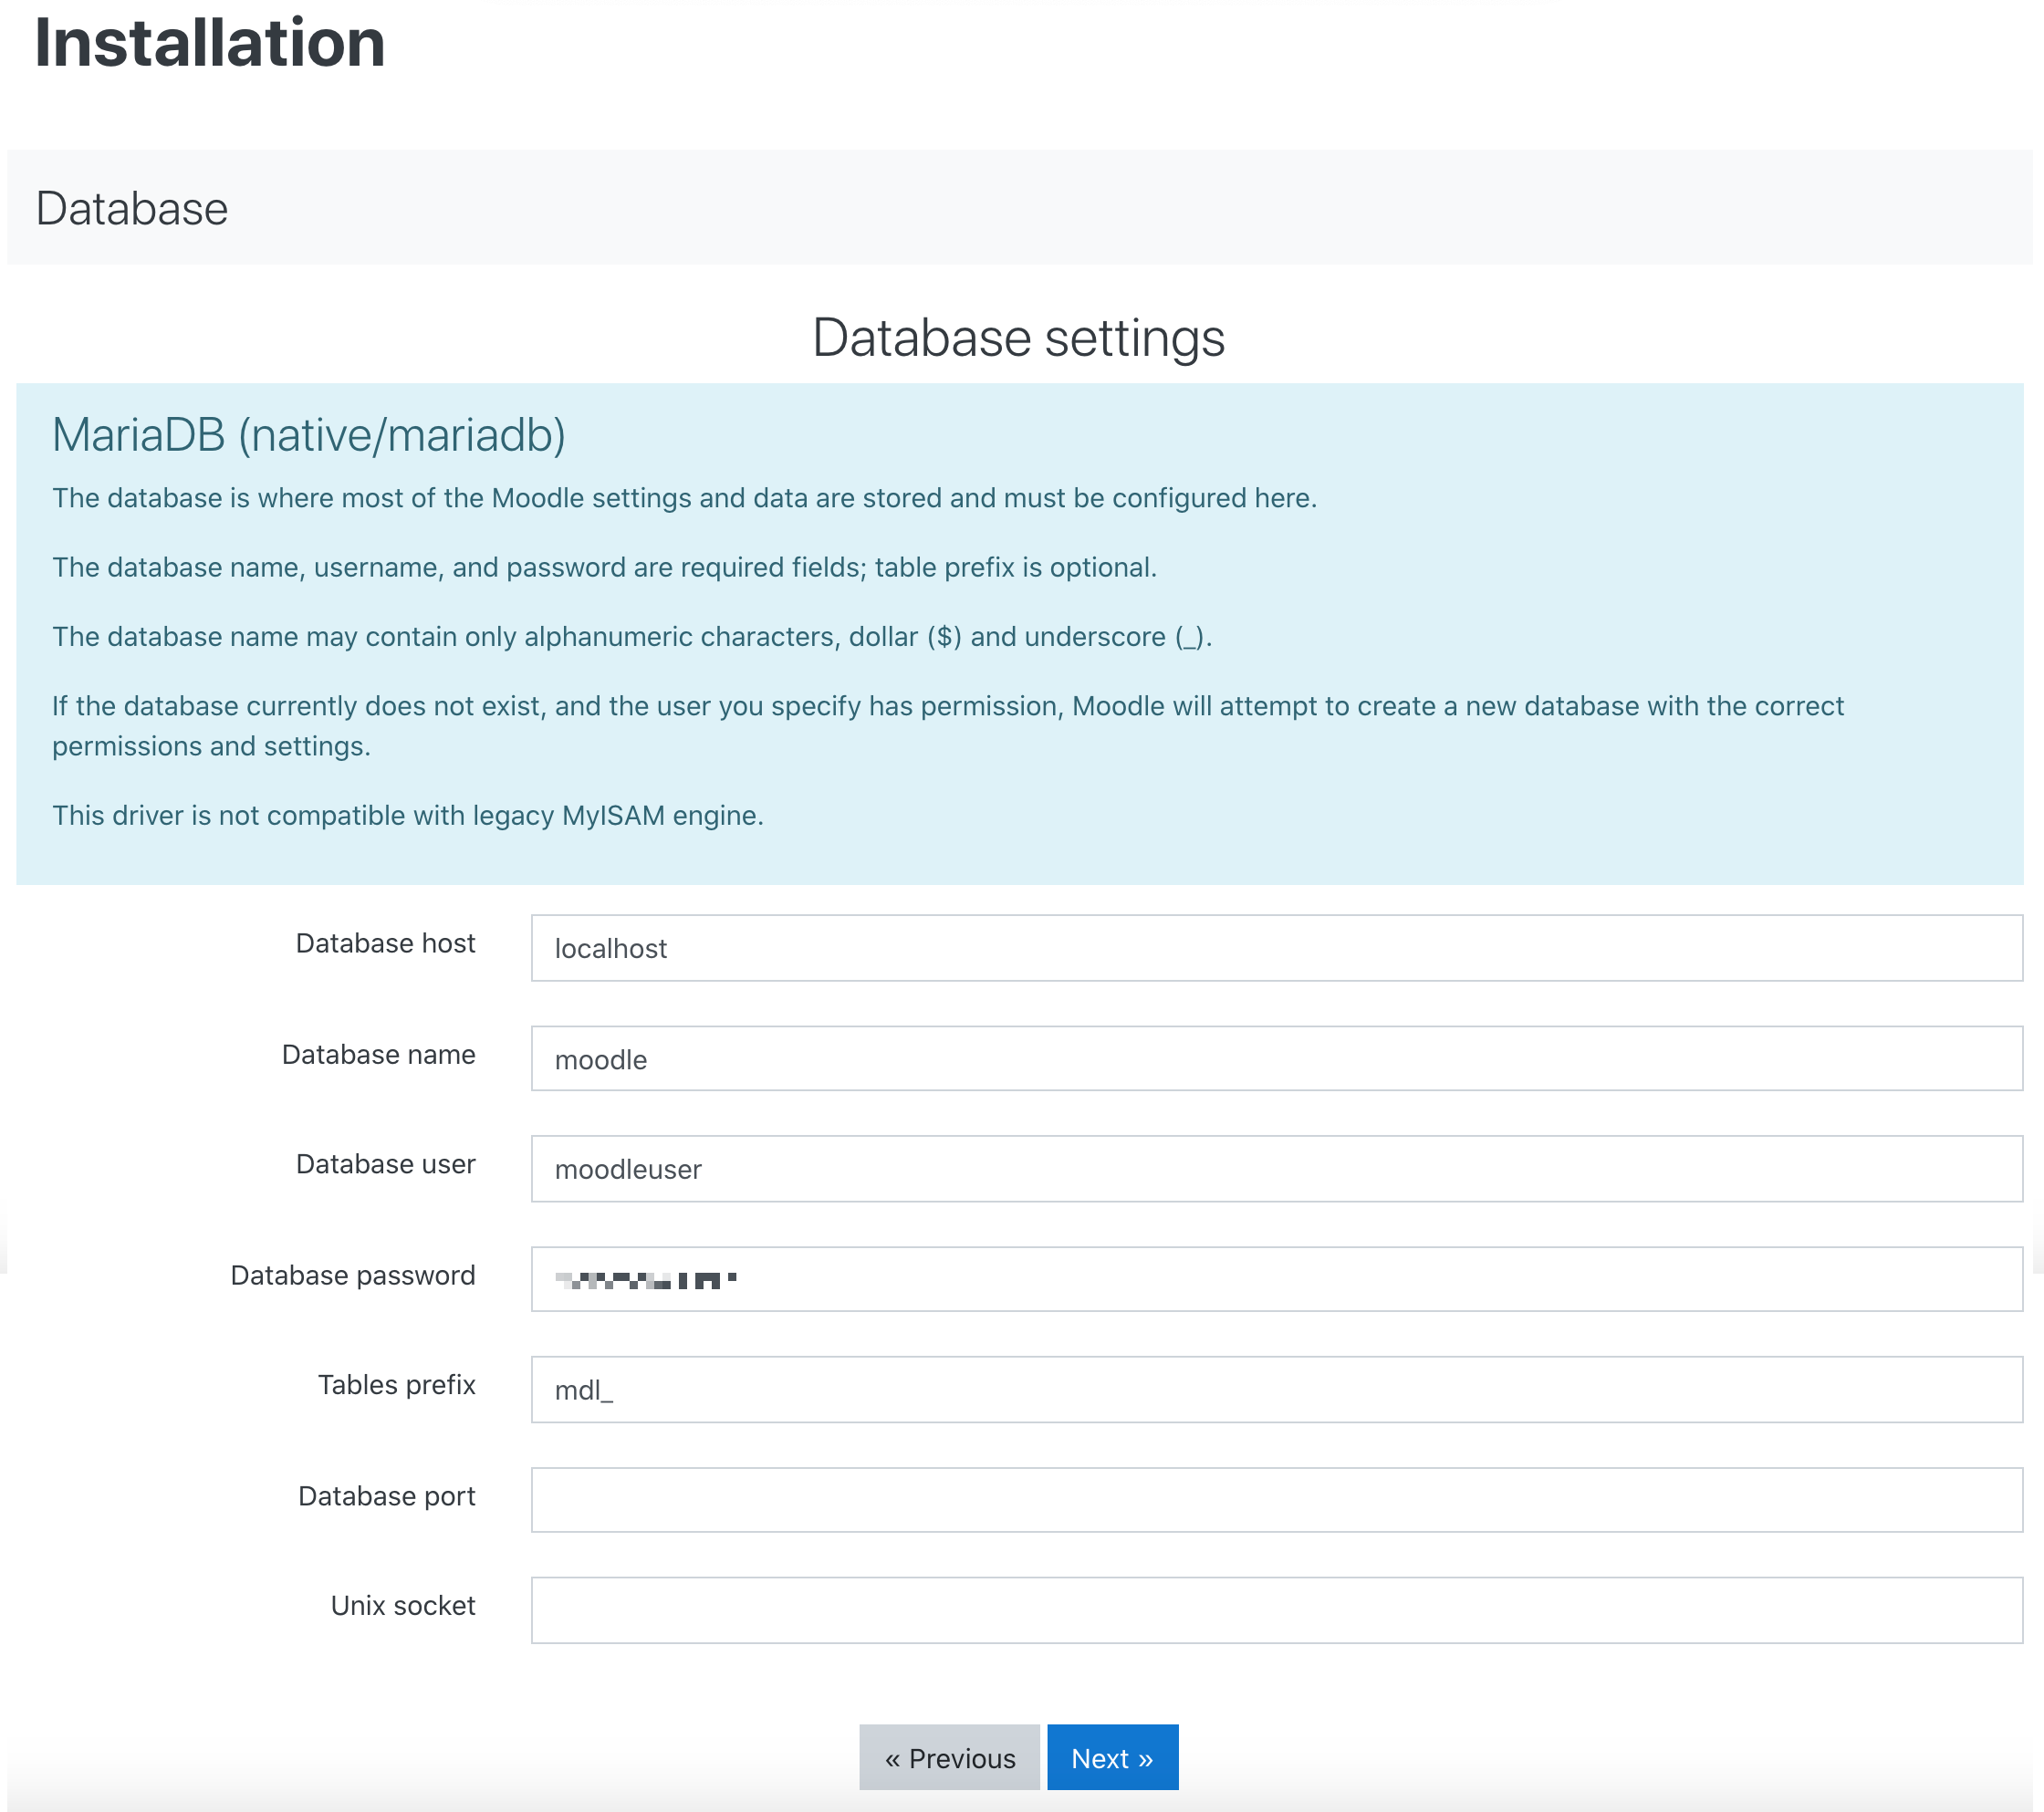
Insert the previously defined Database user and Database password in the corresponding fields and click next.
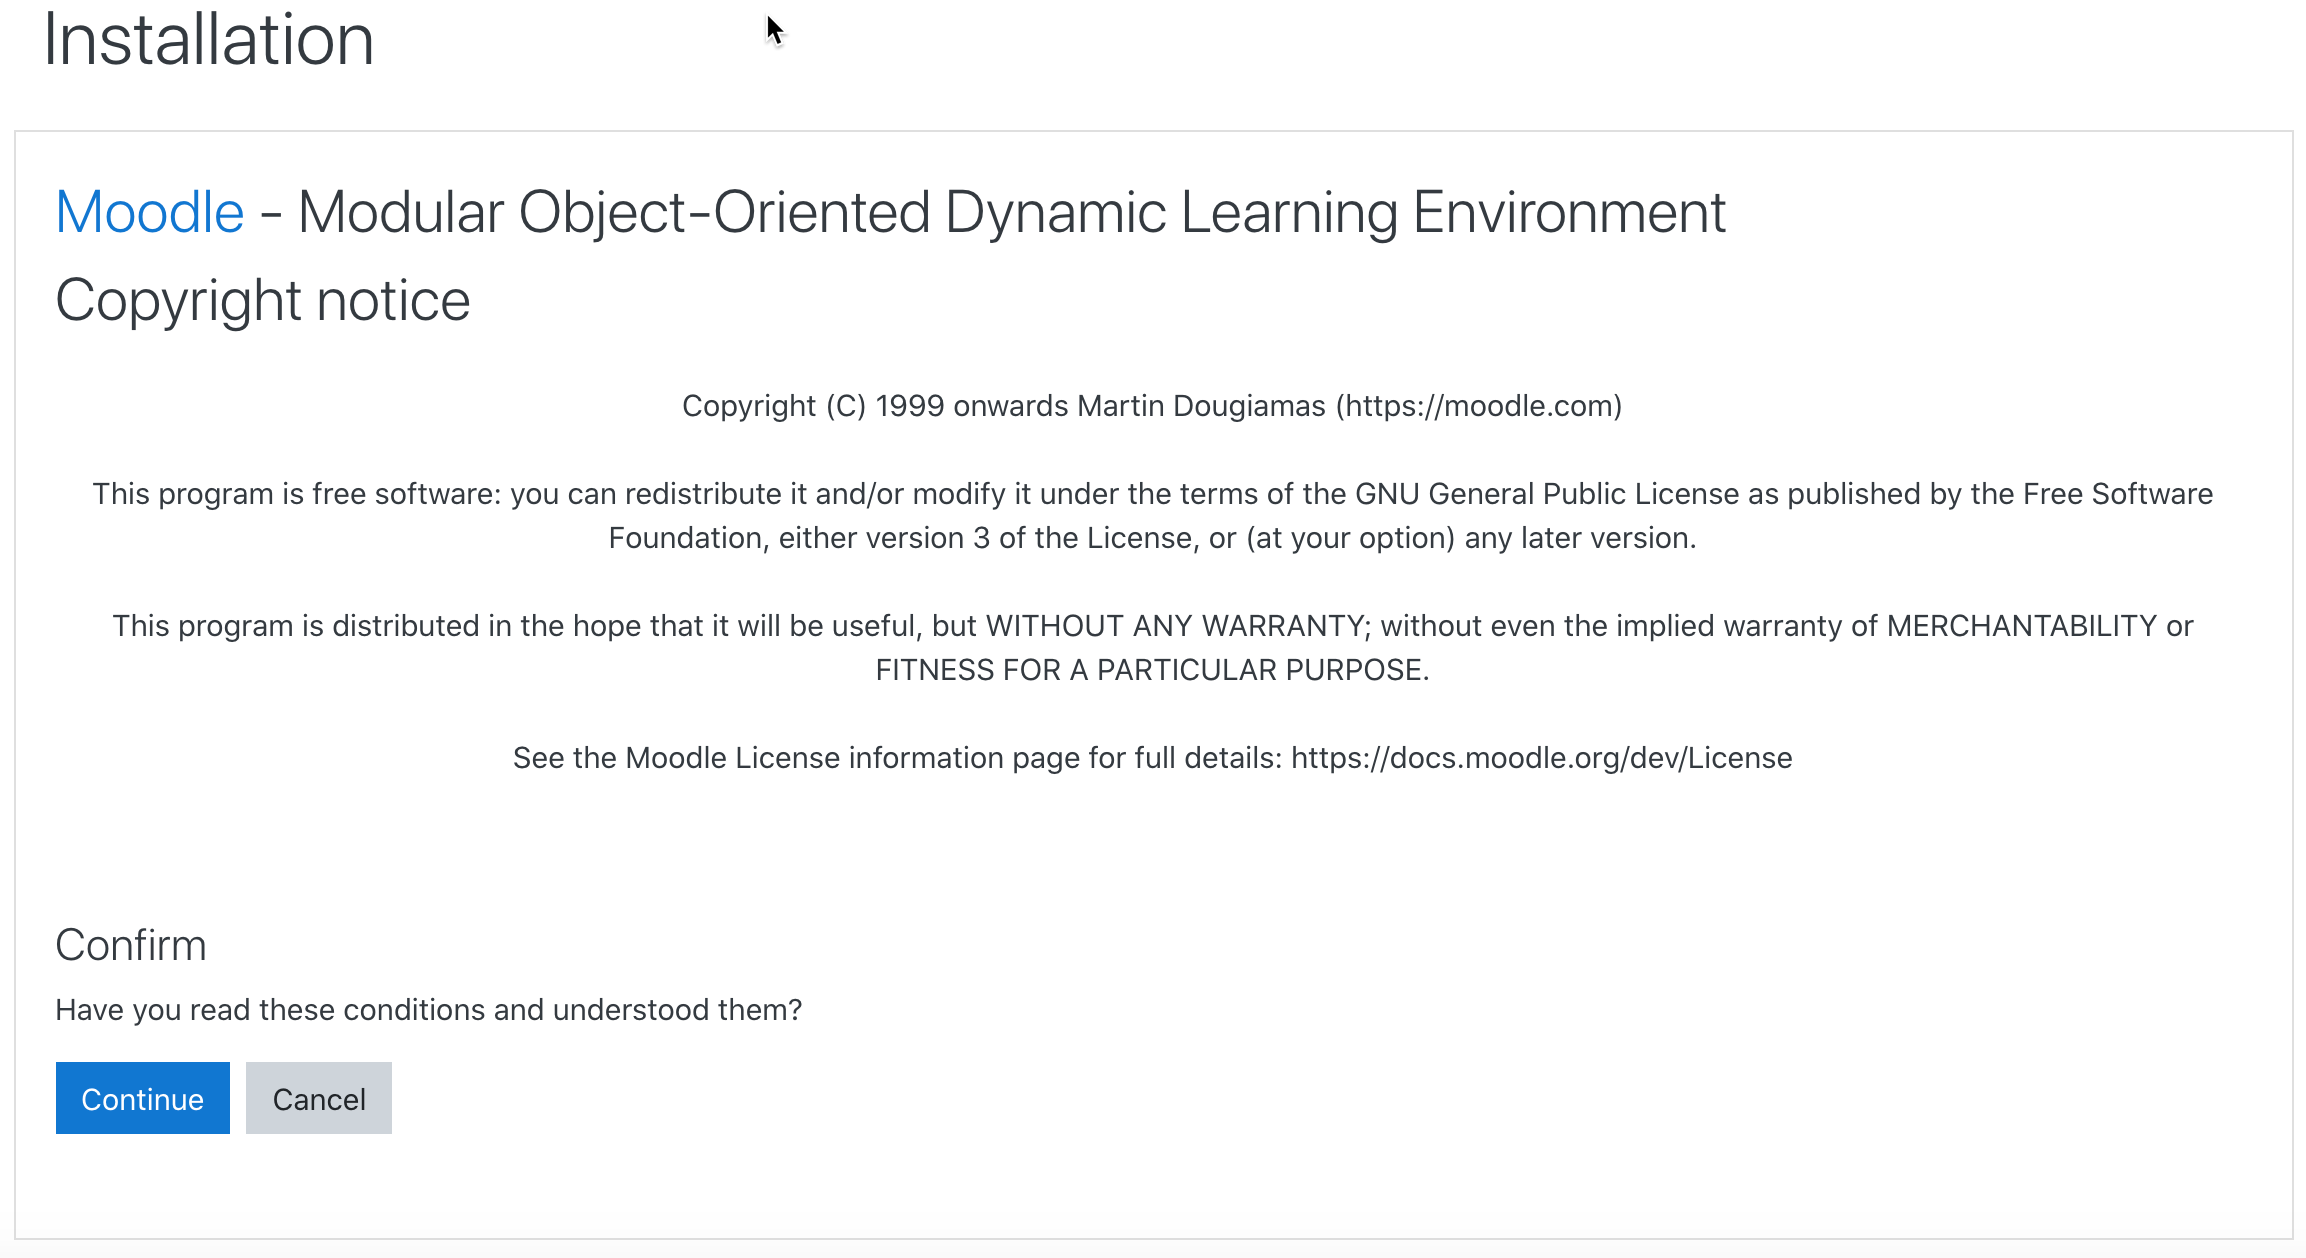
Moodle's terms and conditions display.
-
Click Continue if you "Have read these conditions and understood them".
A server checklist displays and informs you whether your server environment meets the minimal requirements for Moodle to run.
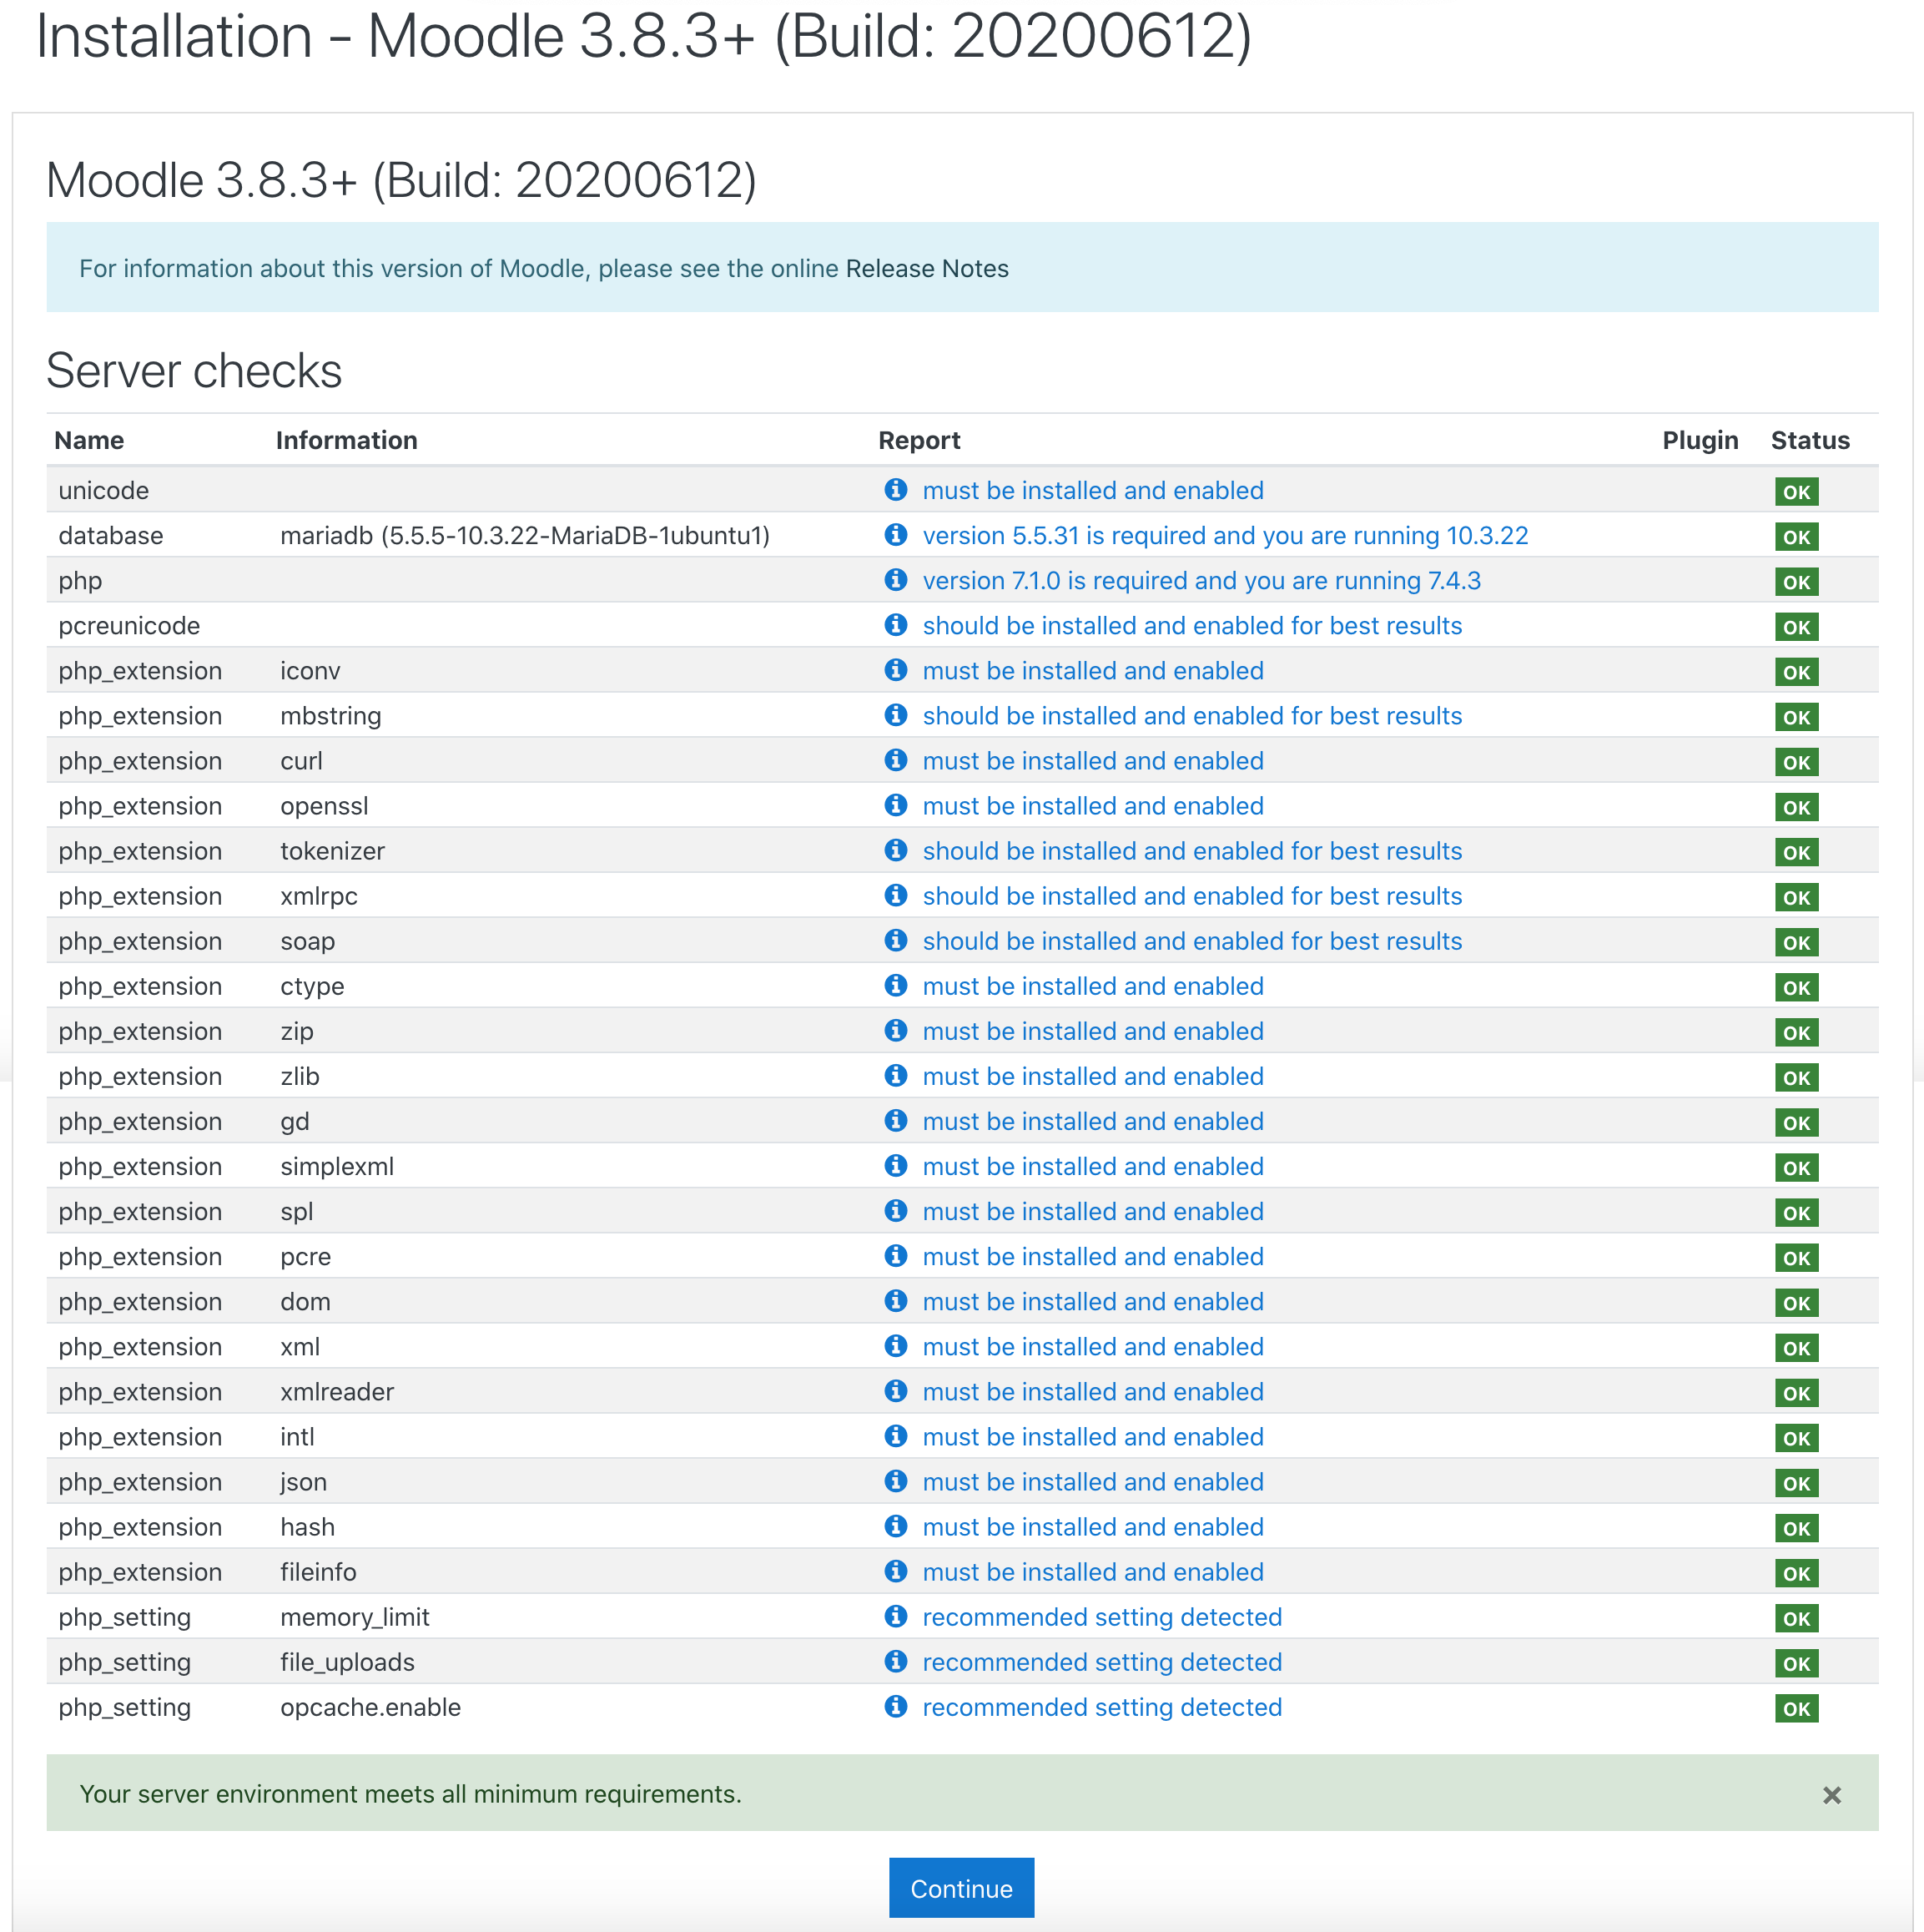
-
Click Next to continue if the status of all requirements is flagged as OK. If they are not, click the Report link of the requirement in question for more information.
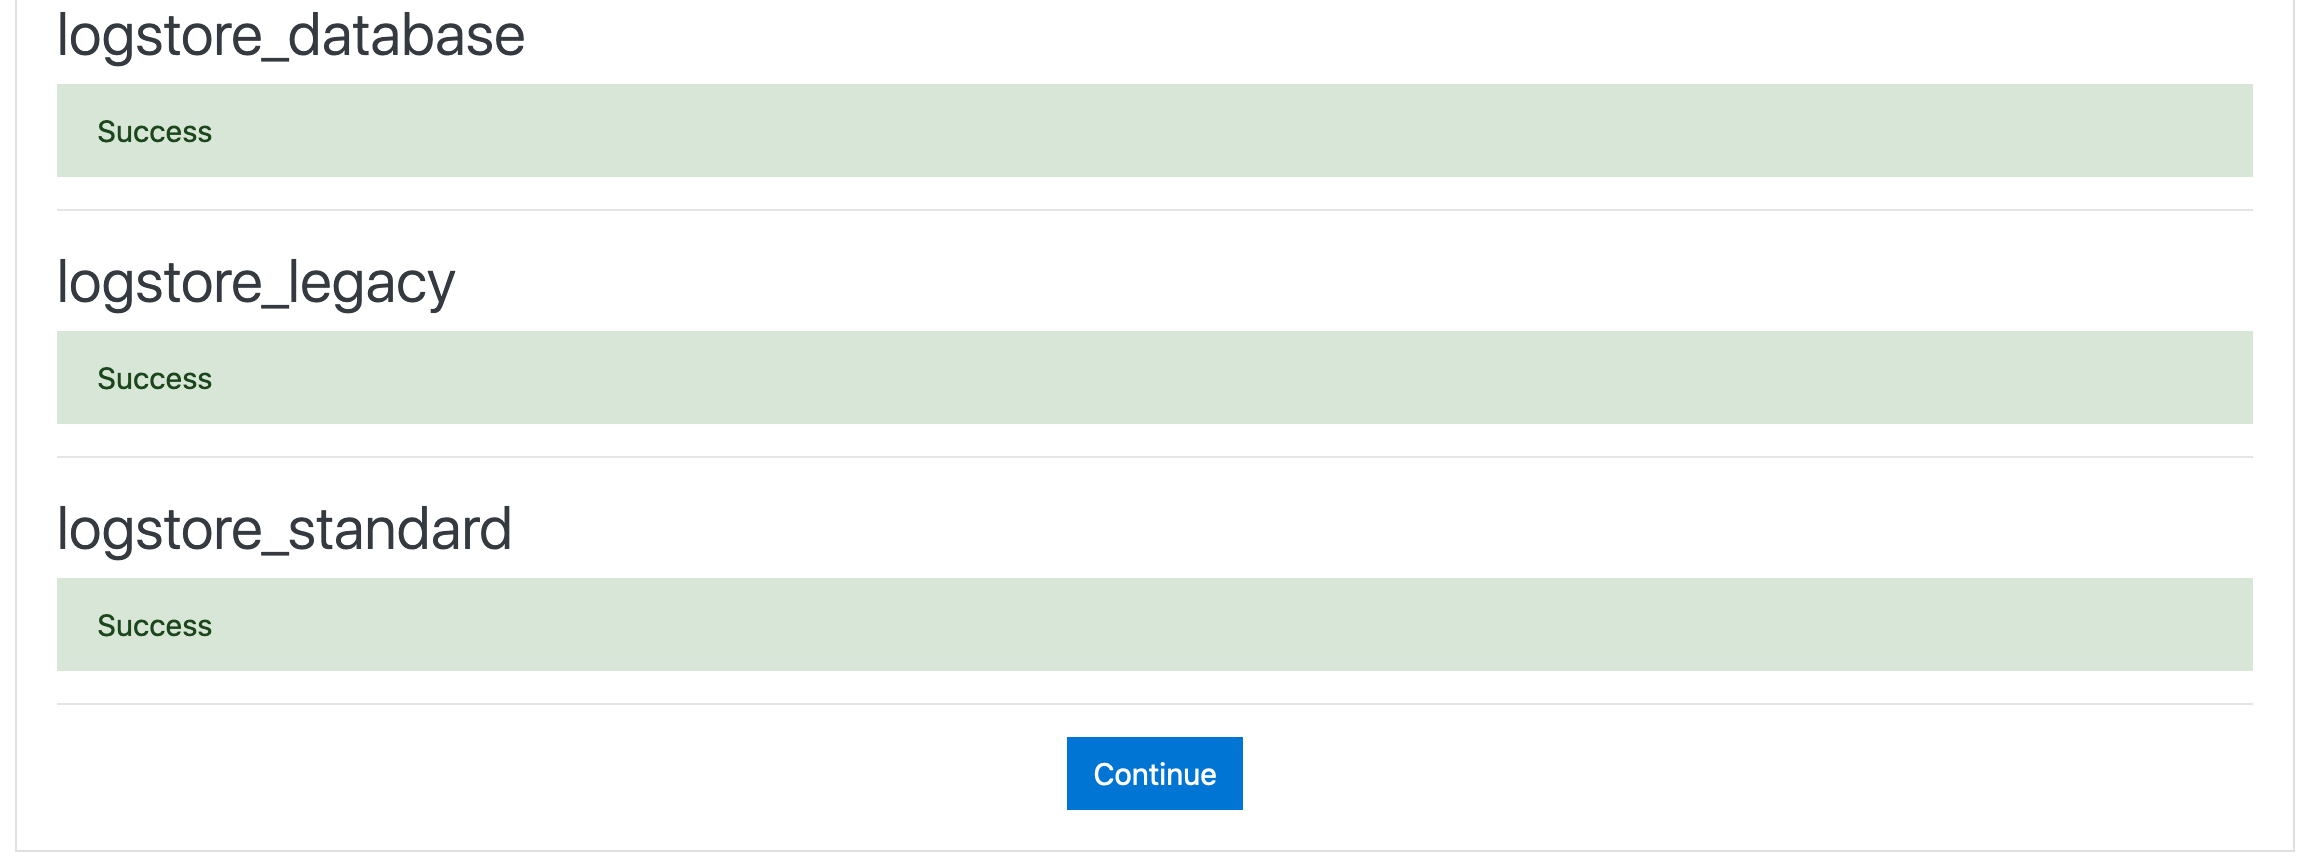
Moodle runs a final installation process which might take a couple of minutes.
-
Scroll to the bottom of the page and click Continue once the installation process is successfully completed, scroll.
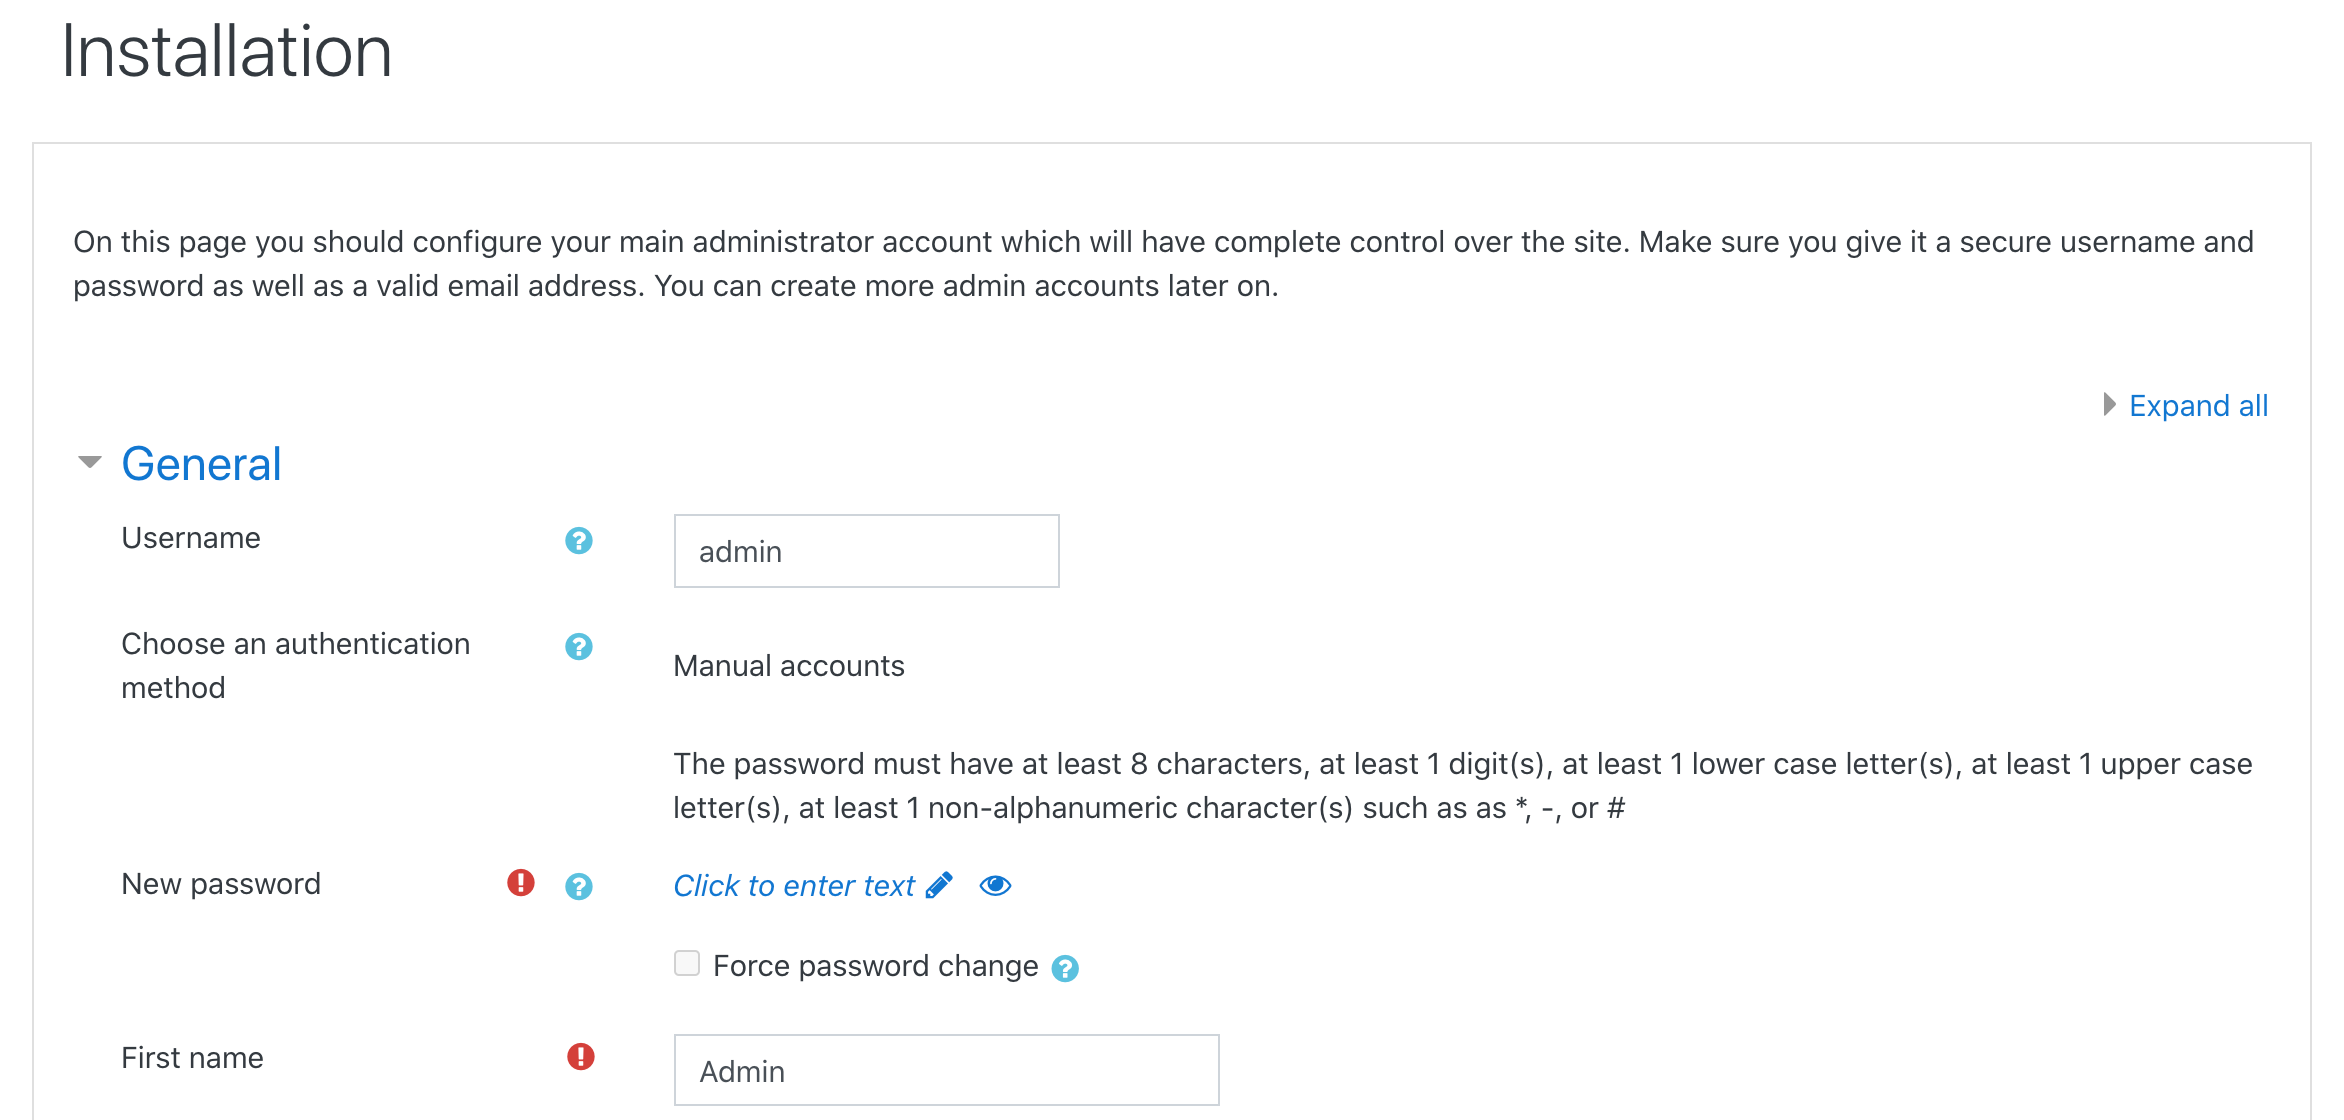
The following page asks you to configure the Main Administrator Account (root).
-
Fill in the required fields and click Update profile.
-
Complete installation by entering the Full site name and the Short name for site. You may also insert a summary and manage authentication and timezones.
Click Save changes to conclude and you are redirected to your Moodle homepage.
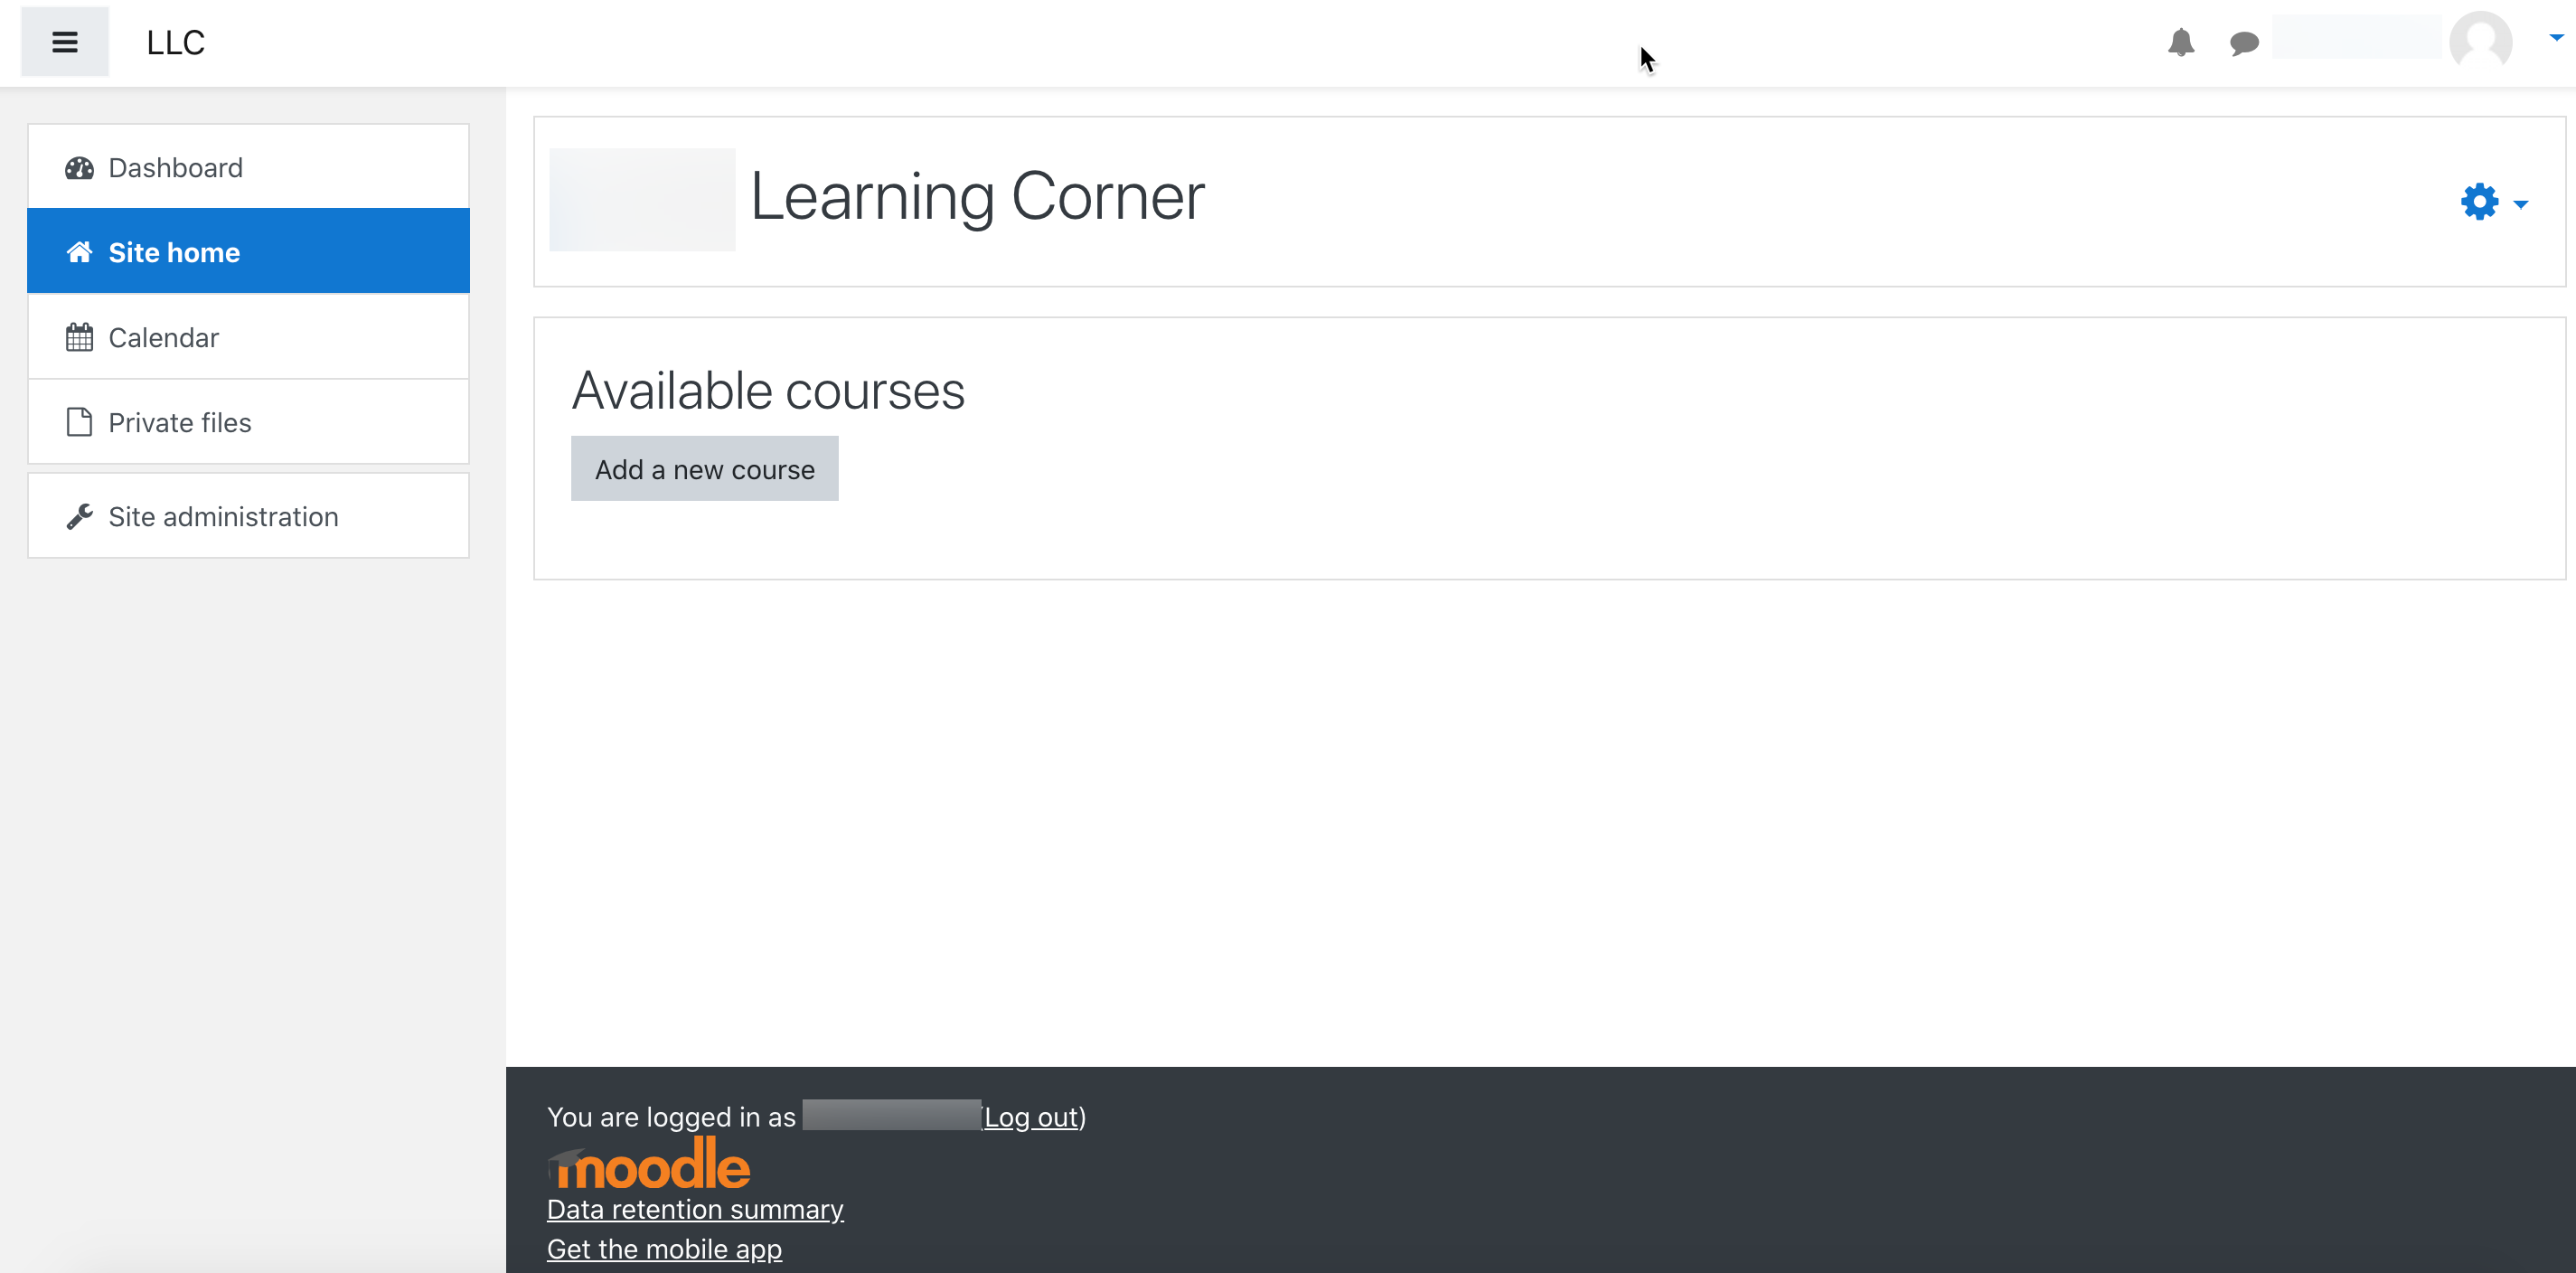
Your Moodle learning platform is now configured. You can start by adding courses and students. For more information about how to configure and use Moodle after installation, refer to the official documentation.
Visit our Help Center and find the answers to your most frequent questions.
Visit Help Center