Deploying a Zulip server
Zulip is an open-source communications platform similar to Mattermost, Slack, or Rocket.Chat, but providing unique features by combining the immediacy of real-time chat with an email threading model.
It aims to make communications in larger groups easier by focusing on important messages and letting you ignore less important messages. The application provides apps for every major computing platform and is available as a web application or by using native clients for Desktop (Windows, macOS, and Linux) and mobile devices (Android and iOS), powered by Electron and React Native. The software is very lightweight and an Instance with 2 GB RAM and 10 GB of disk can handle a small community. For larger communities, 4 GB RAM and 50 GB of disk are recommended.
More than 90 integrations are available for Zulip, including GitHub, Jira, Zendesk, and more. Zulip's powerful API allows you to create your own integration as well.
Before you start
To complete the actions presented below, you must have:
- A Scaleway account logged into the console
- Owner status or IAM permissions allowing you to perform actions in the intended Organization
- An SSH key
- An Instance running on Ubuntu 20.04
- An FQDN (Fully Qualified Domain Name) pointing to your Instance's IP address
- Enabled the email ports
Installing Zulip
-
Connect to your Instance using SSH:
ssh root@<your_instance_ip> -
Update the
aptpackage manager and upgrade the software already installed on the Instance to the latest version, available in Ubuntu's repositories:apt update && apt upgrade -y -
Download and unpack the latest stable build of Zulip:
cd $(mktemp -d) wget https://www.zulip.org/dist/releases/zulip-server-latest.tar.gz tar -xf zulip-server-latest.tar.gz -
Run the automated Zulip installer:
./zulip-server-*/scripts/setup/install --certbot --email=YOUR_EMAIL --hostname=YOUR_HOSTNAMEThe following flags are available when running the installer:
--certbot: With this option the installer will automatically a Let's Encrypt issued TLS certificate for your domain name using the certbot tool.--self-signed-cert: When setting this option, the Zulip installer generates a self-signed SSL certificate for the Instance. While this is not suitable for production use, it might be handy for some testing purposes.--email=YOUR_EMAIL: The email address of the Zulip administrator. The automatic installer will automatically create a first administrator user with this email address.--hostname=YOUR_HOSTNAME: A valid domain or subdomain for your Zulip server (e.g.zulip.yourdomain.com). Make sure that it points to the IP address of your Instance, as it is required for the hostname validation done by certbot.
The automatic installer executes the following actions on your system:
- It creates the
zulipuser, which the various Zulip servers will run as. - It creates the directory
/home/zulip/deployments/, which will contain all the code of this and any future Zulip deployment. The latest deployment is reachable via a symbolic link at/home/zulip/deployments/current. - It installs Zulip's various dependencies.
- It configures automatically the various third-party services Zulip uses (these include Postgres, RabbitMQ, Memcached, and Redis).
- It initializes Zulip's database.
-
At the end of the installation a unique link displays. Copy this link and open it in a browser to complete the setup of your Zulip instance:
Visit the following secure single-use link to register your new Zulip organization: https://zulip.example.com/new/8a5l47g3ebdwll92nn2c14ku -
Open your web browser and point it to your Zulip activation link. Enter your email address to create a new organization. Confirm by clicking Create Organization:

-
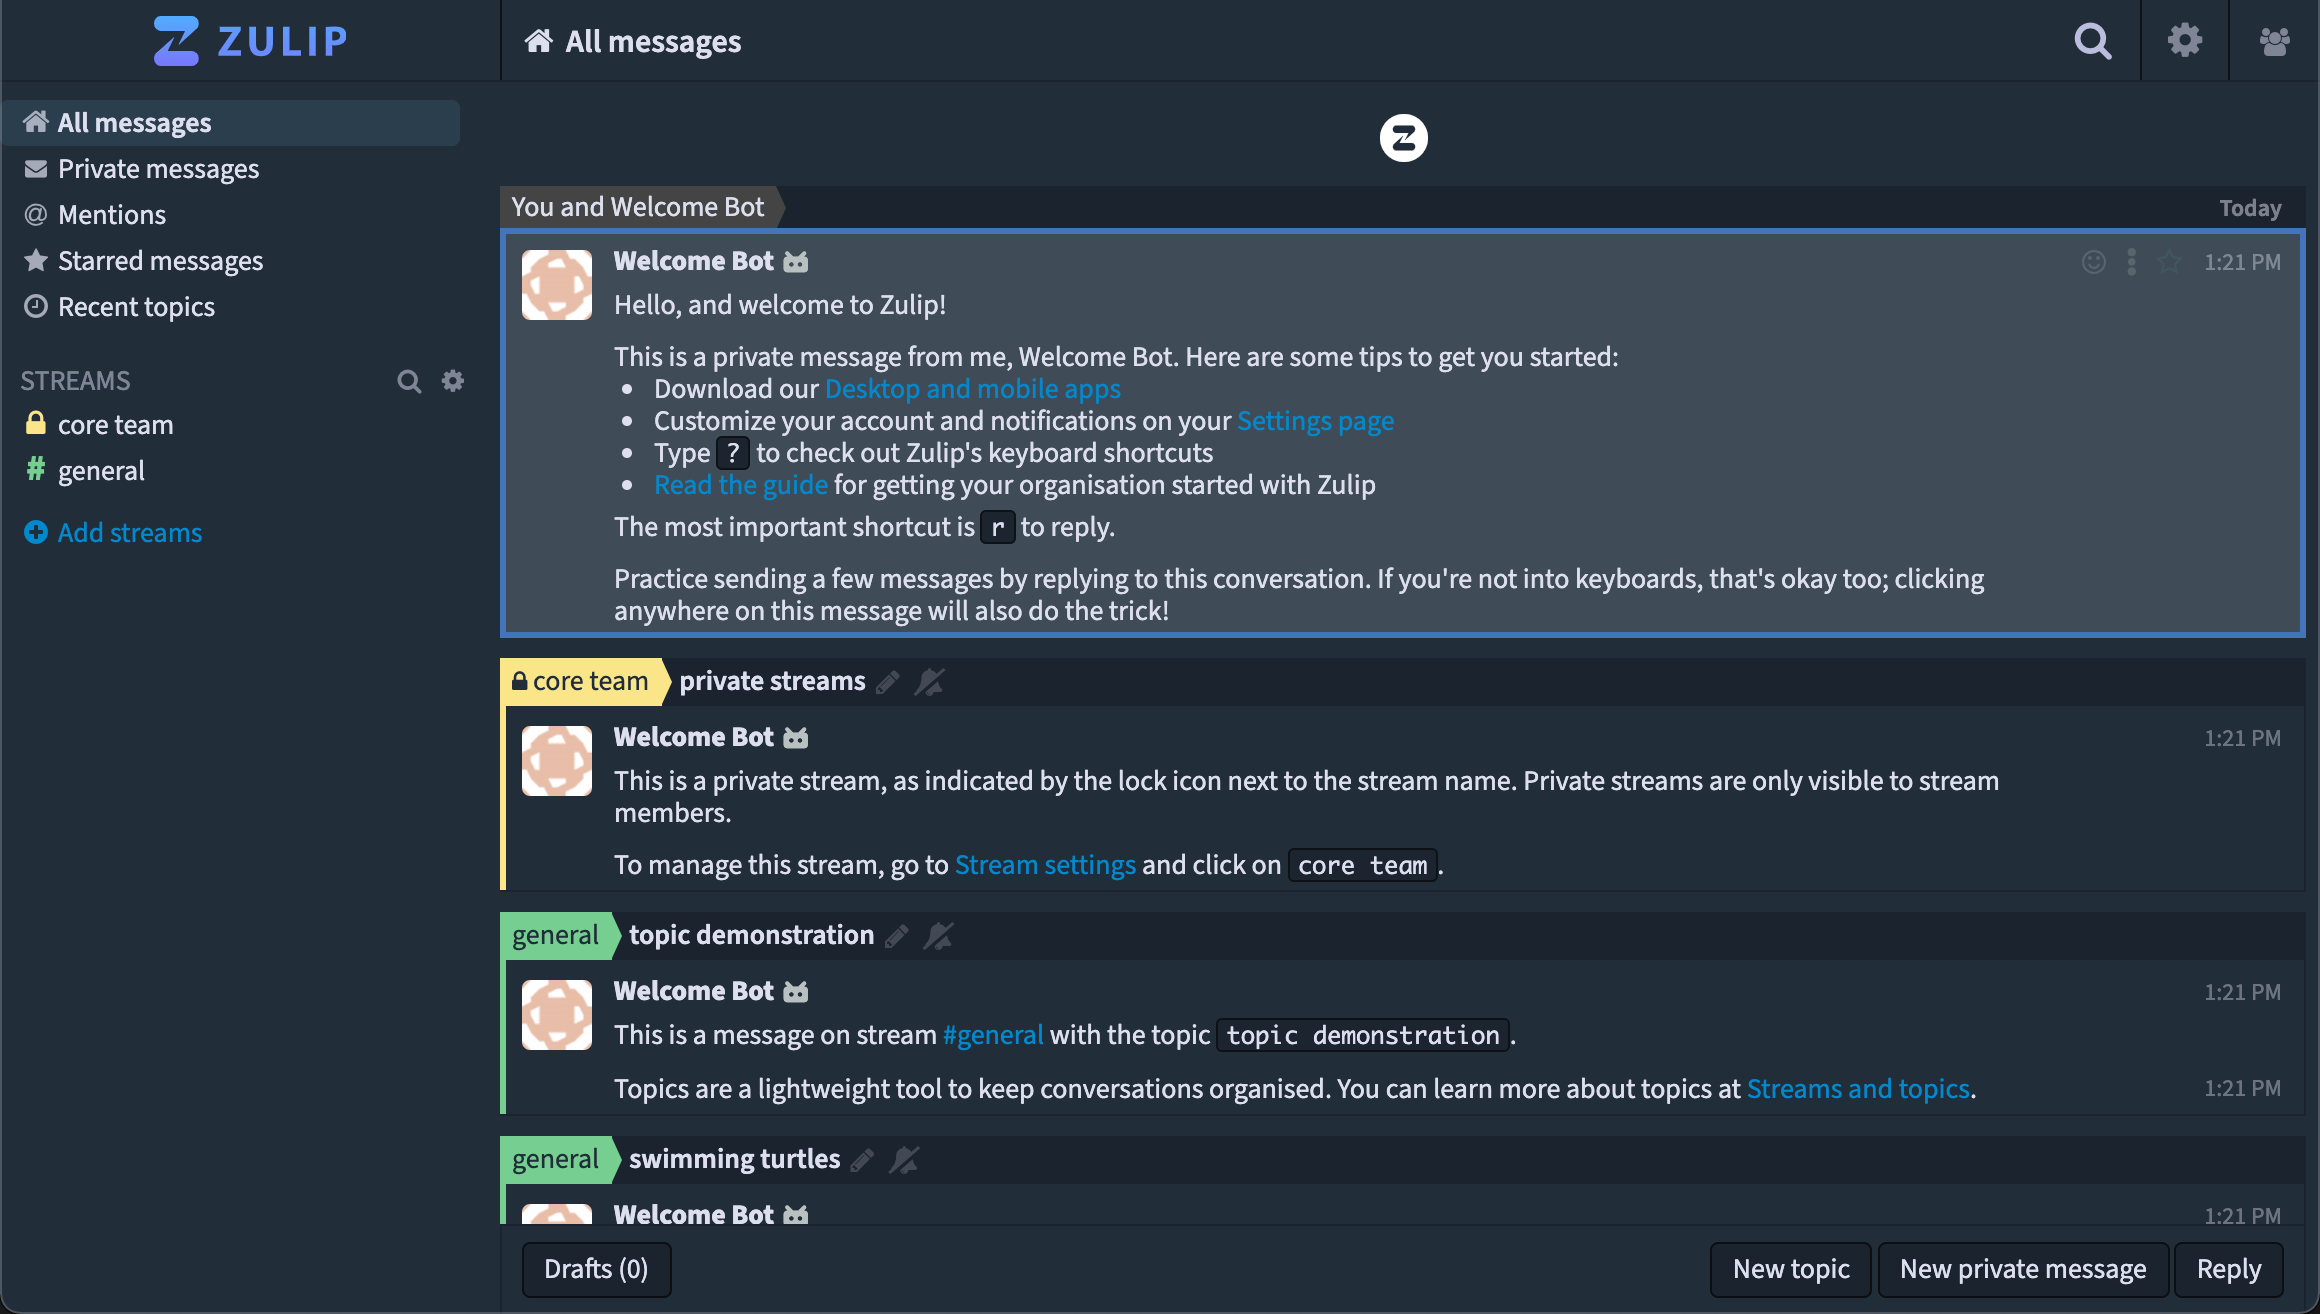
Complete the registration by providing your organization's name and additional information, such as a secure password. Once completed, you see Zulip's main screen:
Configuring outgoing emails
Your Zulip is now running, however, it cannot send any email notifications in its current state. To send emails we configure a transactional email provider using SMTP which will take care of the delivery of all notifications Zulip sends out. In this tutorial, we use the free-tier offer from SendInBlue, but you are free to use any transactional email provider. Be aware that using the SMTP credentials of an inbound email provider (like Google Mail) may flag your emails as spam and have an impact on the delivery reliability of the notifications.
-
Open the Zulip configuration file in a text editor:
nano /etc/zulip/settings.py -
Edit the SMTP settings as provided by your transactional email provider. In this example we use SendInBlue:
- The SMTP hostname:
EMAIL_HOST = 'smtp-relay.sendinblue.com' - The SMTP username:
EMAIL_HOST_USER = 'username@example.com' - Activate TLS for outgoing mails:
EMAIL_USE_TLS = True - Set the SMTP port:
EMAIL_PORT = 587
Save the file by pressing
CTRL+Oand leave nano by pressingCTRL+X. - The SMTP hostname:
-
Open Zulip's secrets file
/etc/zulip/zulip-secrets.confin a text editor likenanoand add the email password at the end of the file, as shown in the following example:[...] email_password = s7b_rSpa-gesY&#CSave the file and exit the text editor.
-
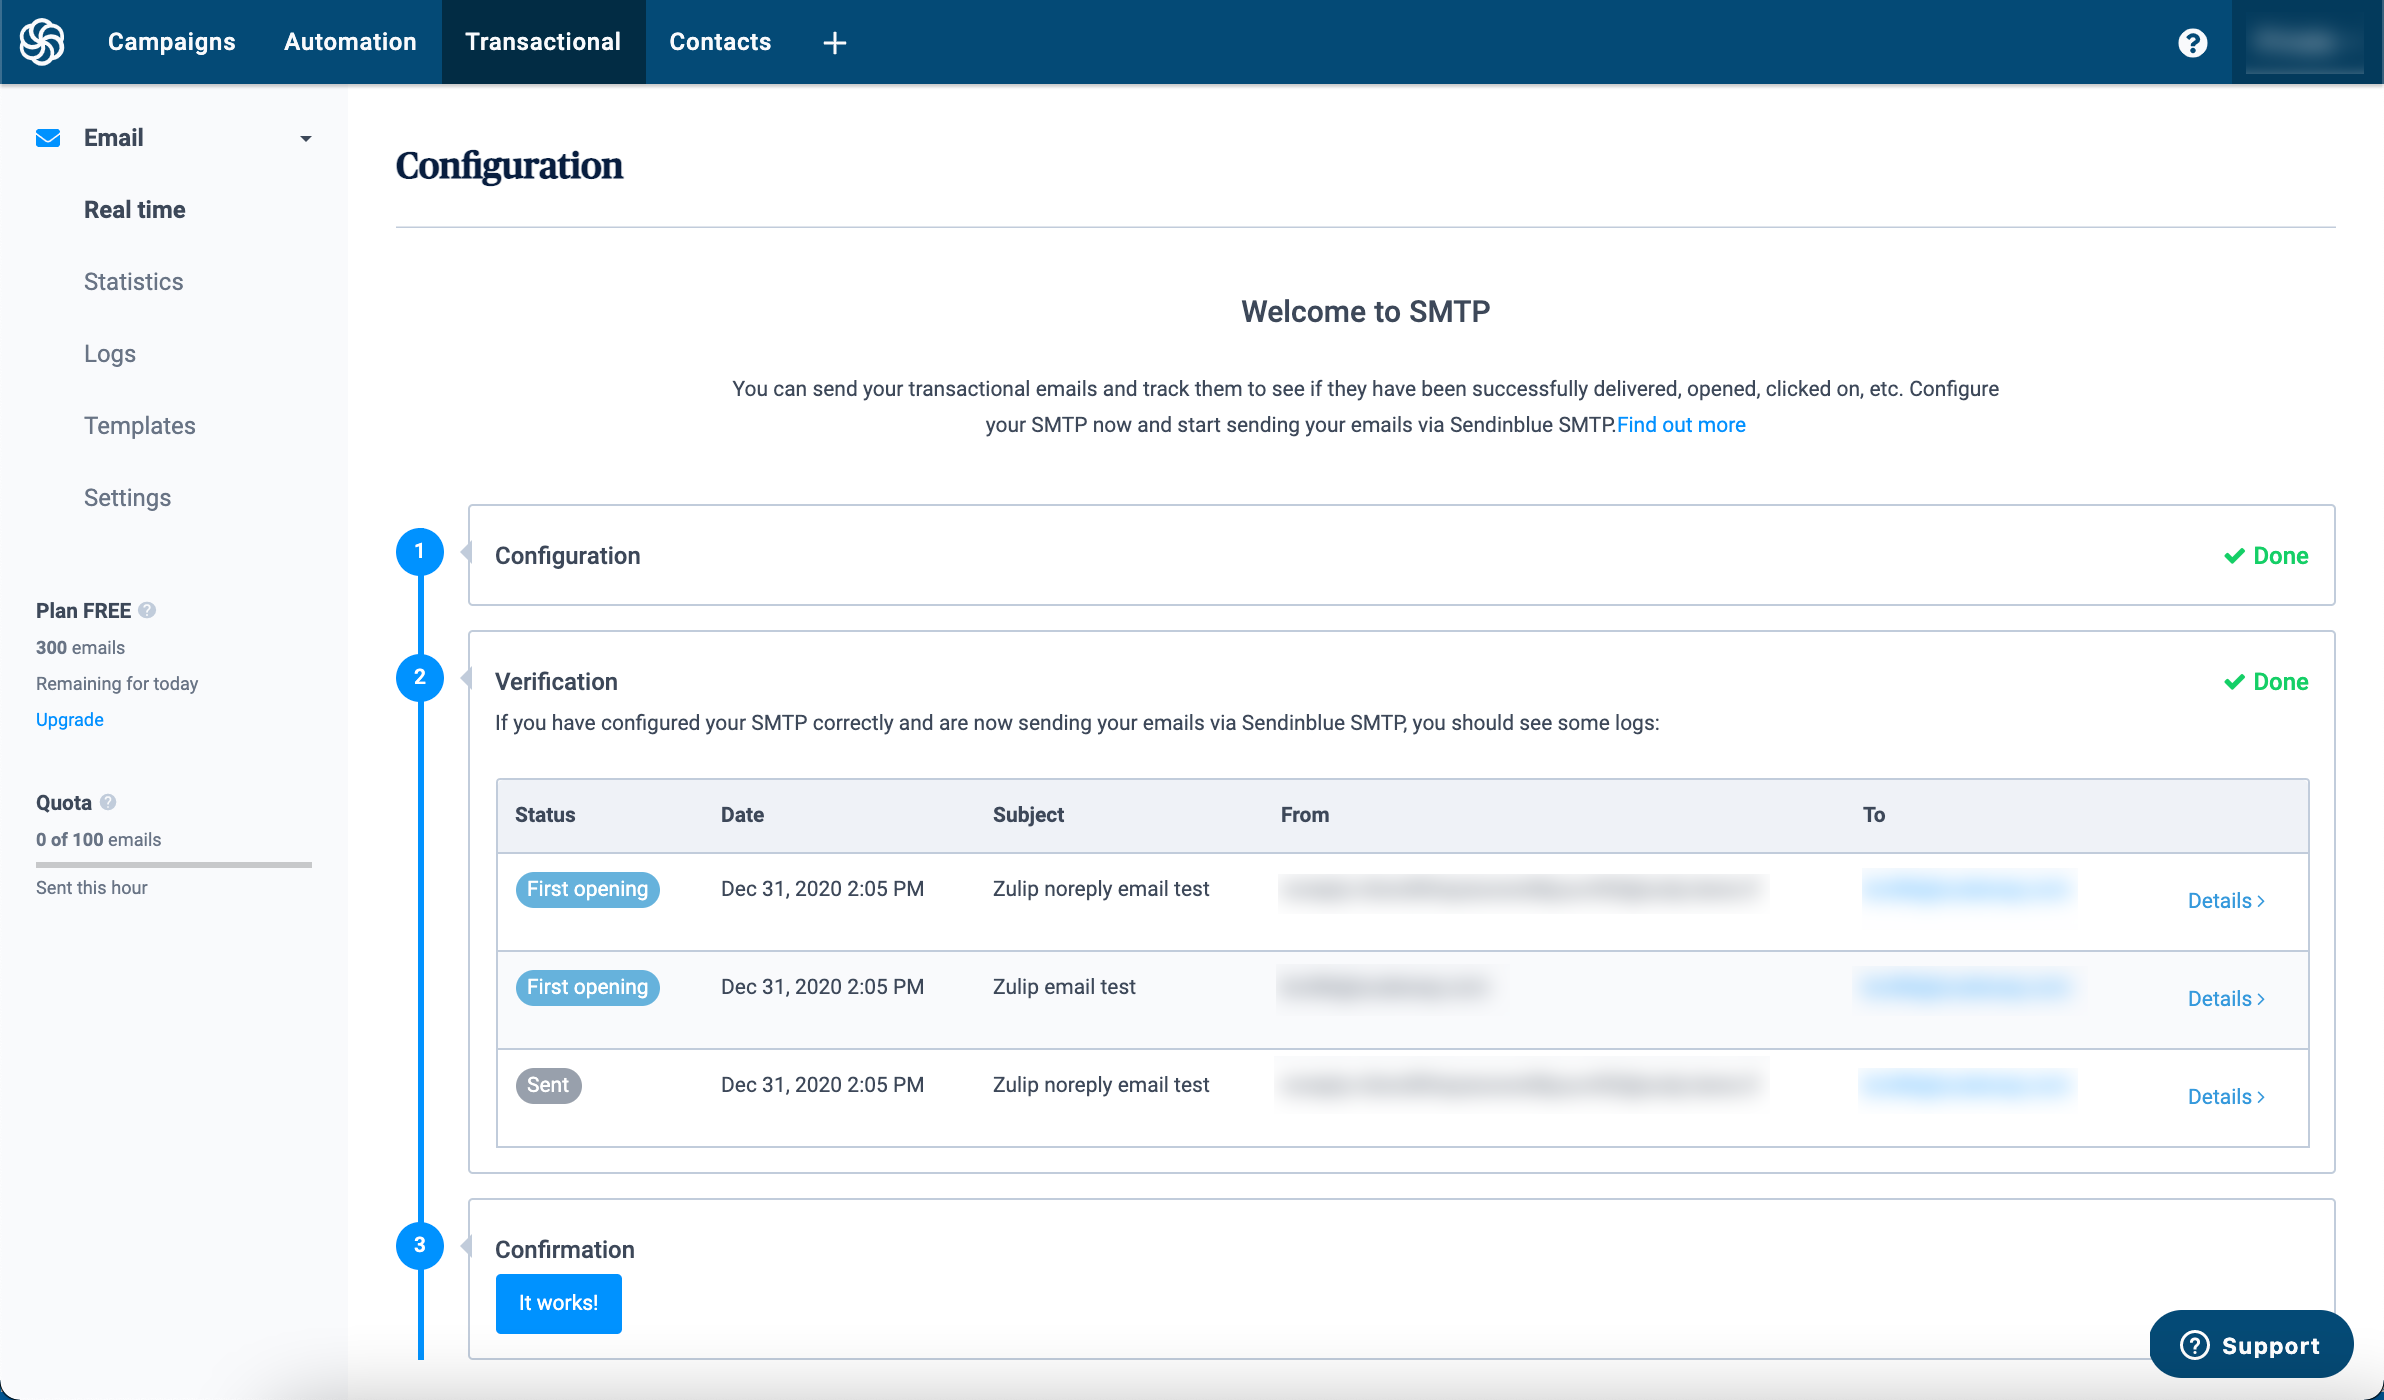
Test if everything works by running the following command (replace
your@email.addresswith your valid email address):su zulip -c '/home/zulip/deployments/current/manage.py send_test_email your@email.address'Zulip sends two emails. One from your recipient's email address and one using a secret token for bouncing mails. A message like the following displays once the emails are sent:
If you run into any trouble, read:

  https://zulip.readthedocs.io/en/latest/production/email.html#troubleshooting

The most common error is not setting `ADD_TOKENS_TO_NOREPLY_ADDRESS=False` when
using an email provider that doesn't support that feature.

Sending 2 test emails from:
  * your@email.address
  * noreply-n3snd5htqzexxww0kjuuv453@zulip.example.com

Successfully sent 2 emails to your@email.address!
You can also verify if the emails have been sent and delivered to the recipient from your SendInBlue dashboard:
Configuring Zulip
Your Zulip Instance is now ready for basic use. However, there are many additional features you can configure for your organization. To do so, click the menu button and then on Manage Organization:
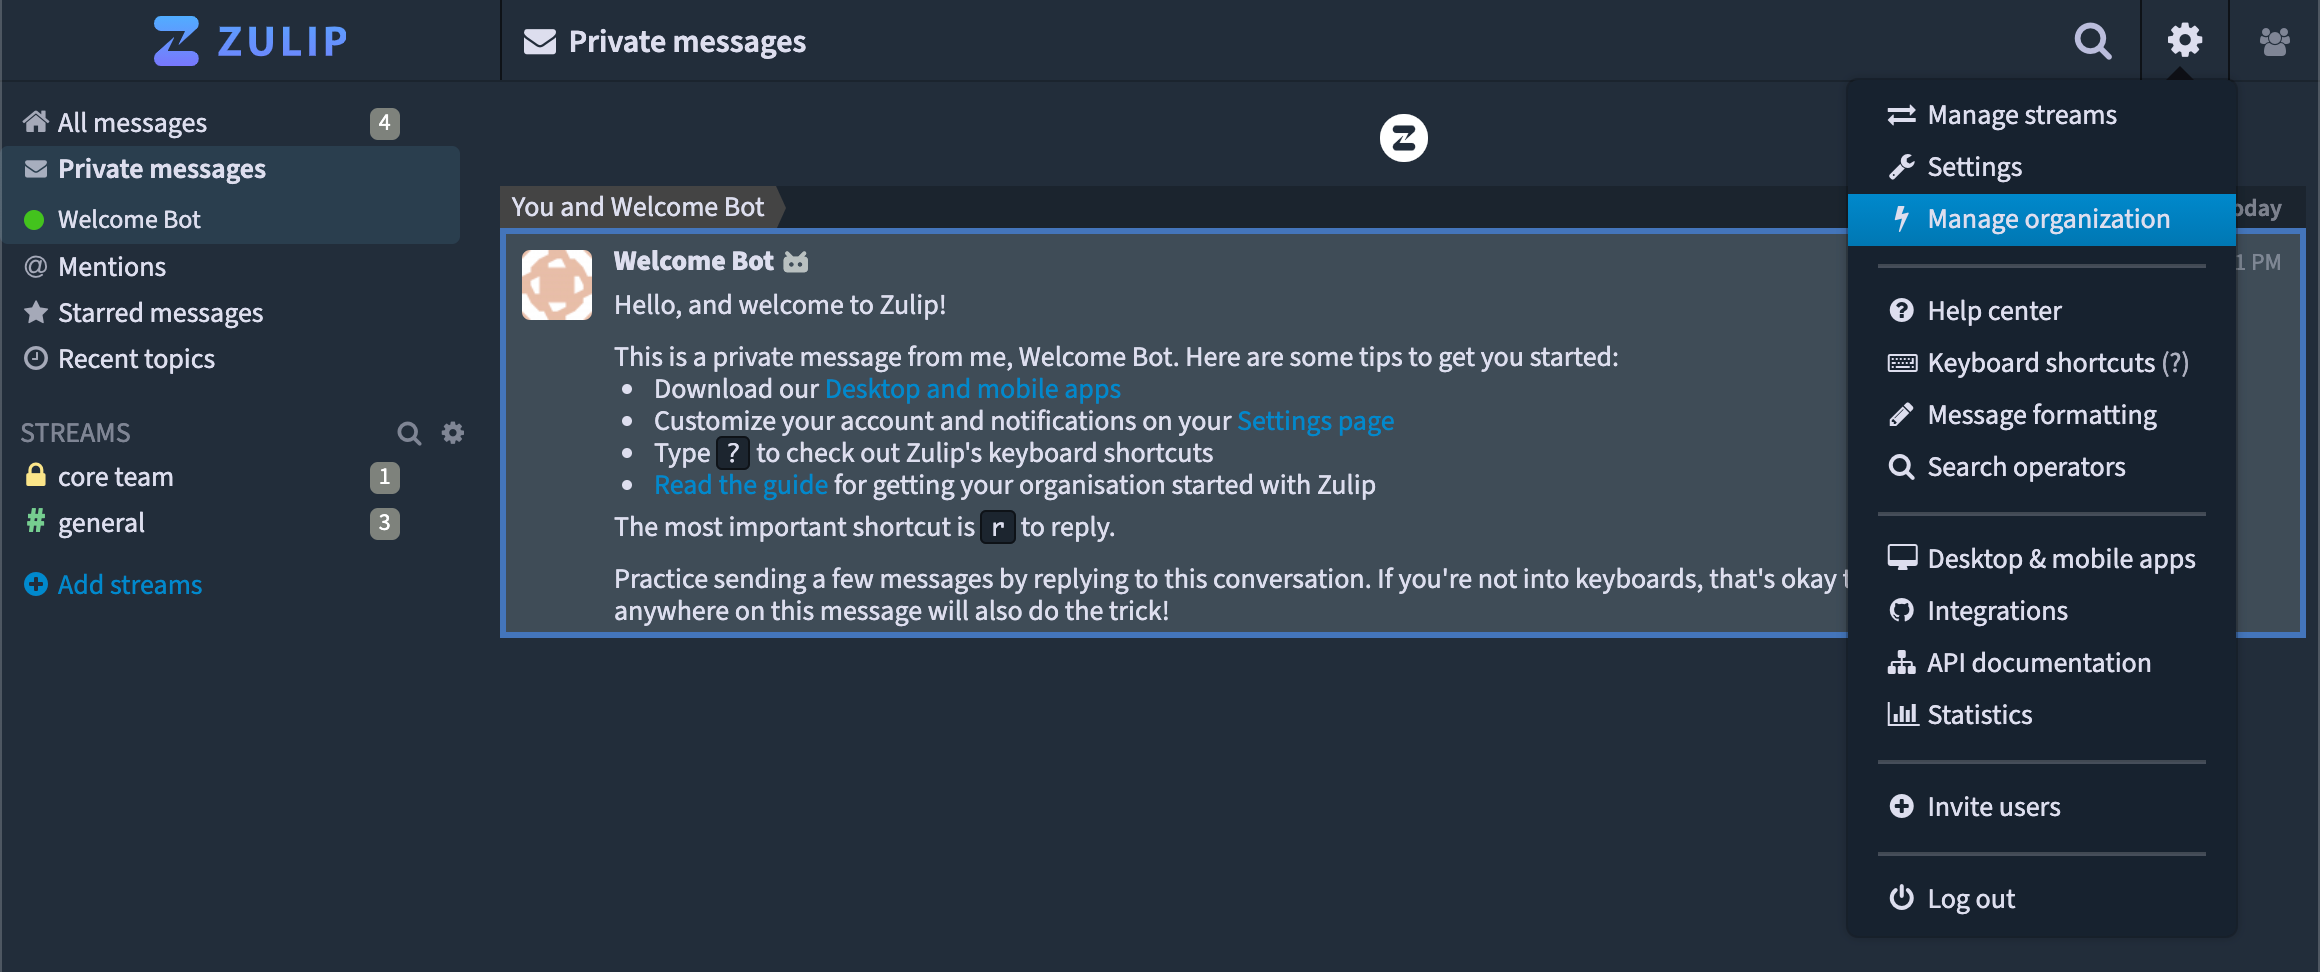
Zulip provides features such as user groups (e.g. highlight all team members of the marketing team by using their @marketing group), allows you to manage your organization security settings, add custom emojis, manage your users, and a lot more.
Conclusion
Zulip provides a self-hosted and open-source alternative to commercial solutions like Slack. You have set up your Instance with the Zulip application, configured a transactional email provider to send outgoing emails, and you can now invite your friends and colleagues to your new communications platform. For more information about Zulip, refer to the official documentation.
Visit our Help Center and find the answers to your most frequent questions.
Visit Help Center