How to rescue and recover your data using rescue mode
If your server encounters issues but does not have a hardware failure, you can still recover your data using rescue mode, regardless of whether you are using Windows or Linux.
Before you start
To complete the actions presented below, you must have:
Booting into rescue mode
-
Follow these instructions to start your server in rescue mode (emergency system) via the Dedibox console.
-
Log into your server using one of the following methods:
- PuTTY on Windows
sshfrom a terminal on Linux or macOS.
Gaining root access
By default, you are logged in as a regular user in rescue mode and may not have permission to execute all necessary commands.
-
Switch to the
rootaccount by typing the following command and pressing Enter:sudo su -
Enter the rescue user password displayed in the Dedibox console and press Enter.
Mounting partitions
To access your data, you need to mount your server’s partitions in rescue mode. If this step succeeds, you can likely recover your files.
-
As the
rootuser, run the following command to mount all partitions:mountall.shThe partitions will be mounted in the
/mntdirectory.
Recovering your data
You can recover your data by either transferring it to the Dedibackup storage space or downloading it directly to your local computer via SFTP.
Recovering data using Dedibackup
To back up all disk contents (including partitions) to your Dedibackup storage:
-
Install an FTP client and
screenusing the following command:apt -y install screen lftp -
Start
screen:screen -
Transfer your data with this command:
lftp -u YOUR_DEDIBACKUP_LOGIN,YOUR_DEDIBACKUP_PASSWORD dedibackup.online.net -e "mirror --reverse /mnt /; exit"
You can now access your files via any FTP client connected to Dedibackup.
Backing up data to your personal computer (via SFTP)
You can use an SFTP client like FileZilla to download data from your server.
-
Open FileZilla and fill in the following details:
- Host: Your server’s IP address
- Username: Rescue mode username (e.g.,
sd-XXXX) - Password: Rescue mode password
- Port: 22
Example configuration
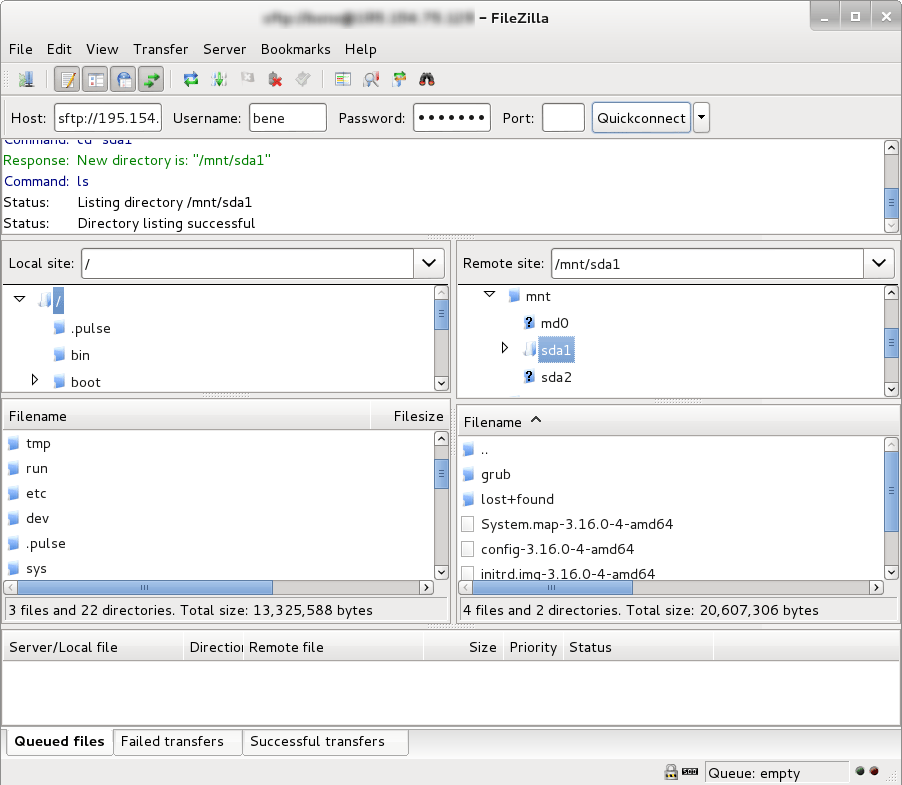
Your data will be located in the /mnt, /sda1, or /sda directories. You can download it before reinstalling the server or transferring data to another server.