Creating your own forum with Discourse on Scaleway Instances
Discourse is an open-source internet forum software application, distinguished by its incorporation of features popularized by major social networks.
Developed with Ember.js and Ruby on Rails, it offers a modern approach to forum management. Behind the scenes, Discourse relies on PostgreSQL for efficient database management.
Released under the GNU General Public License version 2, its source code is freely available on GitHub. For those looking to set up Discourse, using the official Docker image streamlines the process. This container encapsulates all necessary components, simplifying deployment, administration, and software updates.
Before you start
To complete the actions presented below, you must have:
- A Scaleway account logged into the console
- Owner status or IAM permissions allowing you to perform actions in the intended Organization
- An SSH key
- An Instance running on Ubuntu Focal Fossa (20.04)
- A domain name pointed to your Instance
- Enabled the SMTP ports
- Configured a mail server or have an SMTP account available
Installing Discourse
-
Log into your Instance using SSH.
-
Update the
aptpackage cache and upgrade the software already installed on the Instance to the latest version available in Ubuntu's repositories:apt update && apt ugprade -y -
Install packages required for Discourse:
apt install -y git netcat -
Clone the Discourse Docker repository into the local directory
/var/discourse:git clone https://github.com/discourse/discourse_docker.git /var/discourse -
Enter the locally cloned repository:
cd /var/discourse -
Run the Discourse setup:
./discourse-setup -
Answer the following questions:
Hostname for your Discourse? [discourse.example.com]: Email address for admin account(s)? [me@example.com,you@example.com]: SMTP server address? [smtp.example.com]: SMTP port? [587]: SMTP user name? [user@example.com]: SMTP password? [pa$$word]: Let's Encrypt account email? (ENTER to skip) [me@example.com]: -
Once all details are entered, an
app.ymlconfiguration file is generated on your behalf before bootstrapping the installation.
Configuring the admin user
- Once the installation is complete, open your web browser and go to your discourse subdomain (i.e.
https://discourse.example.com). The configuration wizard displays. Click Register to create the first (admin) user: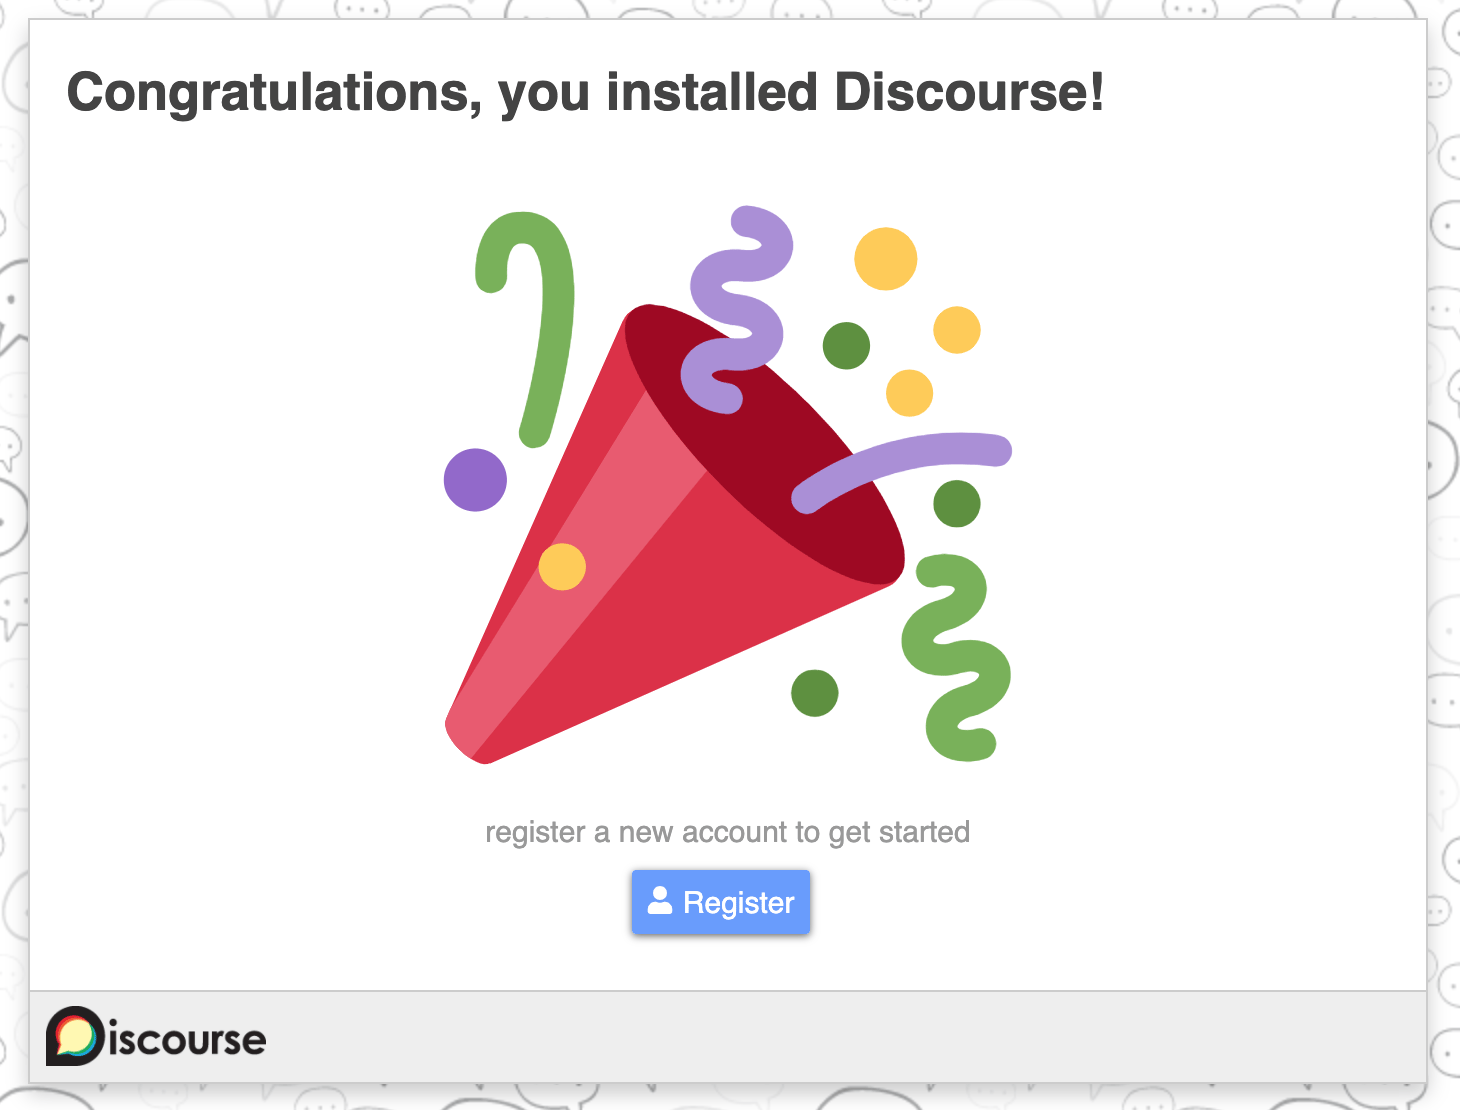
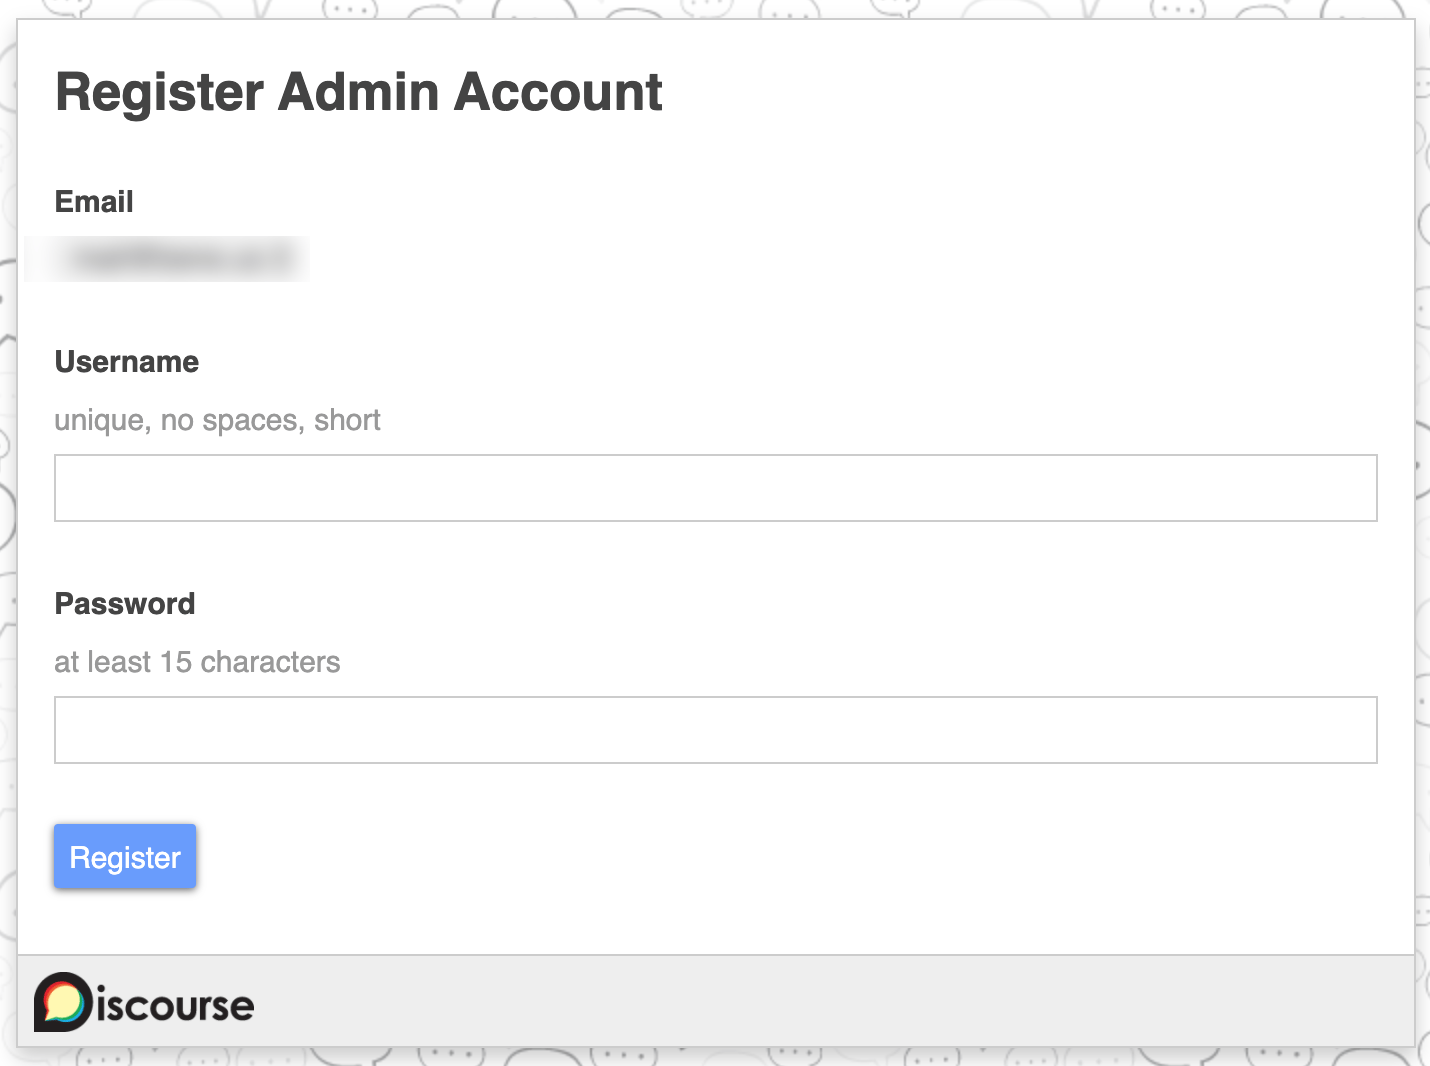
- Enter an identifier and a secret password for the new user. Make sure that your email address is valid, as you will receive a confirmation link in this mailbox. Click Register to continue:
- Check your email inbox, click the link to confirm your email address, and finish the creation of the admin user.
Configuring Discourse
- Once you have validated your email address, the Discourse configuration wizard displays. Choose the language for the application and click Next:
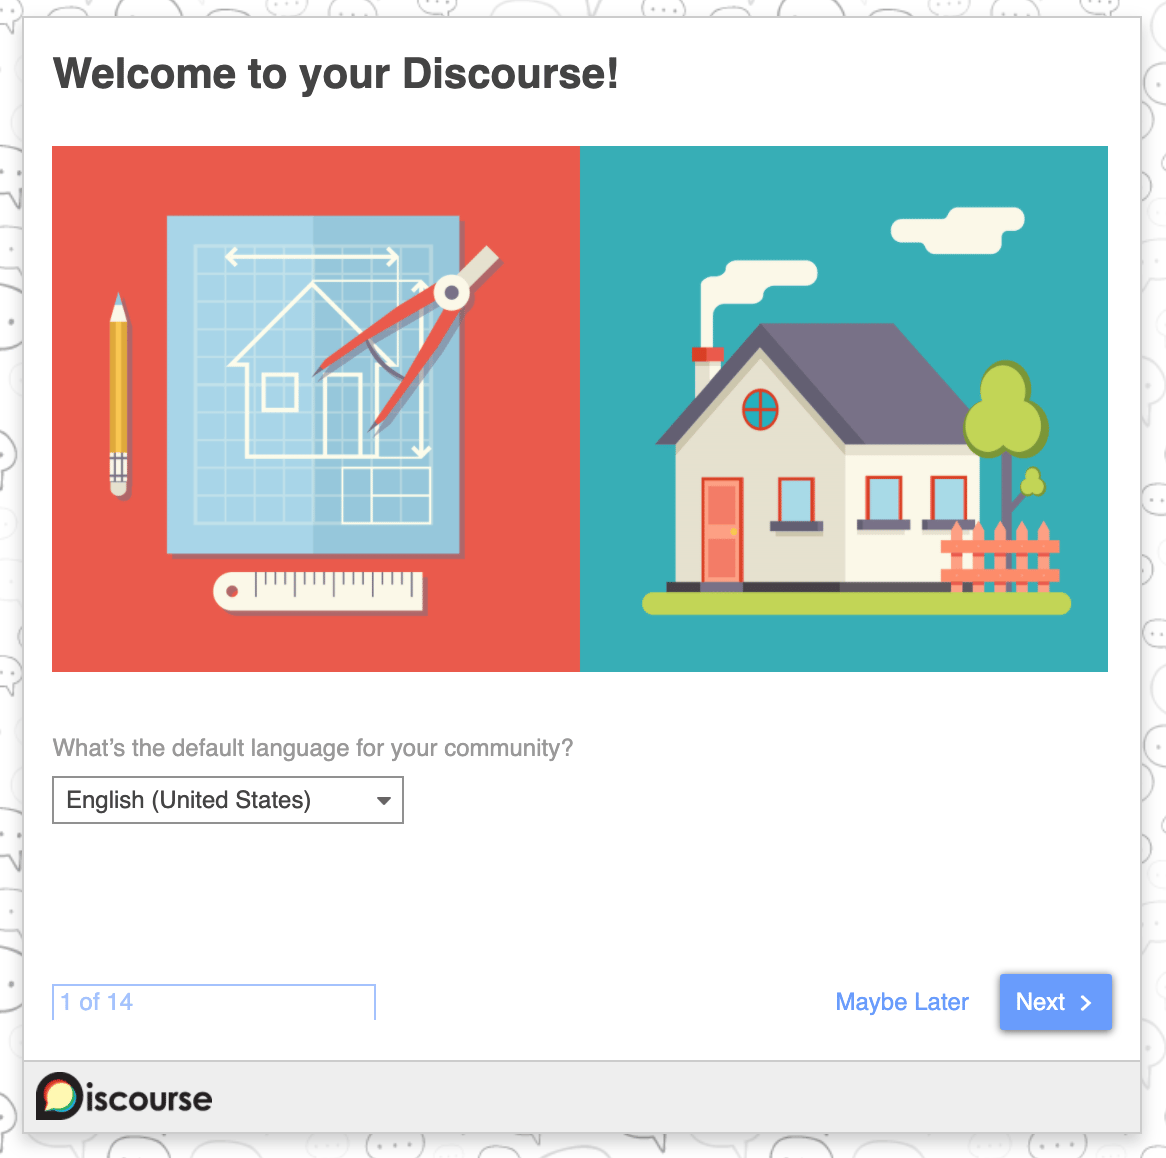
- Complete the wizard to customize your community to your needs.
Visit our Help Center and find the answers to your most frequent questions.
Visit Help Center