Setting up GitLab on Scaleway Instances with a Managed Database for PostgreSQL
GitLab serves as an open-core Git repository manager, offering a broad suite of features such as a wiki, issue tracking, and CI/CD pipelines. In the open-core model, the fundamental software functionalities are available under an open-source license, complemented by optional modules.
Numerous major technology companies rely on GitLab to oversee their software development life cycles. Originally crafted in Ruby, the platform now incorporates Go and Vue.js within its technology stack. For those seeking a dependable and high-performance hosting solution, Scaleway Development Instances present an ideal choice for your GitLab infrastructure. They provide a robust infrastructure for hosting your GitLab Instance, coupled with a Managed Database for PostgreSQL.
Before you start
To complete the actions presented below, you must have:
- A Scaleway account logged into the console
- Owner status or IAM permissions allowing you to perform actions in the intended Organization
- An SSH key
- An Instance running Ubuntu Jammy Jellyfish (22.04 LTS)
- A domain or subdomain configured to point to the IP address of your Instance
- Enabled the SMTP ports to send emails from your Instance
Installing GitLab
-
Connect to your Instance using SSH
ssh root@<your_instance_ip> -
Update the
aptpackage cache and upgrade the software already installed on the instance:apt update && apt upgrade -y -
Install the following packages using
apt:apt install -y curl ca-certificates postfix -
Add the GitLab package repository and prepare the installation of GitLab Community Edition by running the script:
curl https://packages.gitlab.com/install/repositories/gitlab/gitlab-ce/script.deb.sh | bash -
Set your domain name in the
EXTERNAL_URLvariable, then install GitLab usingapt:EXTERNAL_URL="https://gitlab.example.com" apt install -y gitlab-ce
Creating a Database
- Create a Managed PostgreSQL Database Instance from the Scaleway console. You are taken to your Database's Overview page.
- Click the Users tab, then on Add User.
- Enter the username (
gitlab) and a secure password. In the permission tab, giveALLpermissions for the user on therdbdatabase. - Retrieve the Database Instance Endpoint from the Overview tab, as it is required for the following steps. The first part, before the colon, is the IP address, and the second part is the port.
Configuring the GitLab Database
For the following steps, you should be connected to the Ubuntu Bionic Beaver Instance on which you installed GitLab.
-
Open the file
/etc/gitlab/gitlab.rbin your favorite text editor (For examplenanoorvim). -
Add the following parameters to the GitLab configuration file:
# Disable the built-in Postgres server
postgresql['enable'] = false

# Connection details of the Scaleway Database
gitlab_rails['db_adapter'] = 'postgresql'
gitlab_rails['db_encoding'] = 'utf8'
gitlab_rails['db_database'] = '<SCALEWAY_DATABASE_NAME>'
gitlab_rails['db_host'] = '<SCALEWAY_DATABASE_IP>'
gitlab_rails['db_port'] = '<SCALEWAY_DATABASE_PORT>'
gitlab_rails['db_username'] = '<SCALEWAY_DATABASE_USERNAME>'
gitlab_rails['db_password'] = '<SCALEWAY_DATABASE_PASSWORD>'
Replace the following values in the configuration:
<SCALEWAY_DATABASE_BASE>: The name of your Scaleway Database. In our example, this isgitlab_production<SCALEWAY_DATABASE_IP>: The IP address of your Scaleway Database Instance<SCALEWAY_DATABASE_PORT>: The port of your Scaleway Database Instance<SCALEWAY_DATABASE_USERNAME>: Your Scaleway Database user<SCALEWAY_DATABASE_PASSWORD>: Password of your Scaleway Database user
-
Once modified save the file and exit the text editor.
-
Reconfigure GitLab:
gitlab-ctl reconfigure -
Create and seed the GitLab database:
gitlab-rake gitlab:setup -
Confirm the database seed by typing
yeswhen prompted.
Logging into GitLab
-
Set the password for your root user with the following command:
gitlab:password:reset[root]Enter and confirm the password when prompted.
-
Open your web browser and go to the URL you configured for GitLab (for example:
https://gitlab.example.com) -
Log in using the user
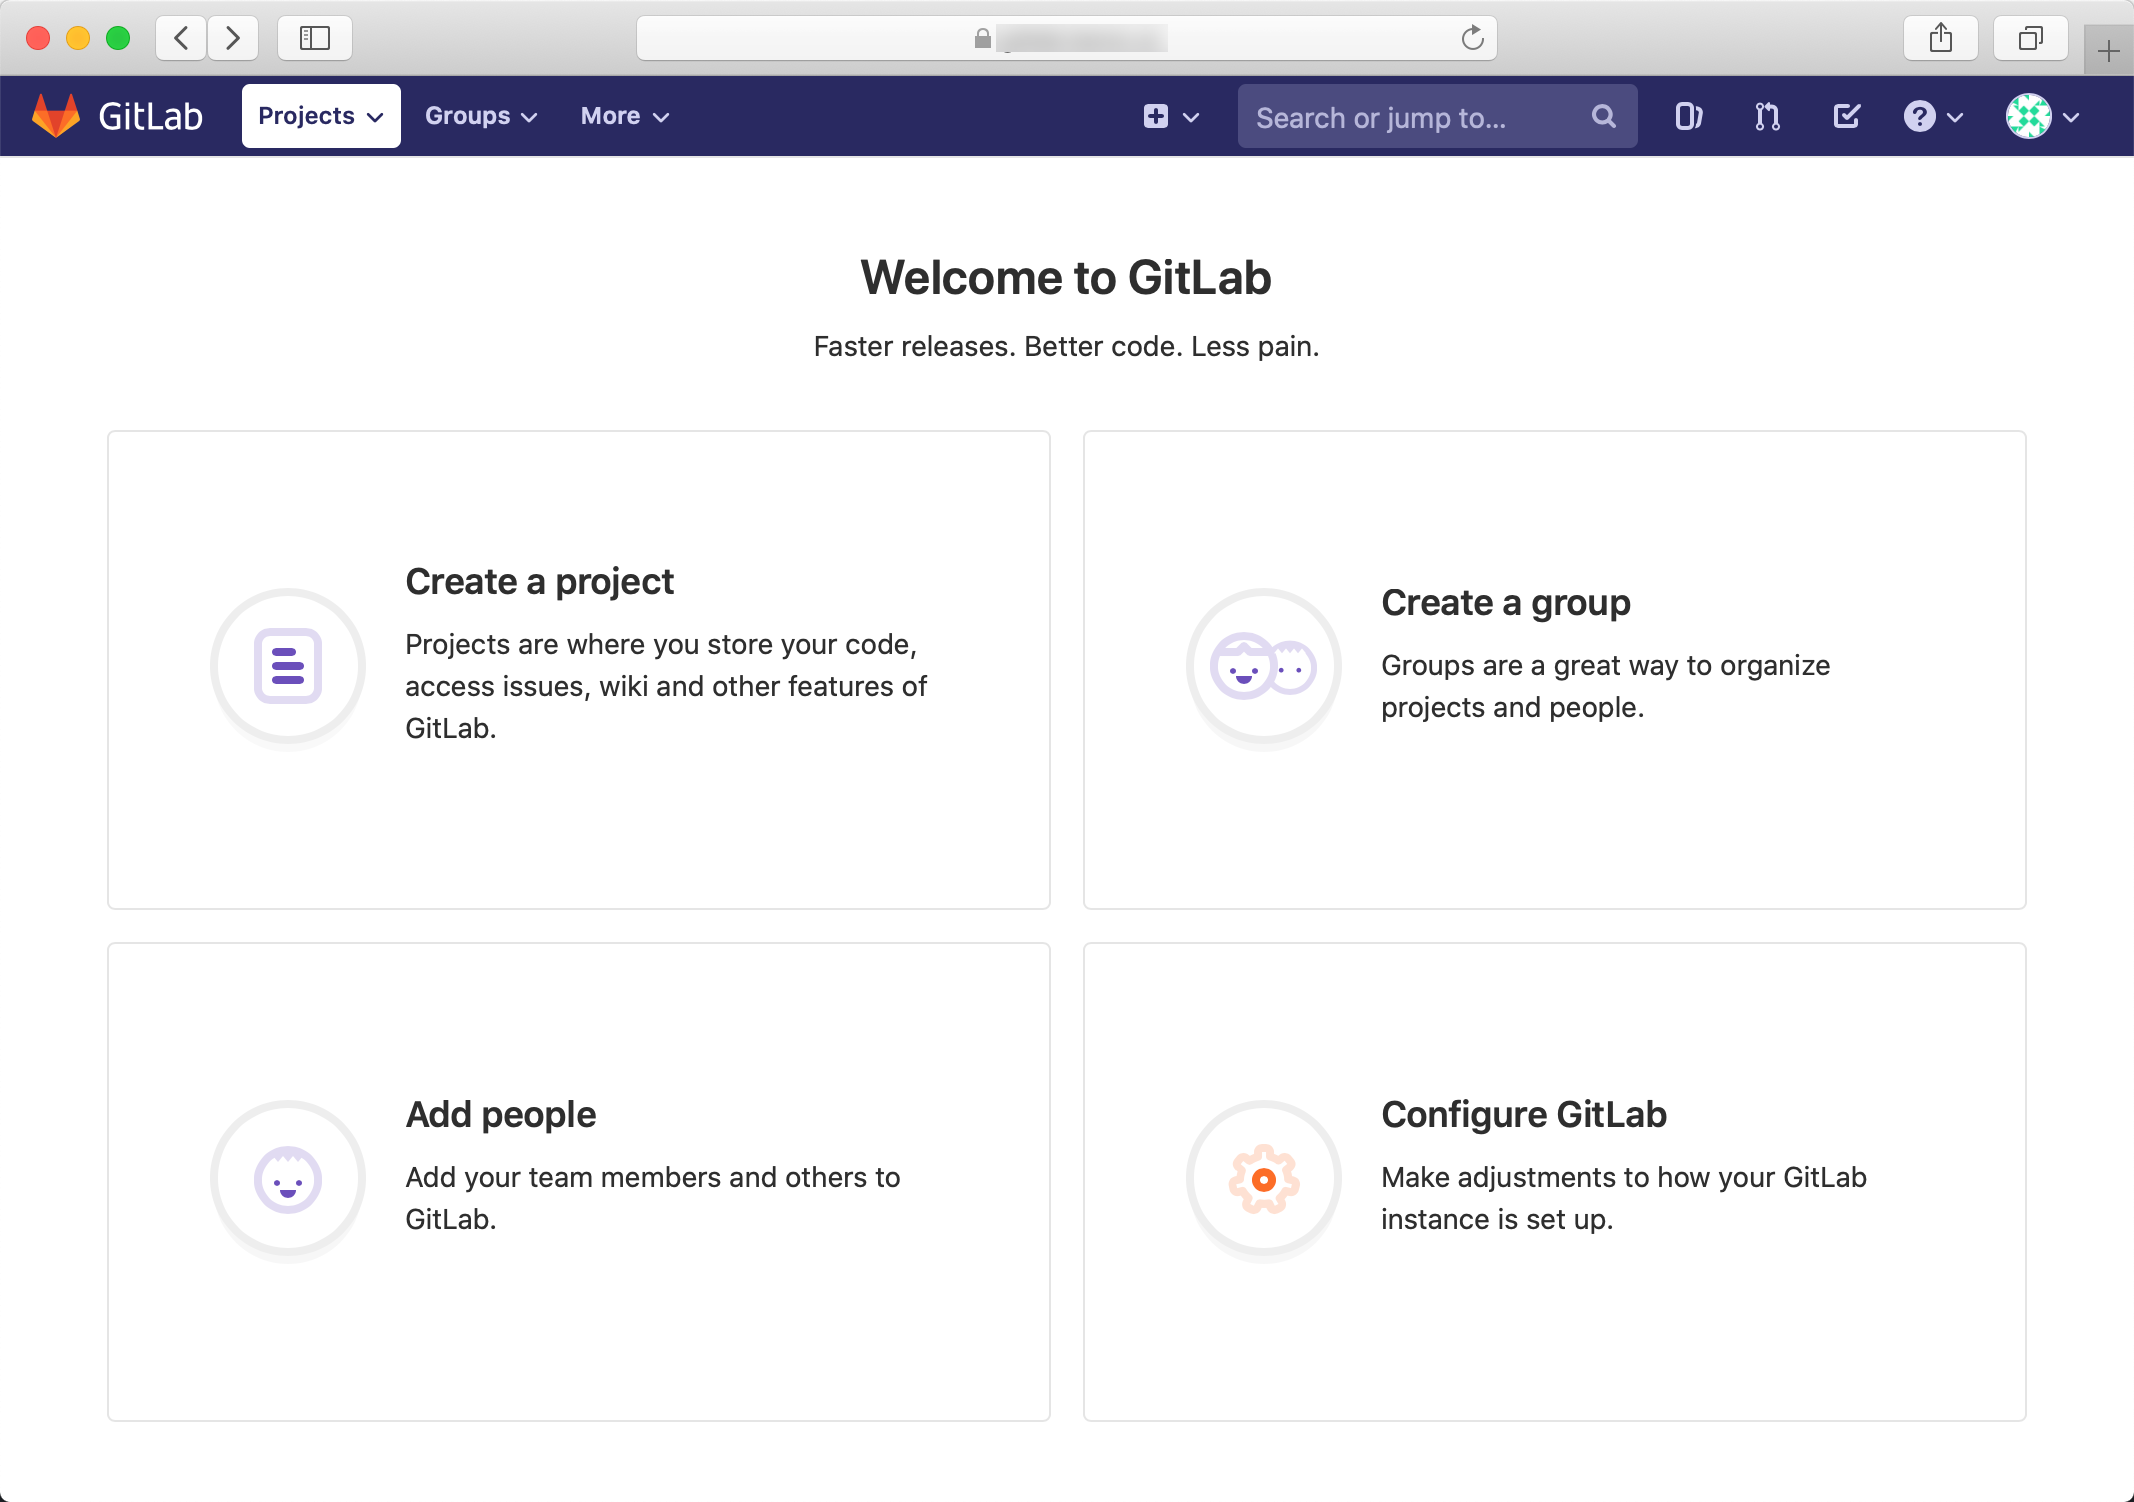
rootand the password you defined in step 1.The GitLab dashboard displays. You can now configure your GitLab installation, and add users and repositories. All data is stored securely on your Scaleway Database Instance:
For more information on how to configure GitLab, refer to the official documentation.
Visit our Help Center and find the answers to your most frequent questions.
Visit Help Center