Deploying virtual machines with Proxmox on Scaleway Dedibox
Proxmox Virtual Environment (Proxmox VE) is an open-source management platform for virtual machines, based on Debian Linux. It integrates both, Linux Kernel Virtual Machines (KVM) and LXC containers. KVM provides full virtualization for complete Windows and Linux images whilst LXC containers are lightweight and perfect to run conflict-free Linux applications. Proxmox Virtual Environment is an alternative hypervisor to VMware ESXi or Microsoft HyperV. You can easily host Virtual Machines (VM) on a dedicated server.
The software provides an intuitive web interface as well as a complete REST-API to deploy and manage infrastructures.
Before you start
To complete the actions presented below, you must have:
- A Dedibox account logged into the console
- Owner status or IAM permissions allowing you to perform actions in the intended Organization
- A Scaleway Dedibox
- At least one failover IP with a virtual MAC address
Connecting to Proxmox
- Open a web browser on your computer and go to the Proxmox web interface, available at
https://your_dedibox_ip:8006/ - Log into the web interface with the
rootuser and the password you have set during the installation of Proxmox. - The Proxmox dashboard displays:

Proxmox image store
Downloading LXC container images
LXC uses pre-built containers. Proxmox provides a selection of the most common containers for download directly from their servers. Before creating a container, an image needs to be downloaded onto the Proxmox host.
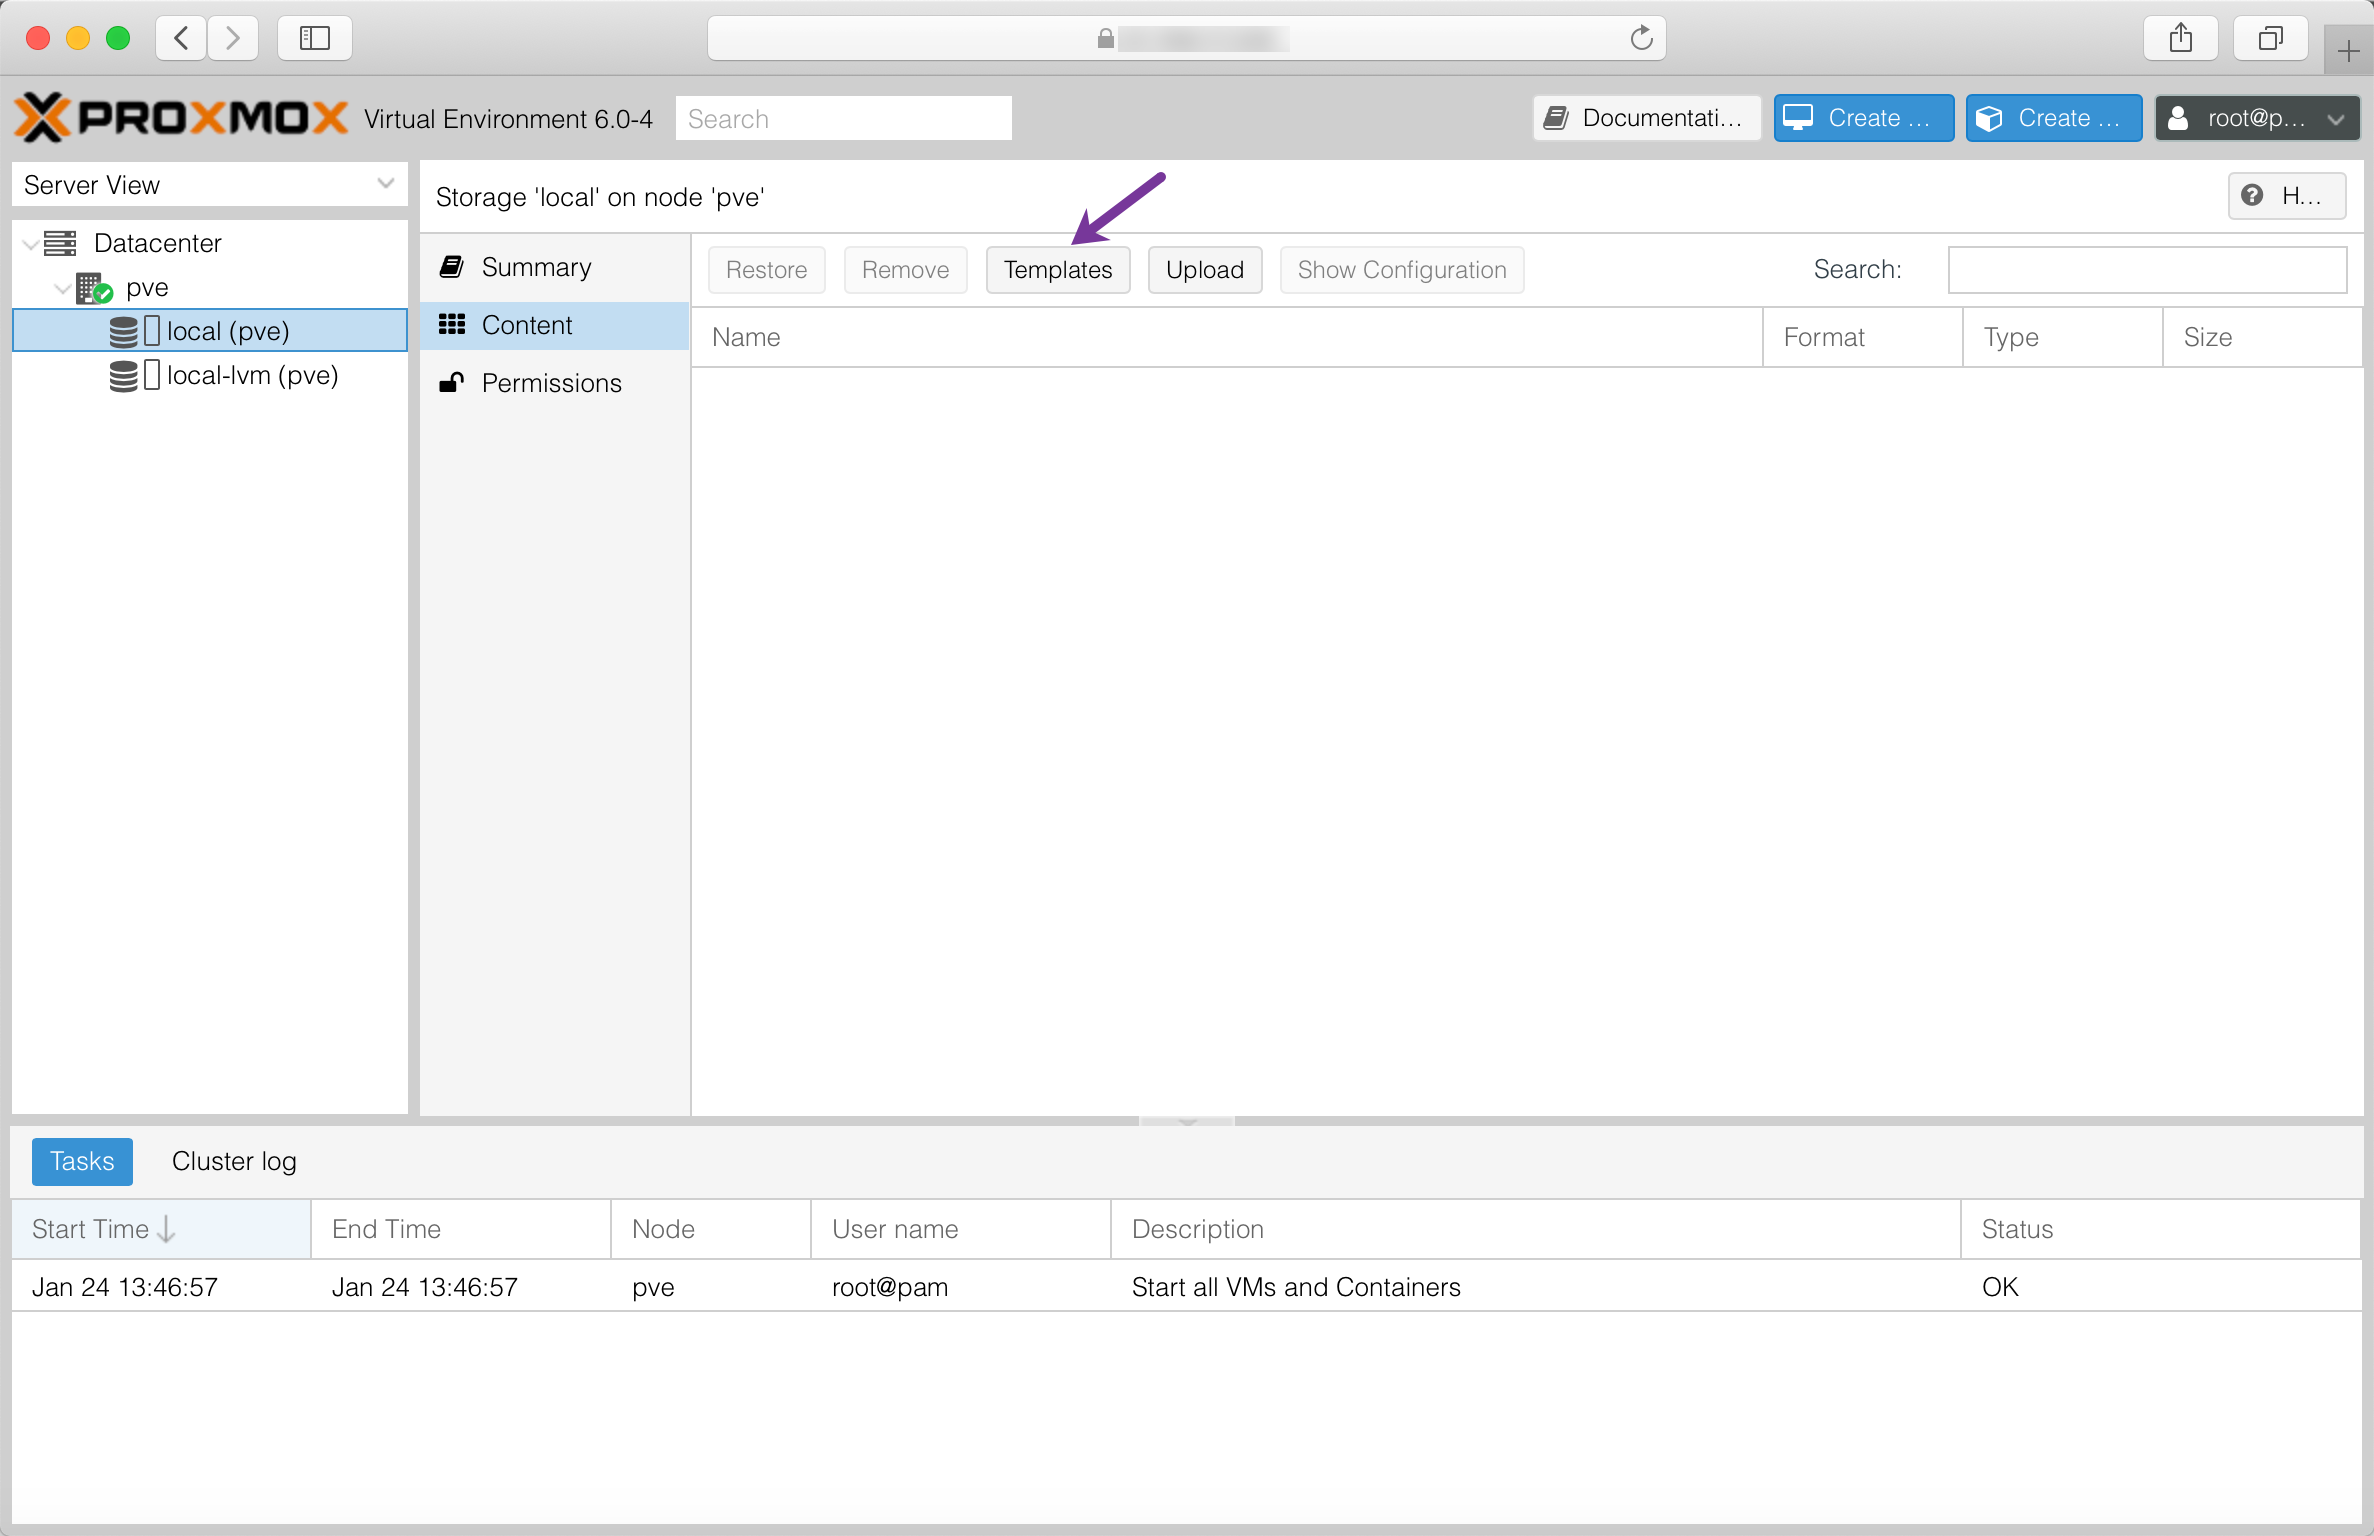
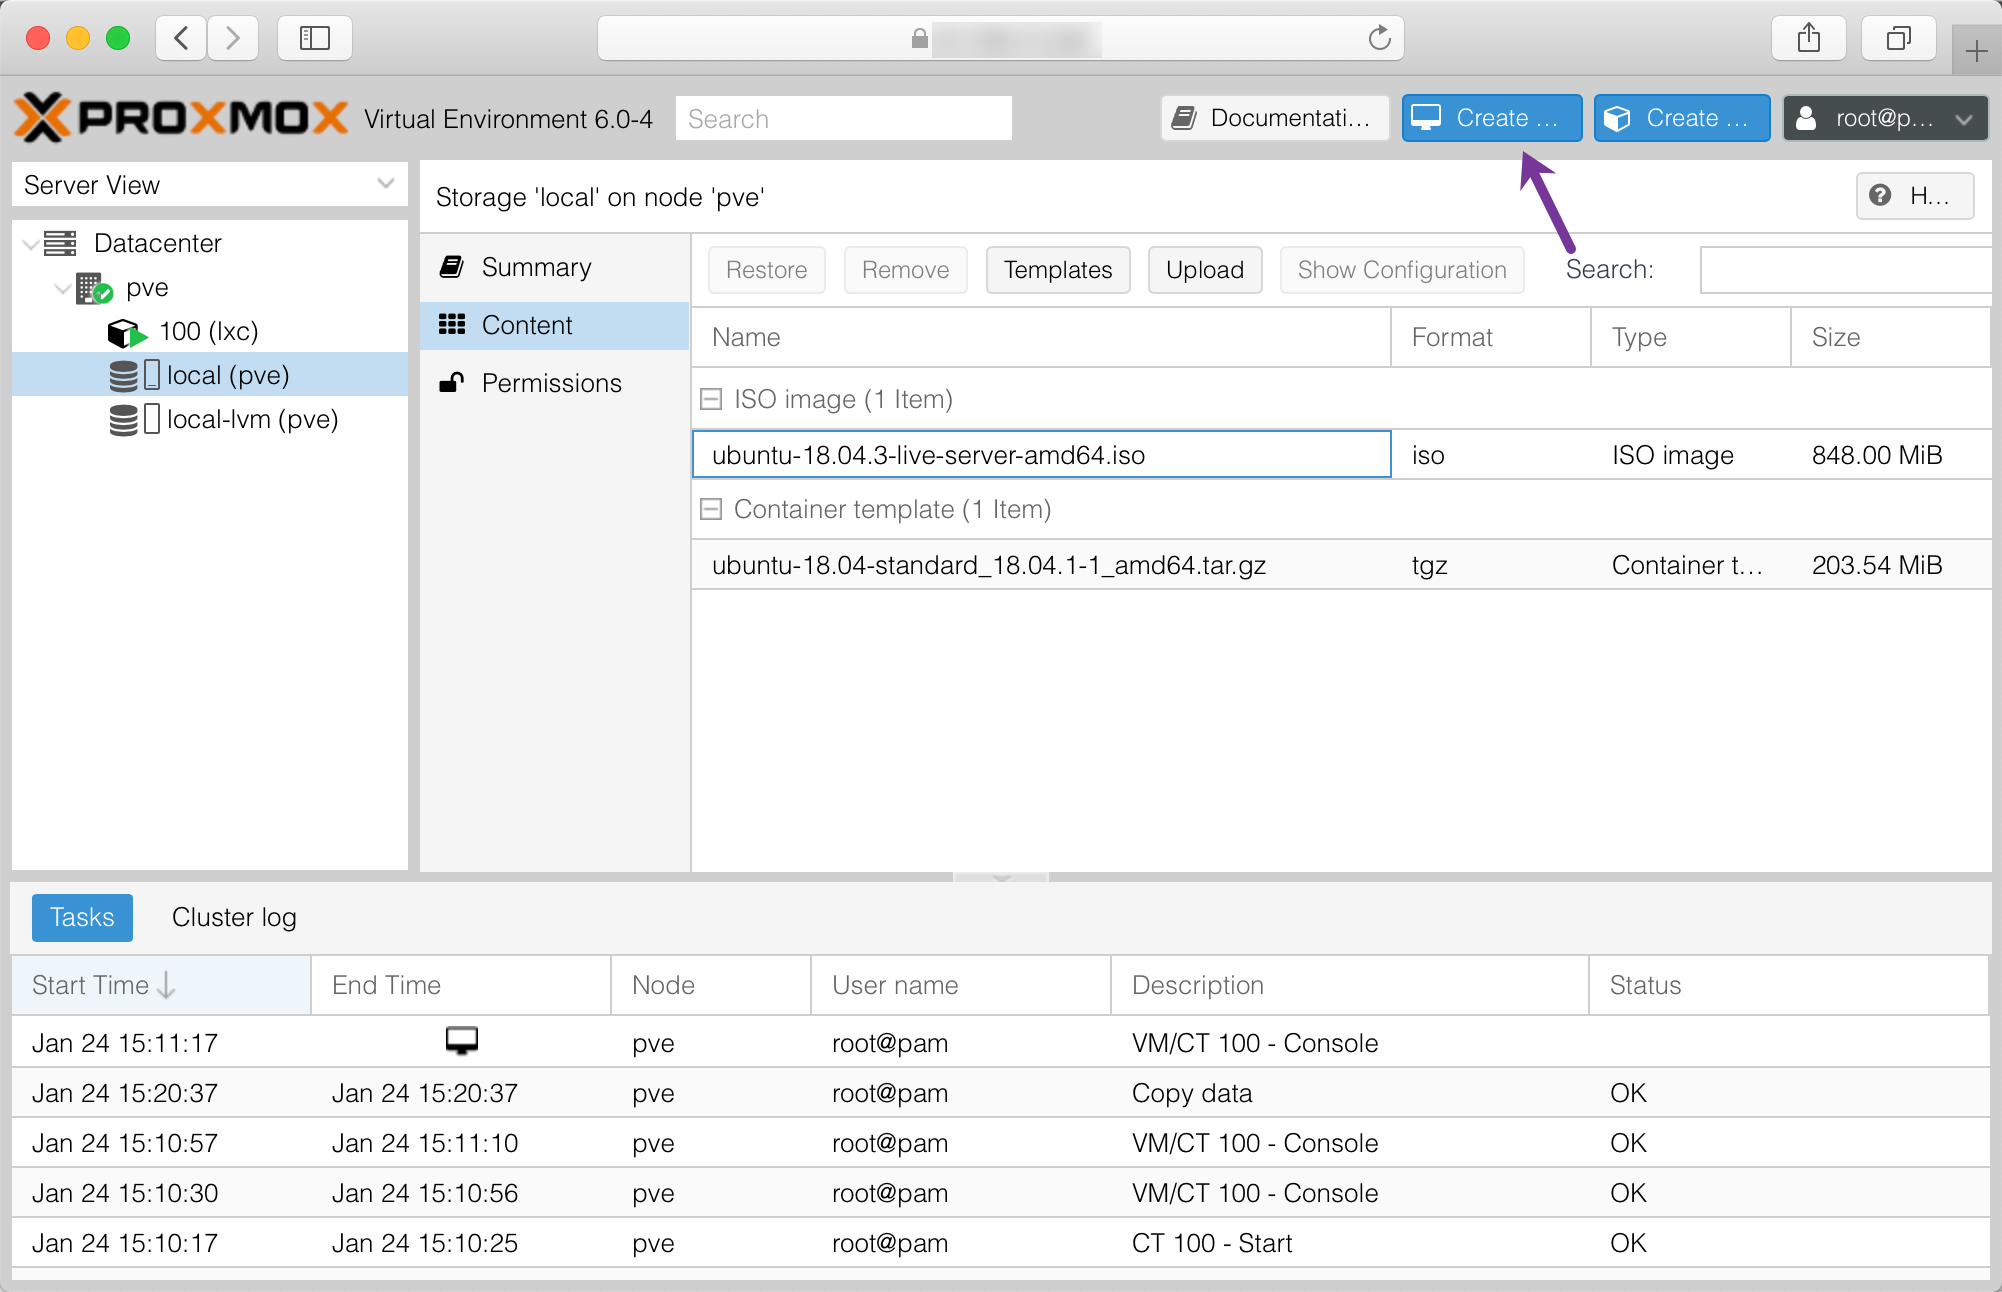
- Click Storage > Local to enter the Local Storage.
- Click Templates to download an image from Proxmox:
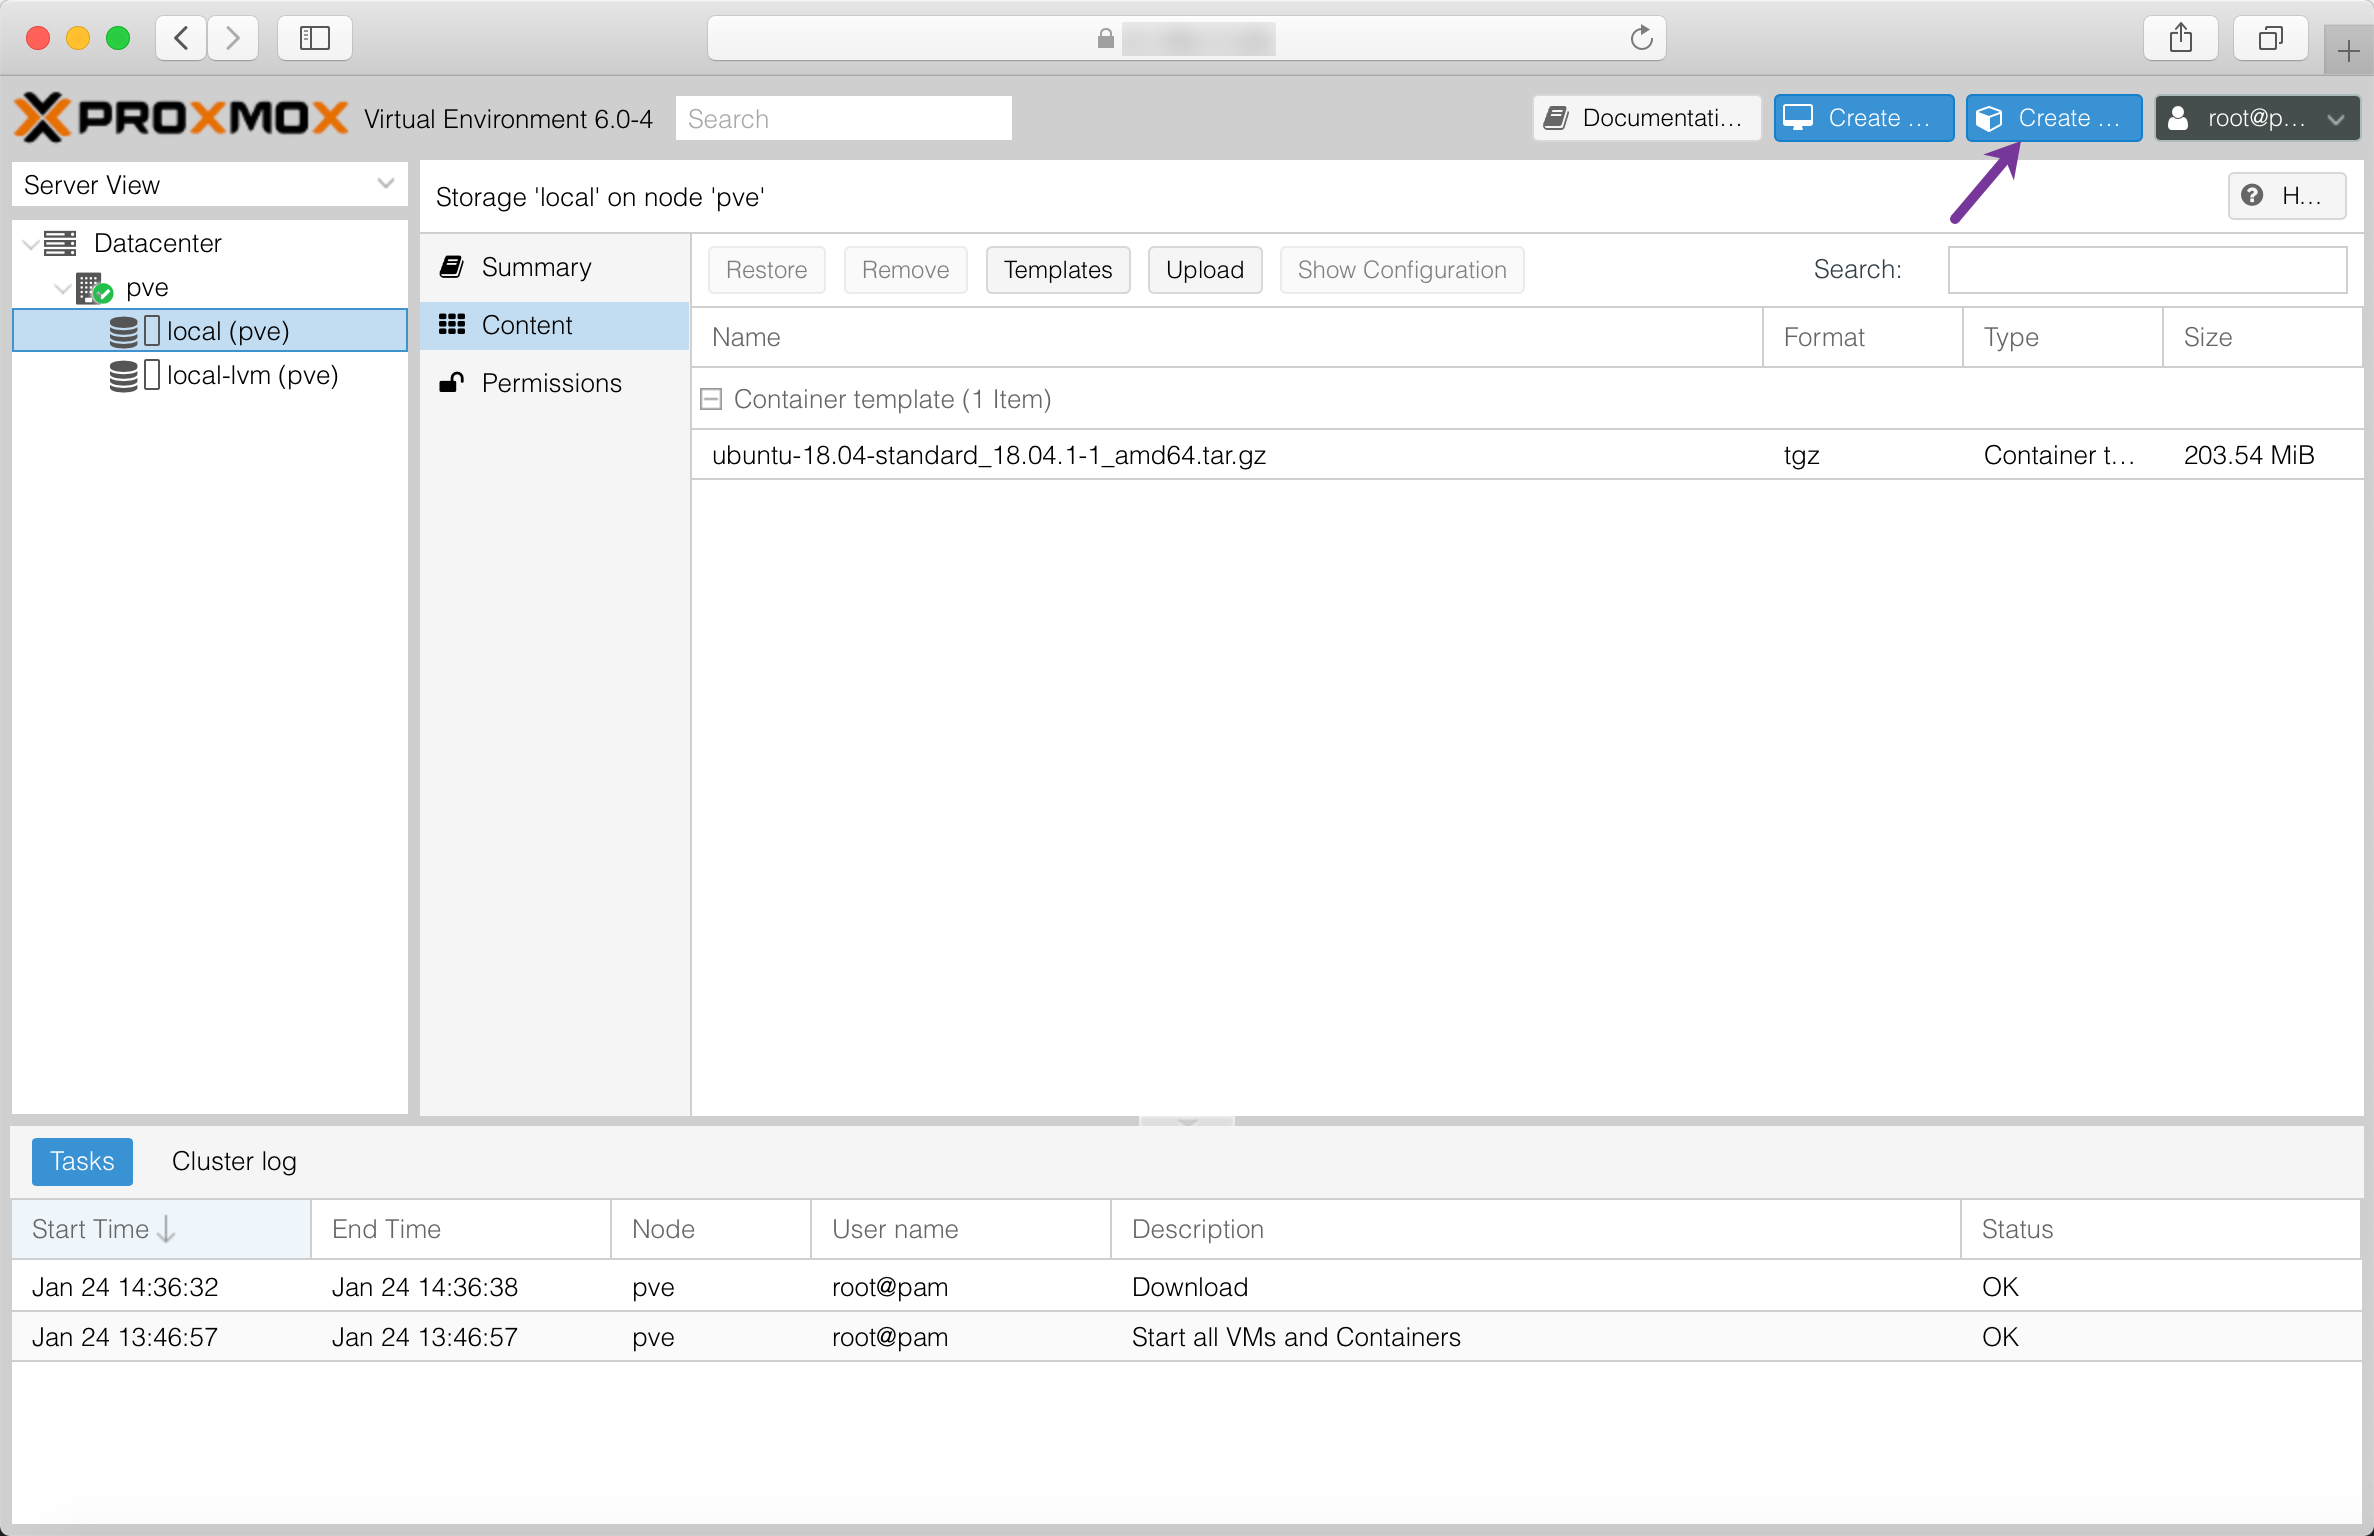
- Choose the image to download and click Download:

Uploading ISO-files
KVM uses a virtual CD-ROM drive to boot the OS installation system from an ISO file. ISO files are archive files that contain identical copies of the data found on optical discs. To create a KVM virtual machine, an installation media has to be uploaded first.
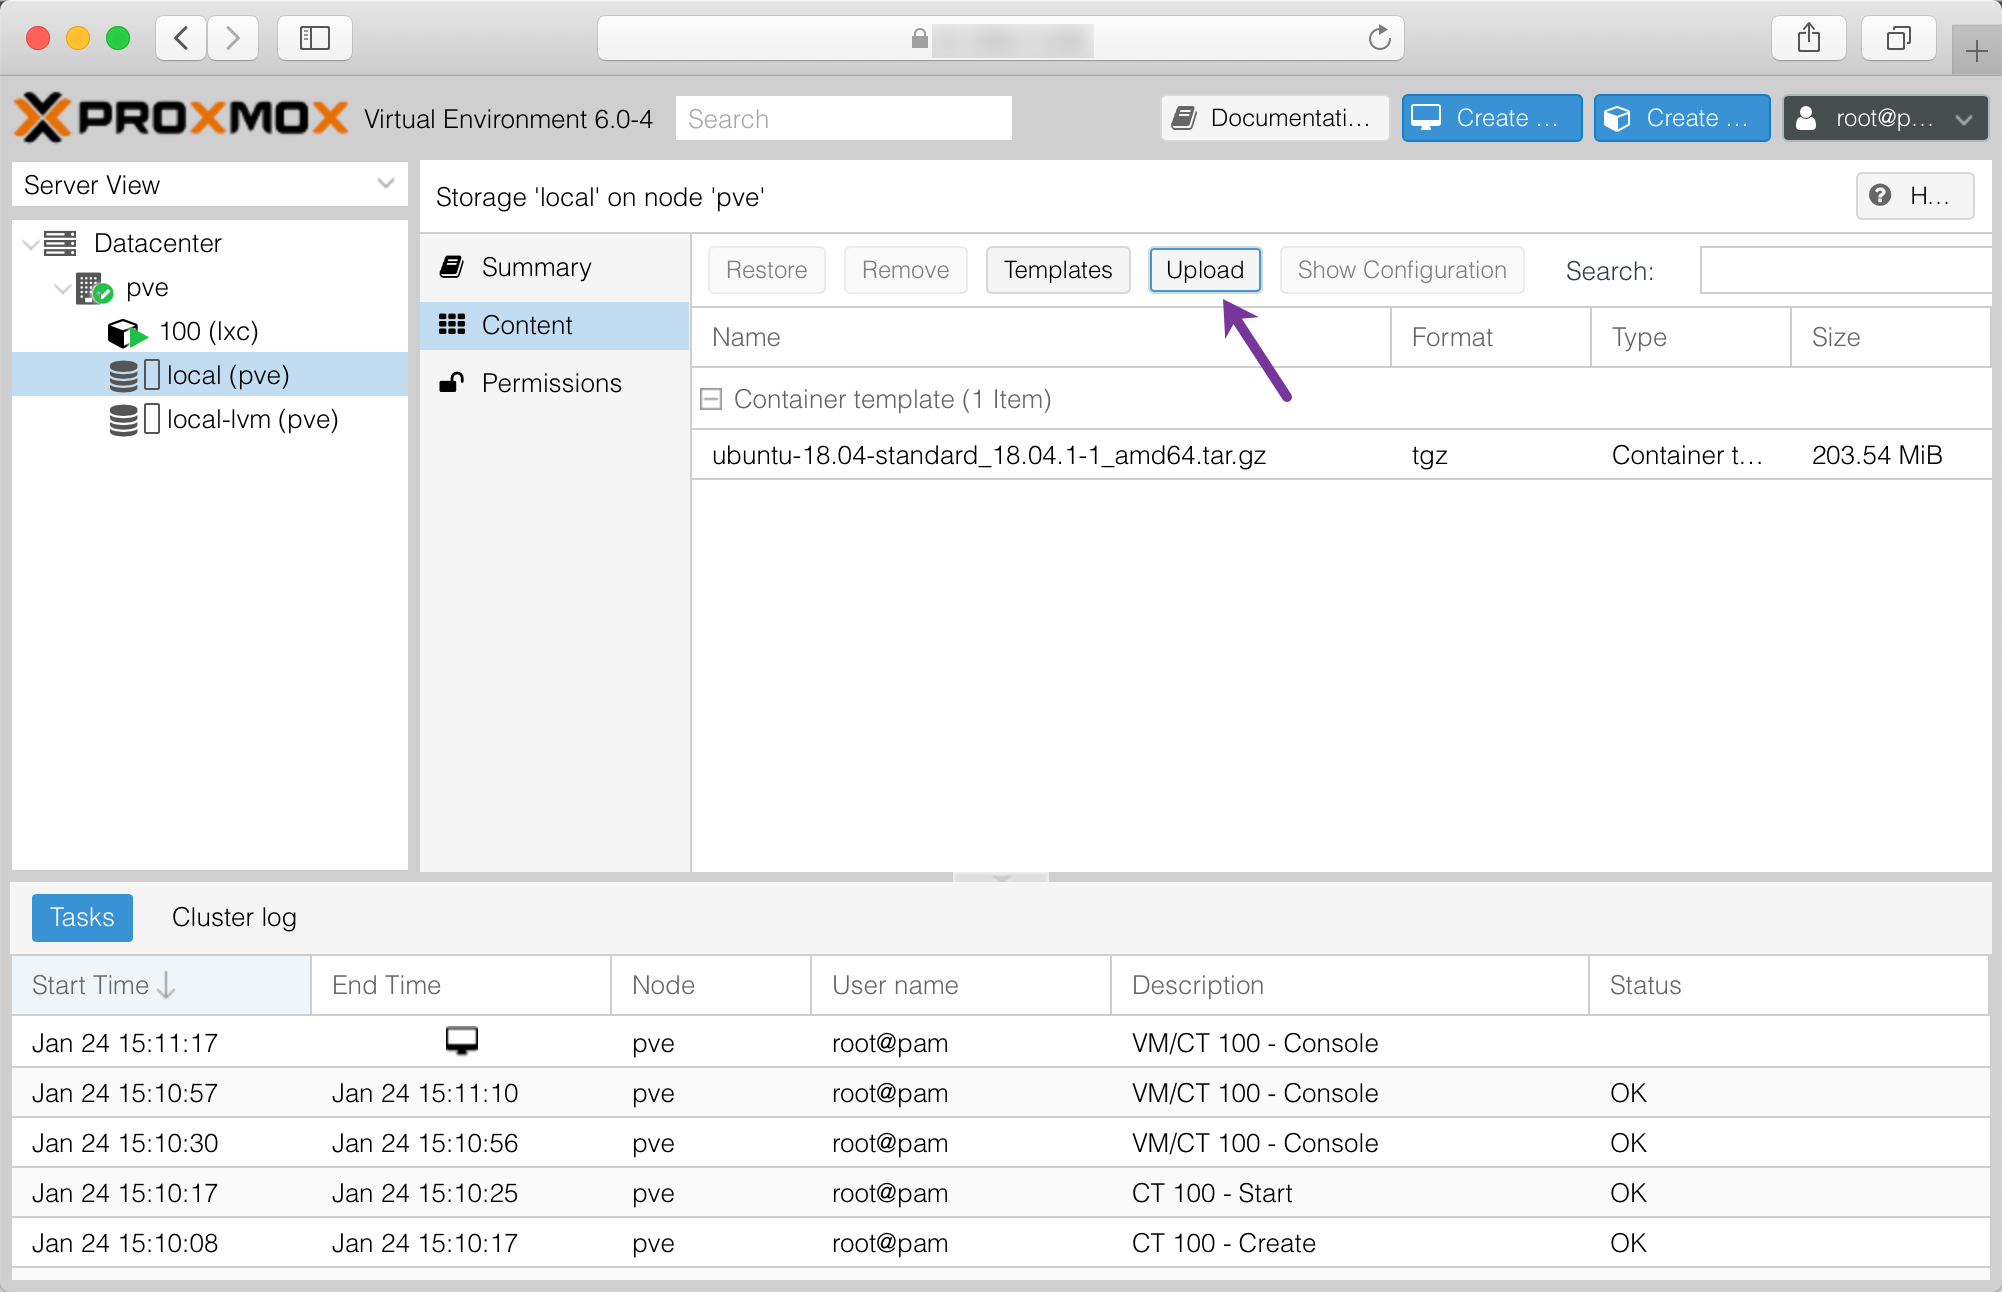
- Click Storage > Local to enter the Local Storage.
- Click Upload to upload an ISO file from your local computer:
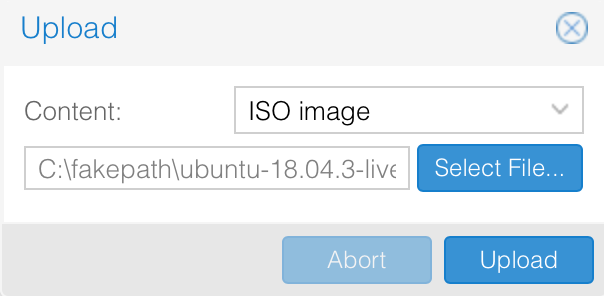
- Choose a local file and upload it to the Proxmox server:
Deploying a virtual machine
Creating a LXC container
-
Click Create CT to launch the LXC container creation wizard:
-
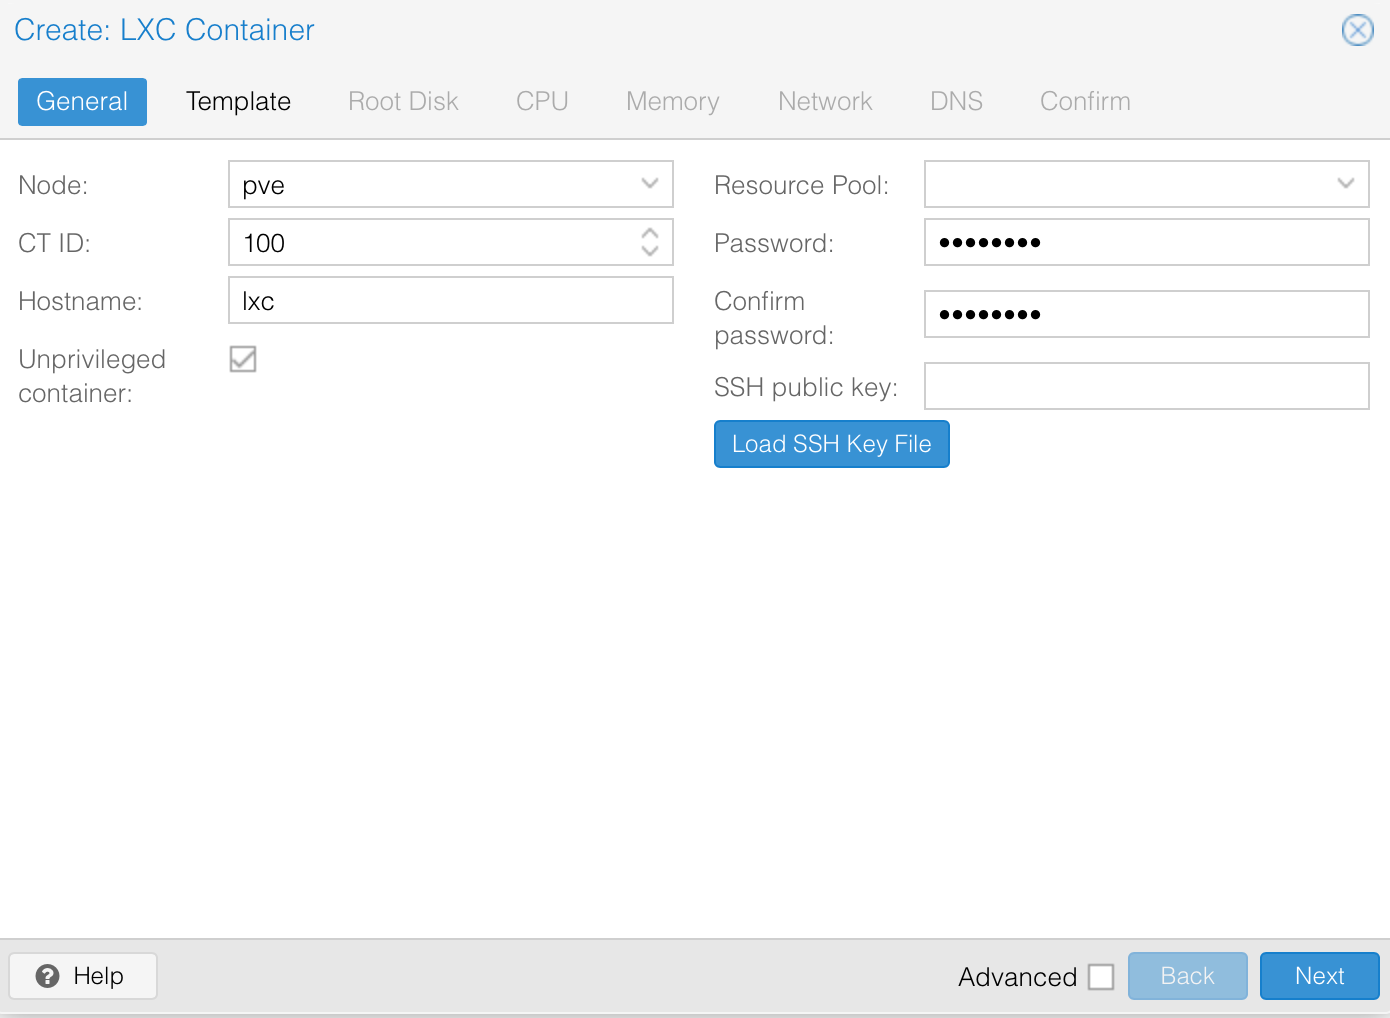
Enter the Hostname for the container, a Password and its confirmation. Optionally you can enter or upload a public SSH key for authentication:
-
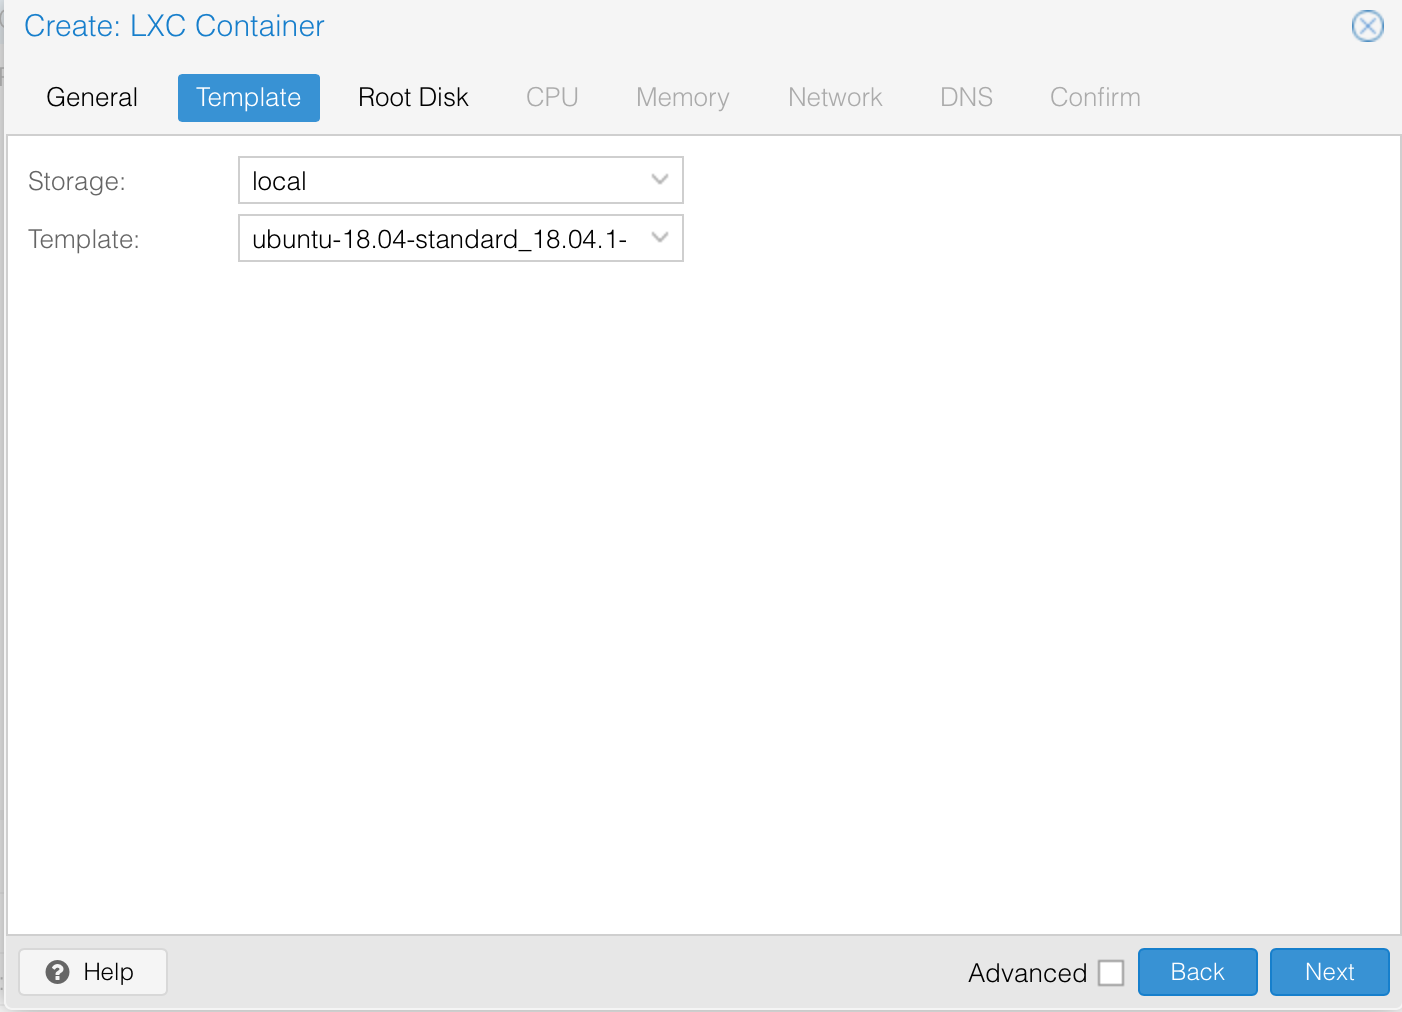
Choose the template for the LXC container:
-
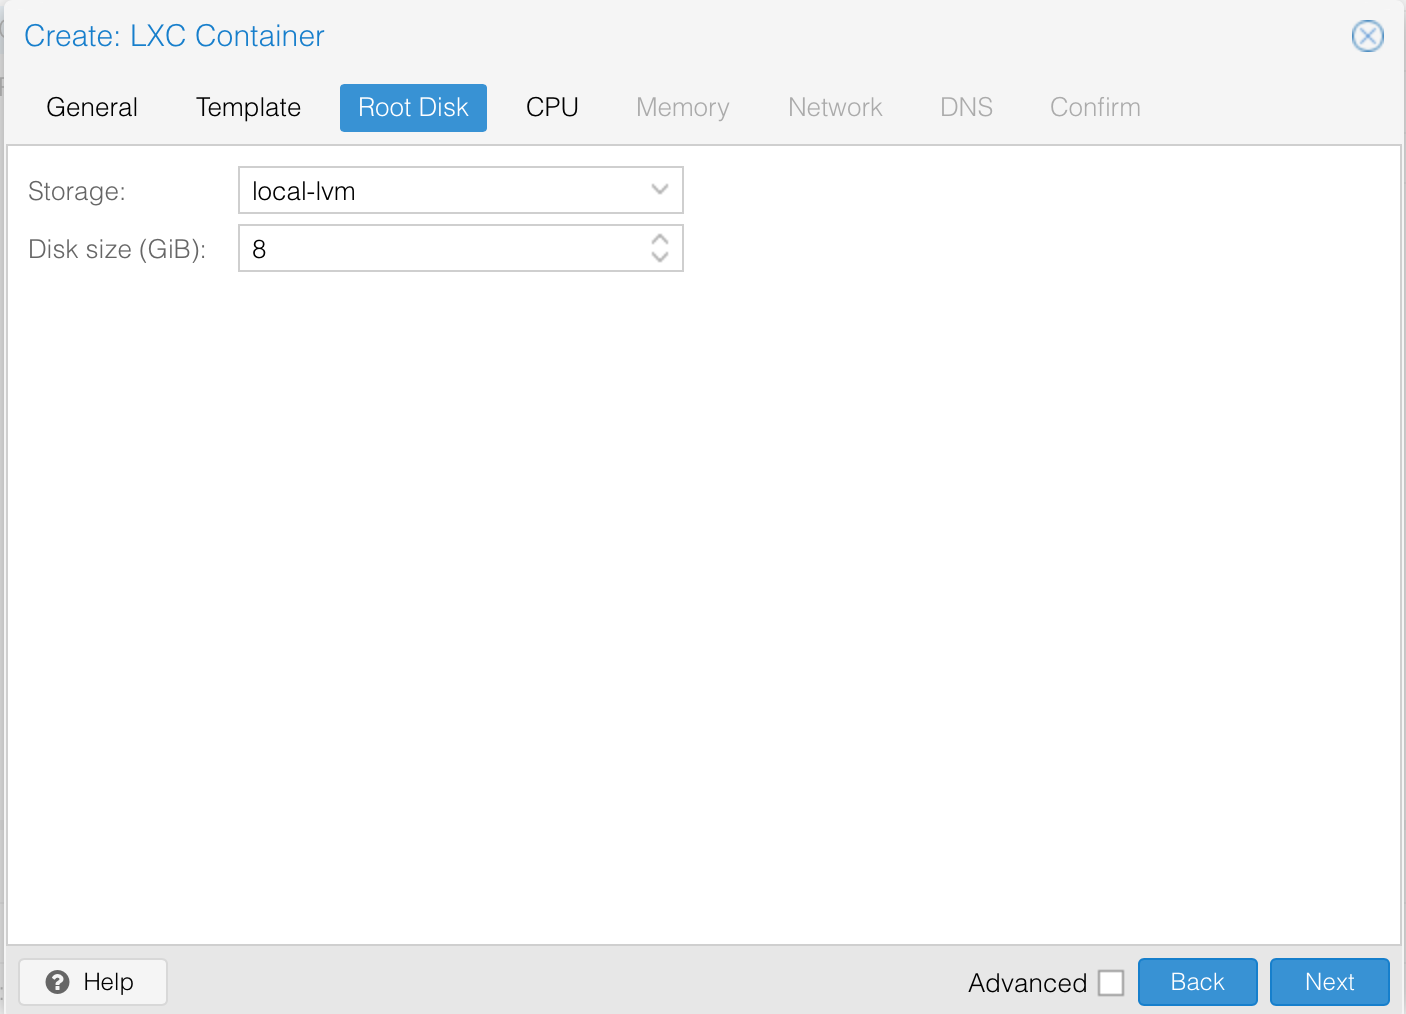
Configure the virtual disk for the cluster. You can set the type of the storage and the capacity of the virtual disk:
-
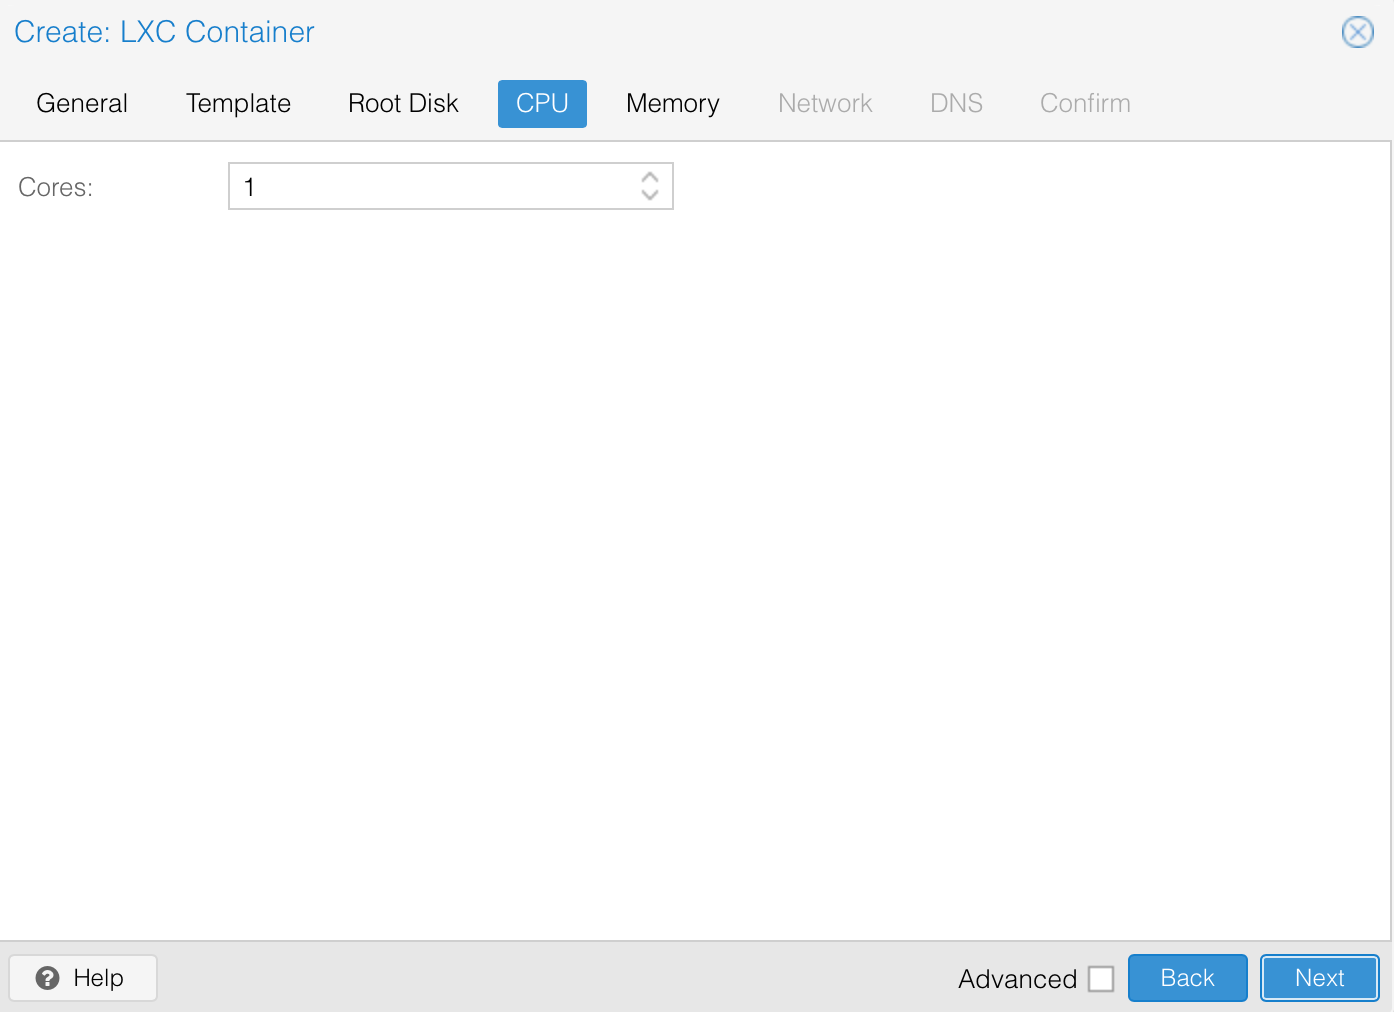
Set the number of virtual CPU cores available for the container:
-
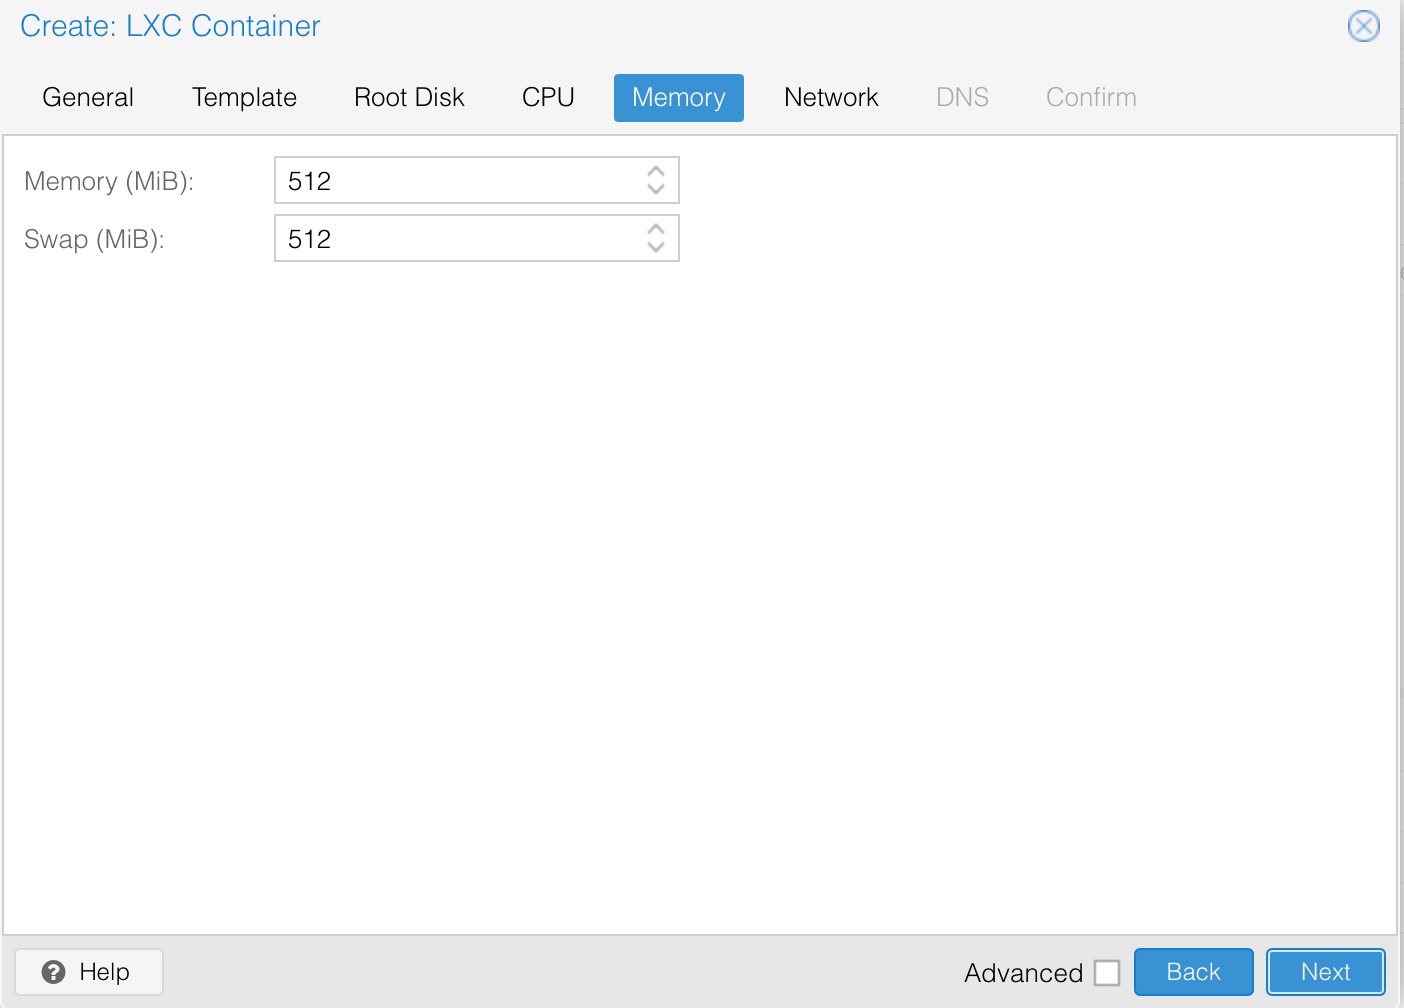
Set the amount of available RAM and Swap space for the container towards your requirements:
-
Configure the network for the container. Set the parameters as follows to ensure your container has network access:
- Name: Set this value to
eth0 - MAC Address: Set this value to the virtual MAC address associated to the failover IP of the container.
- Bridge: Set this value to
vmbr0. - IPv4: Configure the IPv4 of the container as
Static, enter the failover IP in CIDR notation, and configure the unique gateway62.210.0.1.
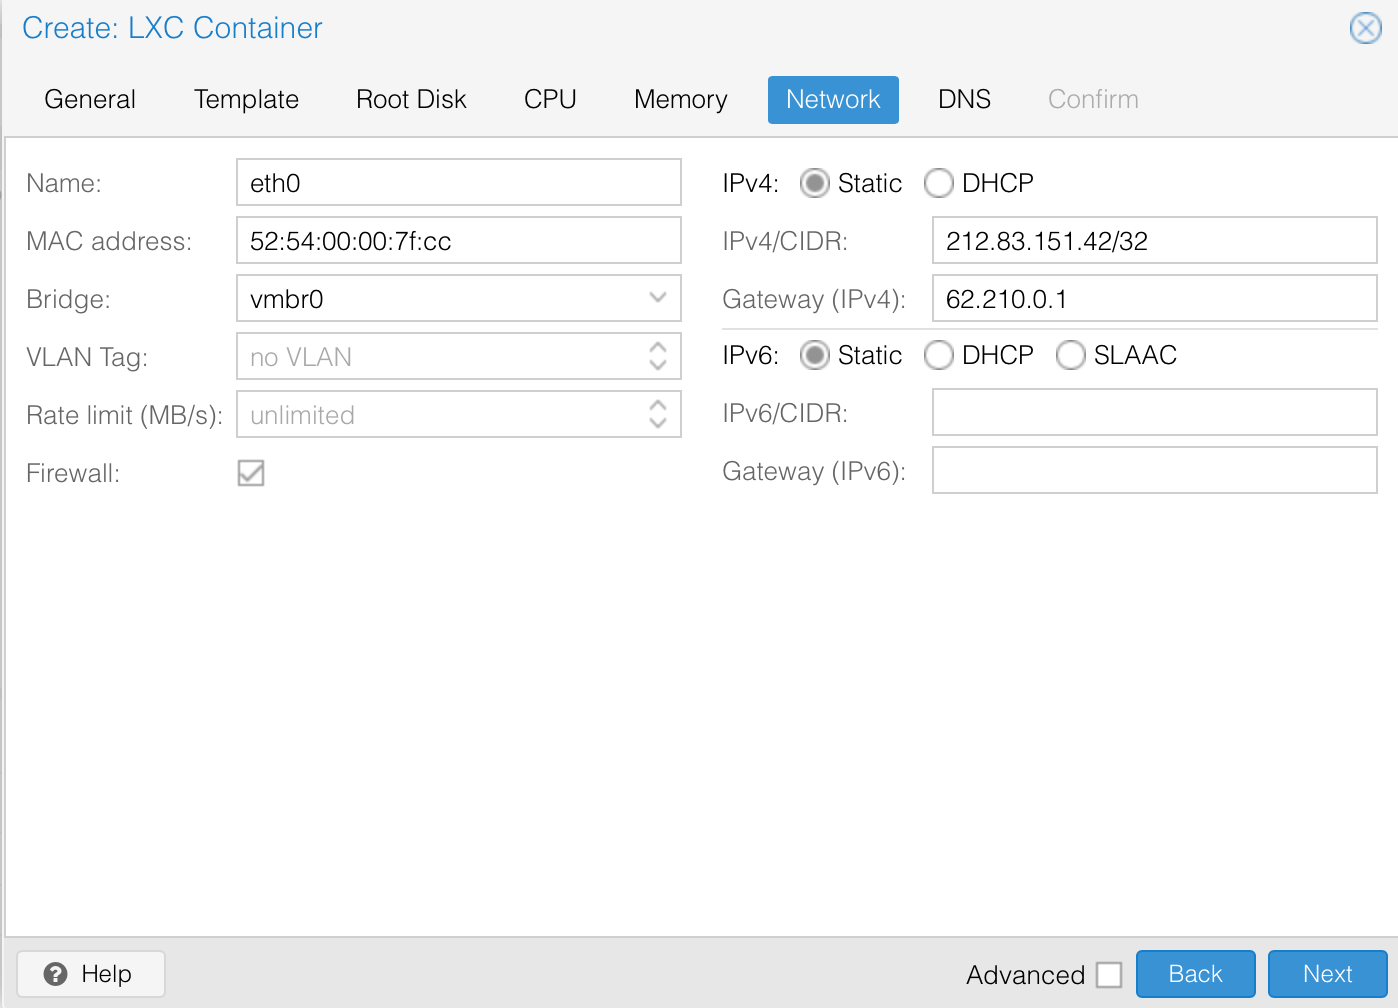
- Name: Set this value to
-
Set the resolving DNS servers for the container. You can either configure the DNS servers provided by Scaleway Dedibox (
51.159.47.28and51.159.47.26) or set your preferred DNS resolvers: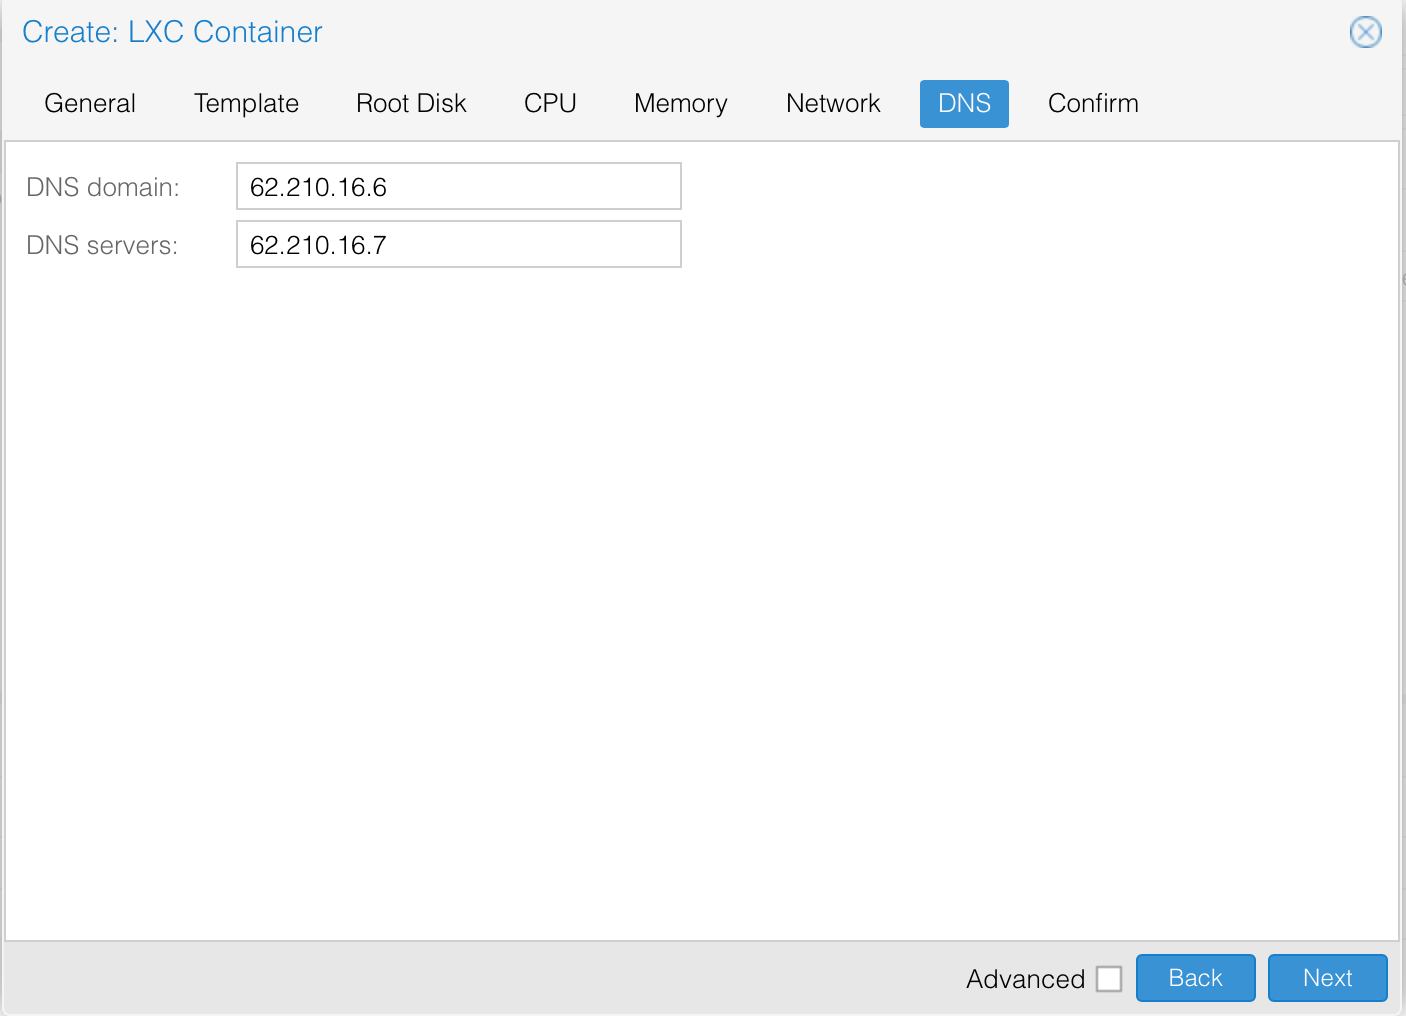
-
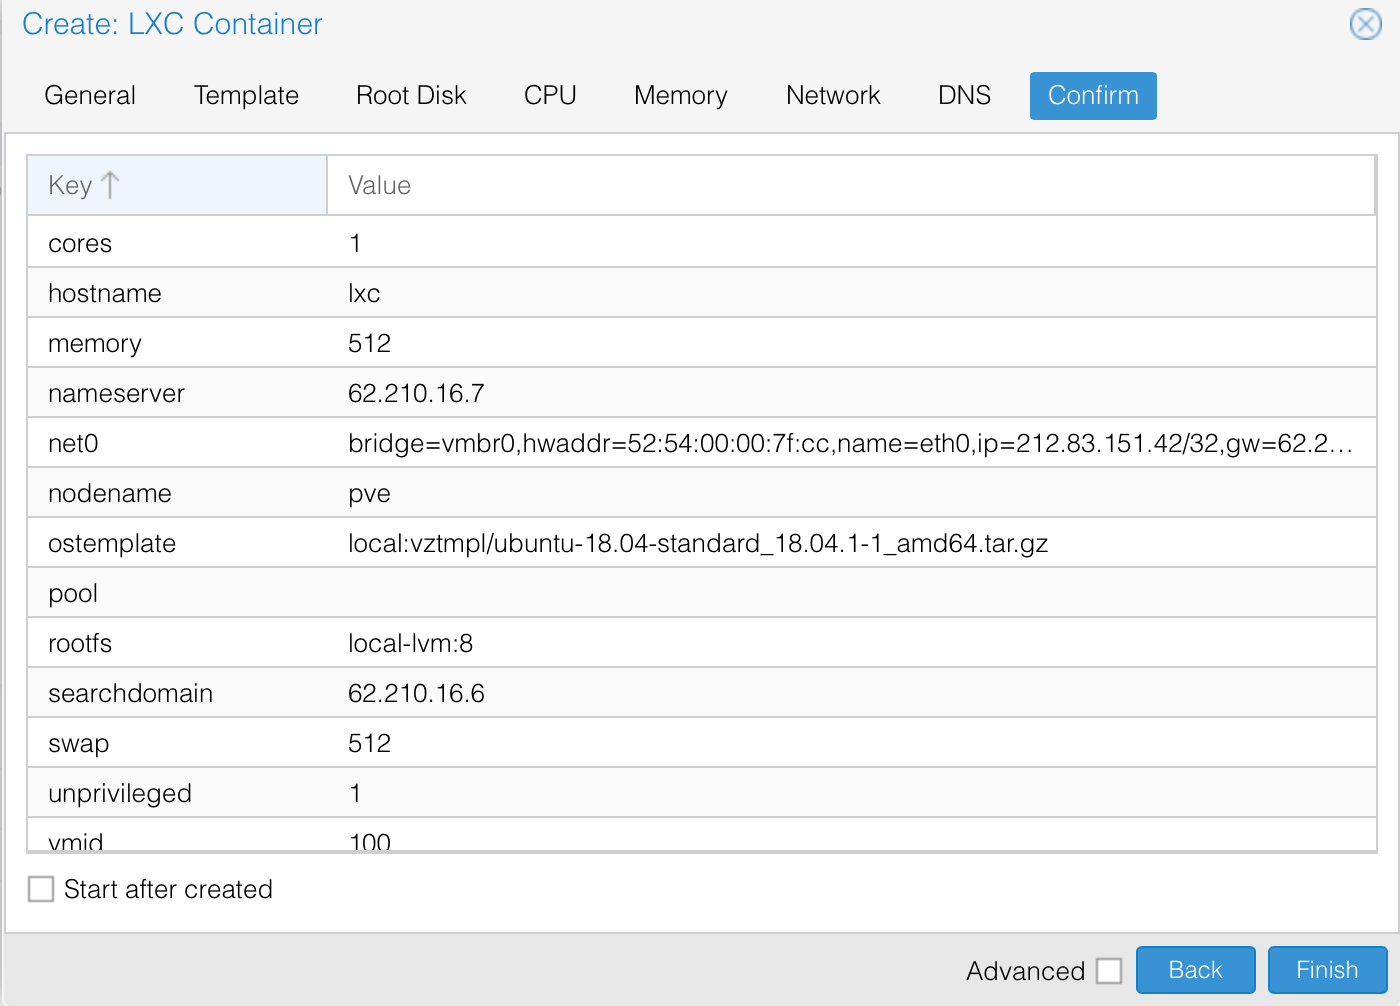
A summary of the containers' configuration displays. If everything is set correctly, click Finish to create the container:
-
Start the container from the Proxmox web interface. You can use the web console to connect to your virtual machine and test the network connectivity using a
ping-test: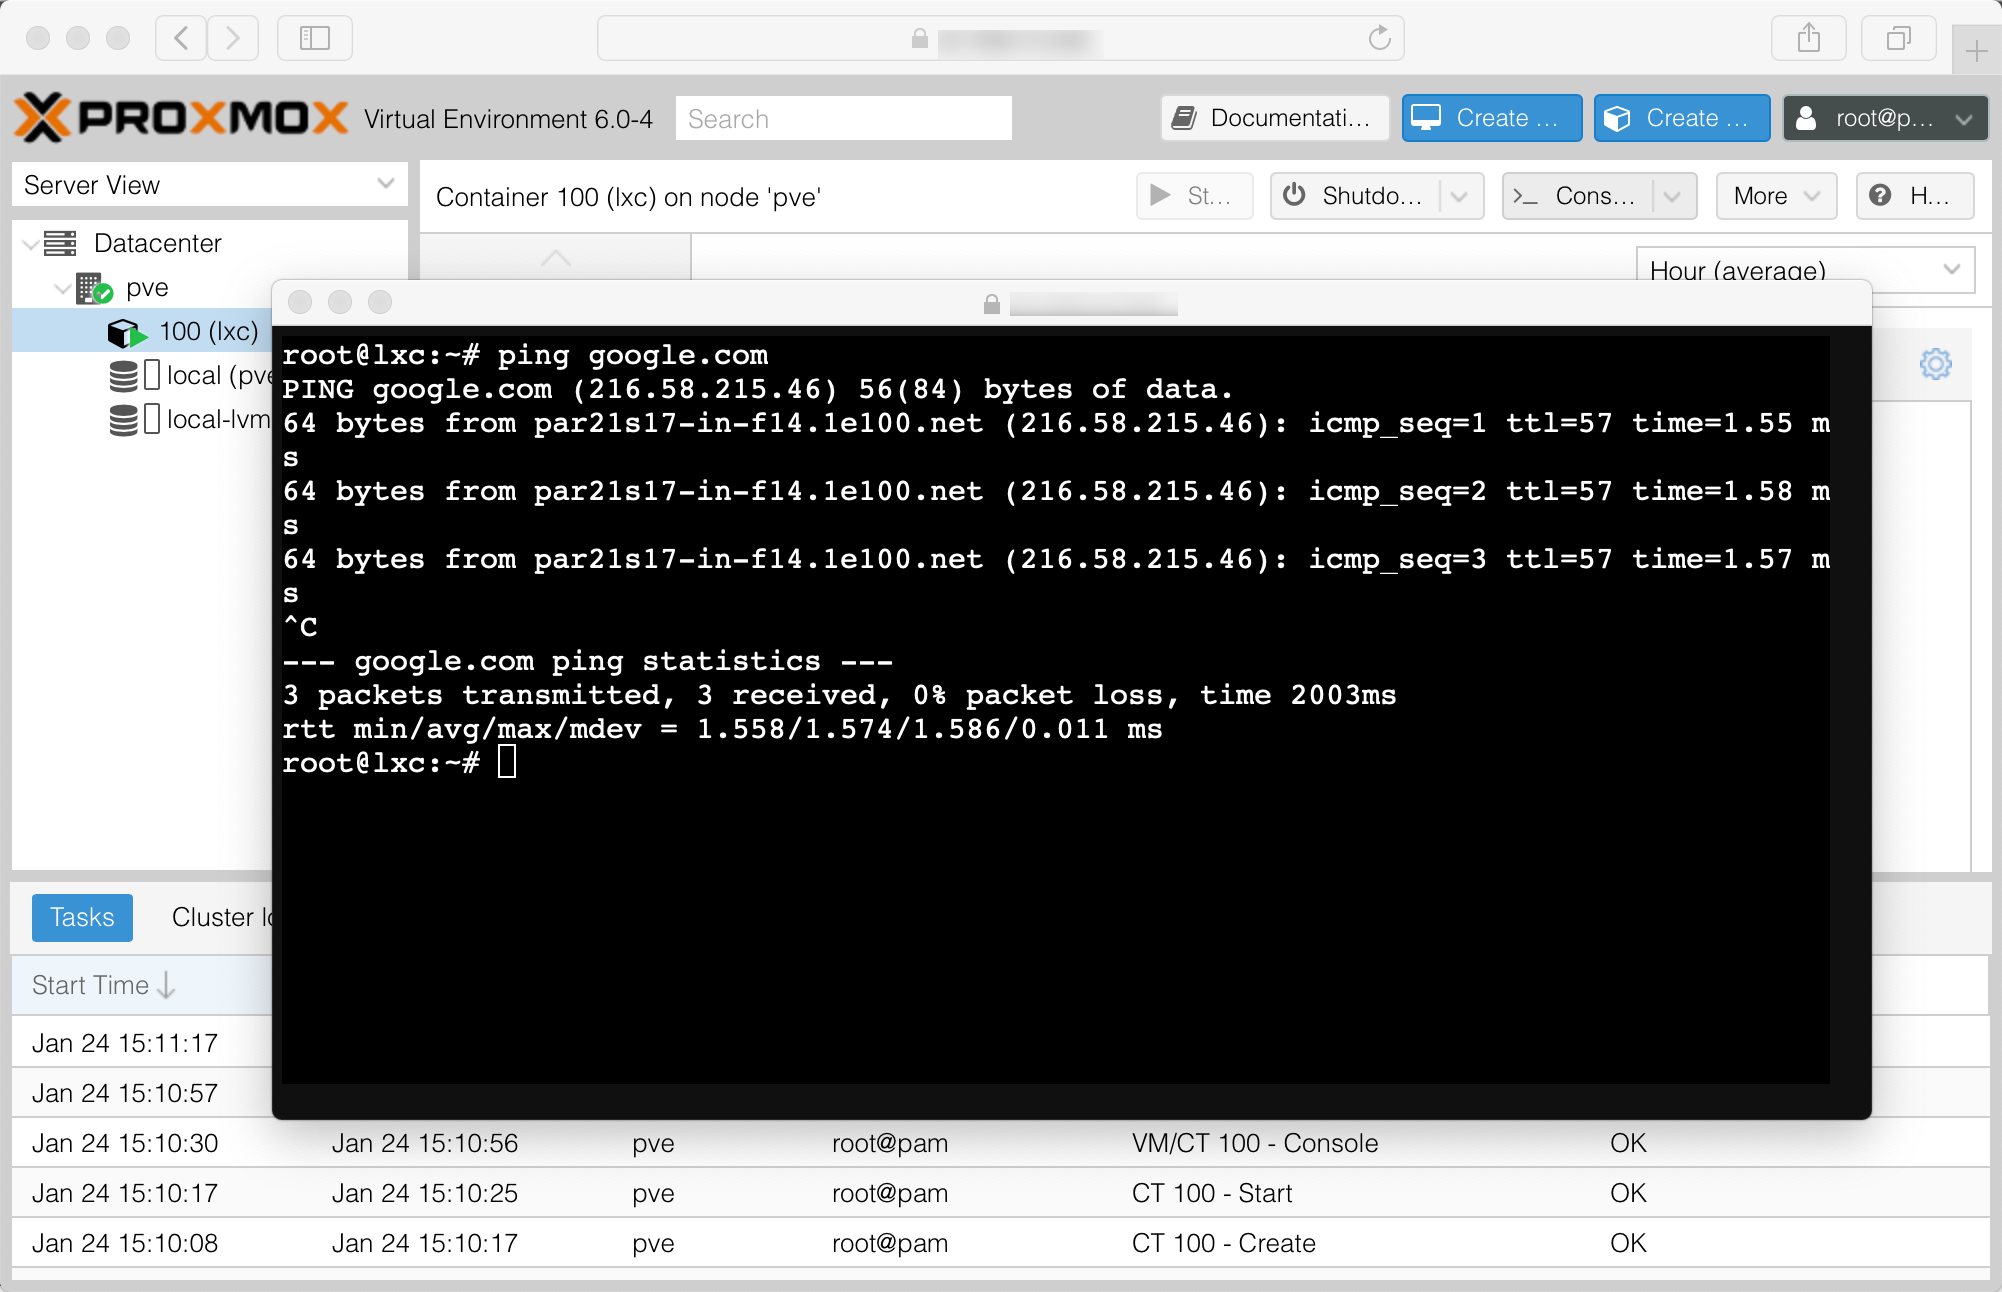
Creating a KVM virtual machine
- Click Create VM to launch the KVM virtual machine creation wizard:
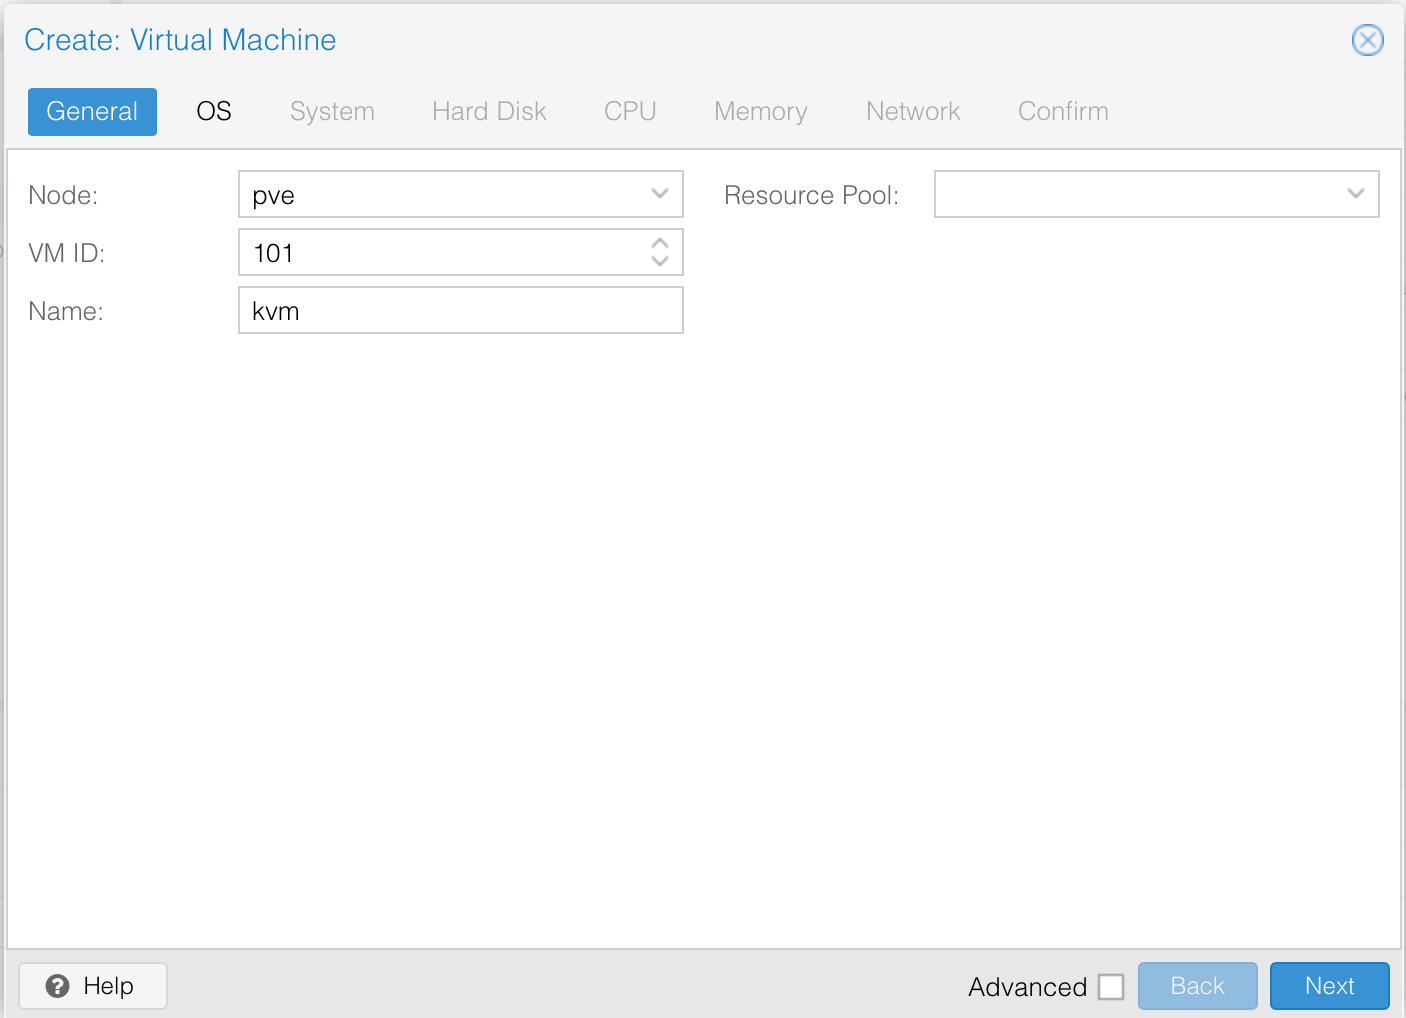
- Enter a Name for the virtual machine. The Node and VM ID values are pre-filled, leave them as they are.
- Choose the installation media for the virtual machine. Select CD/DVD disc image file (iso), choose the local storage, and select the ISO-file downloaded previously. Choose the Guest OS type. For a recent Linux distribution, select Type
Linuxand Version5.x - 2.6 Kernel. For other OS types set the values according to the requirements of your operating system.
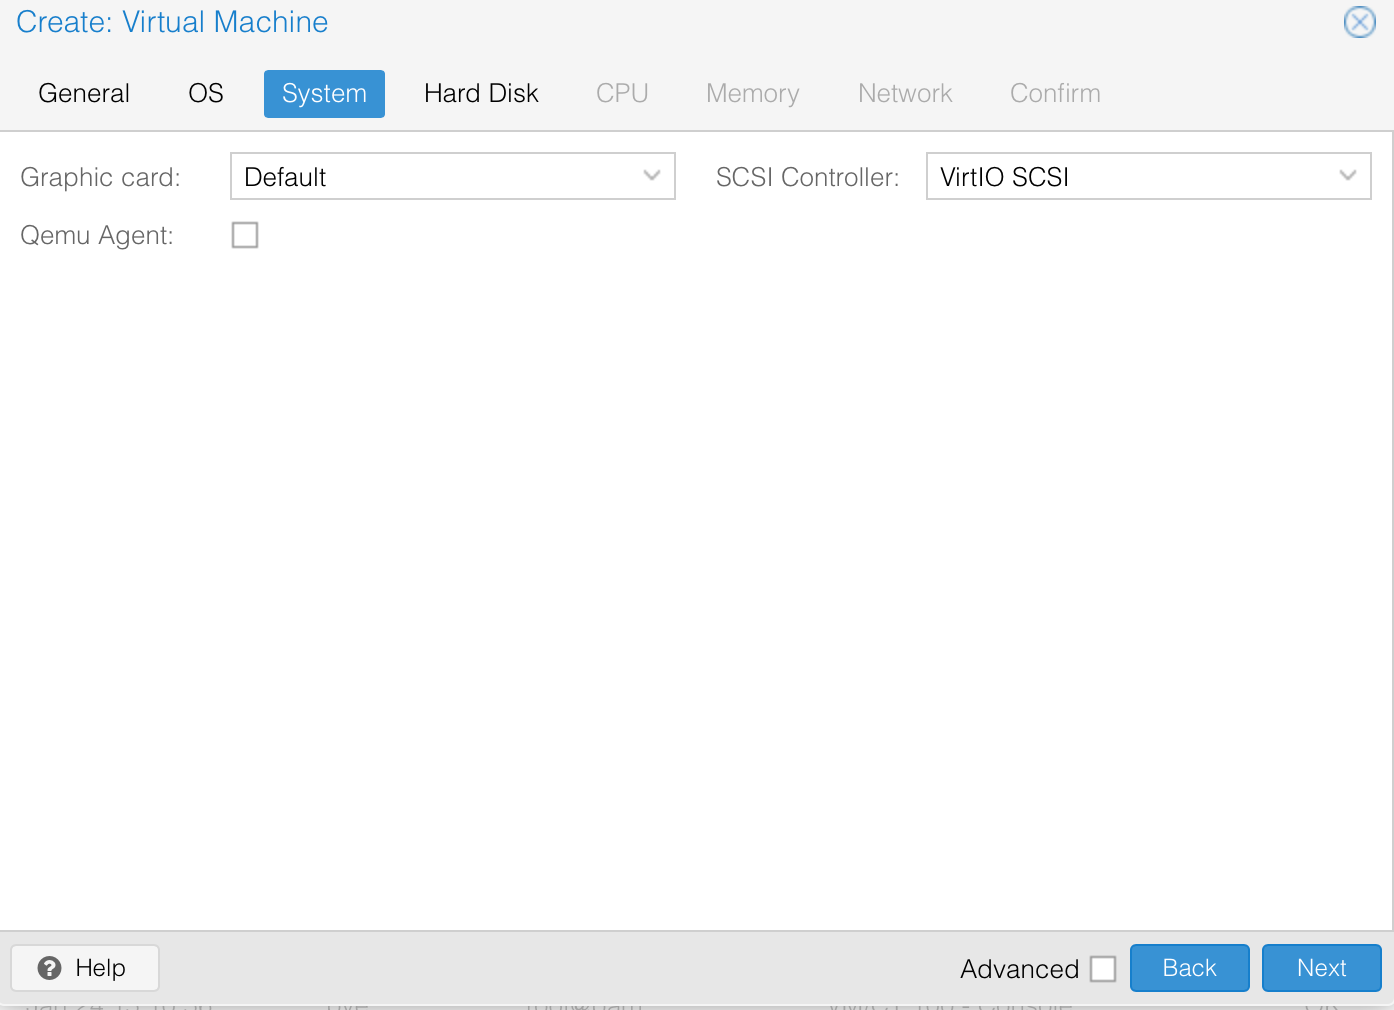
- Configure graphics card and SCSI controller available for the virtual machine. If no special requirements are needed, leave the default settings:
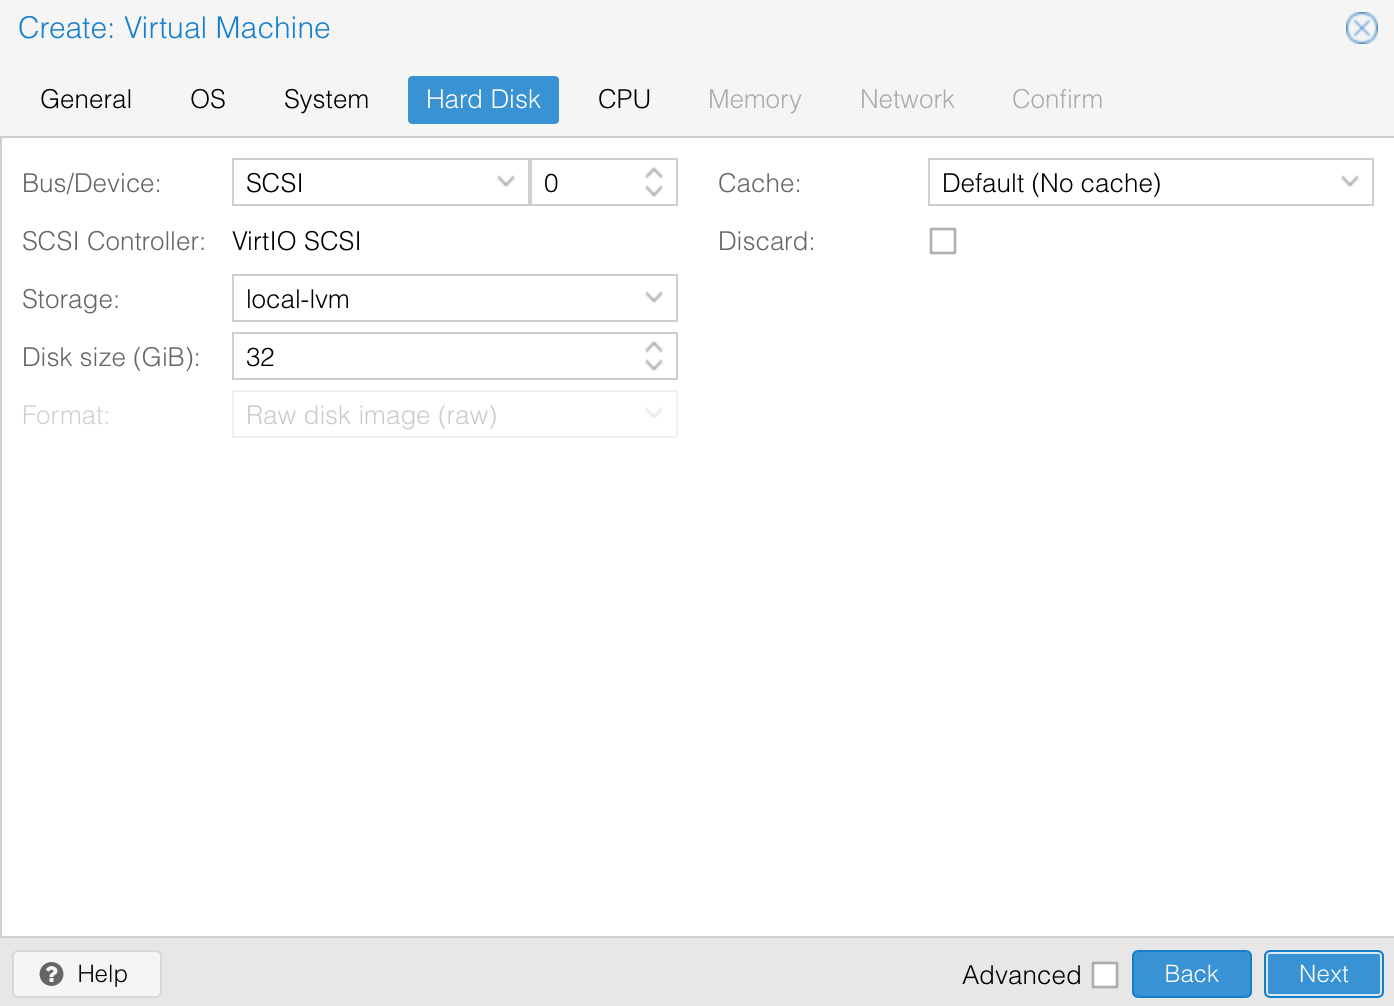
- Set the parameters of the virtual hard drive. You can go with the default settings and set the disk size to your requirements:
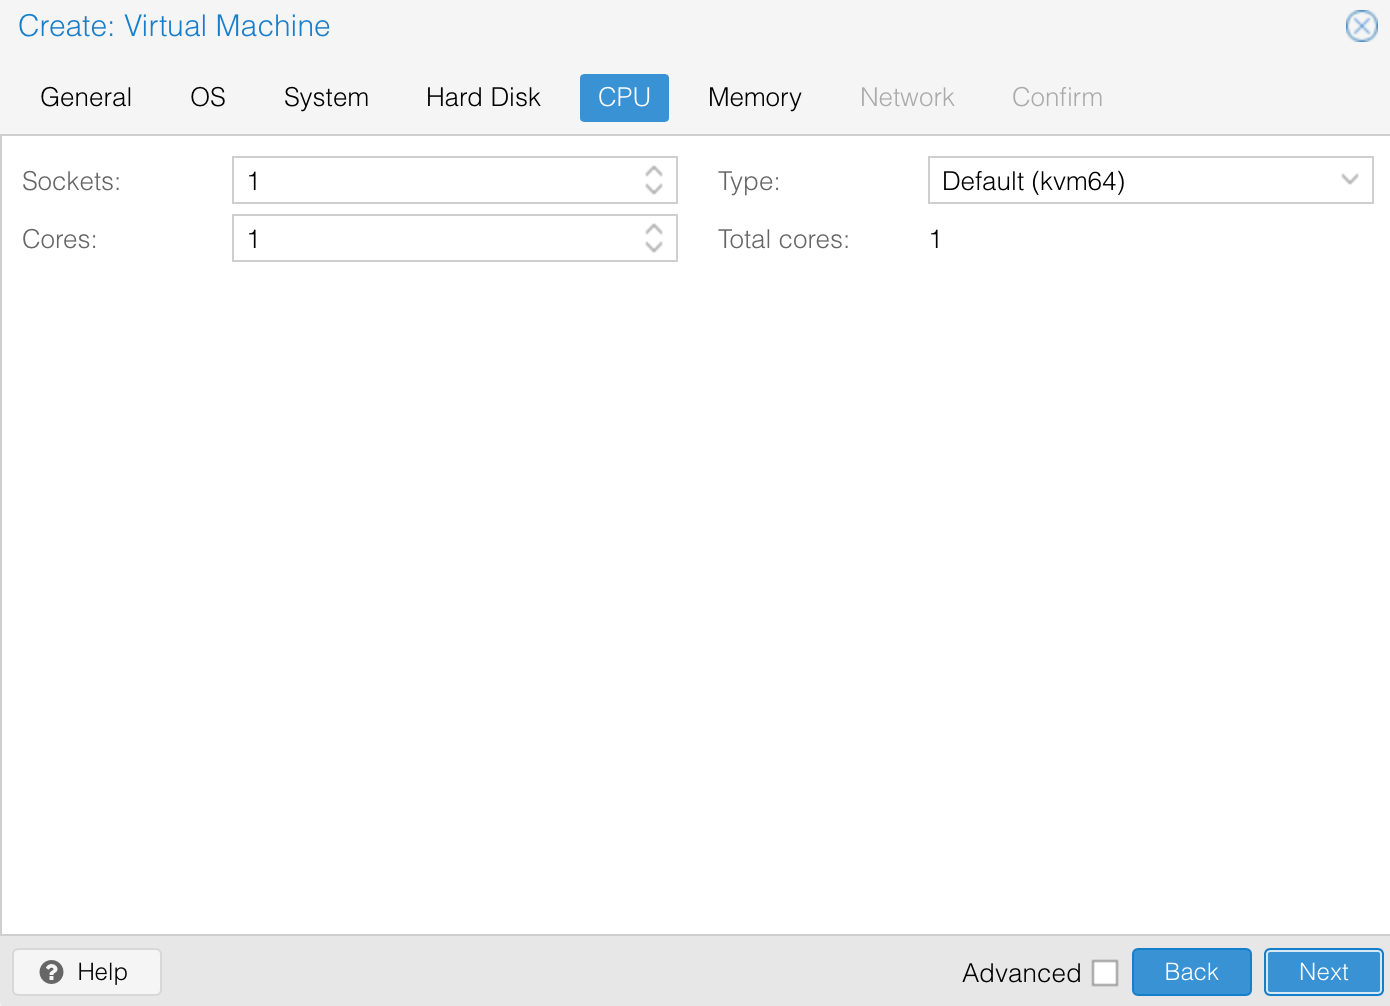
- Choose the CPU settings for the virtual machine. You may set the number of Sockets, Cores and the Type based on your own requirements:
- Set the amount of RAM for the virtual machine towards your requirements
- Configure the network interface. Set the bridge to
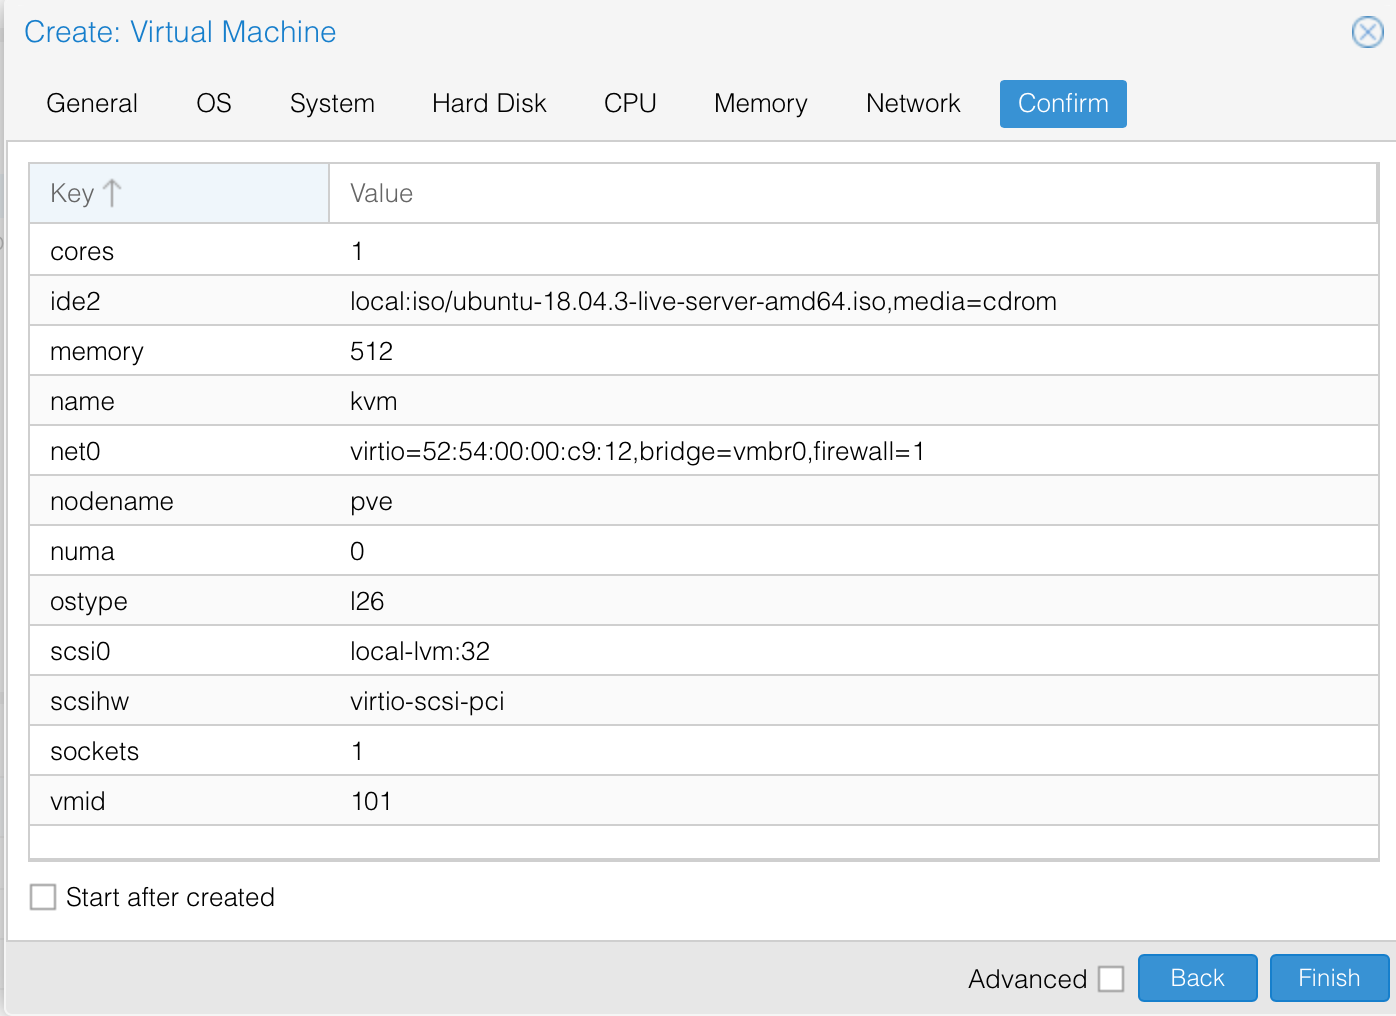
vmbr0, the model toVirtIO (paravirtualized), and configure the virtual MAC address assigned to the failover IP of the virtual machine. The static network configuration is done in a later step, during the installation of the operating system. - A configuration summary displays. Click Finish if all settings are correct to launch the creation of the virtual machine.
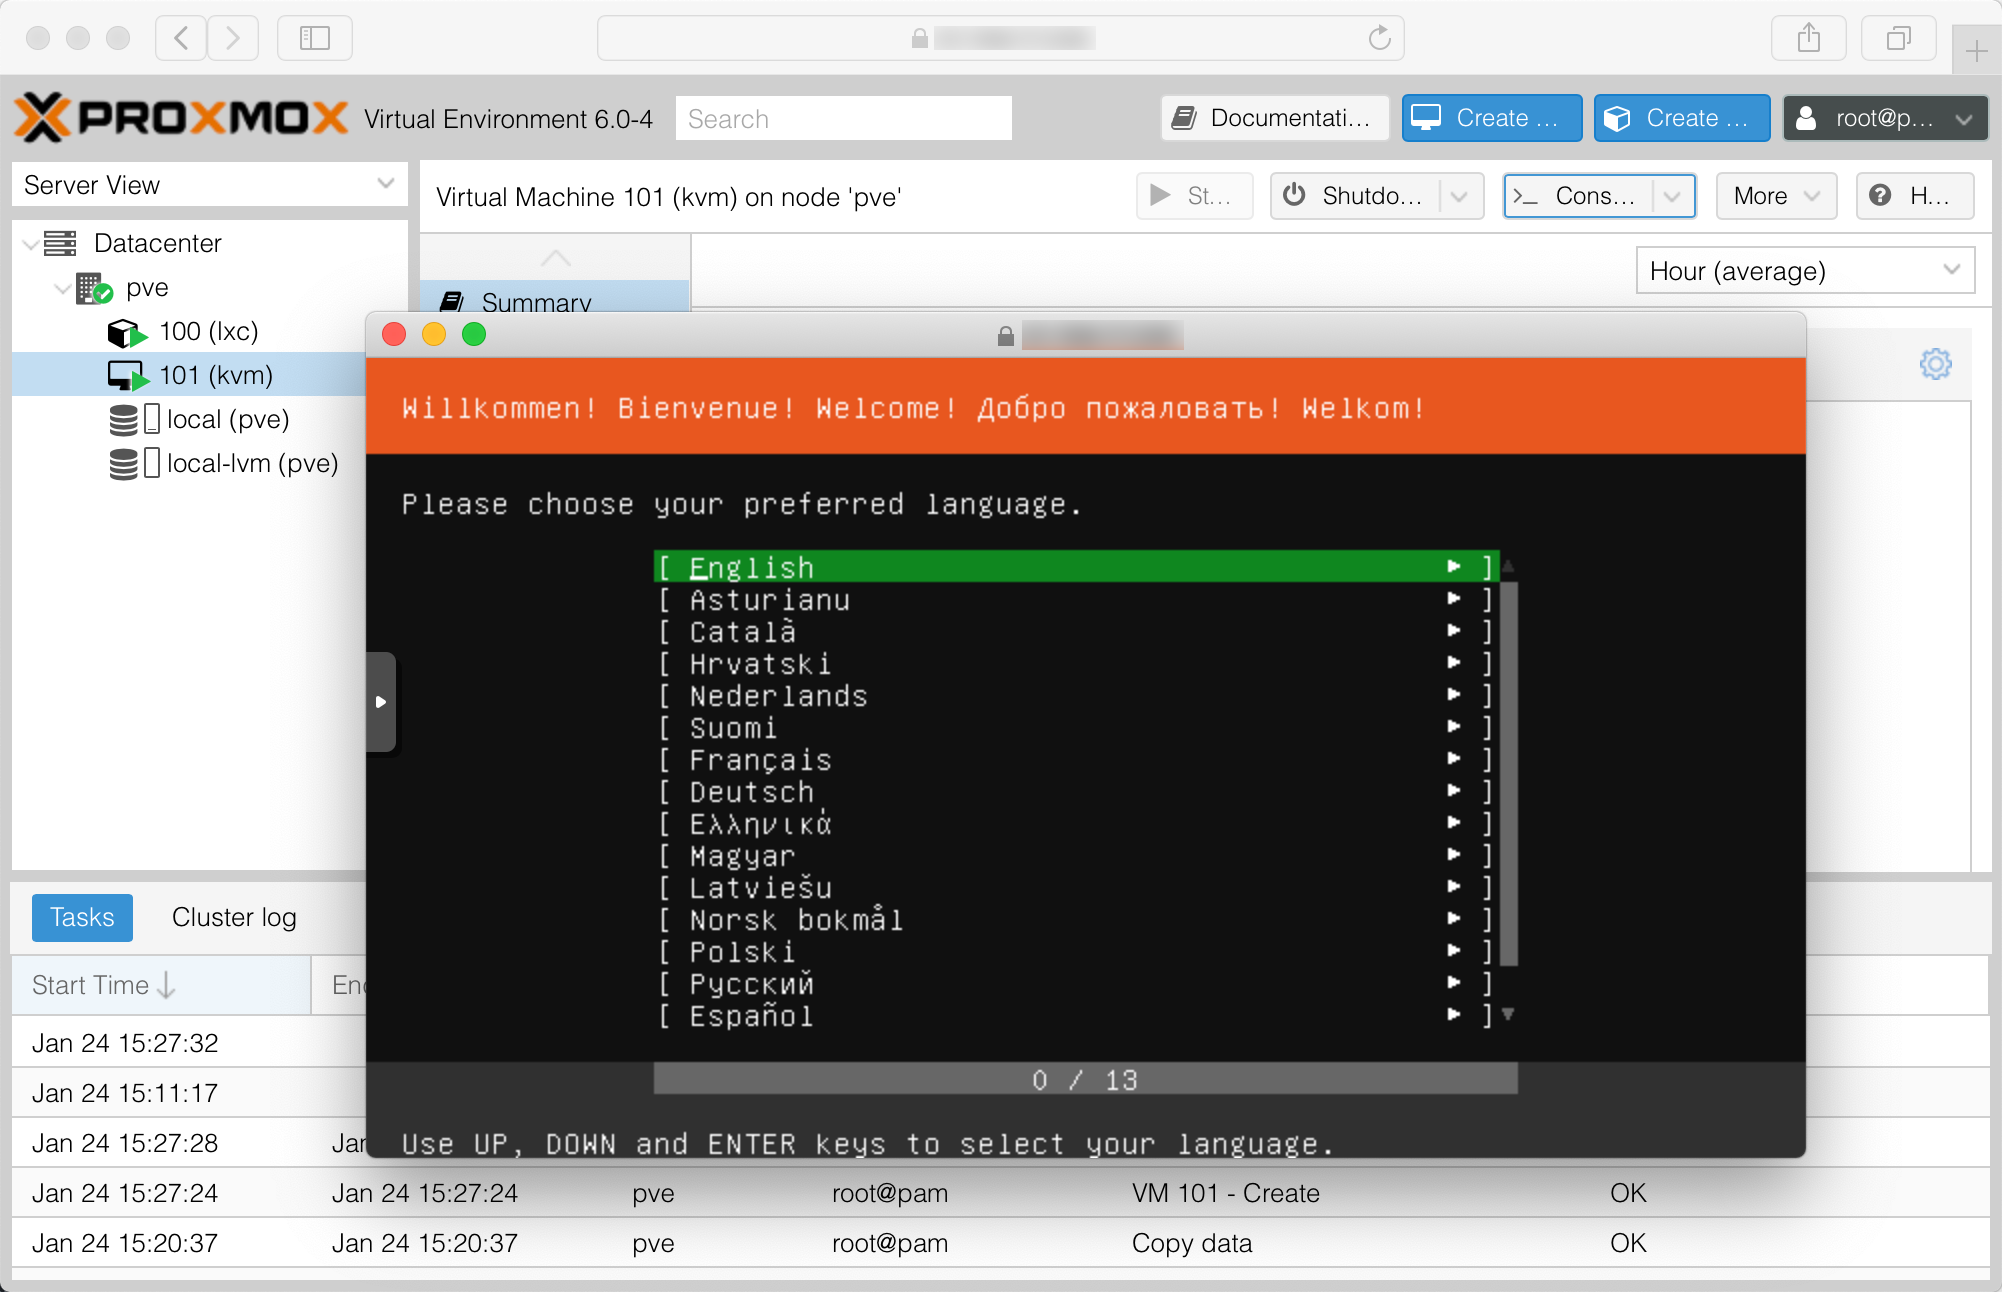
- Start the virtual machine from the Proxmox panel. It boots from the chosen ISO file. Connect to the virtual machine using the console and follow the steps of the operating systems' setup wizard to complete the installation:
Visit our Help Center and find the answers to your most frequent questions.
Visit Help Center