Getting started with Crossplane provider on Scaleway Kubernetes
Created by Upbound, Crossplane is a Kubernetes-based platform that allows you to manage resources through a unified control plane. crossplane-provider-scaleway is a Crossplane provider that helps you manage Scaleway cloud resources in Kubernetes. It is built using Upjet code generation tools and it exposes managed resources for Scaleway that adhere to Crossplane's eXtensible Resource Model (XRM). As a model, XRM ensures that users can easily and consistently manage cloud resources across different cloud providers.
In this tutorial, you will learn how to install Upbound Universal Crossplane (UXP) into your Kubernetes cluster, configure the provider to authenticate with Scaleway, and create a Scaleway Kubernetes managed resource directly from your cluster.
Before you start
To complete the actions presented below, you must have:
- A Scaleway account logged into the console
- Owner status or IAM permissions allowing you to perform actions in the intended Organization
- A valid API key
- A Kubernetes cluster and downloaded its Kubeconfig file
- Installed curl
- Installed kubectl on your local computer
Installing the Up command-line
Run the following command to download and install the Upbound up command-line interface:
curl -sL "https://cli.upbound.io" | sh
sudo mv up /usr/local/bin/Installing Upbound Universal Crossplane
Run the following up uxp install command to install the latest stable version of Upbound Universal Crossplane (UXP). Ensure you have version 1.12.0 or higher:
up uxp installYou should see an output like the following:
UXP 1.20.0-up.1 installedInstalling the provider into your Kubernetes cluster
-
Run the following command to create a
.kubedirectory in which you will store yourkubeconfigfile:mkdir .kube -
Run the following command to open the
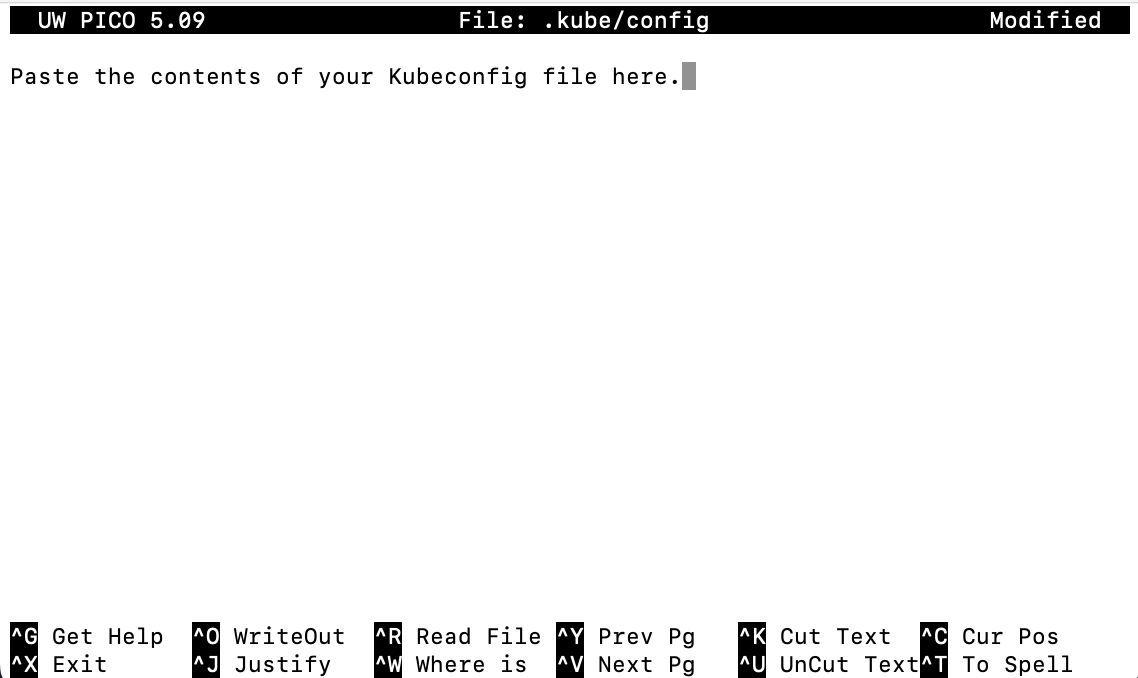
configfile in your.kubedirectory. The file should be empty.nano .kube/config -
Paste the content of your Kubeconfig file and save the changes by following the information displayed on your terminal. Here is an example on a Mac terminal screen.
-
Run the following command to install the provider into the Kubernetes cluster using the previously set Kubernetes configuration file.
cat <<EOF | kubectl apply -f -
apiVersion: pkg.crossplane.io/v1
kind: Provider
metadata:
  name: provider-scaleway
spec:
  package: xpkg.upbound.io/scaleway/provider-scaleway:v0.2.0
EOF
You should get an output similar to the following:
provider.pkg.crossplane.io/provider-scaleway Created -
Run the following command to verify whether the provider has been properly installed.
kubectl get providersYou should get an output similar to the following, with the value for
installedreturningTrue:NAME INSTALLED HEALTHY PACKAGE AGE provider-scaleway True Unknown xpkg.upbound.io/scaleway/provider-scaleway:v0.2.0 9s
Creating a Kubernetes secret resource for Scaleway
The provider requires credentials to create and manage Scaleway resources.
-
Run the following command to create a
crossplane-systemnamespace:kubectl create namespace crossplane-system --dry-run=client -o yaml | kubectl apply -f -You should get an output similar to the following:
namespace/crossplane-system created -
Run the following command to create a
secret.yamlfile in which your Kubernetes secret configuration will be stored:nano secret.yaml -
Edit the request payload you will use in the
secret.yamlfile, to create your Kubernetes secret. Replace the parameters in the following example using the information in the configuration reference table:apiVersion: v1 kind: Secret metadata: name: name-of-secret namespace: crossplane-system type: Opaque stringData: credentials: | { "access_key": "SCWXXXXXXXXXXXXXXXXX", "secret_key": "11111111-1111-1111-1111-111111111111", "project_id": "11111111-1111-1111-1111-111111111111", "region": "fr-par", "zone": "fr-par-1" } -
Paste the content of the request payload into the contents of the
secret.yamlfile, and save the changes by following the information displayed on your terminal. -
Run the following command to create the secret you just defined in the
secret.yamlfile.kubectl apply -f secret.yamlYou should get an output similar to the following:
secret/name-of-secret created -
Run the following command to retrieve details about your secret:
kubectl describe secret -n crossplane-system
Configuration reference table - secret resource
| Parameter | Description |
|---|---|
name | The name of the Kubernetes secret object. |
namespace | The Kubernetes namespace the secret is in. |
access_key | The first part of your API key. It is like a unique ID or username and not a sensitive piece of information. |
secret_key | The second part of your API key. It is a unique ID or password and thus a sensitive piece of information to authenticate your access key. |
project_id | ID of the Project that will be used as the default value for project-scoped resources. To find your Project ID, you can consult the Scaleway console |
region | The region that will be used for all resources (by default, fr-par). |
zone | The Availability Zone that will be used for all resources (by default, fr-par-1). |
Creating a providerconfig file
Create a .yaml configuration file to attach your Scaleway credentials to the previously installed provider.
-
Run the following command to create a
providerconfigfile:nano providerconfig -
Edit the request payload you will use to create your
providerconfigfile. Replace the parameters in the following example using the information in the configuration reference table:apiVersion: scaleway.upbound.io/v1beta1 kind: ProviderConfig metadata: name: default spec: credentials: source: Secret secretRef: name: name-of-secret namespace: crossplane-system key: credentials -
Paste the content of the request payload into the
providerconfigfile, and save the changes by following the information displayed on your terminal. -
Run the following command to apply the previously set configuration to the secret. Make sure to replace the example file path with your own.
kubectl apply -f /users/FileName/providerconfigYou should get an output similar to the following:
providerconfig.scaleway.upbound.io/default created -
Run the following command to verify whether contents of the file have been applied to the Kubernetes cluster.
kubectl describe providerconfigsYou should get an output similar to the following:
Name:         default
Namespace:
Labels:       <none>
Annotations:  <none>
API Version:  scaleway.upbound.io/v1beta1
Kind:         ProviderConfig
Metadata:
  Creation Timestamp:  2023-05-04T12:16:18Z
  Finalizers:
    in-use.crossplane.io
  Generation:  1
  Managed Fields:
    API Version:  scaleway.upbound.io/v1beta1
    Fields Type:  FieldsV1
    fieldsV1:
      f:metadata:
        f:annotations:
          .:
          f:kubectl.kubernetes.io/last-applied-configuration:
      f:spec:
        .:
      f:credentials:
        .:
        f:secretRef:
          .:
          f:key:
          f:name:
          f:namespace:
        f:source:
    Manager:      kubectl-client-side-apply
    Operation:    Update
    Time:         2023-05-04T12:16:18Z
    API Version:  scaleway.upbound.io/v1beta1
    Fields Type:  FieldsV1
    fieldsV1:
      f:metadata:
        f:finalizers:
          .:
          v:"in-use.crossplane.io":
    Manager:      provider
    Operation:    Update
    Time:         2023-05-04T12:16:18Z
    API Version:  scaleway.upbound.io/v1beta1
    Fields Type:  FieldsV1
    fieldsV1:
      f:status:
    Manager:         provider
    Operation:       Update
    Subresource:     status
    Time:            2023-05-04T12:16:18Z
  Resource Version:  5471213446
  UID:               46460c35-b937-4459-8972-9fba7e211348
Spec:
  Credentials:
    Secret Ref:
      Key:        credentials
      Name:       name-of-secret
      Namespace:  crossplane-system
    Source:       Secret
Status:
Events:  <none>
Configuration reference table - providerconfig
| Parameter | Description |
|---|---|
namespace | The Kubernetes namespace the secret is in. |
name | The name of the Kubernetes secret object. |
Creating a managed resource
-
Run the following command to create a Scaleway Object Storage bucket:
nano bucket.yaml -
Paste the following example and save the changes by following the information displayed on your terminal:
apiVersion: object.scaleway.upbound.io/v1alpha1 kind: Bucket metadata: name: object-bucket spec: forProvider: name: crossplane-object-bucket providerConfigRef: name: default -
Run the following command to apply the previously set configuration to the bucket. Make sure to replace the example file path with your own.
kubectl apply -f bucket.yamlYou should get an output similar to the following:
bucket.object.scaleway.upbound.io/object-bucket created -
Run the following command to retrieve details on your newly created bucket:
kubectl get bucketsAn output similar to the following should display, with the values for
READYandSYNCEDreturningTrue:NAME READY SYNCED EXTERNAL-NAME AGE object-bucket True True fr-par/crossplane-object-bucket 9s
Deleting a managed resource
-
Run the following command to delete the bucket you just created:
kubectl delete -f bucket.yamlYou should get an output similar to this, confirming the bucket deletion:
bucket.object.scaleway.upbound.io "object-bucket" deleted -
Run the following command to verify whether the bucket was properly deleted:
kubectl get bucketsYou should get an output similar to the following:
No resources found
Helpful developing commands
If you have cloned the Crossplane provider GitHub repository and wish to explore it, here are other helpful Upbound developing commands:
go run cmd/generator/main.go "$PWD"to run a code-generation pipelinemake runto run against a Kubernetes clustermake allto build, push, and installmake buildto build binary
Reporting a bug
You can open an issue to file bugs, suggest improvements, or request new features.
Visit our Help Center and find the answers to your most frequent questions.
Visit Help Center