Setting up HestiaCP to manage your Scaleway Instance
HestiaCP is an open-source control panel that provides easy-to-use web and command line interfaces that allow web server administrators to manage domain names, web spaces, mail accounts, and DNS zones from a centralized location with ease and without the need to manually edit configuration files.
The project is a fork of the existing Vesta control panel and is currently in active development. It has a large base of contributors on its GitHub repository. The software is published under the GPLv3 license.
In this tutorial, you will learn how to install and configure HestiaCP on Ubuntu 18.04 (Bionic Beaver).
Before you start
To complete the actions presented below, you must have:
- A Scaleway account logged into the console
- Owner status or IAM permissions allowing you to perform actions in the intended Organization
- An SSH key
- An Instance running on Ubuntu 18.04 (Bionic Beaver)
- Configured an A-record pointing to the IP address of your Instance
sudoprivileges or access to the root user
Installing HestiaCP
- Connect to your server using SSH:
ssh root@SERVER_IP - Update your system to the latest version:
apt-get update && apt-get upgrade - Install the latest version of the
ca-certificatespackage:apt-get install ca-certificates - Download the HestiaCP installation script:
wget https://raw.githubusercontent.com/hestiacp/hestiacp/release/install/hst-install.sh - Run the installation script and follow the instructions on the screen to install HestiaCP on your Instance:
bash hst-install.sh
_   _           _   _        ____ ____
| | | | ___  ___| |_(_) __ _ / ___|  _ \
| |_| |/ _ \/ __| __| |/ _` | |   | |_) |
|  _  |  __/\__ \ |_| | (_| | |___|  __/
|_| |_|\___||___/\__|_|\__,_|\____|_|

                      Hestia Control Panel
                                    v1.9.3
====================================================================
The following server components will be installed on your system:

  - NGINX Web / Proxy Server
  - Apache Web Server (as backend)
  - PHP-FPM Application Server
  - Bind DNS Server
  - Exim Mail Server + ClamAV + SpamAssassin
  - Dovecot POP3/IMAP Server
  - MariaDB Database Server
  - Vsftpd FTP Server
  - Firewall (Iptables) + Fail2Ban Access Monitor
====================================================================
Would you like to continue with the installation? [Y/N]: # Type y or Y to confirm the installation
Please enter admin email address: myemail@example.com # Enter your email address
Please enter FQDN hostname [scw-tender-sinoussi]: hestiacp.example.com # Enter the domain name for your HestiaCP instance
The installation of HestiaCP is automatic and can take up to 15 minutes depending on your system configuration.
Once the installation is complete, the following message appears.
You have successfully installed Hestia Control Panel on your server.

Ready to get started? Log in using the following credentials:

    Admin URL:  https://hestiacp.example.com:8083
    Username:   admin
    Password:   a_secure_password

Thank you for choosing Hestia Control Panel to power your full stack web server,
we hope that you enjoy using it as much as we do!

Please feel free to contact us at any time if you have any questions,
or if you encounter any bugs or problems:

E-mail:  info@hestiacp.com
Web:     https://www.hestiacp.com/
Forum:   https://forum.hestiacp.com/
GitHub:  https://www.github.com/hestiacp/hestiacp

Note: Automatic updates are enabled by default. If you would like to disable them,
please log in and navigate to Server > Updates to turn them off.

Help support the Hestia Control Panel project by donating via PayPal:
https://www.hestiacp.com/donate
--
Sincerely yours,
The Hestia Control Panel development team

Made with love & pride by the open-source community around the world.

(!) IMPORTANT: You must logout or restart the server before continuing.

Do you want to reboot now? [Y/N]- Type
Yto complete the installation and reboot your Instance.
Creating a new user account
You can create additional user accounts to allow your users to manage their services by themselves using the Hestia control panel.
- Open a web browser on your computer and point it to your HestiaCP domain (for example:
http://hestiacp.example.com:8083). The Hestia control panel login screen displays: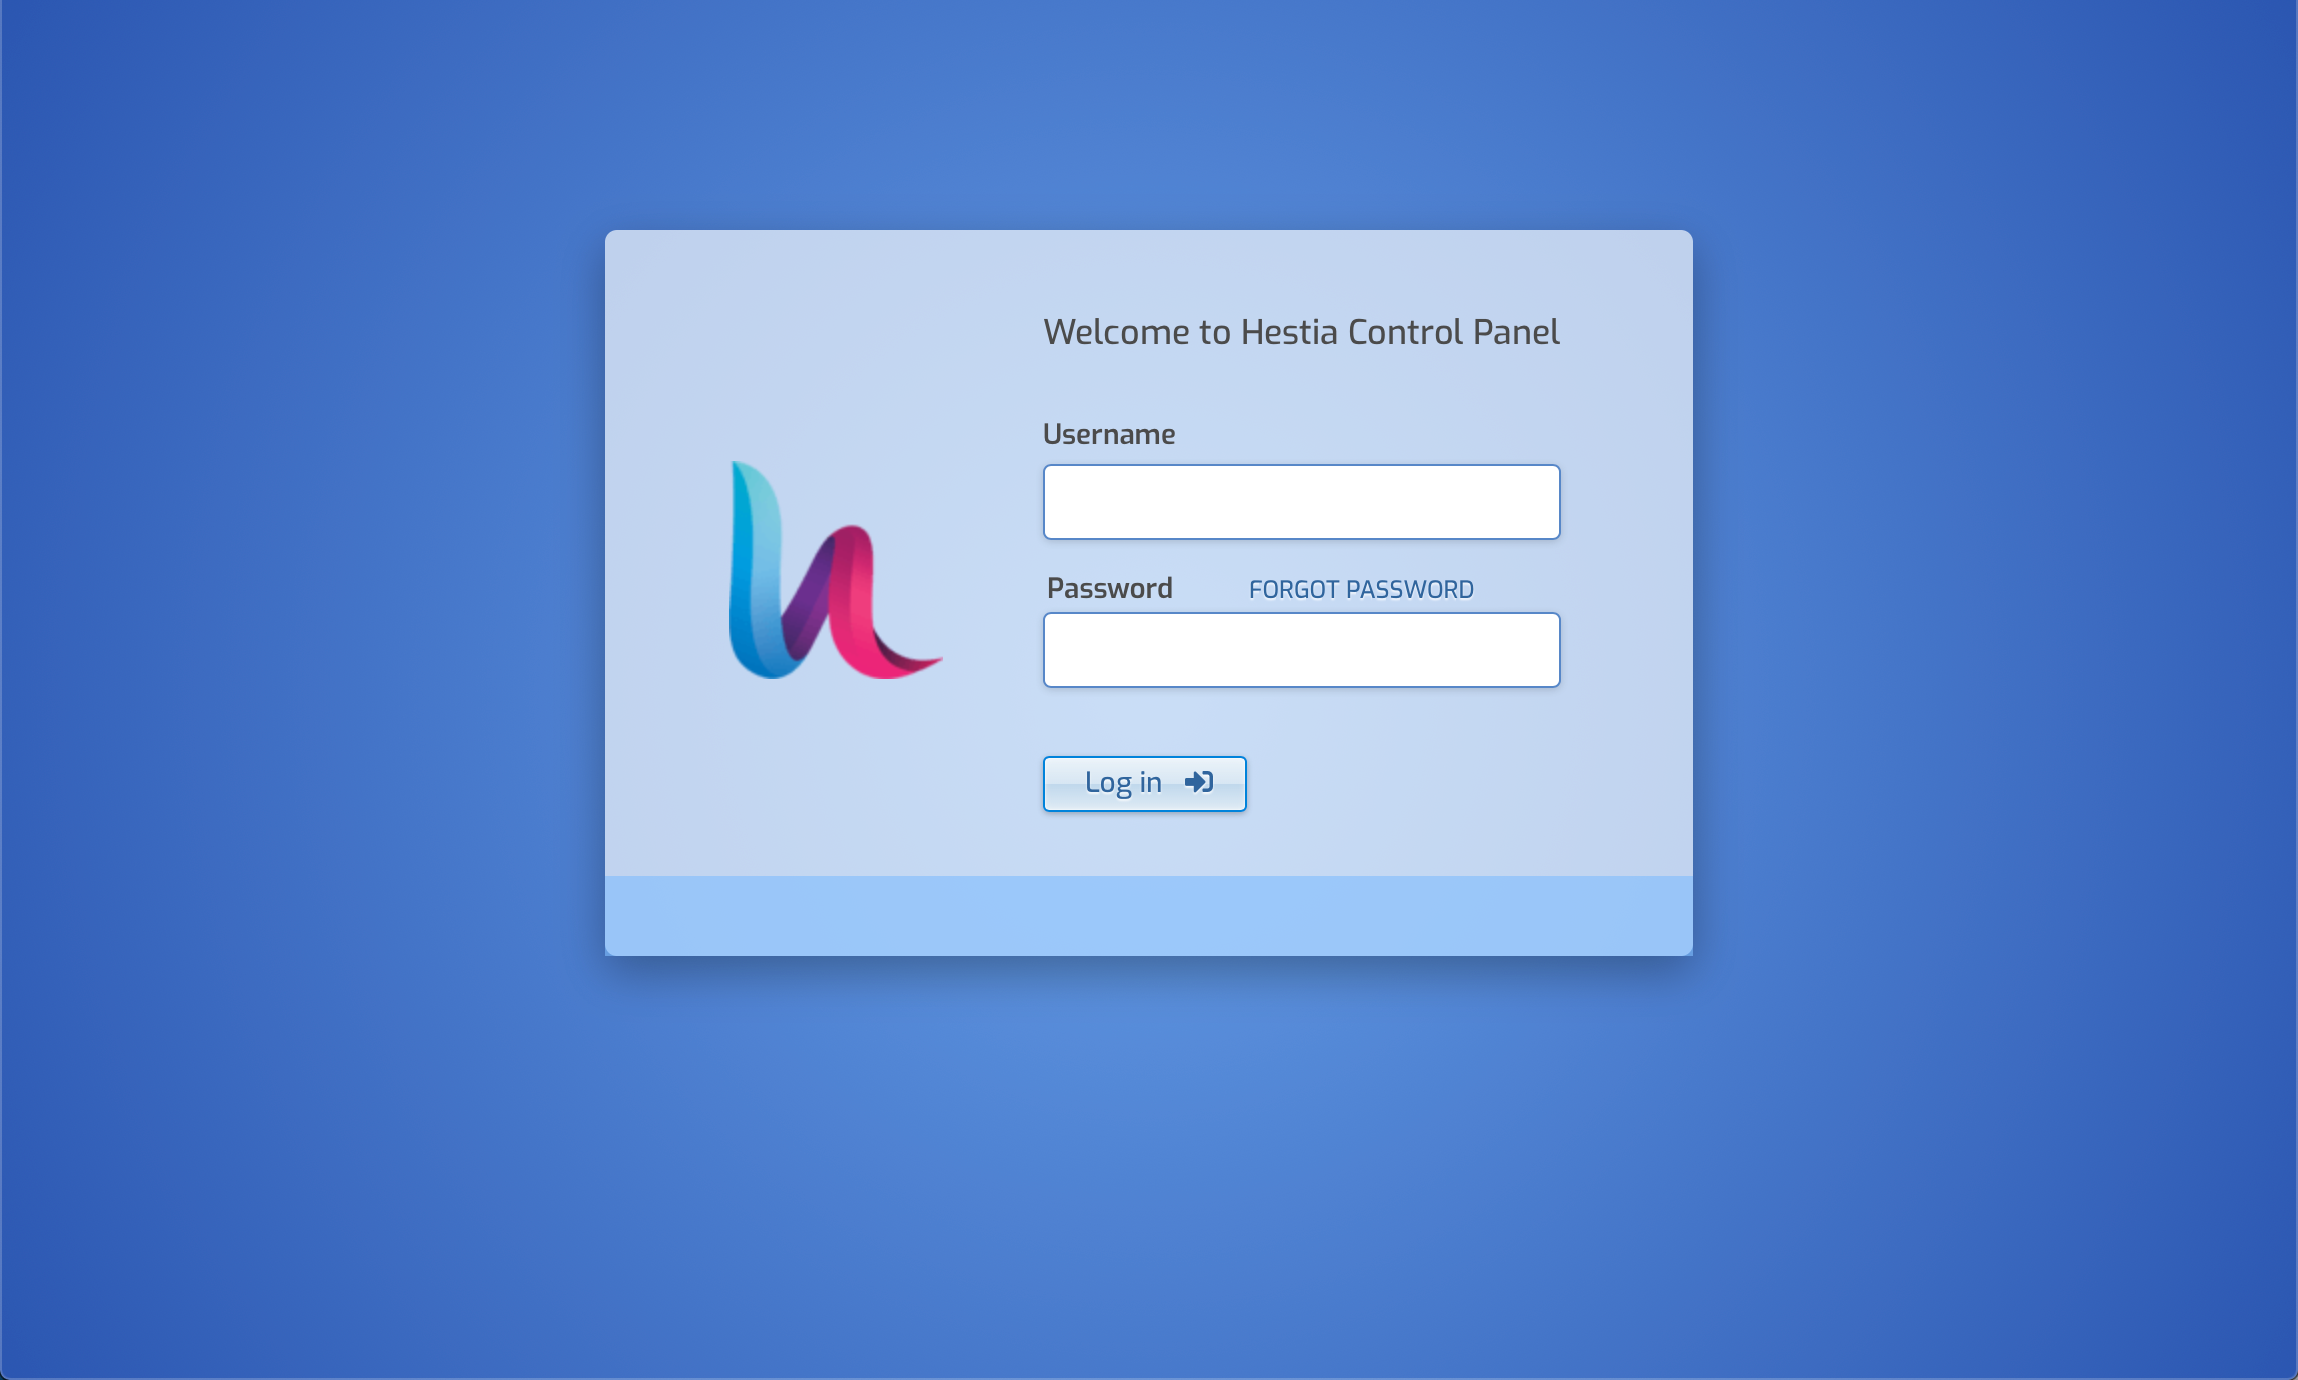
- Enter the login admin and the password displayed during the installation. 1. Open a web browser on your computer and point it to your HestiaCP domain (for example:
http://hestiacp.example.com:8083). The Hestia control panel login screen displays: - Enter the login admin and the password displayed during the installation. alt="" />
- Click Add User to create a new user account.
- Enter the credentials of the user account, such as name, email address, and password.
- Click Create User to create the new account. Once created click Login as ... to log into the newly created account:

Adding a domain name
- Click Add Web Domain on the Hestia dashboard.
- Enter the domain name in the form and tick the boxes if you want to use the domain name for e-mails and if Hestia shall manage the DNS zone of it. Click Advanced options to configure advanced settings such as the proxy configuration, web statistics, and TLS certificates.
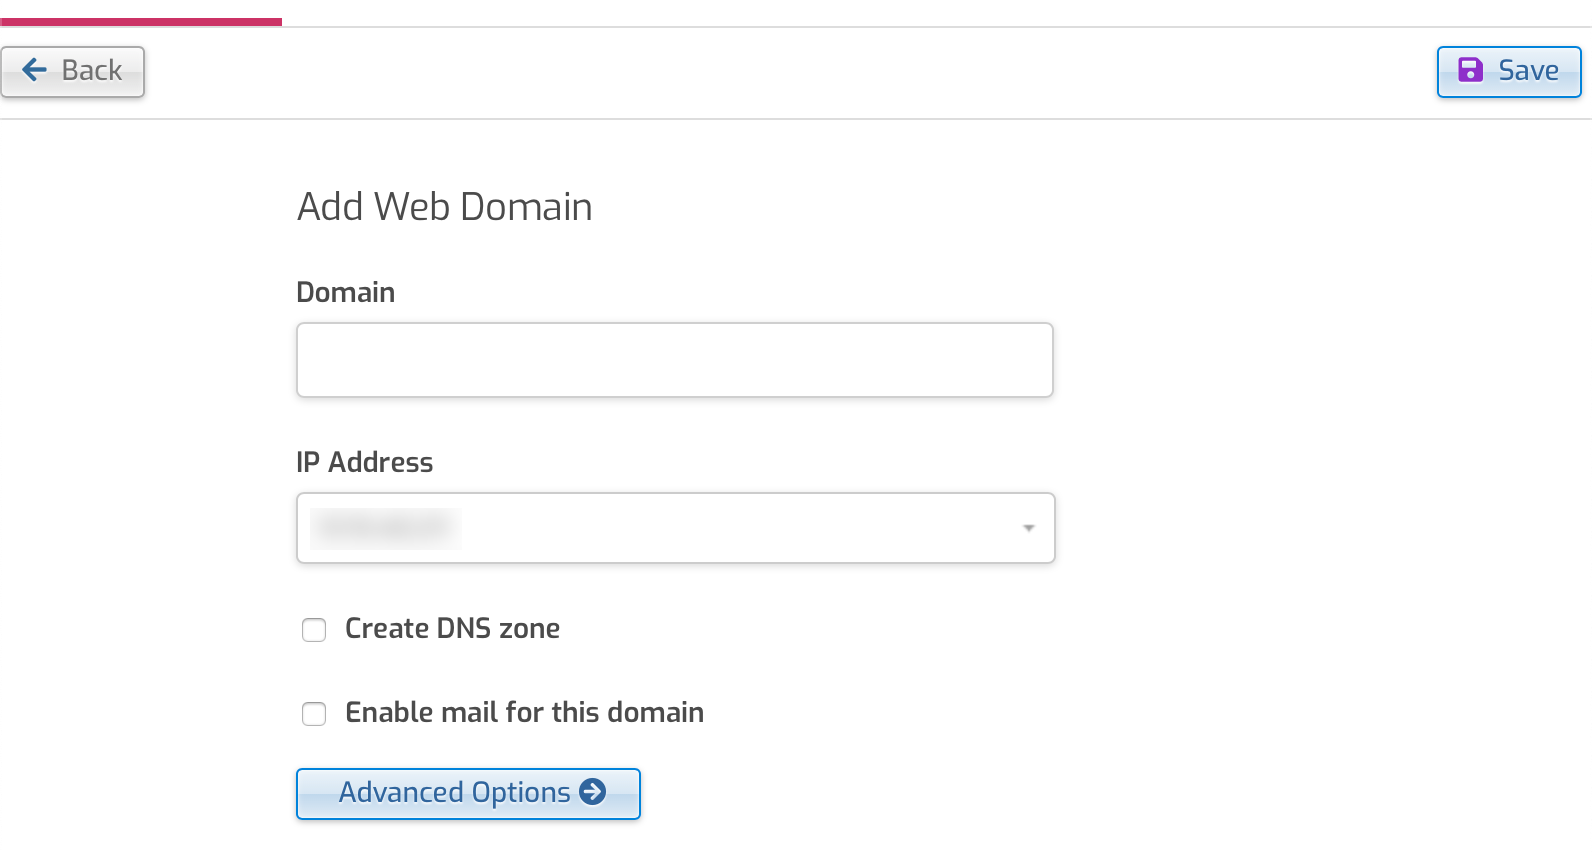
- Click Save to add the domain name to the configuration.
Creating e-mail accounts
- From the Hestia dashboard, click Mail to view a list of your mail domains. Click the domain name you want to configure.
- The list of e-mail accounts displays. Click Add Mail account, then enter the details for the new account. The connection parameters of the mail account are displayed on the right-hand side of the screen. Optionally enter an e-mail address to send the credentials to, post account creation.
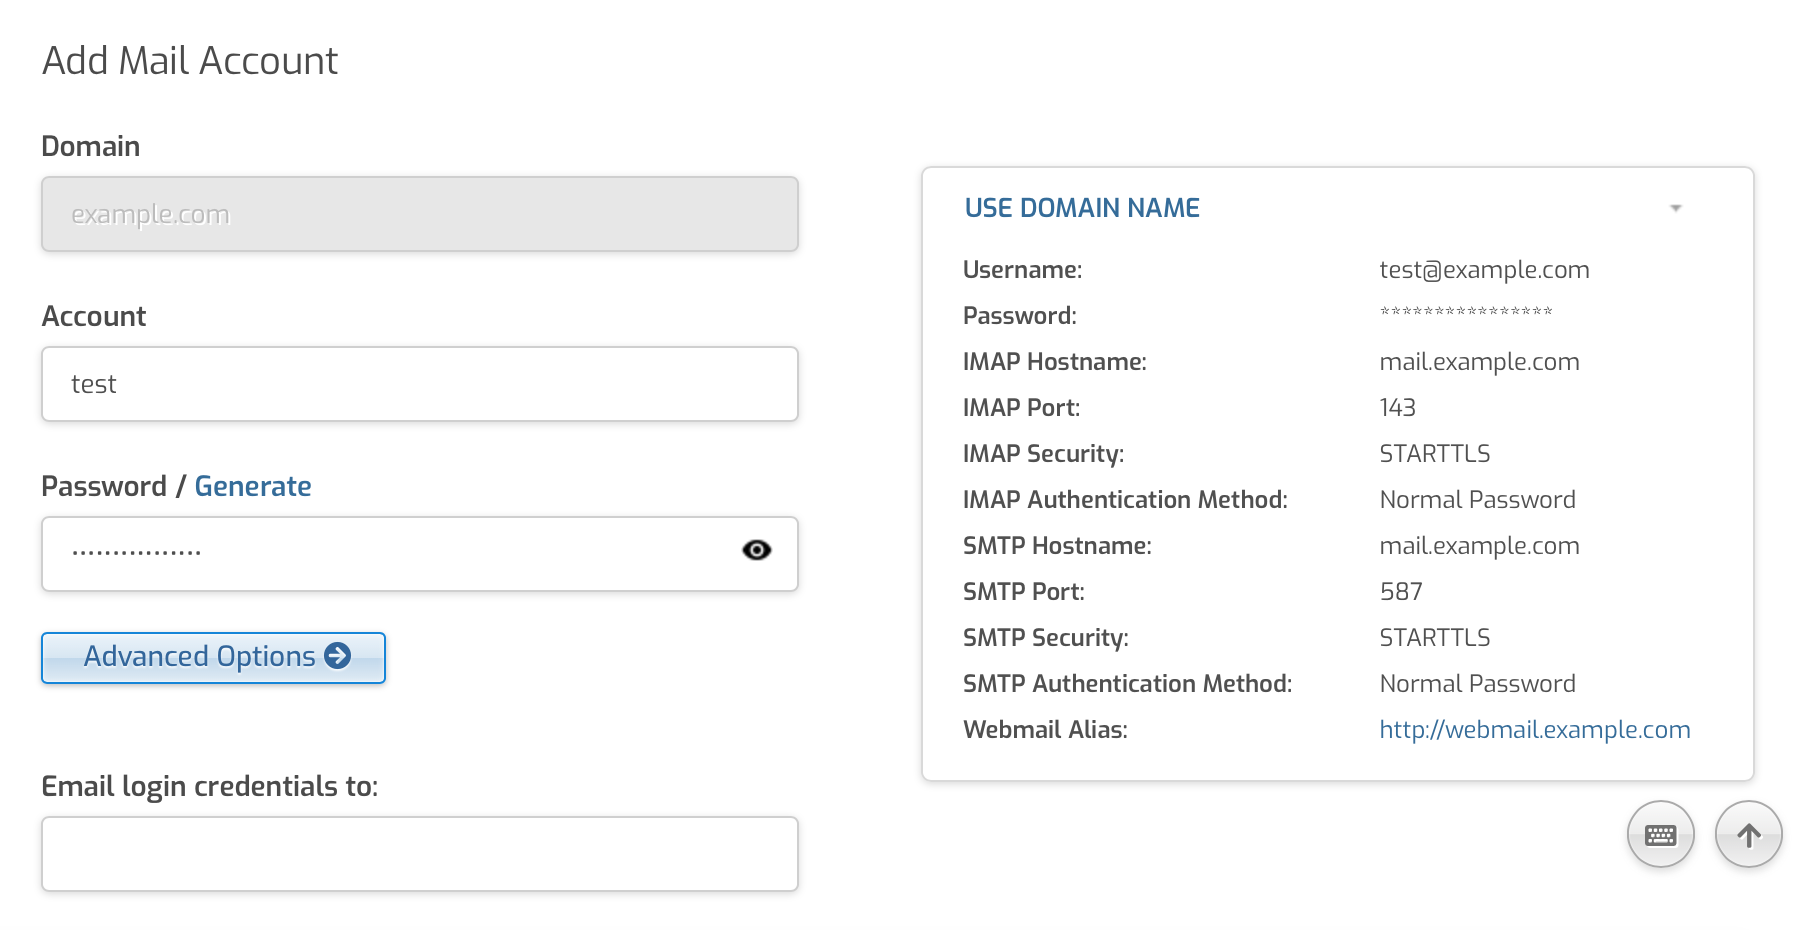
- Click Save to confirm the creation of the new mailbox.
Going further
Hestia control panel provides also features to manage databases, cronjobs, and backups. You may refer to the official documentation for more information on how to manage these features. You will also find information on how to manage your server using the command-line tools included with Hestia control panel in the CLI reference documentation.
Visit our Help Center and find the answers to your most frequent questions.
Visit Help Center