Hosting your own GitHub runner on an Instance
GitHub Actions stands as a versatile tool, simplifying the automation of all your software workflows. This integrated CI/CD solution handles an extensive array of tasks tied to your repository.
GitHub offers a limited range of complementary resources for constructing applications through GitHub Actions; however, proficient developers can swiftly encounter these constraints. Teams engaged in professional-grade projects might also want full authority over their build environment. GitHub extends the option to use runners on self-managed instances. A runner function is an application executing tasks from a GitHub Actions workflow.
In this guide, you will learn how to configure a GitHub Actions runner on a Scaleway Instance, effectively streamlining your project workflows. For typical workloads, opting for a General Purpose Instance with shared resources is recommended. For resource-intensive workloads, the use of General Purpose Instances with dedicated resources provides enhanced performance.
Before you start
To complete the actions presented below, you must have:
- A Scaleway account logged into the console
- Owner status or IAM permissions allowing you to perform actions in the intended Organization
- An SSH key
- An Instance running on Ubuntu 20.04
- A GitHub account
sudoprivileges or access to the root user
Adding a workflow to your repository
- Log into your GitHub account and select the repository in which you want to add GitHub Actions.
- Click the Actions tab in your repository. A list of available workflows for your project displays.

- Select the workflow that corresponds to your project and click Set up this workflow. You can either create a workflow from scratch or use one of the templates suggested.
- Edit the workflow according to your requirements. For more information about GitHub Actions, refer to the product documentation. Once configured, save the workflow.
Installing a GitHub runner
- Connect to your Instance via SSH.
- Create a user for the GitHub runner.
adduser ghrunner - Add the user to the superuser file:
adduser ghrunner sudo - Switch into the
ghrunneruser account:su ghrunner - Download and unpack the GitHub runner using the following commands:
# Create a folder
mkdir actions-runner && cd actions-runner
# Download the latest runner package
curl -O -L https://github.com/actions/runner/releases/download/v2.315.0/actions-runner-linux-x64-2.323.0.tar.gz
# Extract the installer
tar xzf ./actions-runner-linux-x64-2.323.0.tar.gz
Adding the runner to your GitHub repository
-
Go back to your GitHub repository and click the Settings tab. Then click Actions in the side menu.

-
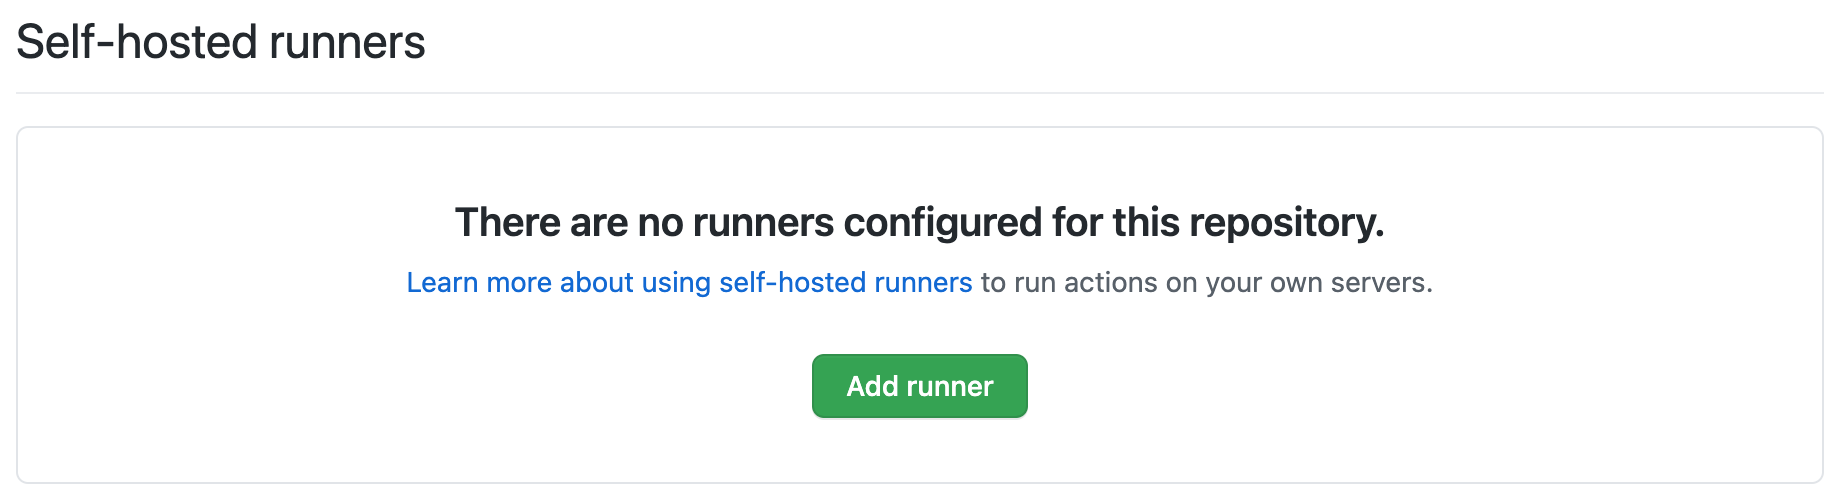
Click Runners in the Actions section of the side menu. The external runners' overview page displays.
-
Click Add runner.
-
The runners' configuration instruction displays. Select the OS type of your OS (Linux, X64) and scroll down to the Configure section of the page.
-
Copy the configuration information displayed and execute the
config.shon your Instance:./config.sh --url https://github.com/scaleway-community/my-project --token AC6XRSJUUEWXLYJ7SQ6WMVLASKYWZThe configuration tool connects to GitHub using the given token.
-
Enter the name of the runner during the runner configuration. Several tags are automatically attached to it. Optionally, you can enter custom tags. When prompted, enter the
workdirectory of the runner. You can confirm the default values by pressing enter. Otherwise, enter your customized values before pressing enter. -
The runner is configured. Once everything is ready, the following message displays:
√ Runner successfully added √ Runner connection is good [...] √ Settings Saved. -
Launch the runner using the following command:
./run.sh
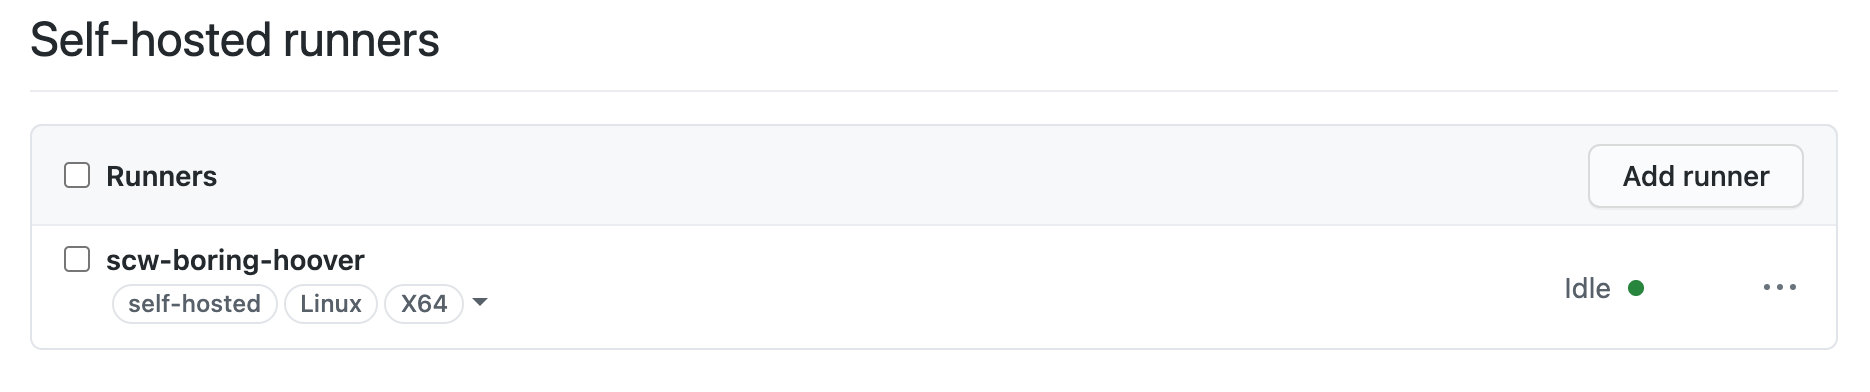
Your self-hosted GitHub runner is now ready and you can check its status from the Runners section of your GitHub repository:
To run your CI/CD tasks on your self-hosted runner, add this YAML in your workflow file for each job:
runs-on: self-hostedFor more information about GitHub runners, refer to the official documentation.
Visit our Help Center and find the answers to your most frequent questions.
Visit Help Center