Manage PostgreSQL Database Instances with pgAdmin 4
pgAdmin is an open-source management tool for PostgreSQL databases. It allows the management of your Scaleway Database Instances and other PostgreSQL databases through an easy-to-use web-interface within your web browser.
Before you start
To complete the actions presented below, you must have:
- A Scaleway account logged into the console
- Owner status or IAM permissions allowing you to perform actions in the intended Organization
- An SSH key
- An Instance running on Debian Buster
- A Database for PostgreSQL
sudoprivileges or access to the root user
Installing pgAdmin
- Connect to your Instance via SSH.
- Update the
aptsources and the software already installed on the Instance:apt update && apt upgrade -y - Import the PostgreSQL repository signing key:
curl -fsS https://www.pgadmin.org/static/packages_pgadmin_org.pub | sudo gpg --dearmor -o /usr/share/keyrings/packages-pgadmin-org.gpg - Add the PostgreSQL repository to the APT package manager, by configuring the file
/etc/apt/sources.list.d/pgdg.list:sudo sh -c 'echo "deb https://ftp.postgresql.org/pub/pgadmin/pgadmin4/apt/$(lsb_release -cs) pgadmin4 main" > /etc/apt/sources.list.d/pgadmin4.list && apt update' - Update the
aptsources and install pgAdmin 4 via theaptpacket-manager. The following command will install the packagespgadmin4andpgadmin4-apache2providing an Apache web server configured for pgAdmin:apt-get update && apt-get install pgadmin4 pgadmin4-web -y - Configure the web server, if you installed pgadmin4-web:
sudo /usr/pgadmin4/bin/setup-web.sh - During the installation, you are prompted to enter the email address of the first user for pgAdmin. Enter your email address and press Enter: ```
- The installation tool asks for a password for the pgAdmin user. Enter it and press Enter:
- Confirm the installation of pgadmin by pressing
ywhen prompted. The basic installation of pgAdmin is complete now.
Securing the connection using TLS
By default, connections to the application are being made using an insecure HTTP connection. It is recommended to configure an HTTPS connection to encrypt the traffic between your Instance and your computer. To do so, you should set up an A-Record within your domain name and install Certbot to obtain a free Let's Encrypt TSL/SSL certificate:
- Install Certbot and the Apache web server plugin:
sudo apt-get install certbot python3-certbot-apache - Run Certbot to obtain a certificate and configure the Apache web server automatically:
sudo certbot --apache
Configuring pgAdmin
Once installed, proceed to the configuration of pgAdmin with your Scaleway Database Instance.
-
Open your web browser and point it to
http://<your_instance_ip>/pgadmin4/, or if installed with HTTPShttps://<your_domain_name>/pgadmin4/. The pgAdmin login page displays: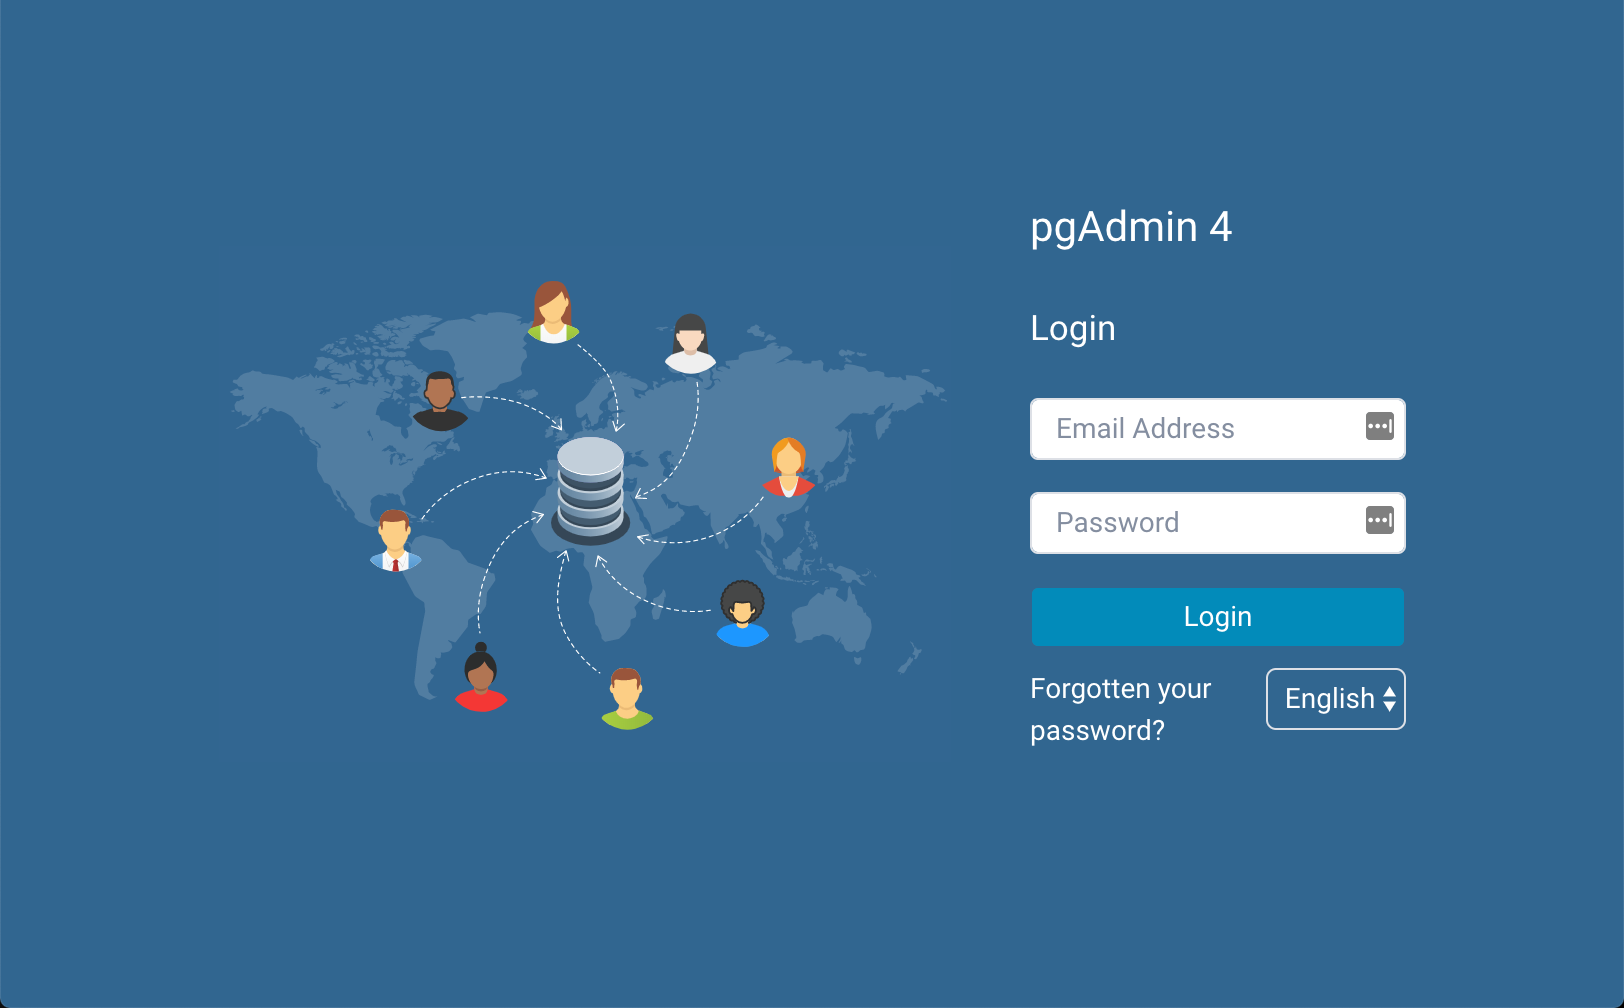
-
Enter the username and password configured during the installation and click Login.
-
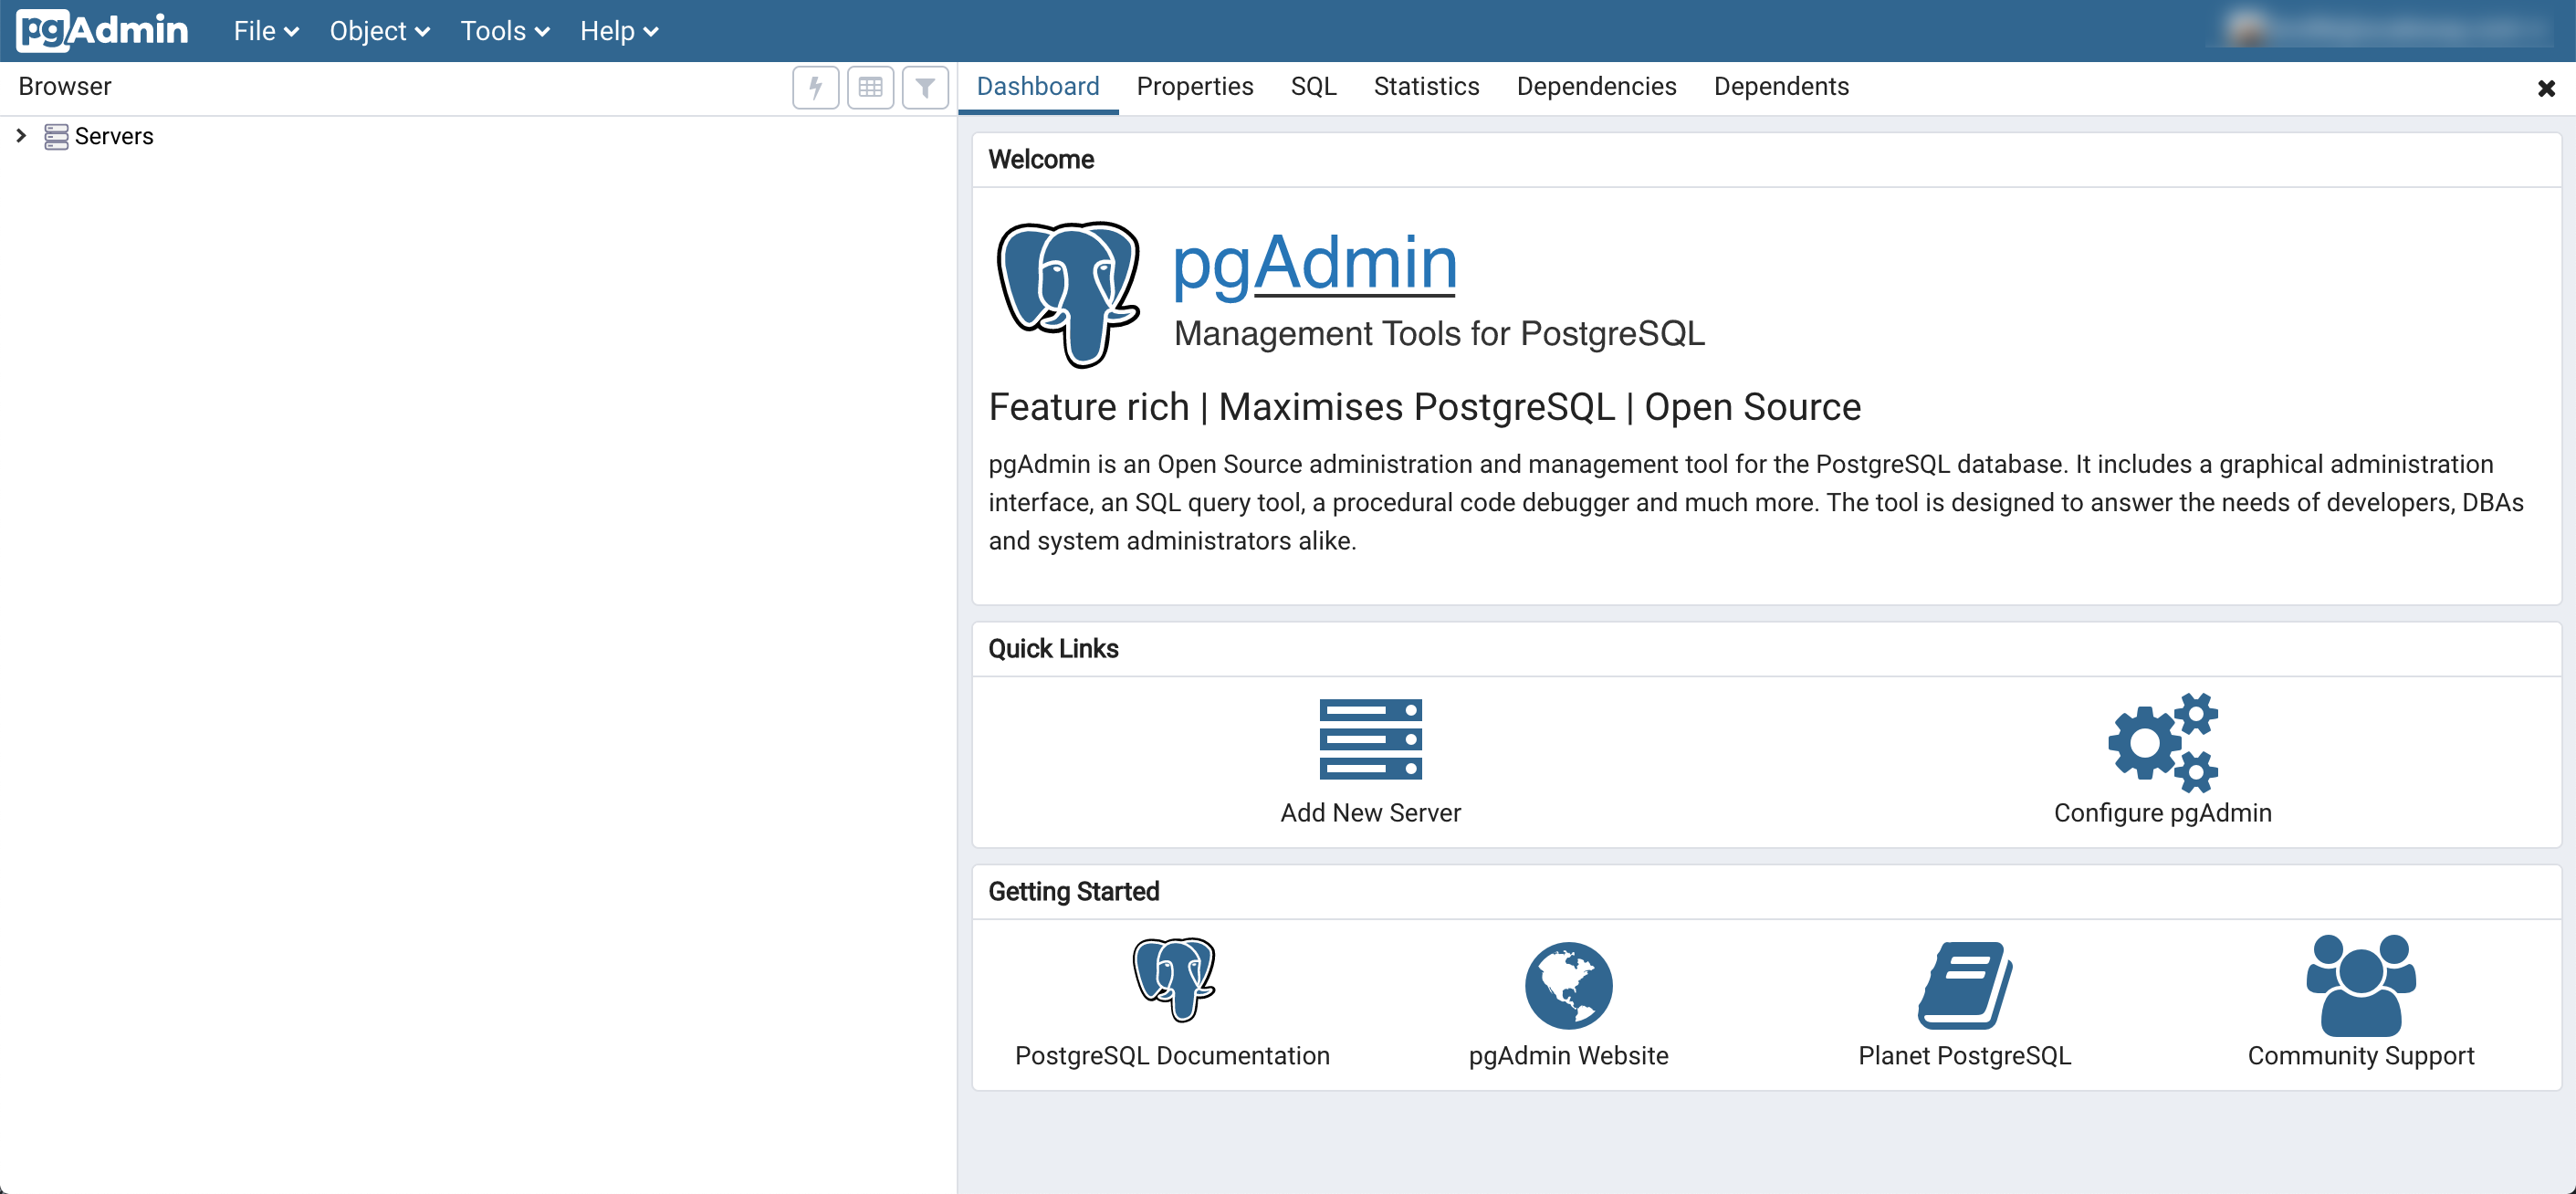
The pgAdmin dashboard displays, to connect the application with your Scaleway Database Instance, click Add New Server:
-
Specify the general information of the Database Instance:

- Name: Enter a name of your choice for the Database Instance
- Server group: If you are managing multiple Database Instances, you can create server groups to make the management easier.
- Background: You can configure a background color for the Instance
- Foreground: You can set a foreground color for the Instance
- Connect now: Tick this box to connect to the Instance once the configuration is completed
- Comments: You may add additional comments to the Instance
-
Click the Connection tab of the create server window and enter the connection details of your Database Instance:
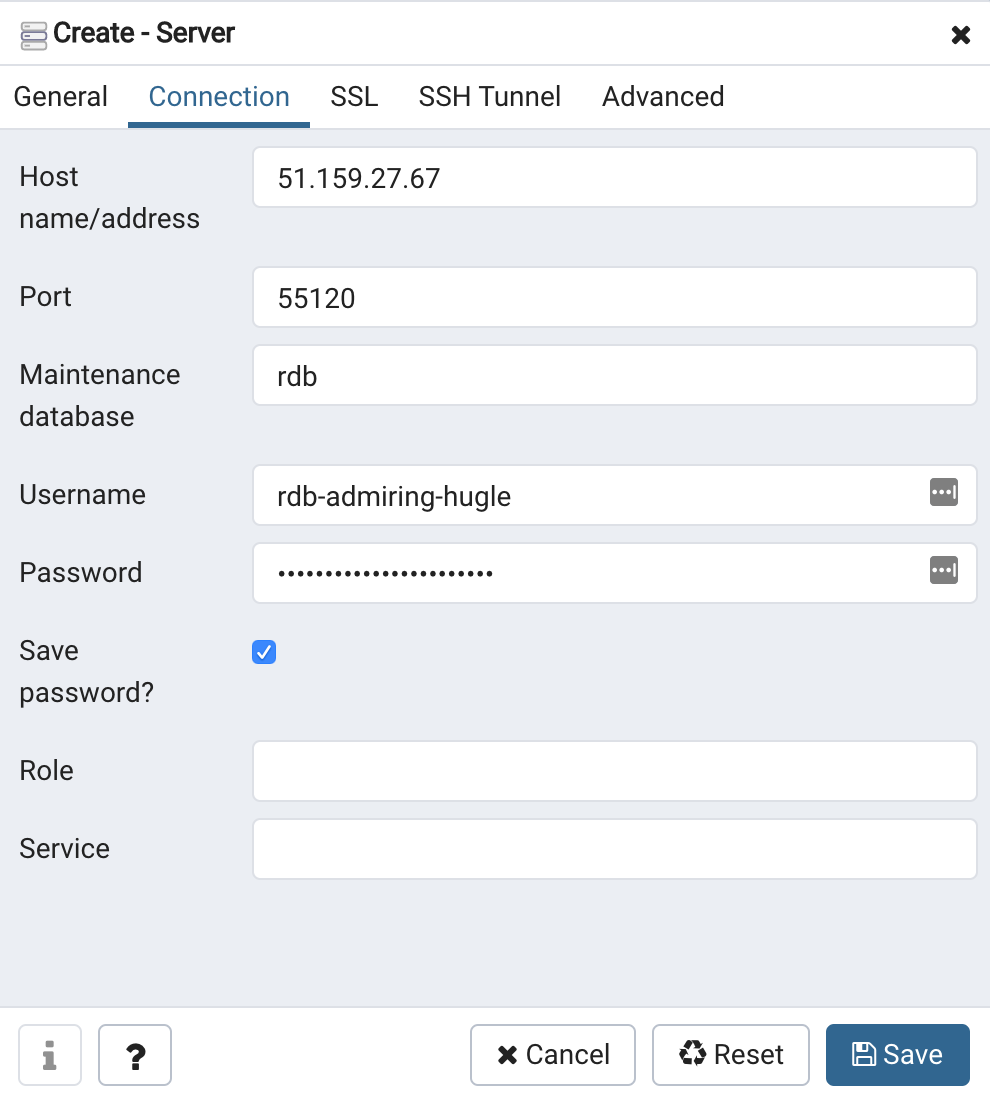
- Host name/address: Enter the IP address of your Database Instance, displayed on the database information page of your Instance.
- Port: Enter the port of your Database Instance. This information is available from the database information page of your Instance.
- Maintenance database: Enter the information of your default database here. With default configuration this value shall be
rdb. - Username: Enter the username for your database. You can find this information in the users tab of your Database Instance in the Scaleway console.
- Save Password: Tick this box to save your database password in pgAdmin
-
Click the SSL panel and upload the SSL certificate available from the database information page of your Scaleway console. By default, pgAdmin will negotiate an SSL connection without checking the CA (this is the PostgreSQL behavior).
With this option, we add a layer of security by checking the certificate authority (CA) used to sign the certificate and make sure this is the same as the one on the server.
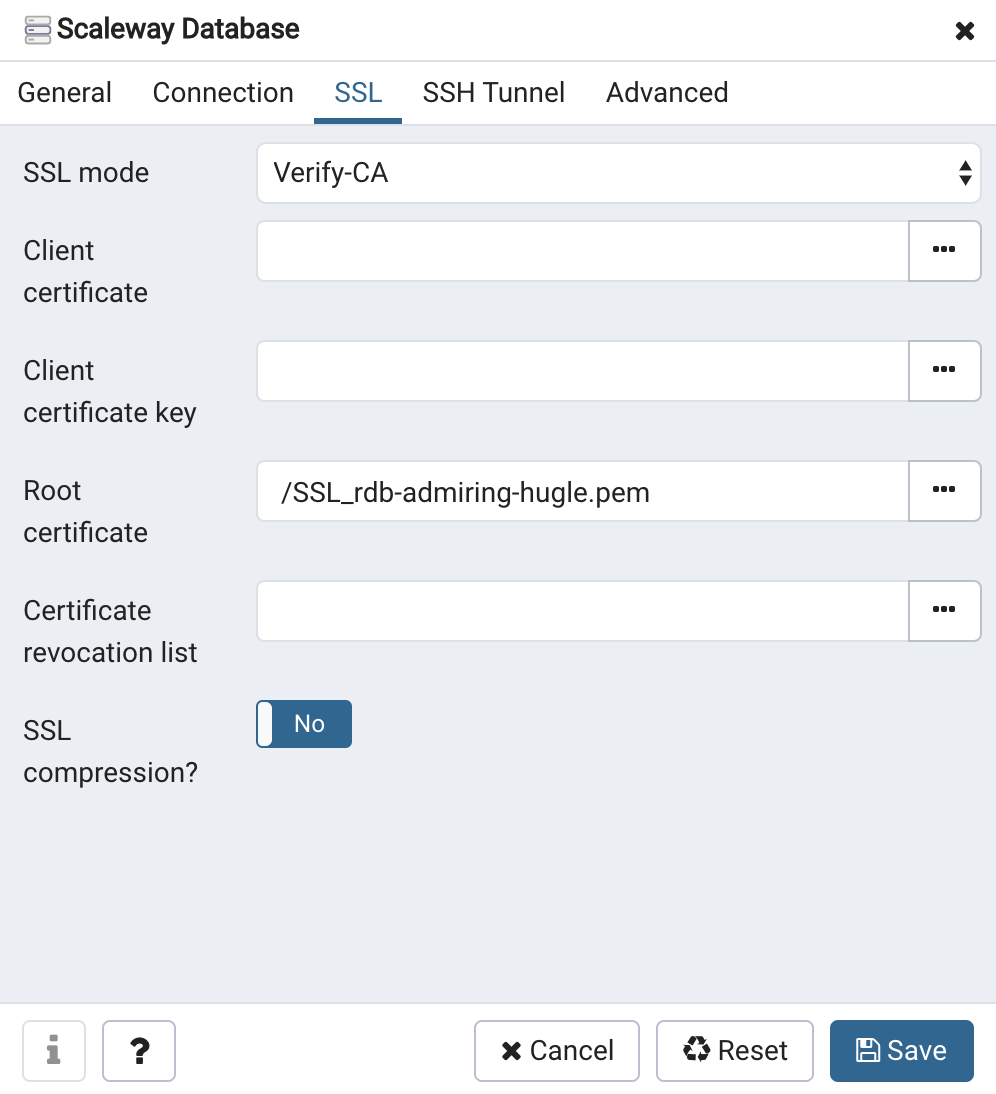
- SSL mode: Set the SSL mode value to
Verify-CAto use the certificate issued by Scaleway - Client certificate: Keep this value empty
- Client certificate key: Keep this value empty
- Root certificate: Click
...to upload the SSL certificate available from your Scaleway console.
- SSL mode: Set the SSL mode value to
-
Once all settings are made, click Save to update the configuration of pgAdmin and to establish a connection to your Database Instance.
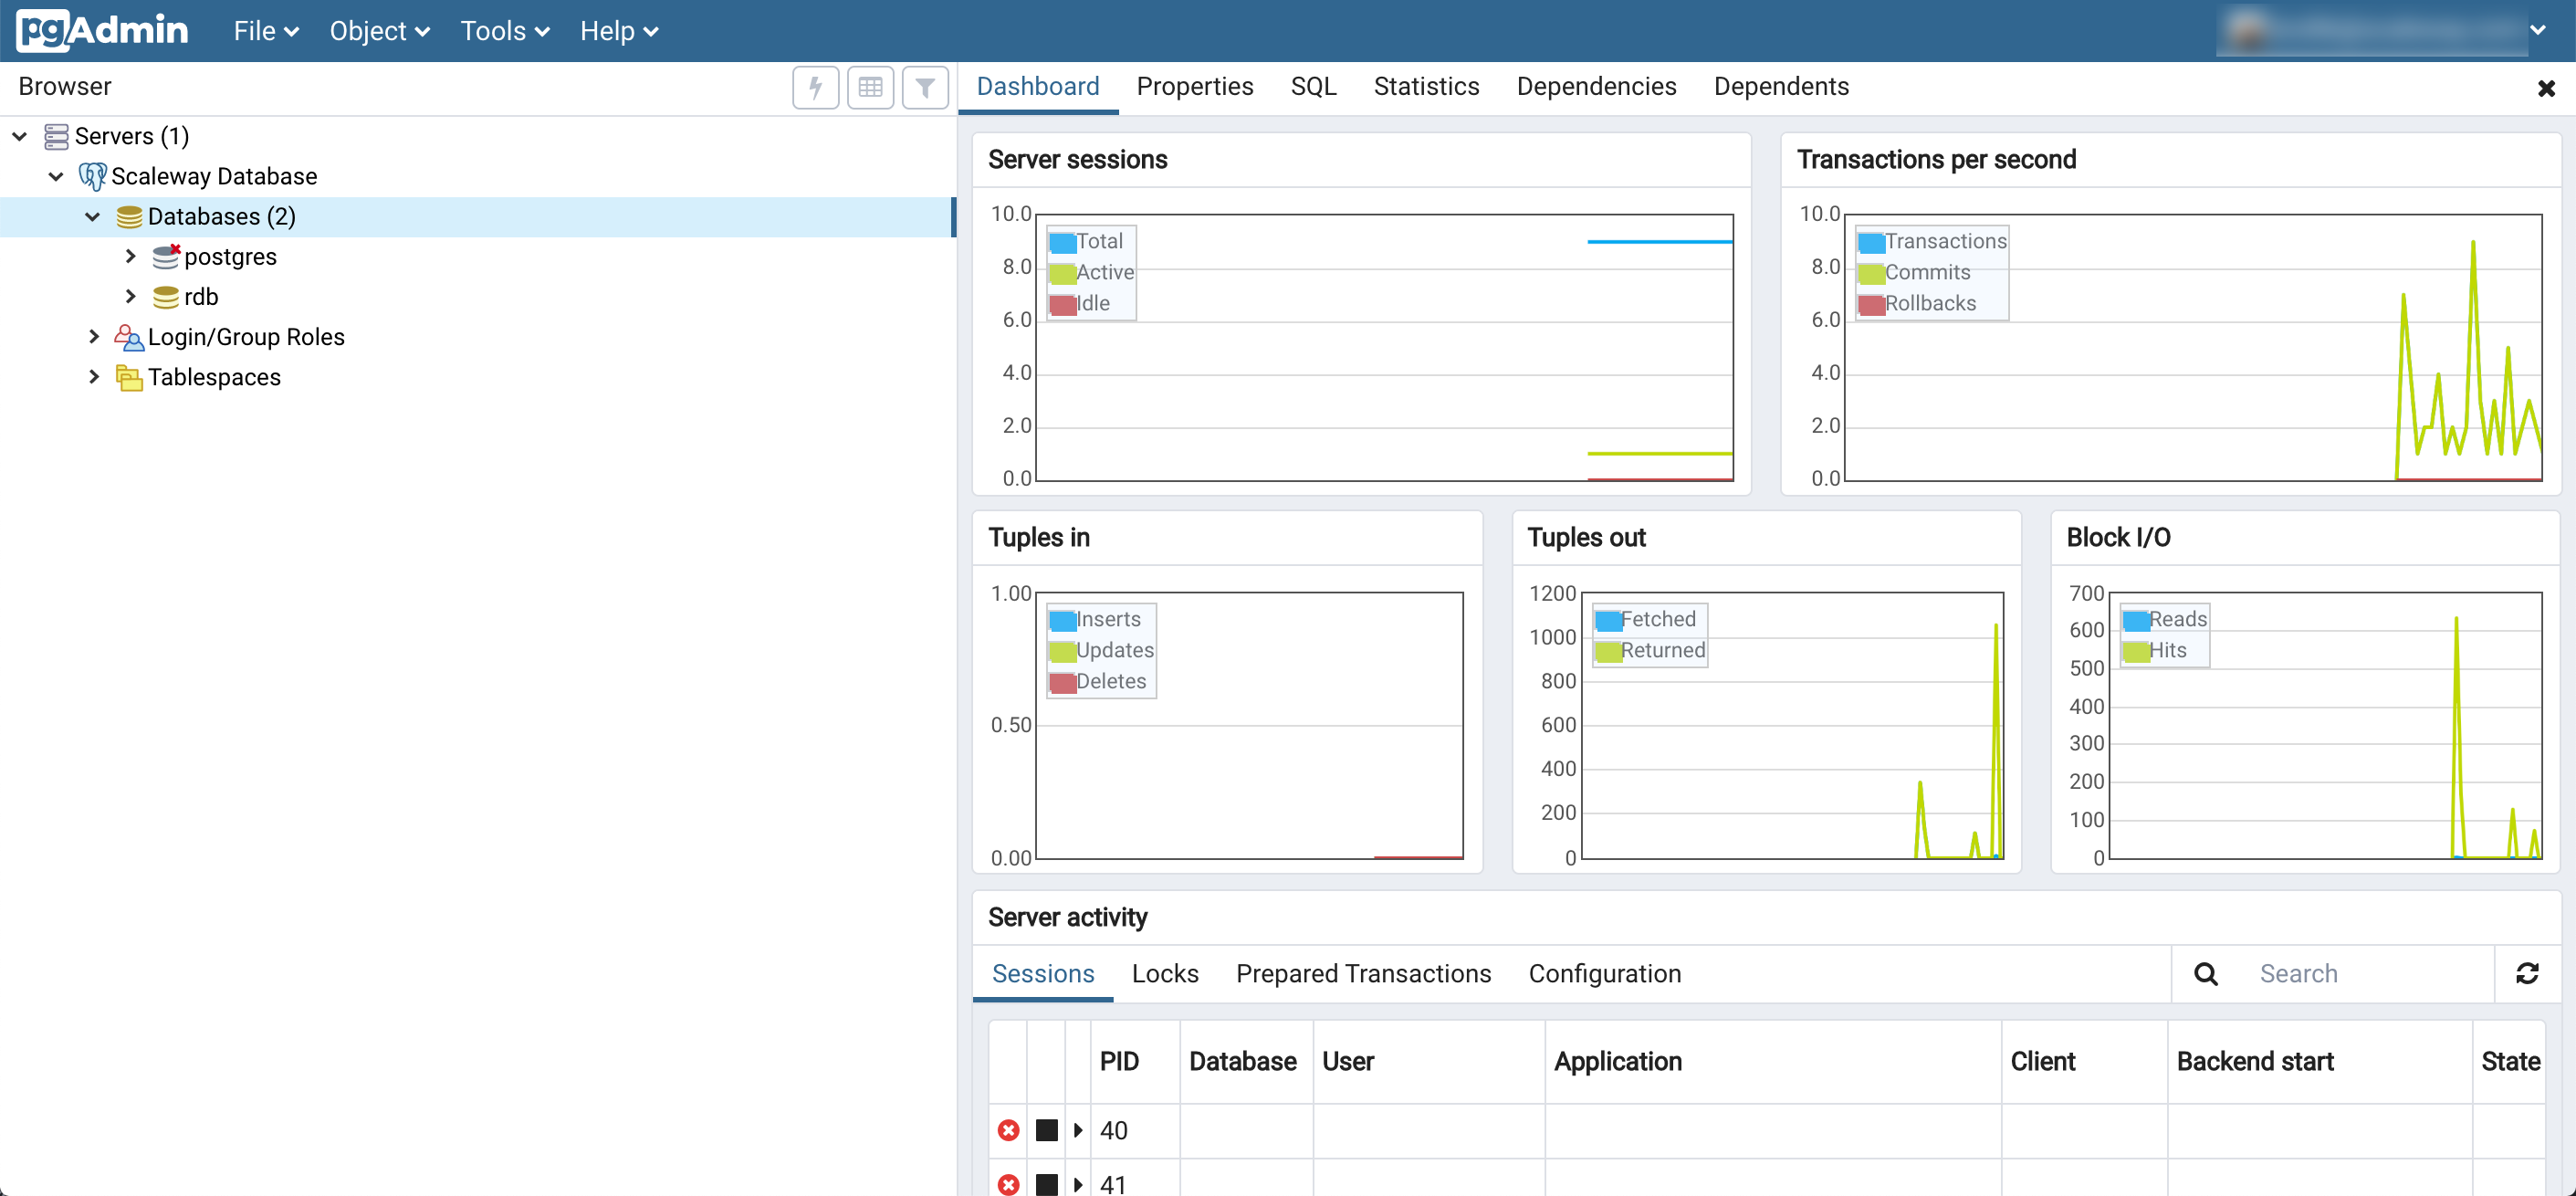
-
The Dashboard displays and your Database Instance is listed in the servers section of pgAdmin:
Conclusion
You can now manage your Database Instance from a visual interface. For more information using pgAdmin, you may follow the official documentation.
Visit our Help Center and find the answers to your most frequent questions.
Visit Help Center