Setting up SPF and DKIM records with Transactional Email for popular DNS providers
In this tutorial, you will learn how to set up SPF and DKIM records with Transactional Email for other DNS providers such as GoDaddy, Cloudflare and Namecheap.
Before you start
To complete the actions presented below, you must have:
- A Scaleway account logged into the console
- Owner status or IAM permissions allowing you to perform actions in the intended Organization
- Configured your domain(s) with Transactional Email.
- Domain names with GoDaddy, Cloudflare, and/or Namecheap
Configure DNS settings for GoDaddy
- Log in to your GoDaddy account.
- Click Domains then click the three dots next to the domain name you want to configure.
- Click Manage DNS. The DNS Management page displays your existing DNS records.
Setting up SPF for GoDaddy
- Click Add in the DNS Records section.
- Select TXT in the Type drop-down list.
- Enter "@" in the Name section.
- Copy the following value:
v=spf1 include:_spf.scw-tem.cloud -all - Paste the value you have copied into the Value section.
- Select 1 Hour in the TTL section.
- Click the Save button.
Setting up DKIM for GoDaddy
- Click Add in the DNS Records section.
- Select TXT in the Type drop-down list.
- Copy the name that displays in the Scaleway console.
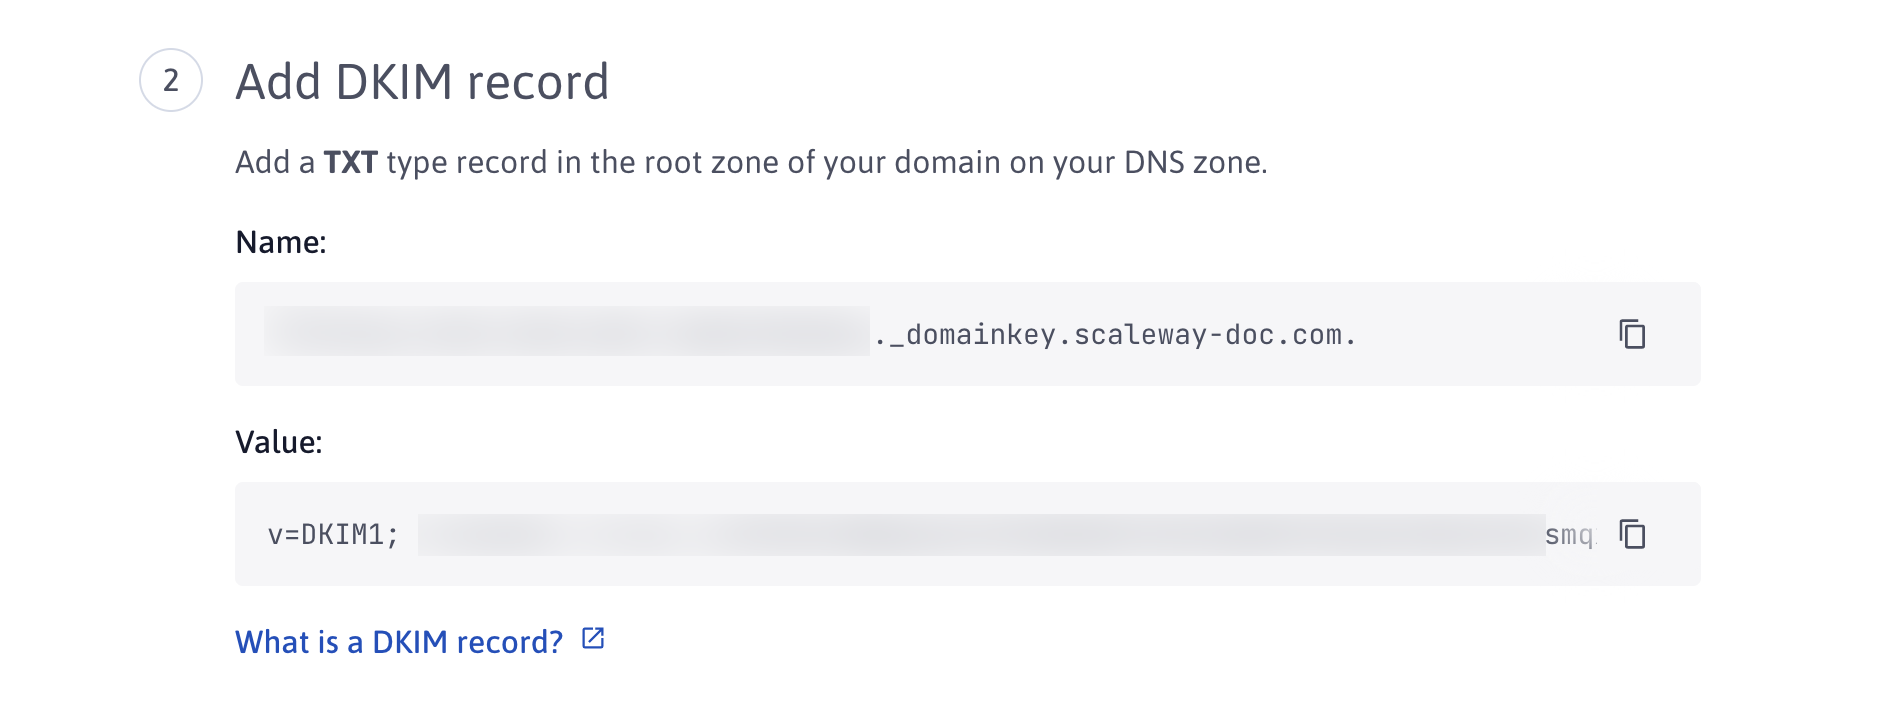
- Paste it in the Name section.
- Copy the value that displays in the console.
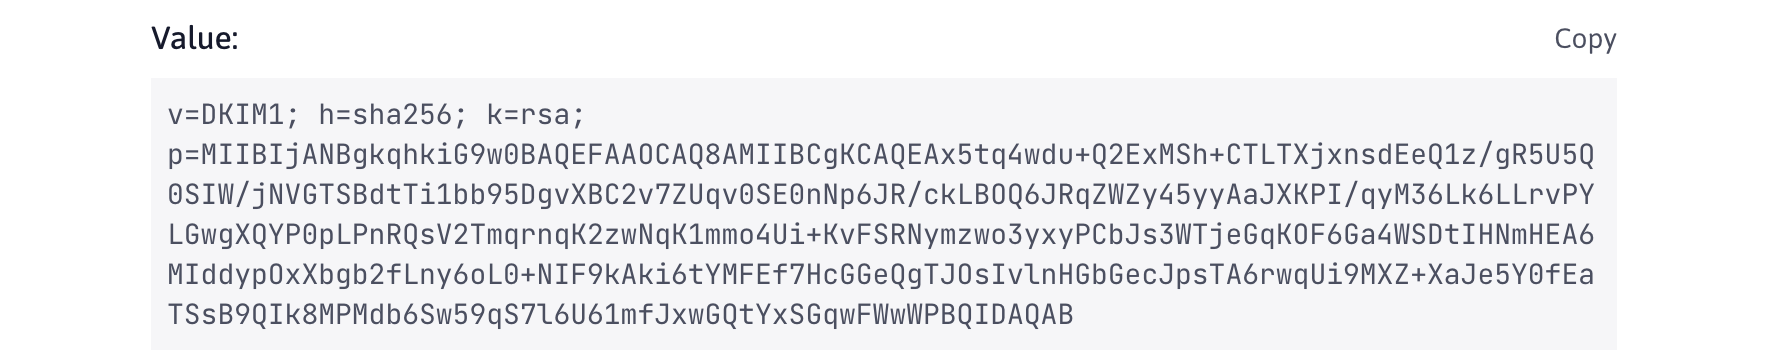
- Paste the value you have copied into the Value section.
- Select 1 Hour in the TTL section.
- Click the Save button.
Setting up DMARC for GoDaddy
- Click Add in the DNS Records section.
- Select TXT in the Type drop-down list.
- Access your domain's DNS Verification tab and scroll to the DMARC record section.
- Copy the values that display in the Name and Value sections.
- Paste them in the Name and Value sections.
- Click the Save button.
Configure DNS settings for Cloudflare
- Log in to your Cloudflare account.
- Click the domain you want to configure.
- Click the DNS icon.

Setting up SPF for Cloudflare
- Click the Add record button.
- Select TXT in the Type drop-down list.
- Enter "@" in the Name section.
- Copy the following value:
v=spf1 include:_spf.scw-tem.cloud -all - Paste the value you have copied into the Content section.
- Click Save.
Setting DKIM for Cloudflare
- Click the Add record button.
- Select TXT in the Type drop-down list.
- Copy the name that displays in the Scaleway console.
- Paste the value you have copied into the Name section.
- Copy the value that displays in the console.
- Paste the value you have copied into the Content section.
- Click Save.
Setting up DMARC for Cloudflare
- Click the Add record button.
- Select TXT in the Type drop-down list.
- Access your domain's DNS Verification tab and scroll to the DMARC record section.
- Copy the values that display in the Name and Value sections.
- Paste them in the Name and Content sections.
- Click Save.
Configure DNS settings for Namecheap
- Log in to your Namecheap account.
- Click Domain List in the top-left menu. A list of your domains displays.
- Click the Manage button next to the domain you want to configure.
- Click the Advanced DNS tab to add your SPF and DKIM records.
Setting up SPF for Namecheap
- Click ADD NEW RECORD.
- Select TXT Record in the Type drop-down list.
- Enter "@" in the Host section.
- Copy the following value:
v=spf1 include:_spf.scw-tem.cloud -all - Paste the value you have copied into the Value section.
- Click the SAVE ALL CHANGES button.
Setting up DKIM for Namecheap
- Click ADD NEW RECORD.
- Select TXT Record in the Type drop-down list.
- Copy the name that displays in the Scaleway console.
- Paste it in the Host section.
- Copy the value that displays in the console.
- Paste the value you have copied into the Value section.
- Click the SAVE ALL CHANGES button.
Setting up DMARC for Namecheap
- Click ADD NEW RECORD.
- Select TXT Record in the Type drop-down list.
- Access your domain's DNS Verification tab and scroll to the DMARC record section.
- Copy the values that display in the Name and Value sections.
- Paste them in the Host and Value sections.
- Click the SAVE ALL CHANGES button.
Questions?
Visit our Help Center and find the answers to your most frequent questions.
Visit Help Center