Setting up NetBox with a managed PostgreSQL database
NetBox is a web application designed and built to help manage and document large computer networks. It is designed for IP address management (IPAM) and data center infrastructure management (DCIM). The application runs as a web application based on the Django Python framework and uses a PostgreSQL database to store information. The open-source software was developed specifically with the needs of network and infrastructure engineers in mind.
In this tutorial, you learn how to install and configure NetBox on an Instance running on Ubuntu 20.04 LTS and a Database for PostgreSQL.
Before you start
To complete the actions presented below, you must have:
- A Scaleway account logged into the console
- Owner status or IAM permissions allowing you to perform actions in the intended Organization
- An SSH key
- An Instance running Ubuntu Focal Fossa (20.04 LTS) or later
- A Managed Database for PostgreSQL
Configuring the database
NetBox requires a PostgreSQL database. Configure your Database for PostgreSQL with a few steps from your Scaleway console
- Enter the Databases section of your Scaleway console by clicking on Managed Databases in the side menu.
- Create a Database Instance.
- Create a database called
netbox. - Create a new user also called
netboxand grant it ALL permissions to thenetboxdatabase.
Installing NetBox
-
Connect to your Instance using SSH.
-
Update the
aptpackage cache and upgrade the software already installed on the Instance to the latest version available in Ubuntu's repositories:apt update && apt upgrade -y -
Install the required packages using the
aptpackage manager:apt install -y libpq-dev python3 python3-pip python3-dev python3-venv build-essential libxml2-dev libxslt1-dev libffi-dev graphviz libpq-dev libssl-dev redis-server zlib1g-dev git nginx -
Download the latest release of NetBox. At the time of writing this tutorial, it is version 4.3.1. Unpack it into the
/optdirectory:wget https://github.com/netbox-community/netbox/archive/refs/tags/v4.3.1.tar.gz && tar -xzf v4.3.1.tar.gz -C /opt -
Create a symlink from the actual NetBox directory to
/opt/netbox:ln -s /opt/netbox-4.3.1/ /opt/netbox -
Create a new system user for the NetBox application:
adduser --system --group netbox -
Set the ownership of the
/opt/netbox/netbox/media/to thenetboxuser. This is important as otherwise NetBox will not be able to write in this directory and you will not be able to upload any documents or images.chown --recursive netbox /opt/netbox/netbox/media/ -
Move into the NetBox configuration directory:
cd /opt/netbox/netbox/netbox/ -
Make a copy of
configuration_example.pyand name itconfiguration.py:cp configuration_example.py configuration.py -
Open the configuration file in a text editor of your choice, e.g.
nano:nano configuration.py -
Edit the variables
ALLOWED_HOSTS,DATABASE,REDIS,SECRET_KEYas following:ALLOWED_HOSTSspecifies the hostnames or IP addresses that are used for the NetBox instance:ALLOWED_HOSTS = ['netbox.example.com', '198.51.100.35']DATABASEspecifies the database credentials of your PostgreSQL database. Use the databasenetboxwith the credentials of thenetboxuser previously created. You can find the required database host and port on the Instance Information in your Scaleway console.DATABASE = { 'NAME': 'netbox', # Database name 'USER': 'netbox', # PostgreSQL username 'PASSWORD': '<YOUR_DATABASE_USER_PASSWORD>', # PostgreSQL password 'HOST': '<YOUR_RDB_IP>', # Database server IP (available in your Scaleway console) 'PORT': '<YOUR_RDB_PORT>', # Database port (available in your Scaleway console) 'CONN_MAX_AGE': 300, # Maximum database connection age }REDISspecifies the configuration parameters of Redis, an in-memory key-value store required as part of the NetBox installation. For most installations, the default configuration is good enough, and you can leave it as it is. For more information about advanced Redis configuration, refer to the official documentation.SECRET_KEYspecifies a secret cryptographic key that is used to improve the security of cookies and password resets. It should be at least 50 characters long and should not be shared outside the configuration file. You may change the value of the key at any time, resulting in a termination of all active sessions.
Enter the key in the configuration file as follows, then save the file and exit your text editor:
SECRET_KEY = 'uyK5ajt-Vl$!gd2HeLbN=^6@&EhDmv8%)zT1S03kXPCsUGrI9_' -
Once NetBox is configured, proceed with the actual installation by running the packaged upgrade script (
upgrade.sh):/opt/netbox/upgrade.sh
This script performs the following actions on your instance:
- Creating a Python virtual environment
- Installing all required Python packages
- Running database schema migrations
- Aggregating static resource files on disk
The basic configuration for NetBox is done now, several other configuration options are available but optional. Refer to the official documentation for more information on them.
Creating a superuser
NetBox does not come with any default user accounts. Create a first user by completing the following steps:
-
Enter the NetBox
venvcreated by the installation script:source /opt/netbox/venv/bin/activate -
Enter into the
netboxdirectory:cd /opt/netbox/netbox -
Run the
manage.pyscript as follows:python3 manage.py createsuperuser -
Enter the
username,email,password, andpassword confirmationfor the user and confirm by pressing Enter. The following message displays once the user is created:Superuser created successfully.
Testing the application
- Run the following command to start a test web server with the NetBox application:
python3 manage.py runserver 0.0.0.0:8000 --insecure - Open a web browser and point it to the IP address or hostname of your Instance on port 8000:
http://netbox.example.com:8000. The NetBox dashboard displays. - Terminate the test web server by pressing
CTRL+C.
Configuring gunicorn
gunicorn is a Python WSGI HTTP Server for UNIX which will be used to serve the NetBox application to Nginx.
Copy the gunicorn configuration file from the contrib directory to its final destination:
cp /opt/netbox/contrib/gunicorn.py /opt/netbox/gunicorn_config.pyThe configuration file shipped with the NetBox application works for most setups, however, if you need some specific settings, refer to the gunicorn documentation.
Configuring systemd
We use systemd to start NetBox automatically during the boot process of the instance.
- Copy the systemd scripts from the
contribdirectory to their final location:cp /opt/netbox/contrib/*.service /etc/systemd/system/ - Reload the systemd daemon:
systemctl daemon-reload - Start and enable the
netbox-rqservicesystemctl start netbox netbox-rq.service systemctl enable netbox netbox-rq.service
Configuring a NGINX Reverse Proxy
To provide an additional layer of security, NetBox will be running behind a NGINX reverse proxy. This proxy replies to all requests to NetBox and avoids exposing the application directly on the internet.
-
Create and open the file
/etc/nginx/sites-available/netbox.confin a text editor of your choice, i.e.nano:nano /etc/nginx/sites-available/netbox.conf -
Copy the following configuration into the file
/etc/nginx/sites-available/netbox.conf. Make sure to replacenetbox.example.comwith the hostname of your instance.server { listen 80; # CHANGE THIS TO YOUR SERVER'S NAME server_name netbox.example.com; client_max_body_size 25m; location /static/ { alias /opt/netbox/netbox/static/; } location / { proxy_pass http://127.0.0.1:8001; proxy_set_header X-Forwarded-Host $http_host; proxy_set_header X-Real-IP $remote_addr; proxy_set_header X-Forwarded-Proto $scheme; } }Save the file and exit the text editor.
-
Create a symlink to enable the new configuration with NGINX:
ln -s /etc/nginx/sites-available/netbox.conf /etc/nginx/sites-enabled/netbox.conf -
Reload NGINX to activate the new configuration:
service nginx reload -
Install
certbotto configure a TLS-encrypted connection to your NetBox instance:apt install certbot python3-certbot-nginx -
Run
certbotto request a TSL/SSL certificate for your NetBox instance, issued by the Let's Encrypt certificate authority:certbot --nginxFollow our dedicated documentation about Let's Encrypt for detailed information on how to use the
certbottool. -
Open your web browser and point it to your NetBox domain (i.e.
http://netbox.example.com). The Netbox dashboard displays: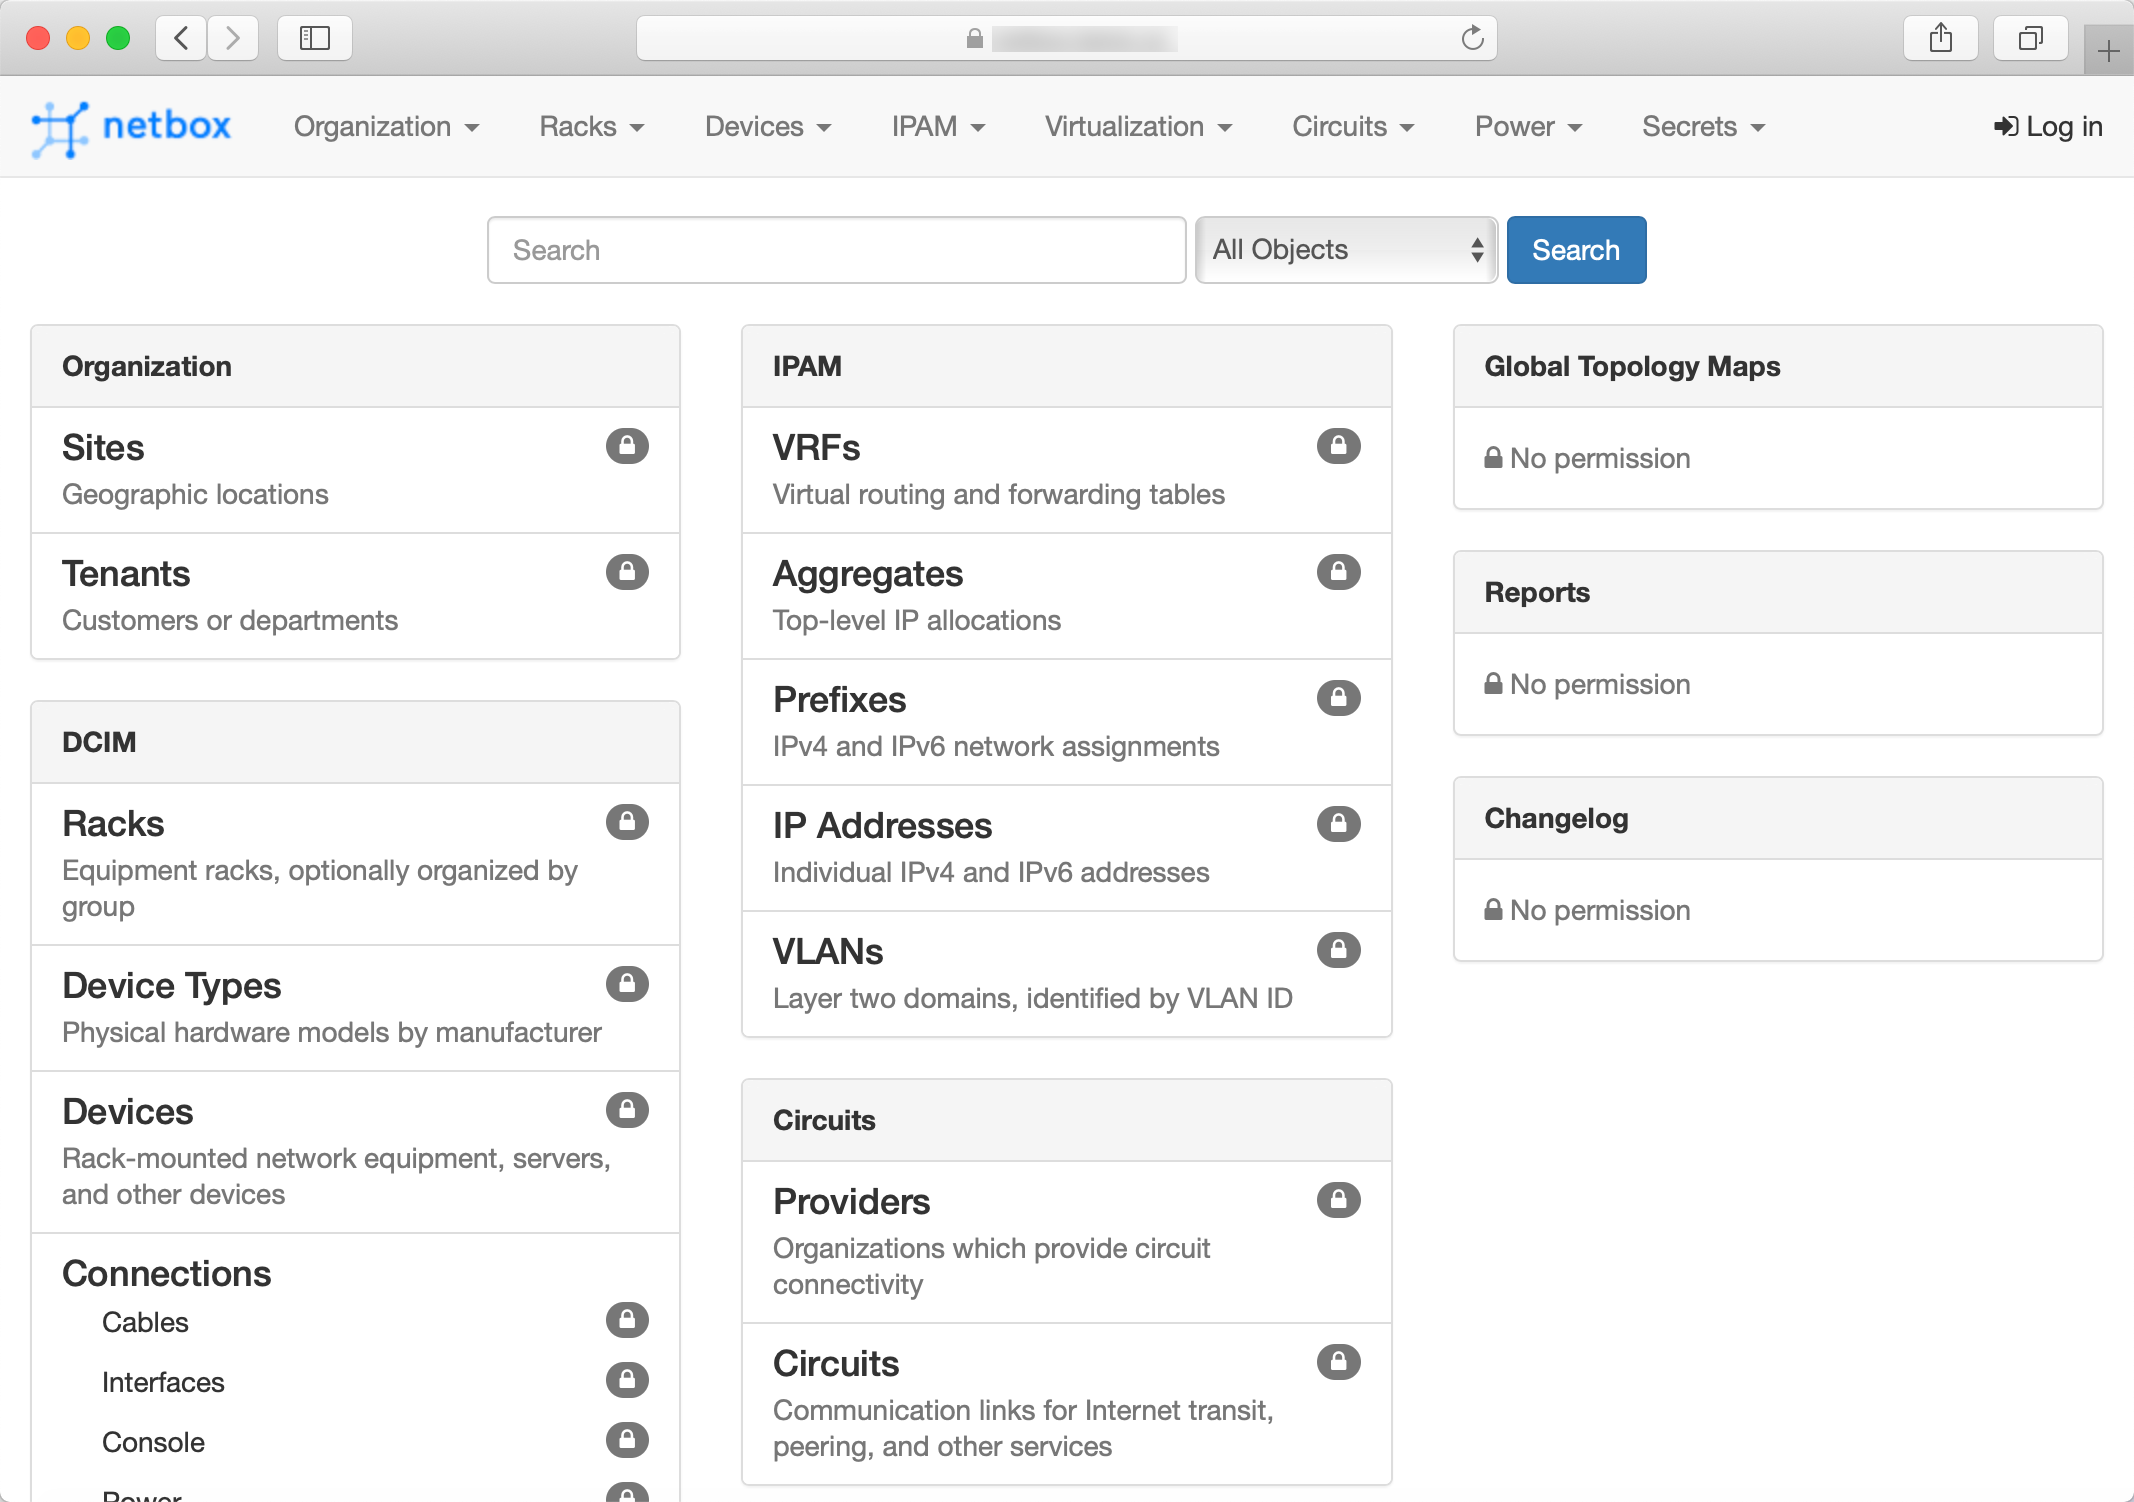
You can log into Netbox by clicking on the Log In button in the top right corner using the username and password of the superuser configured in a previous step.
Conclusion
You now have successfully installed Netbox and linked it with a managed PostgreSQL database. The application is now ready to be configured. You can add your servers, racks, and other network equipment directly from the NetBox web interface.
For more information on how to add your devices to NetBox, refer to the official documentation.
Visit our Help Center and find the answers to your most frequent questions.
Visit Help Center