Deploying Odoo ERP on Ubuntu Noble Numbat (24.04 LTS)
Odoo is a business management software, including different modules such as CRM, billing, e-commerce, warehouse, website builder, inventory management, and accounting. The software is distributed in an open-code model, providing a free Community Edition, released under the GNU LGPLv3 software license. The source code of the Community Edition is available on the company's GitHub. Besides the free and open-source Community Edition, a proprietary "Enterprise" version provides additional features and services.
The modular design of Odoo allows developers to create additional modules or apps and distribute them through the Odoo marketplace, which provides more than 20,000 modules. This makes Odoo a versatile and customizable solution that can be adapted to many usage scenarios.
This tutorial will show you how to deploy Odoo 16 on a Scaleway machine running Ubuntu Noble Numbat (24.04 LTS). This could be a Dedibox, an Instance or an Elastic Metal server.
Before you start
To complete the actions presented below, you must have:
- A Scaleway account logged into the console
- Owner status or IAM permissions allowing you to perform actions in the intended Organization
- An SSH key
- One of the following remote machines running Ubuntu Noble Numbat (24.04 LTS):
- Configured an A record pointing to your server's IP address
sudoprivileges or access to the root user
Installing Odoo
-
Log in to your remote machine using SSH:
ssh root@<remote_machine_ip> -
Update the
aptsources lists and upgrade the software already installed on the machine to the latest version available in Ubuntu's repositories:apt update && apt upgrade -y -
Install PostgreSQL as Odoo requires it to run.
apt-get install postgresql -y -
Download and install the Odoo GPG key:
wget -q -O - https://nightly.odoo.com/odoo.key | sudo gpg --dearmor -o /usr/share/keyrings/odoo-archive-keyring.gpg -
Add the Odoo repository to the
aptpackage manager via theodoo.listconfiguration file:echo 'deb [signed-by=/usr/share/keyrings/odoo-archive-keyring.gpg] https://nightly.odoo.com/17.0/nightly/deb/ ./' | sudo tee /etc/apt/sources.list.d/odoo.list -
Update the
aptpackage manager to add the new repository & install Odoo usingapt:apt update && apt install odoo
Configuring Odoo
-
Open an internet browser on your local computer and point it to
http://<your_remote_machine_ip>:8069. The Odoo installation wizard displays:
-
Enter the following information in the form:
- Master Password: The master password for the Odoo database. By default, an auto-generated value is pre-filled. You can change it to your own desired password if required.
- Database Name: A name for the Odoo PostgreSQL database
- Email: The email address of the admin user. It will also be used as an identifier to connect to Odoo
- Password: A strong password for the Odoo admin user
- Phone number: Your phone number
- Language: Select the language for the Odoo web interface
- Country: Select your country from the drop-down list
- Demo data: Tick this box to fill up the Odoo database with demo data. This feature can be useful for testing the application.
Once all data is filled in, click Create database to create the Odoo database and your first login. The application dashboard displays:
-
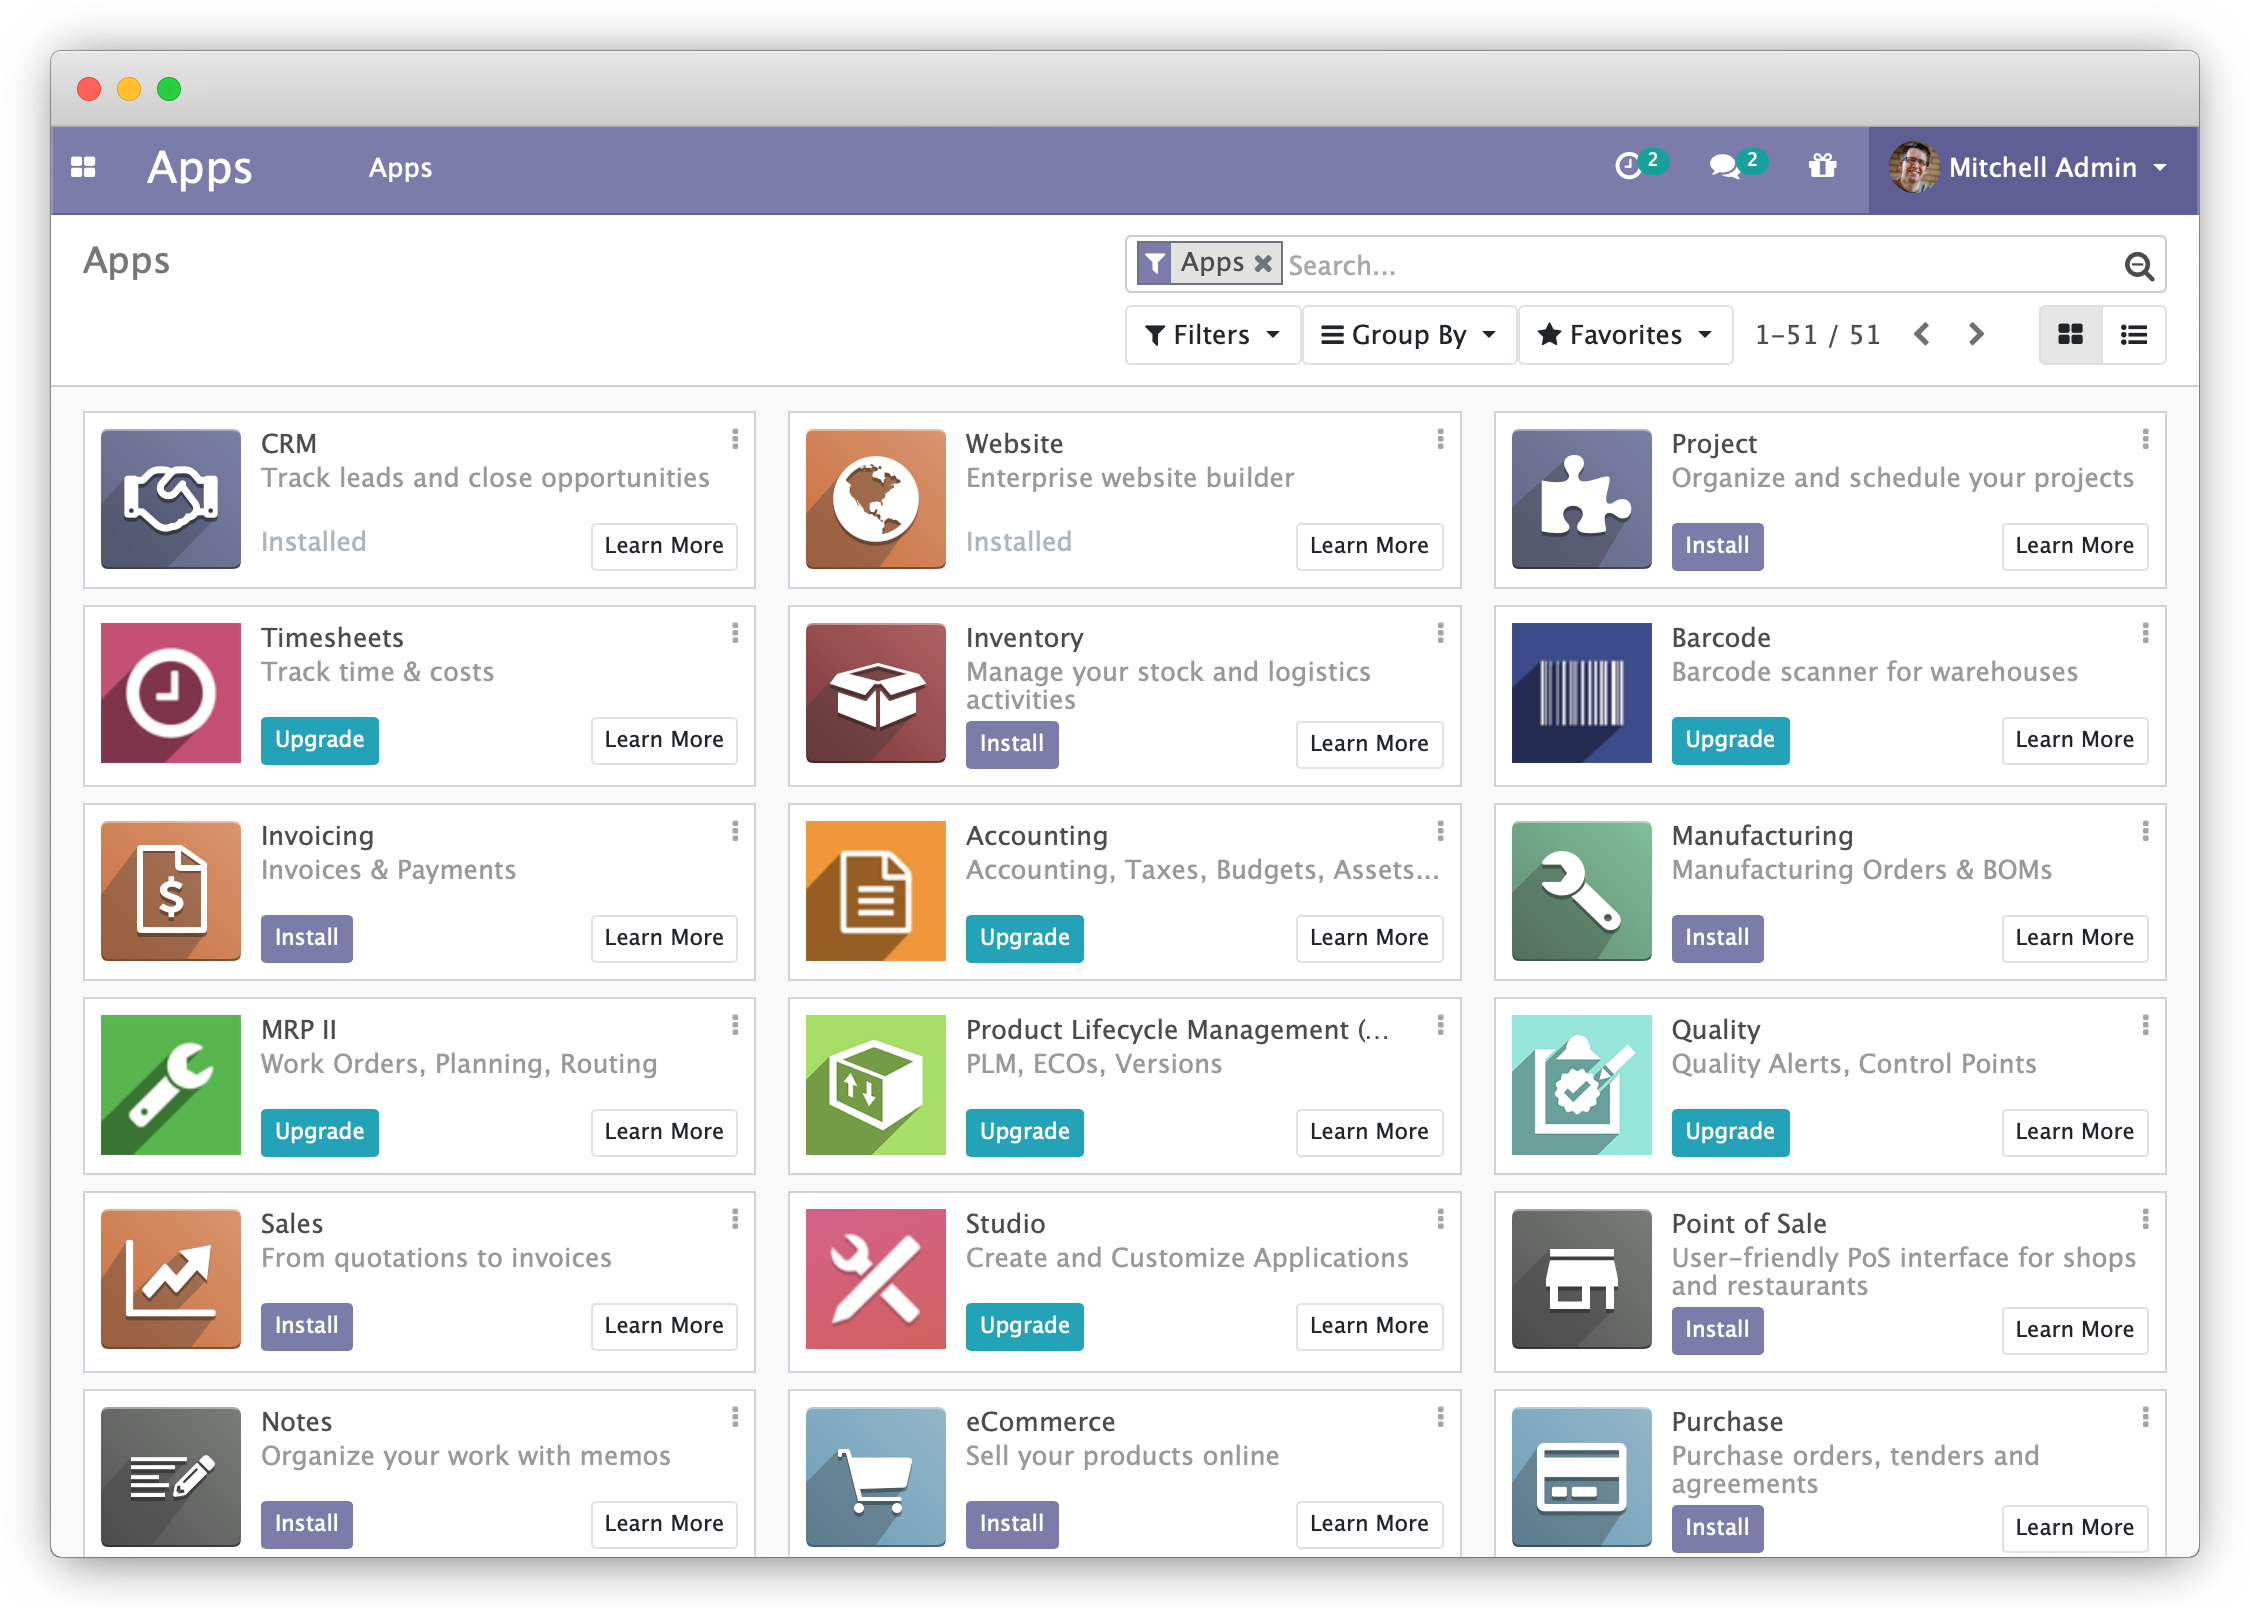
(Optional) Click the Install button next to each app you want to install automatically on your Odoo server. You can see more details about each application by clicking on the Learn More button.
To navigate around your installed apps, click the mosaic button in the top left corner and select your application from the list:
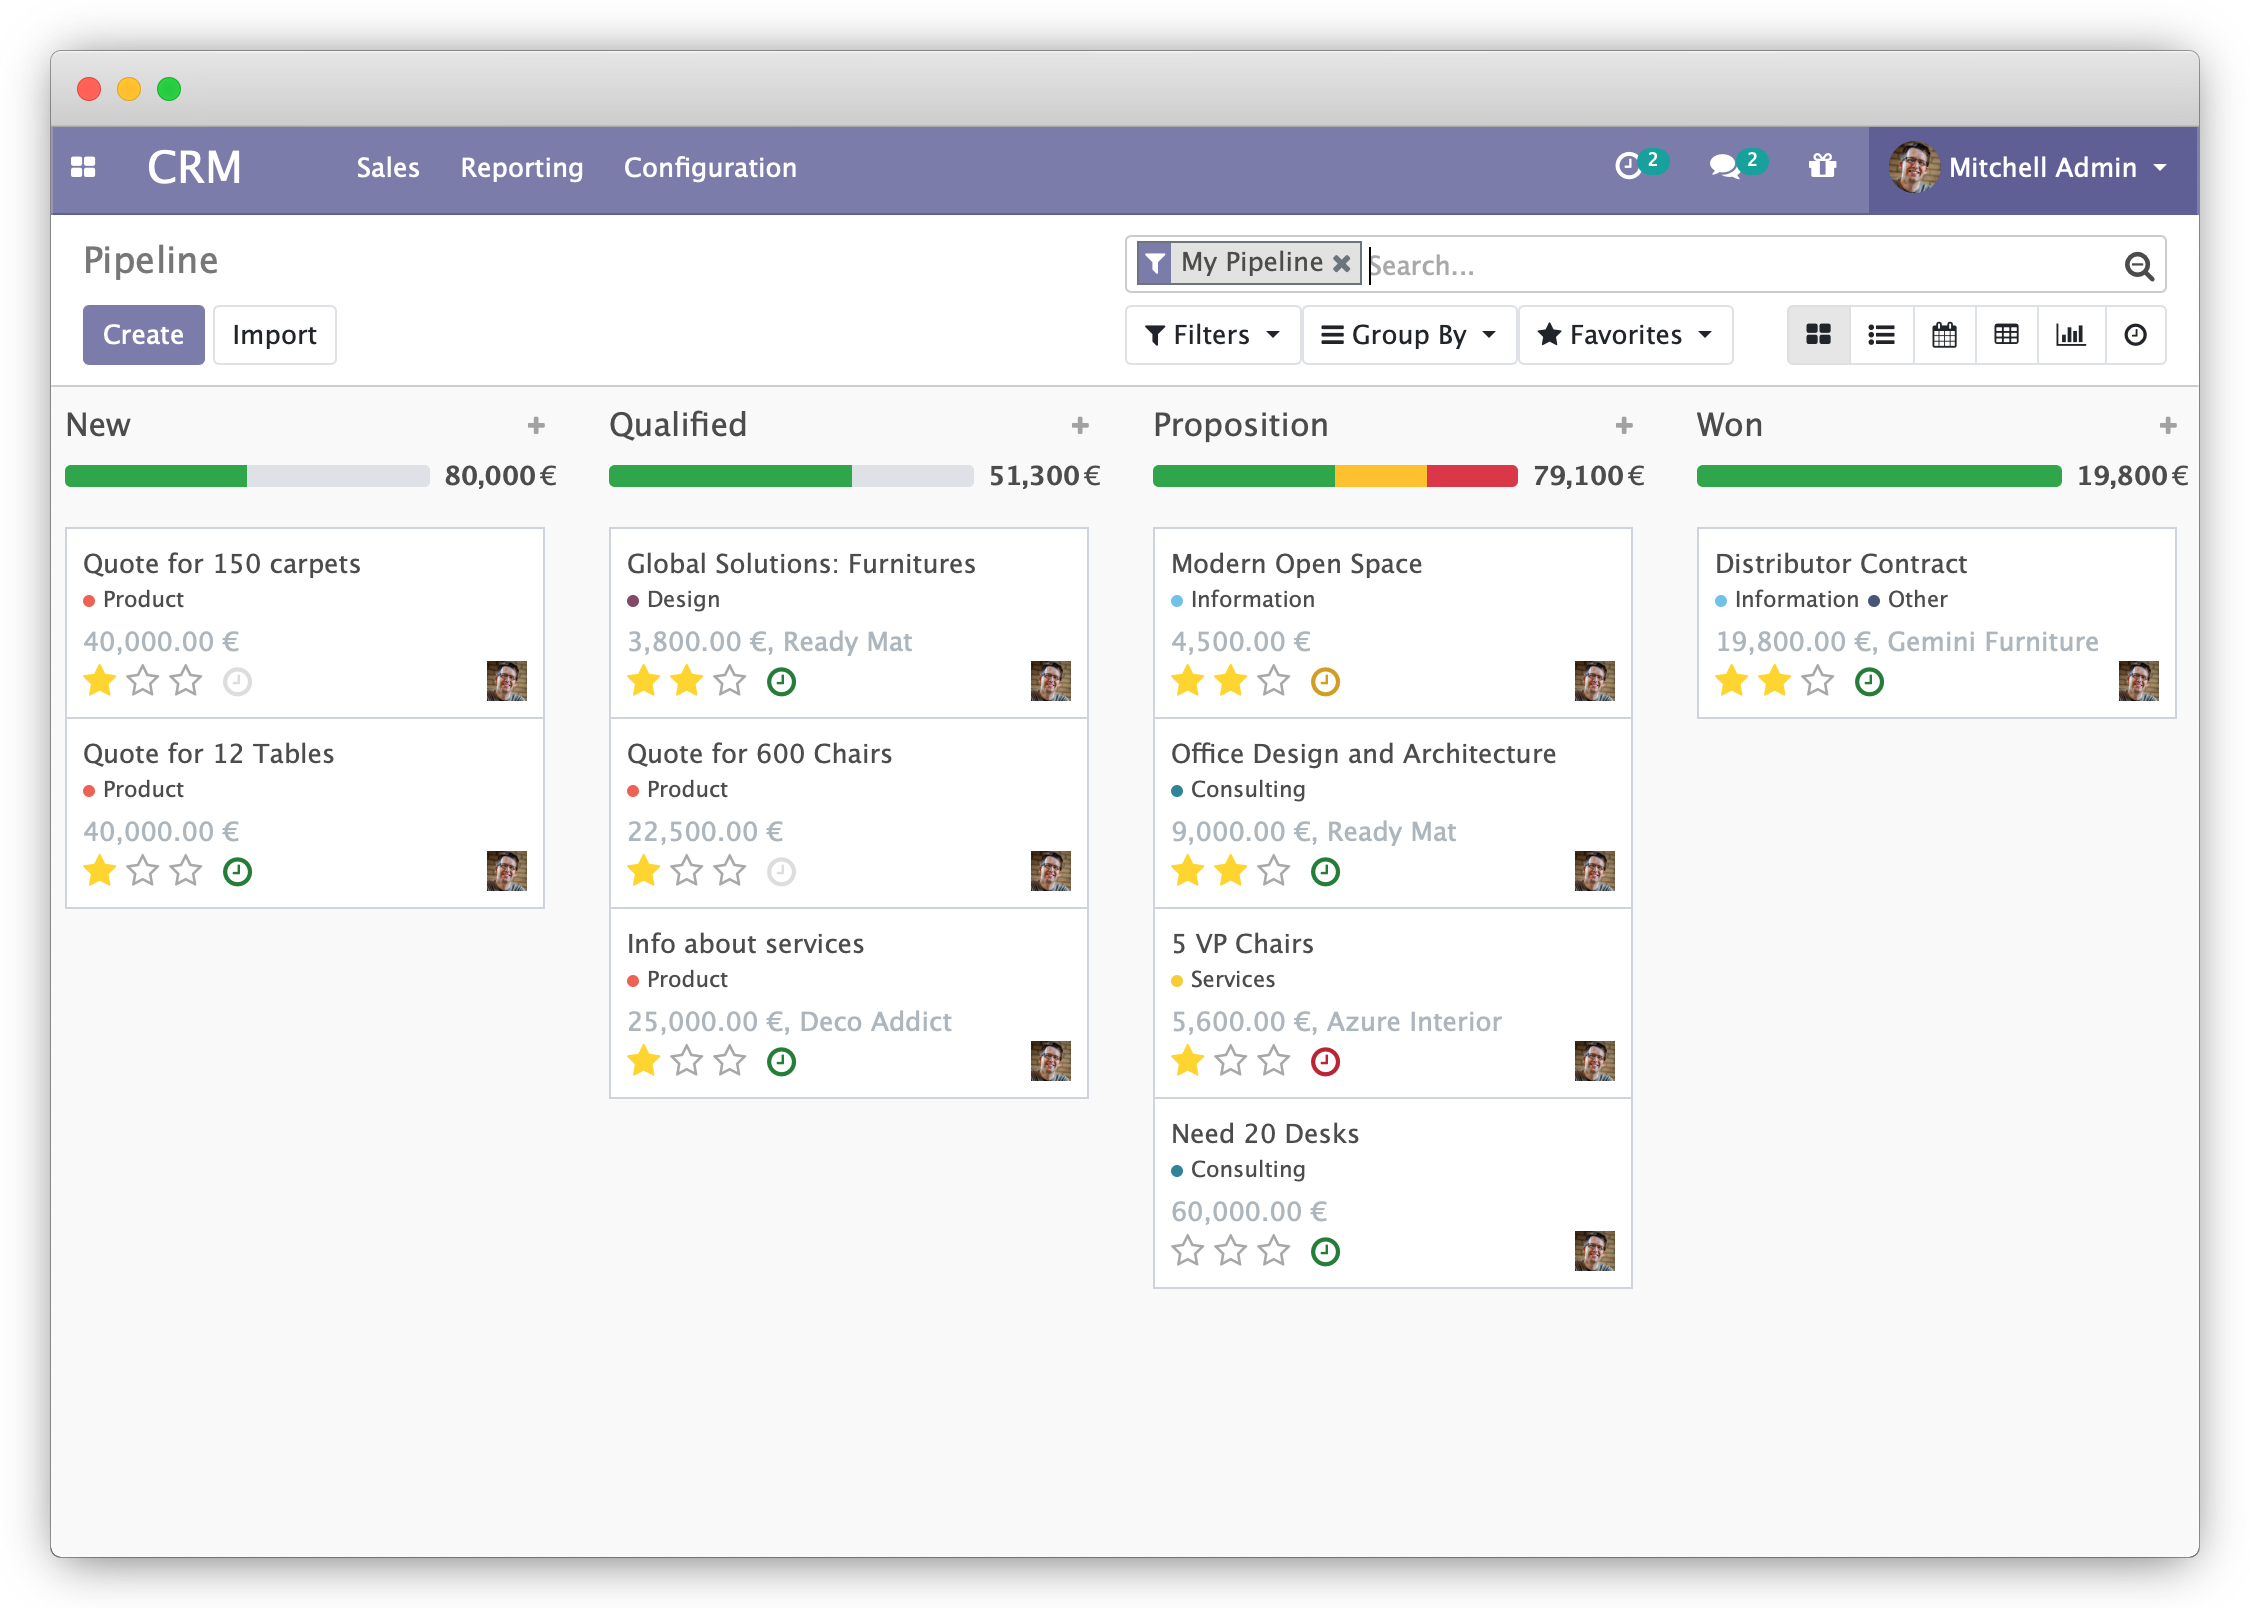
Odoo CRM module:
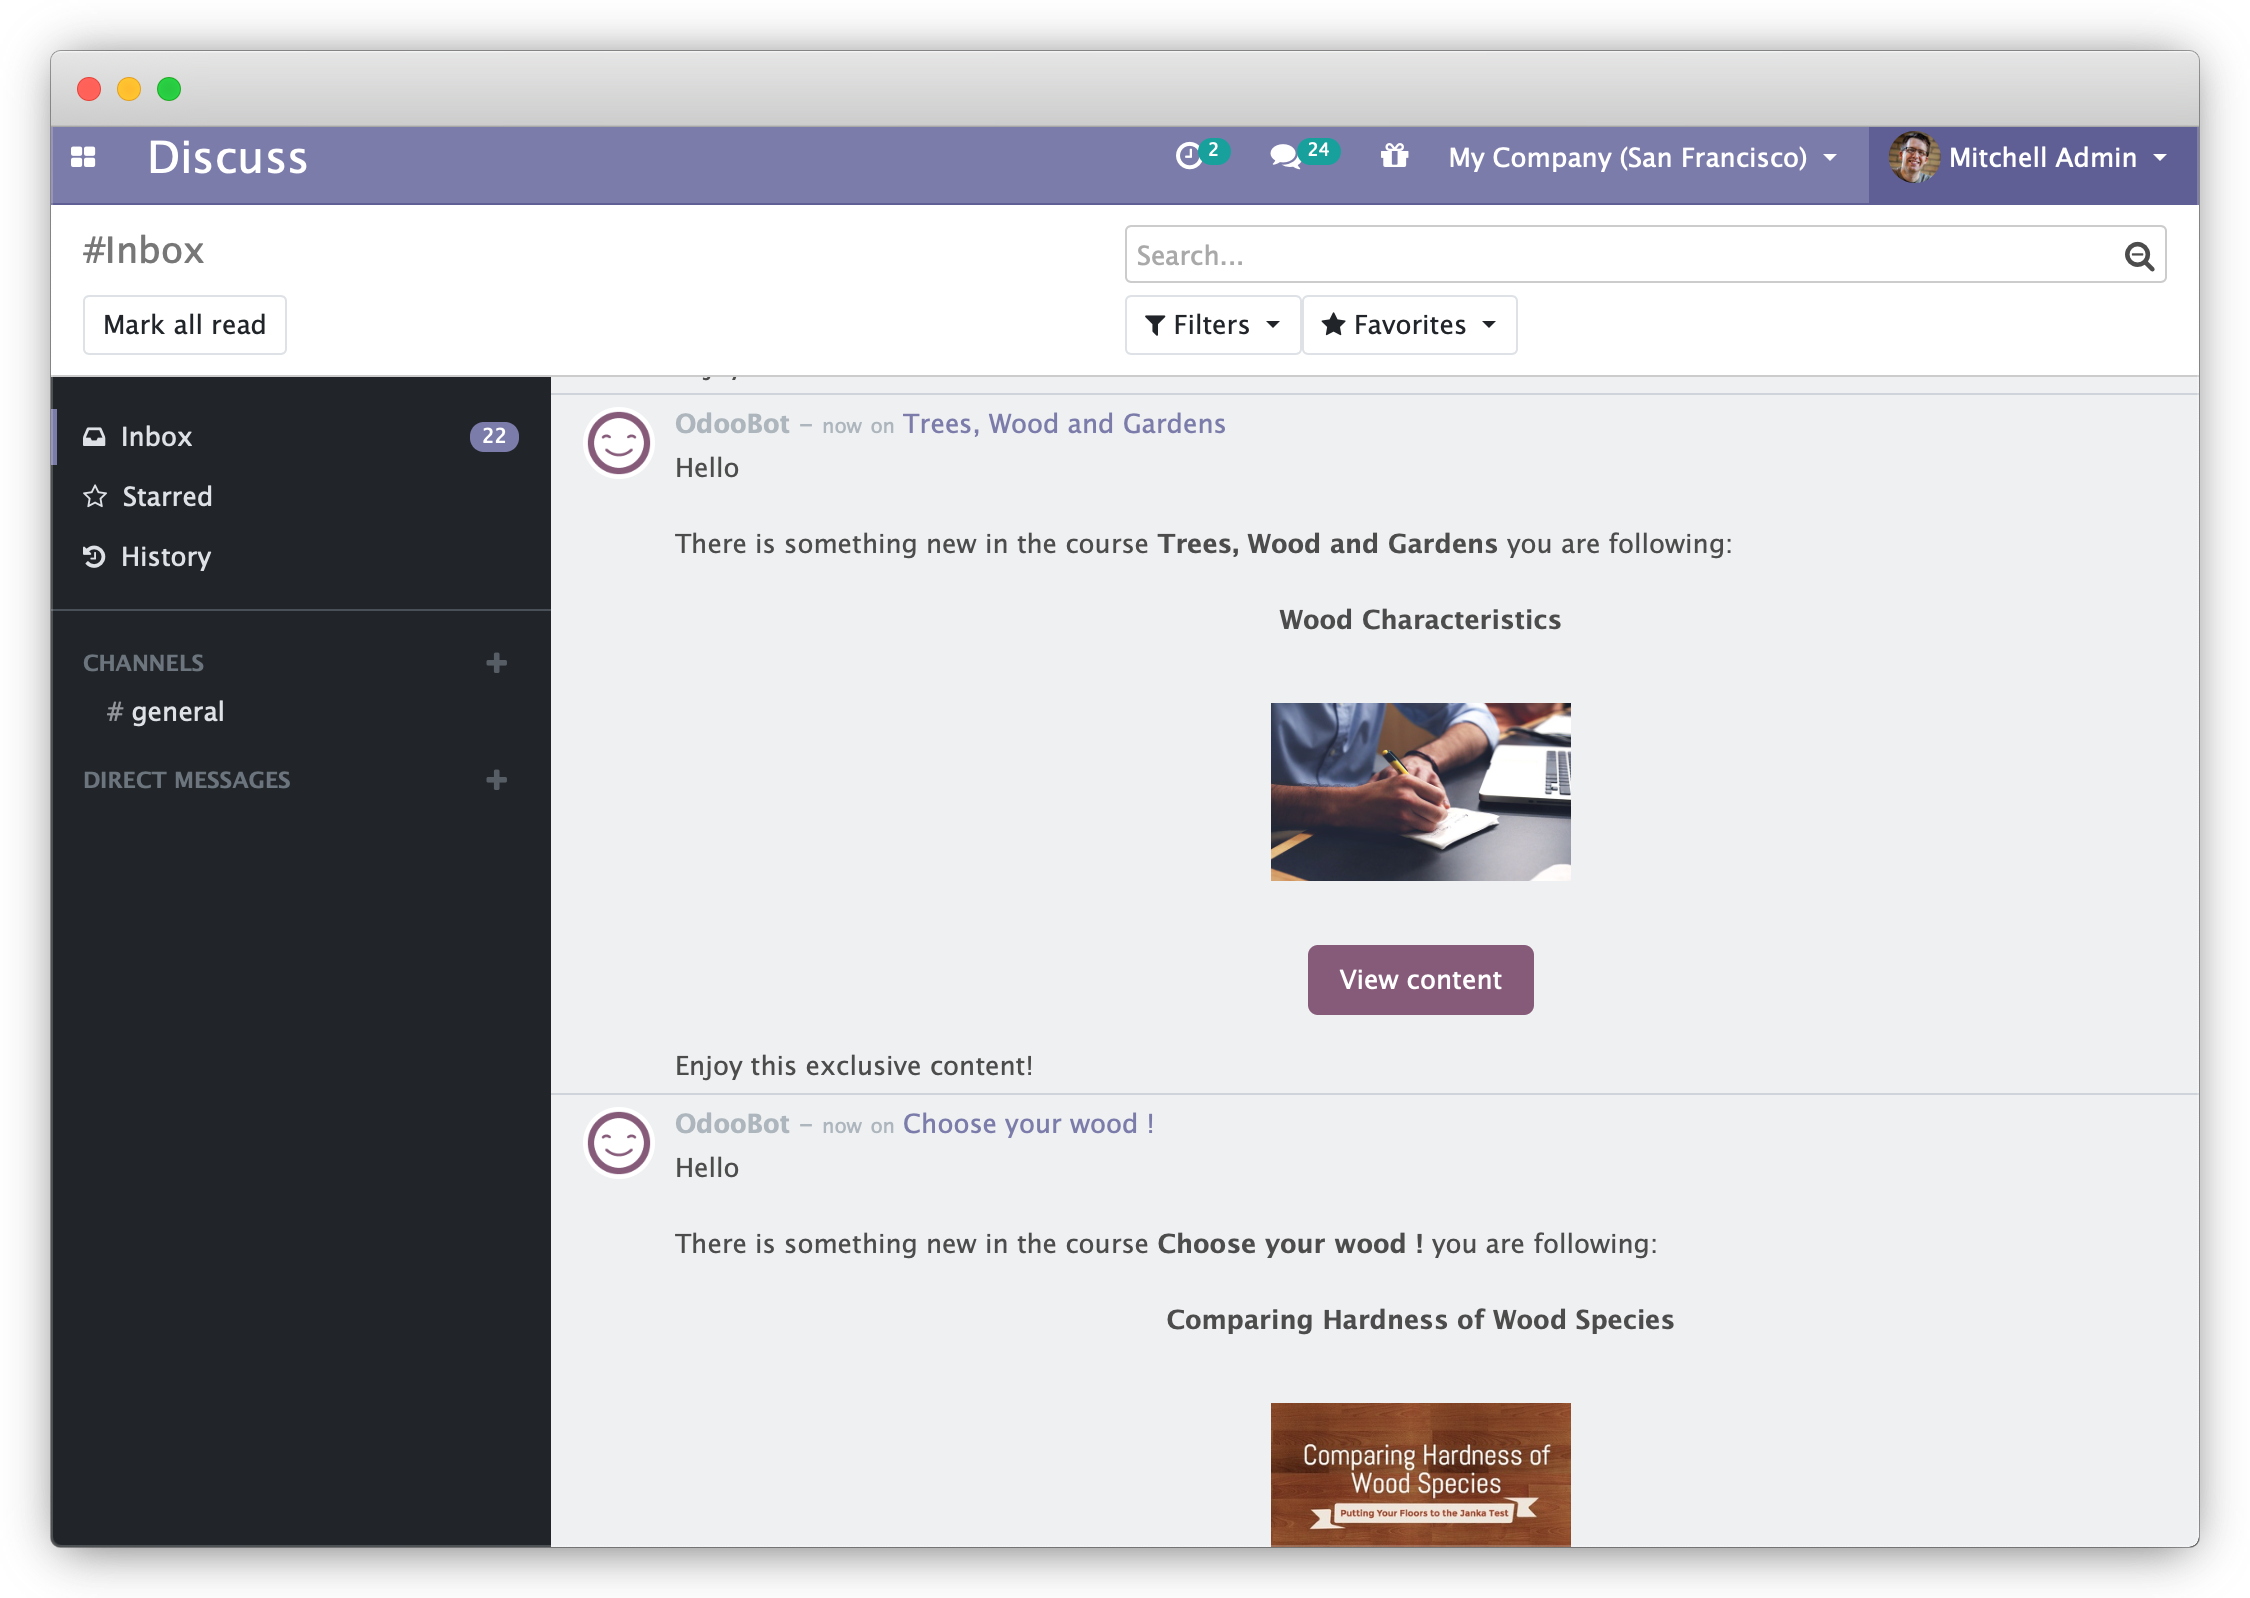
Odoo Discuss module with activated e-learning module:
Setting up Nginx as an HTTPS proxy
By default, the Odoo web server uses a plain HTTP connection to transport data. To make connections to the application more secure, we configure the Nginx web server as an HTTPS proxy that will act as front end for Odoo.
-
Install Nginx and
certbotusingapt:apt install nginx certbot python3-certbot-nginx -
Create a Nginx configuration file:
nano /etc/nginx/sites-available/odoo.example.com -
Put the following content into the file you created, then save and exit the file:
upstream odoo { server 127.0.0.1:8069; } upstream odoochat { server 127.0.0.1:8072; } server { listen 80; server_name odoo.example.com; proxy_read_timeout 720s; proxy_connect_timeout 720s; proxy_send_timeout 720s; proxy_set_header X-Forwarded-Host $host; proxy_set_header X-Forwarded-For $proxy_add_x_forwarded_for; proxy_set_header X-Forwarded-Proto $scheme; proxy_set_header X-Real-IP $remote_addr; access_log /var/log/nginx/odoo.example.com.access.log; error_log /var/log/nginx/odoo.example.error.log; location /longpolling { proxy_pass http://odoochat; } location / { proxy_redirect off; proxy_pass http://odoo; } location ~* /web/static/ { proxy_cache_valid 200 90m; proxy_buffering on; expires 864000; proxy_pass http://odoo; } gzip_types text/css text/less text/plain text/xml application/xml application/json application/javascript; gzip on; } -
Activate the site by creating a symlink in the
sites-enableddirectory:ln -s /etc/nginx/sites-available/odoo.example.com /etc/nginx/sites-enabled/ -
Run
certbotto request a new certificate and configure Nginx. Follow the instructions given during the certificate request:certbot --nginx -
Open the file
/etc/odoo/odoo.confin a text editor and add the following lines to it to enable Proxy mode in Odoo and restrict connections to the application tolocalhostonly, for security reasons:nano /etc/odoo/odoo.conf[options] [...] proxy_mode = True xmlrpc_interface = 127.0.0.1 netrpc_interface = 127.0.0.1 -
Restart Odoo:
systemctl restart odoo.serviceYou can now access your Odoo via a secure HTTPS connection at
https://odoo.example.com.
To go further, refer to the official Odoo documentation.
Visit our Help Center and find the answers to your most frequent questions.
Visit Help Center