Installing Mattermost Messaging on Ubuntu 20.04
Mattermost is an open-source messaging tool for inter-team communication, released under the MIT license and available both in a free team and paid enterprise edition. This tutorial will show you how to install a Mattermost instance with an NGINX frontend proxy and a MariaDB database.
Before you start
To complete the actions presented below, you must have:
- A Scaleway account logged into the console
- Owner status or IAM permissions allowing you to perform actions in the intended Organization
- An SSH key
- An Instance running on Ubuntu Bionic 20.04 or later
- A Managed Database for PostgreSQL
Installing Mattermost
-
Add the Mattermost Server PPA repository to your system by running the following command:
curl -o- https://deb.packages.mattermost.com/repo-setup.sh | sudo bash -s mattermost -
Update the
aptpacket manager to use the newly installed repository:apt update -
Install Mattermost using
apt:apt install mattermost -y -
Edit the configuration file. A sample configuration file is located at
/opt/mattermost/config/config.defaults.json. Rename this configuration file with the right permissions:sudo install -C -m 600 -o mattermost -g mattermost /opt/mattermost/config/config.defaults.json /opt/mattermost/config/config.jsonConfigure the following properties in this file using your favorite text editor:
- Set
DriverNameto"postgres". PostgreSQL is the default and recommended database for all Mattermost installations. - Set
DataSourceto"postgres://mmuser:<mmuser-password>@<host-name-or-IP>:5432/mattermost?sslmode=disable&connect_timeout=10"replacingmmuser,<mmuser-password>,<host-name-or-IP>andmattermostwith your database name. - Set
"SiteURL": The domain name for the Mattermost application (e.g.https://mattermost.example.com).
Save the file and exit the text editor.
- Set
-
Start the Mattermost server.
systemctl start mattermostYou can now connect to your Mattermost server at
http://your_servers_ip:8065, create your first user, and do some initial configuration and setup.
Installing an Nginx proxy with Let's Encrypt
For security reasons, it is recommended to put the application behind a proxy. Nginx is being used as frontend for the application. To provide an encrypted connection, certbot is used to generate a free Let's Encrypt SSL certificate to encrypt the connection to the instance.
-
Install Nginx and Certbot.
apt install nginx python-certbot-nginx -y -
Create a new server block for Mattermost (replace
mattermost.example.comwith the FQDN of your Instance).touch /etc/nginx/sites-available/mattermost.example.comEnter the following content in the file:
upstream backend { server 127.0.0.1:8065; keepalive 32; } proxy_cache_path /var/cache/nginx levels=1:2 keys_zone=mattermost_cache:10m max_size=3g inactive=120m use_temp_path=off; server { listen 80; server_name mattermost.example.com; location ~ /api/v[0-9]+/(users/)?websocket$ { proxy_set_header Upgrade $http_upgrade; proxy_set_header Connection "upgrade"; client_max_body_size 50M; proxy_set_header Host $http_host; proxy_set_header X-Real-IP $remote_addr; proxy_set_header X-Forwarded-For $proxy_add_x_forwarded_for; proxy_set_header X-Forwarded-Proto $scheme; proxy_set_header X-Frame-Options SAMEORIGIN; proxy_buffers 256 16k; proxy_buffer_size 16k; client_body_timeout 60; send_timeout 300; lingering_timeout 5; proxy_connect_timeout 90; proxy_send_timeout 300; proxy_read_timeout 90s; proxy_pass http://backend; } location / { client_max_body_size 50M; proxy_set_header Connection ""; proxy_set_header Host $http_host; proxy_set_header X-Real-IP $remote_addr; proxy_set_header X-Forwarded-For $proxy_add_x_forwarded_for; proxy_set_header X-Forwarded-Proto $scheme; proxy_set_header X-Frame-Options SAMEORIGIN; proxy_buffers 256 16k; proxy_buffer_size 16k; proxy_read_timeout 600s; proxy_cache mattermost_cache; proxy_cache_revalidate on; proxy_cache_min_uses 2; proxy_cache_use_stale timeout; proxy_cache_lock on; proxy_http_version 1.1; proxy_pass http://backend; } } -
Remove the default server block of Nginx.
rm /etc/nginx/sites-enabled/default -
Enable the Mattermost server block by linking it to the sites-enabled directory:
ln -s /etc/nginx/sites-available/mattermost.example.com /etc/nginx/sites-enabled/mattermost.example.com -
Restart Nginx:
sudo service nginx restart -
Run Certbot.
certbot
Setting up Mattermost
- Connect to your instance by going to
https://your_servers_ip. The Mattermost login screen will appear. Connect yourself with the user you have created during the initial setup of the application.
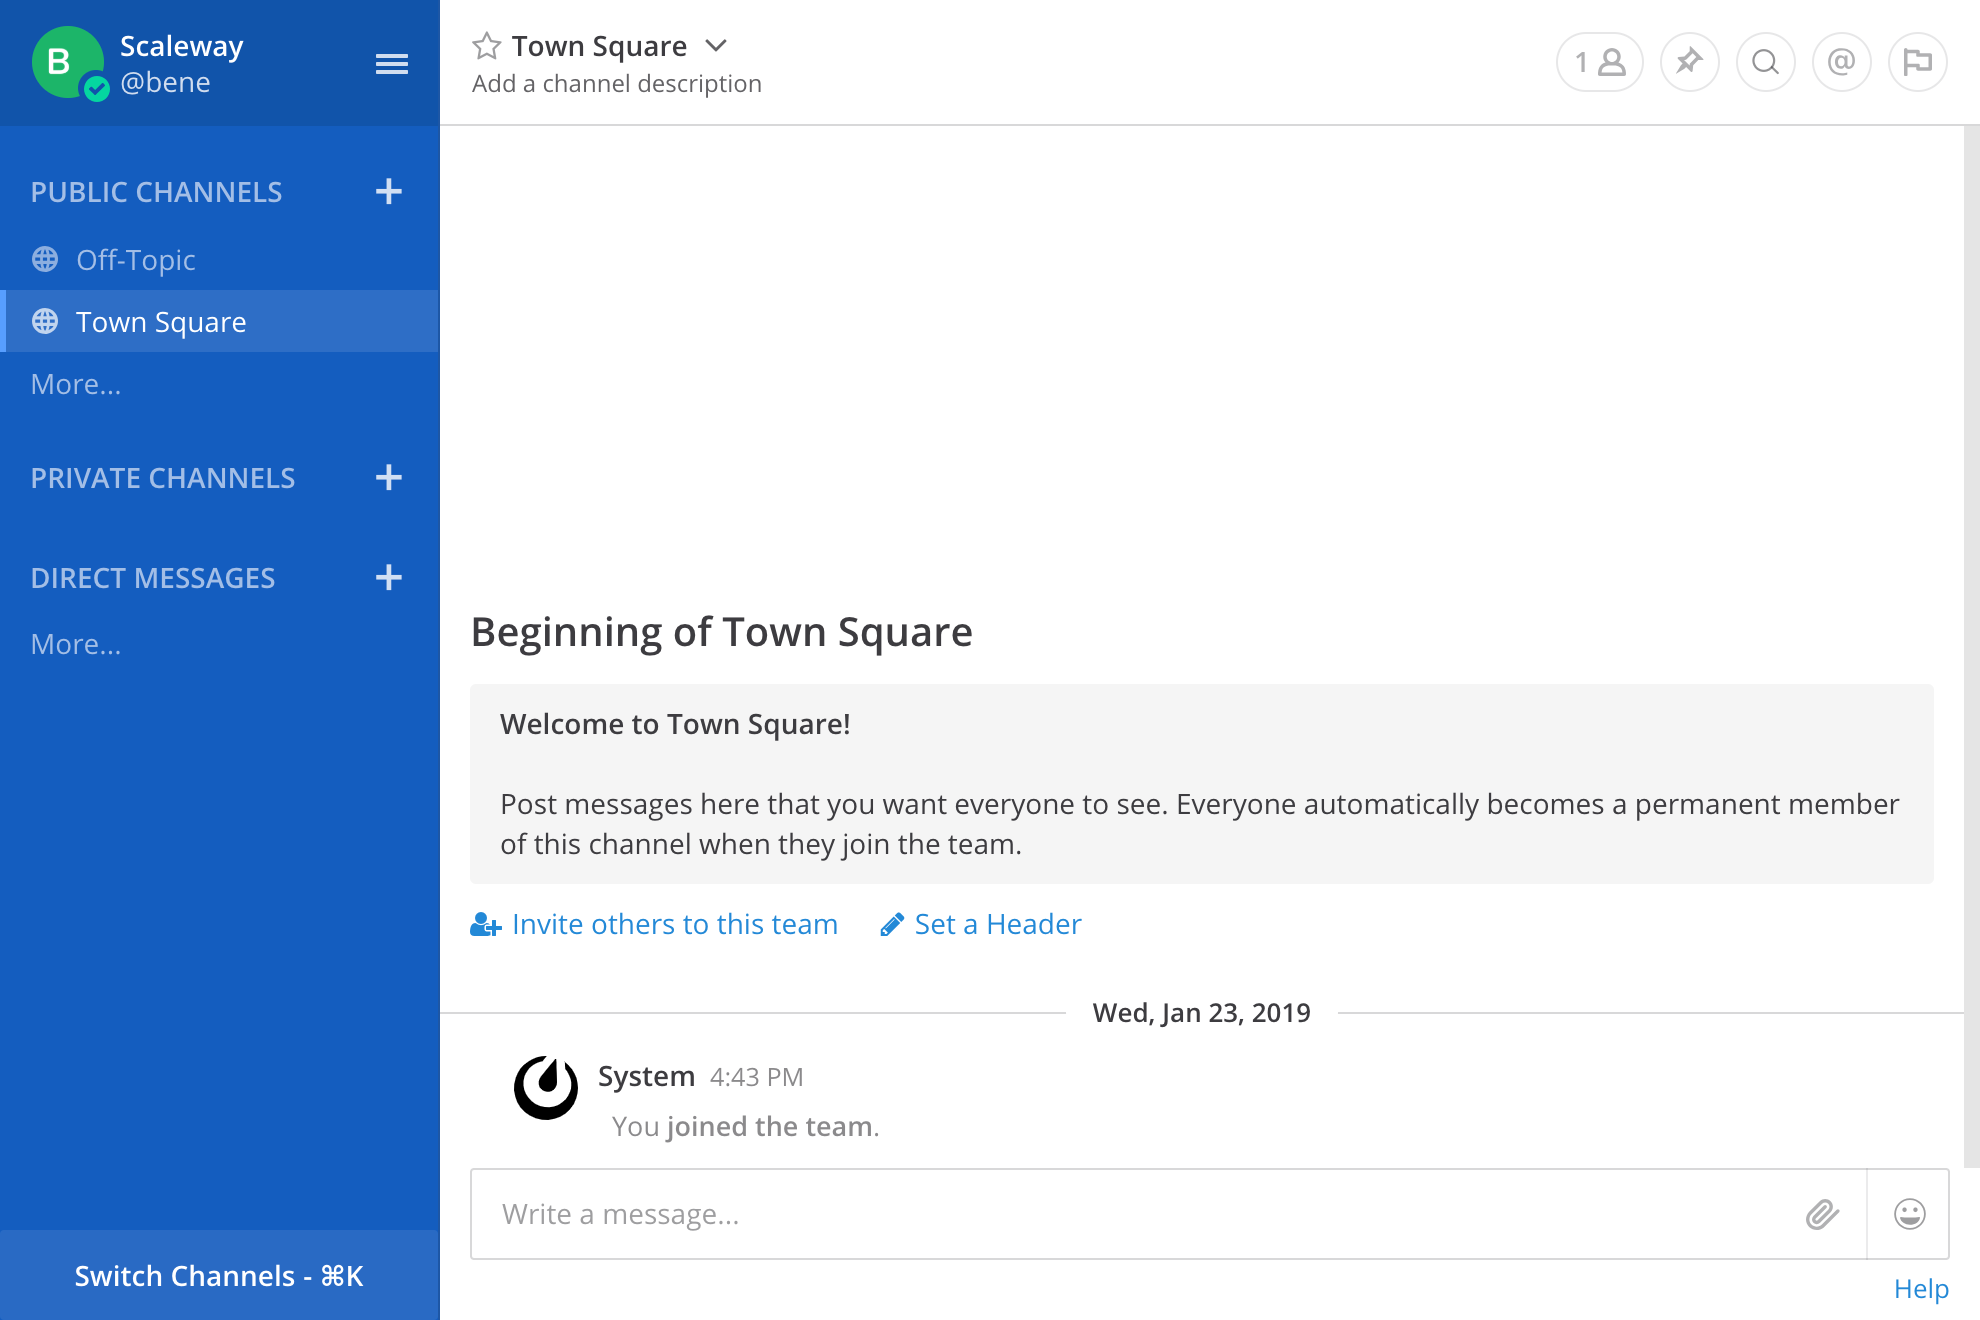
- Once logged in click the menu button, then on System Console to enter the configuration interface of Mattermost.
- Click Configuration in the general settings section.
- Configure the Listen Address as 127.0.0.1:8065.
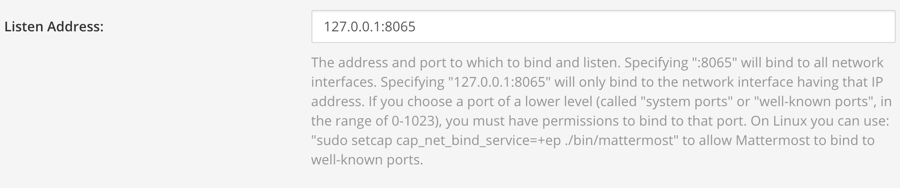
This prevents direct connections to Mattermost from other machines. 5. Restart the Mattermost service.
systemctl restart mattermost.service- Reload the Mattermost application in your browser.
You may configure advanced settings, like email notifications and other customizations of your Mattermost application. For more information, refer to the official documentation.
Visit our Help Center and find the answers to your most frequent questions.
Visit Help Center