Installing Jitsi Meet on Debian Buster
Jitsi Meet is a fully encrypted, open-source video conferencing tool that does not require an account or subscription.
The tool provides features such as:
- screen sharing
- presentations
- inviting users to a conference through a custom URL
- editing documents together using Etherpad
- integrated chat
Before you start
To complete the actions presented below, you must have:
- A Scaleway account logged into the console
- Owner status or IAM permissions allowing you to perform actions in the intended Organization
- An SSH key
- An Instance running on Debian Buster with at least 4 GB of RAM.
- A domain or subdomain pointed to your Instance
Installing Jitsi Meet
-
Configure the hostname of the server corresponding to your domain or subdomain.
hostnamectl set-hostname jitsi sed -i 's/^127.0.1.1.*$/127.0.1.1 jitsi.mydomain.tld jitsi/g' /etc/hosts sed -i 's/^127.0.0.1.*$/127.0.0.1 localhost jitsi.mydomain.tld jitsi/g' /etc/hosts -
Update the APT package cache and upgrade the software installed on the Instance to the latest version available on the Debian repositories.
apt update && apt upgrade -
Install an Nginx web server. The Jitsi installation tool handles the Nginx configuration if it is present on the system.
apt install -y nginx systemctl start nginx.service systemctl enable nginx.service -
Download the APT key and set up the repositories of Jitsi:
wget -qO - https://download.jitsi.org/jitsi-key.gpg.key | apt-key add - sh -c "echo 'deb https://download.jitsi.org stable/' > /etc/apt/sources.list.d/jitsi-stable.list" apt update -
Launch the installation of Jitsi Meet.
apt install -y jitsi-meetWhen asked:
- Enter the FQDN of your Instance. For example
jitsi.mydomain.tldand press Enter. - Choose the
Generate a new self-signed certificate (You will later get a chance to obtain a Let's Encrypt certificate)option as an SSL certificate and press Enter.
- Enter the FQDN of your Instance. For example
-
Run the following script to generate a Let's Encrypt SSL certificate for your Instance:
/usr/share/jitsi-meet/scripts/install-letsencrypt-cert.sh -
Open a web browser and type the FQDN of your Instance, for example:
https://jitsi.mydomain.tld. The following screen displays: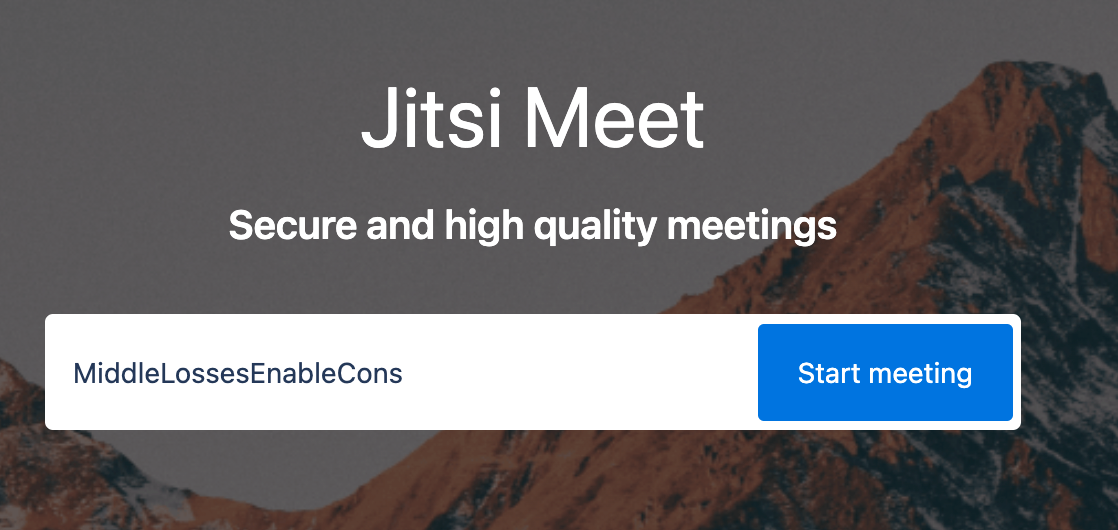
-
Enter a name for your conference and press
Start meetingto enter the conference room.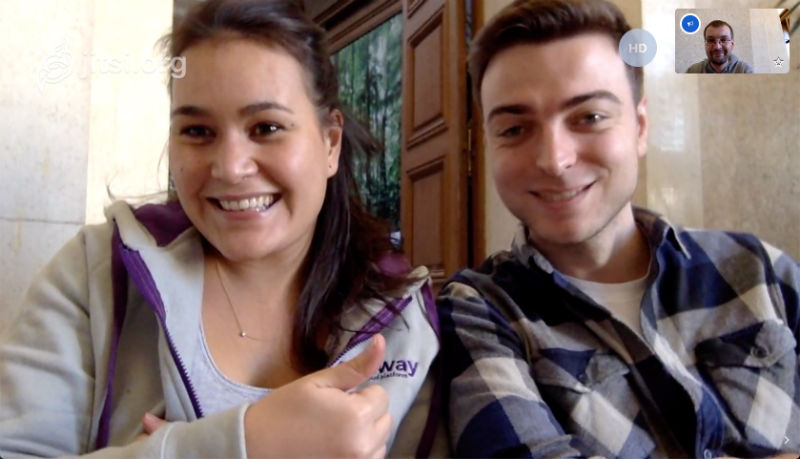
Visit our Help Center and find the answers to your most frequent questions.
Visit Help Center